
Subaru Automatic Transmission and Engine Conversion
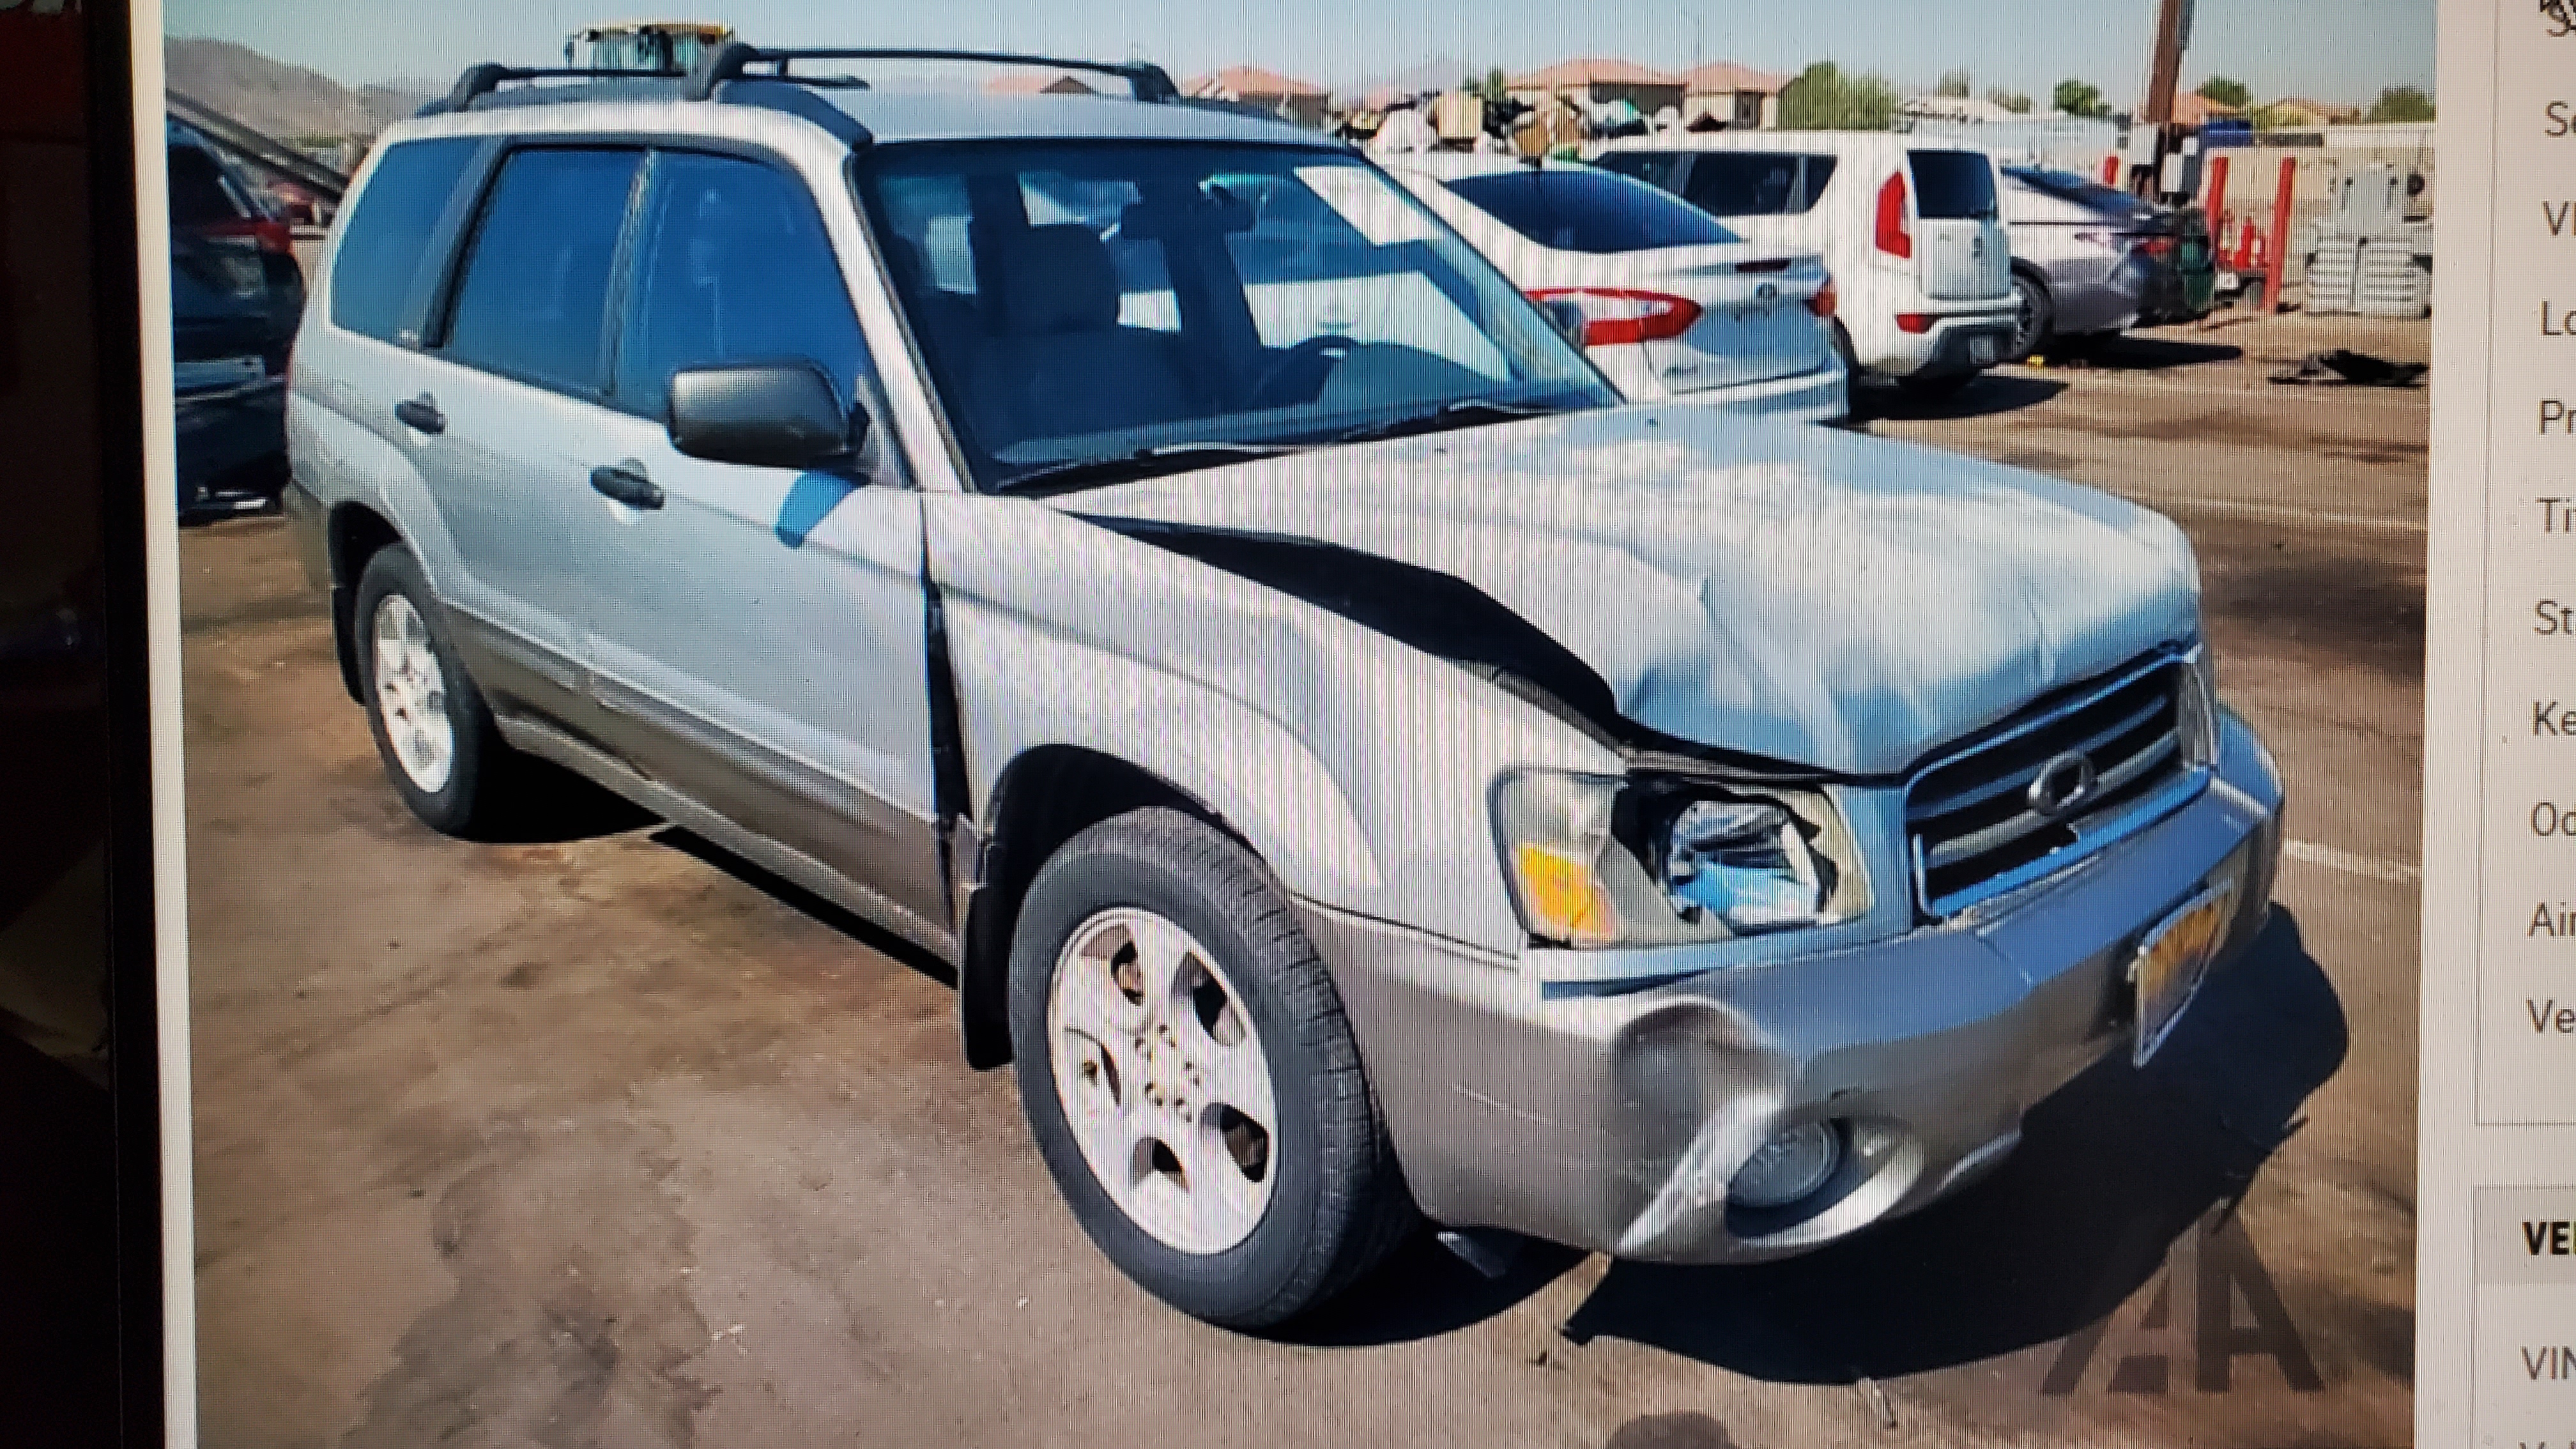
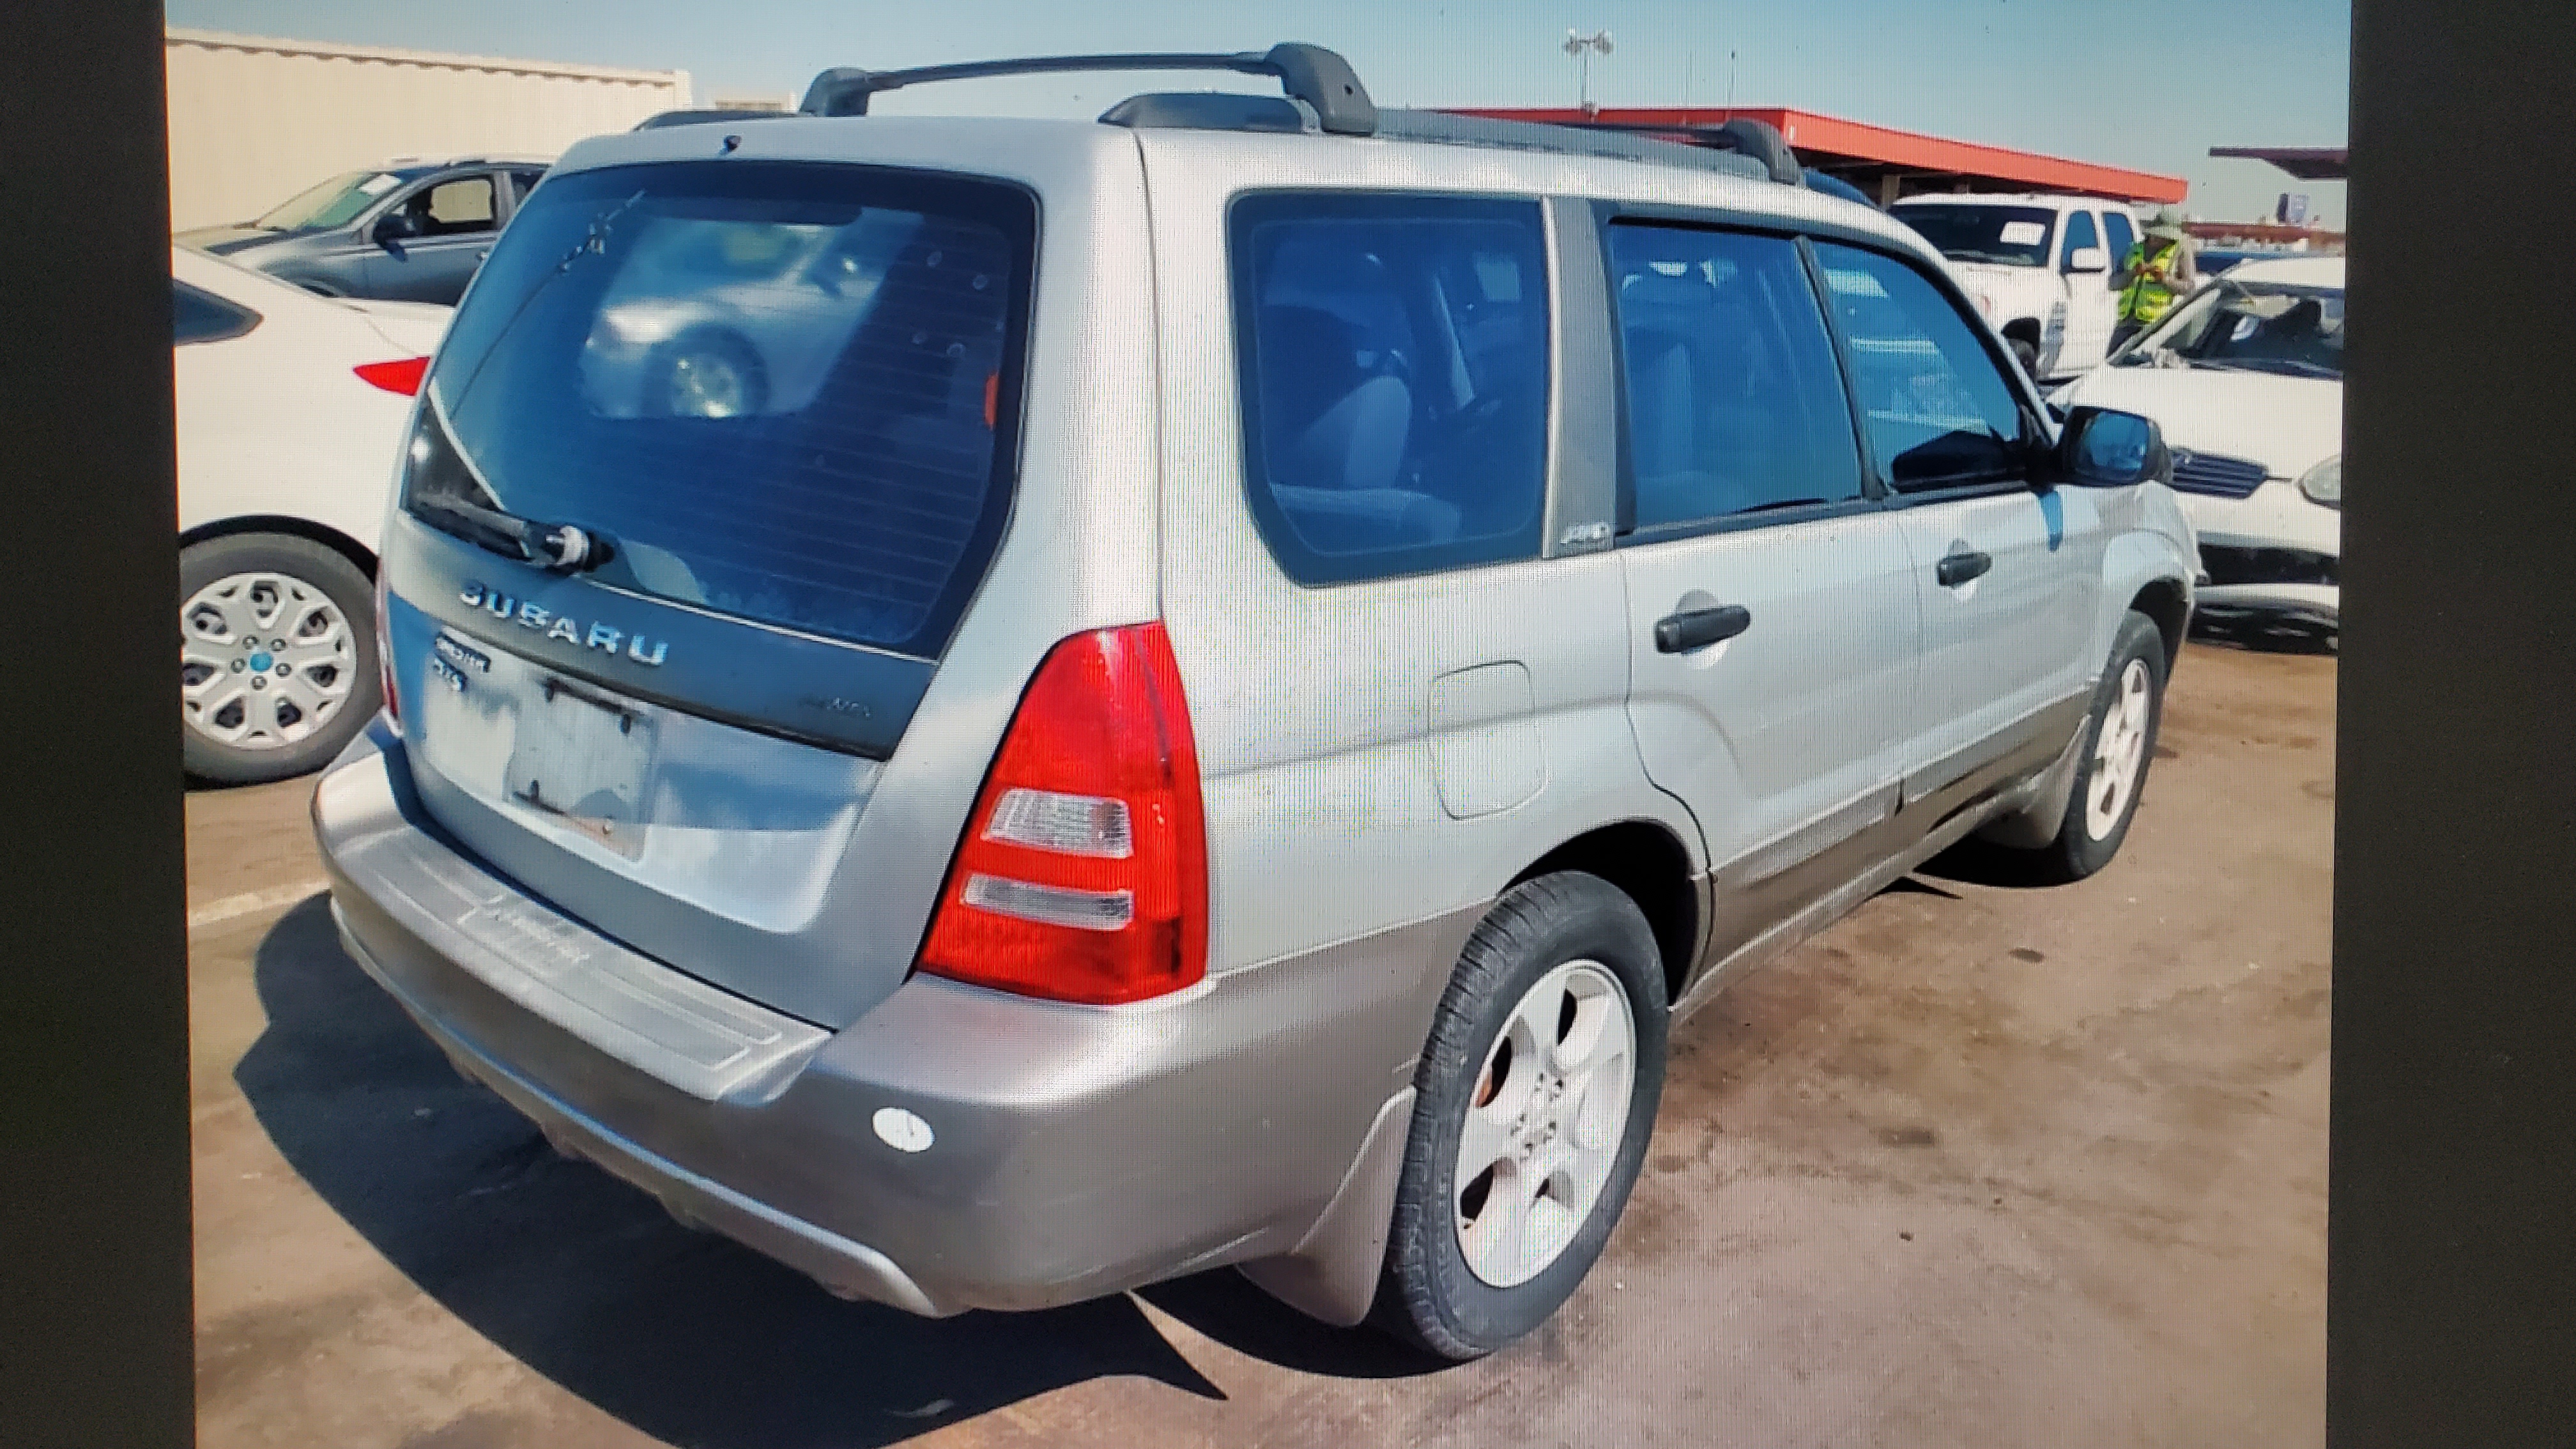
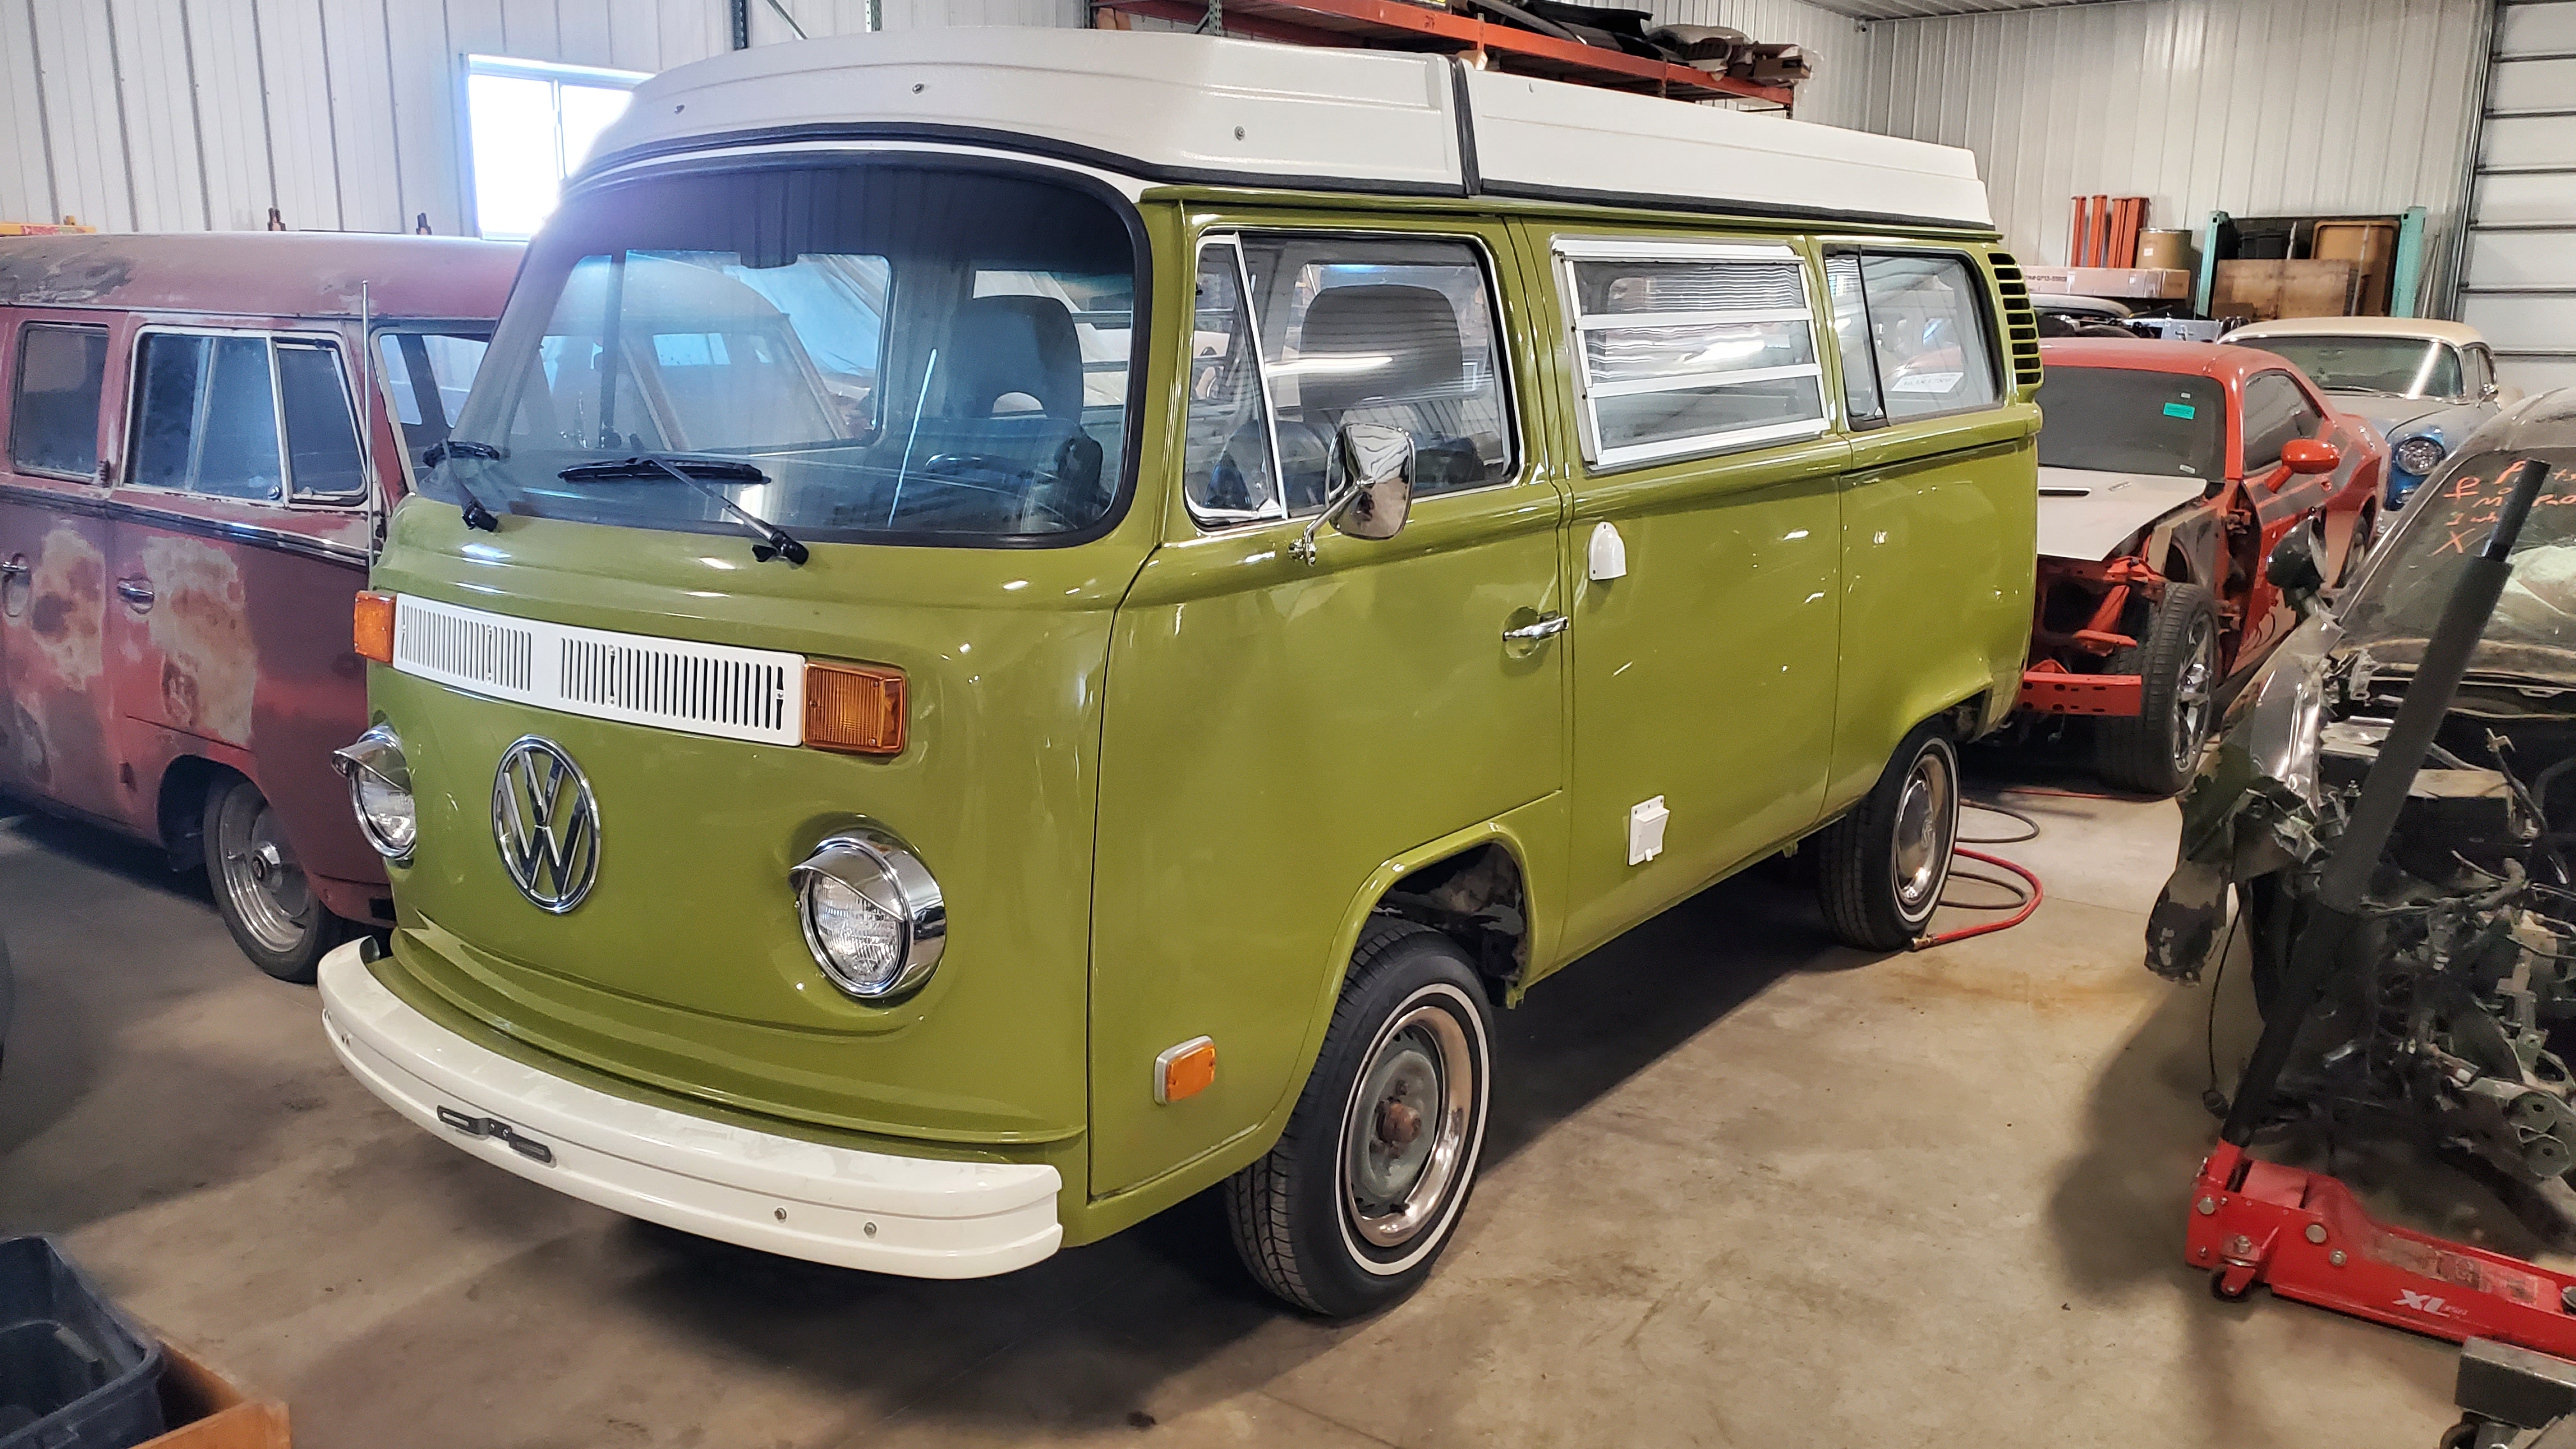
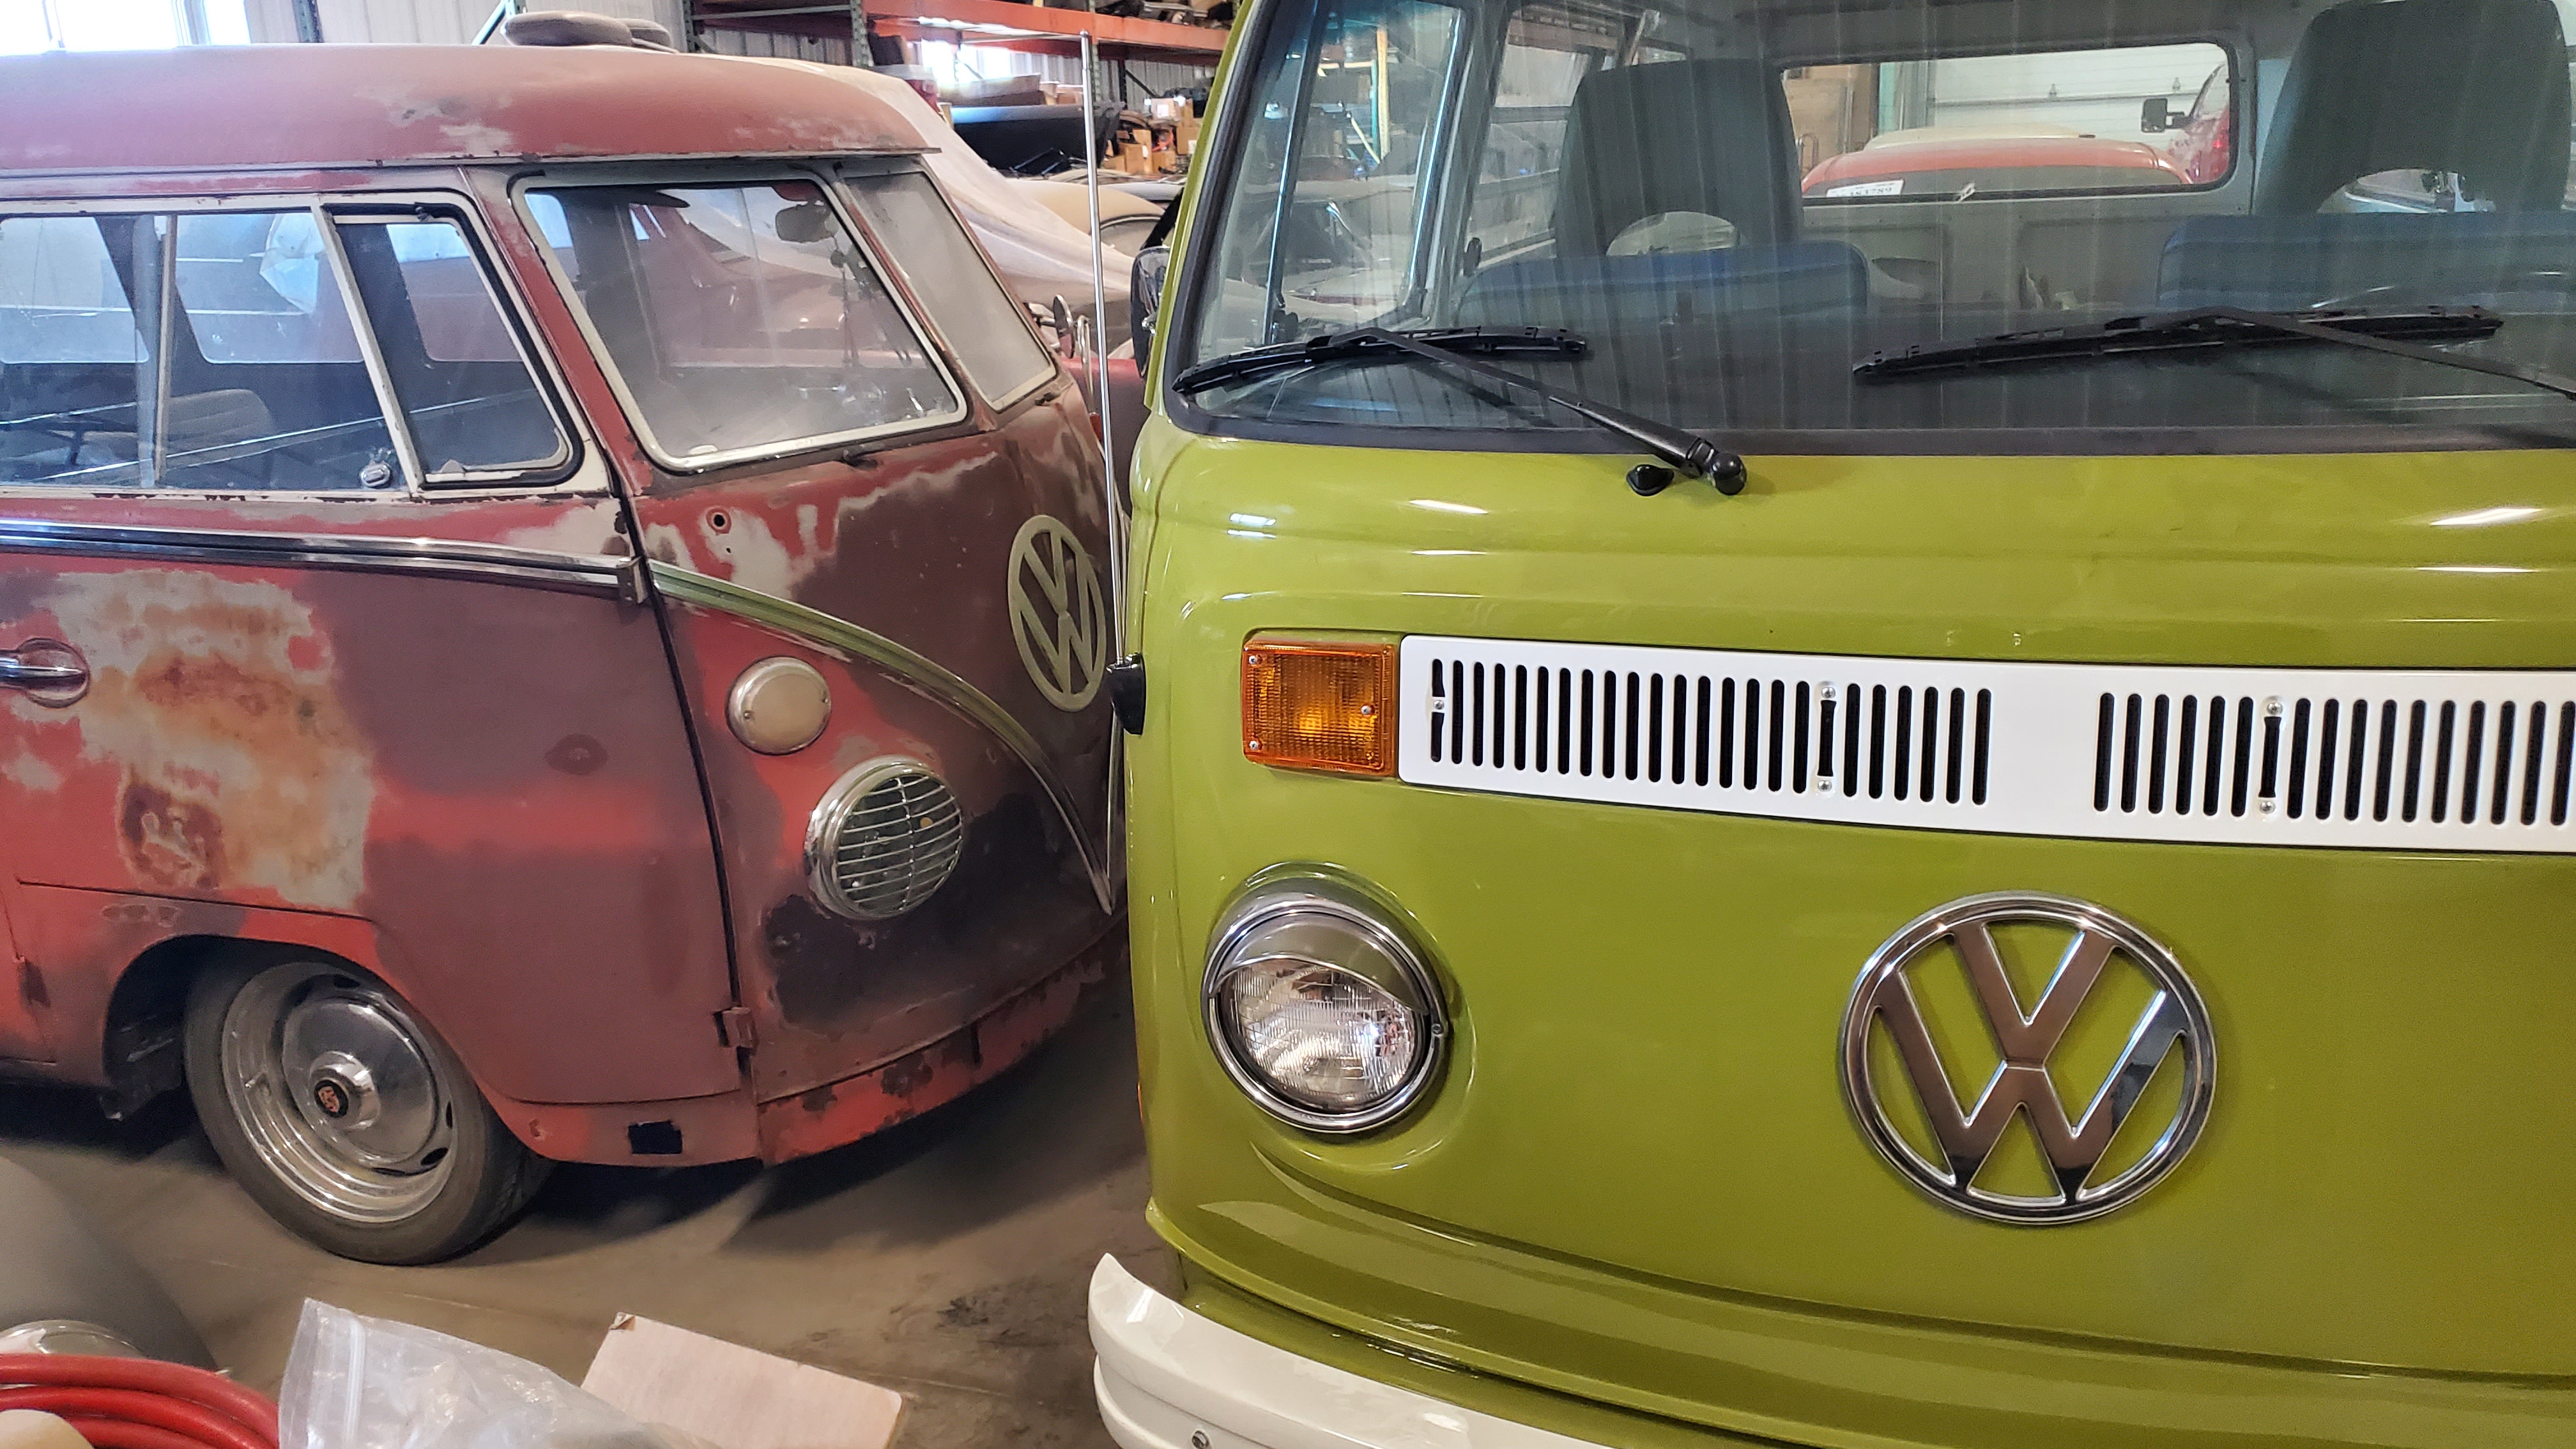
The donor was located at an insurance auction with 97,622 miles on the odometer. The car wasn’t beyond repair and was in running and driving condition. All functions were checked and everything worked; it only would have needed some minor front-end work to be back on the road.
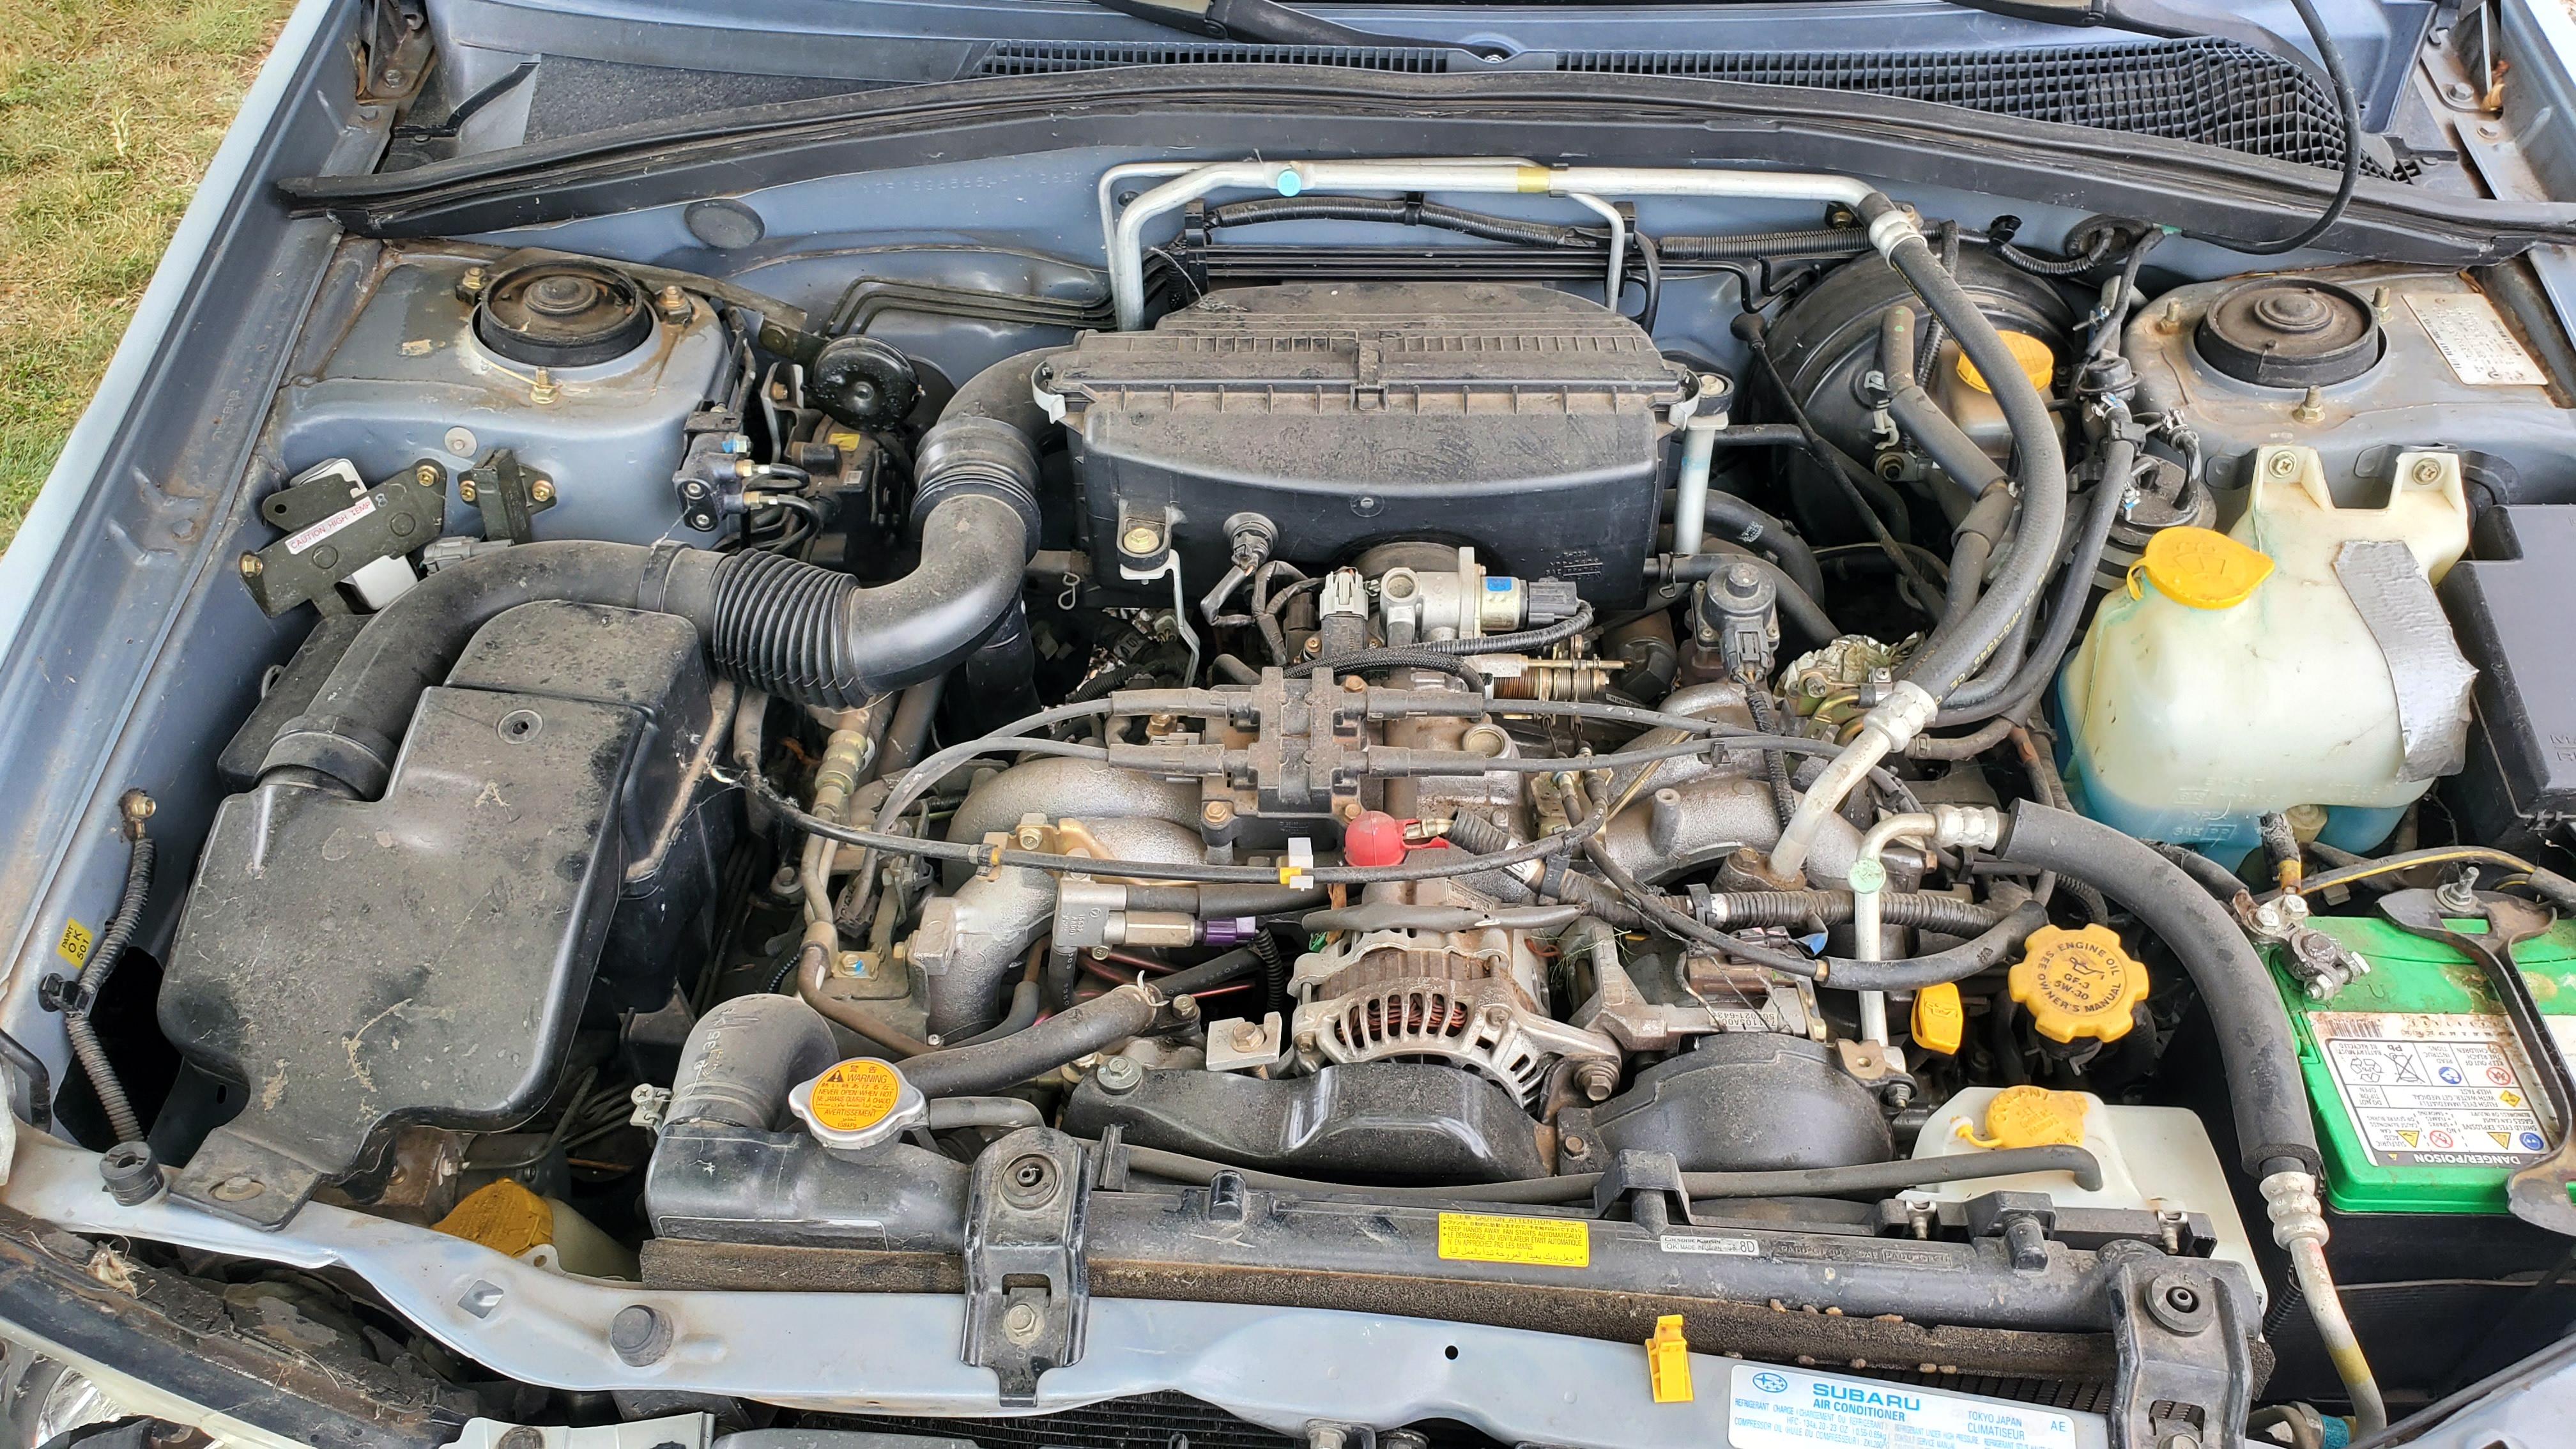
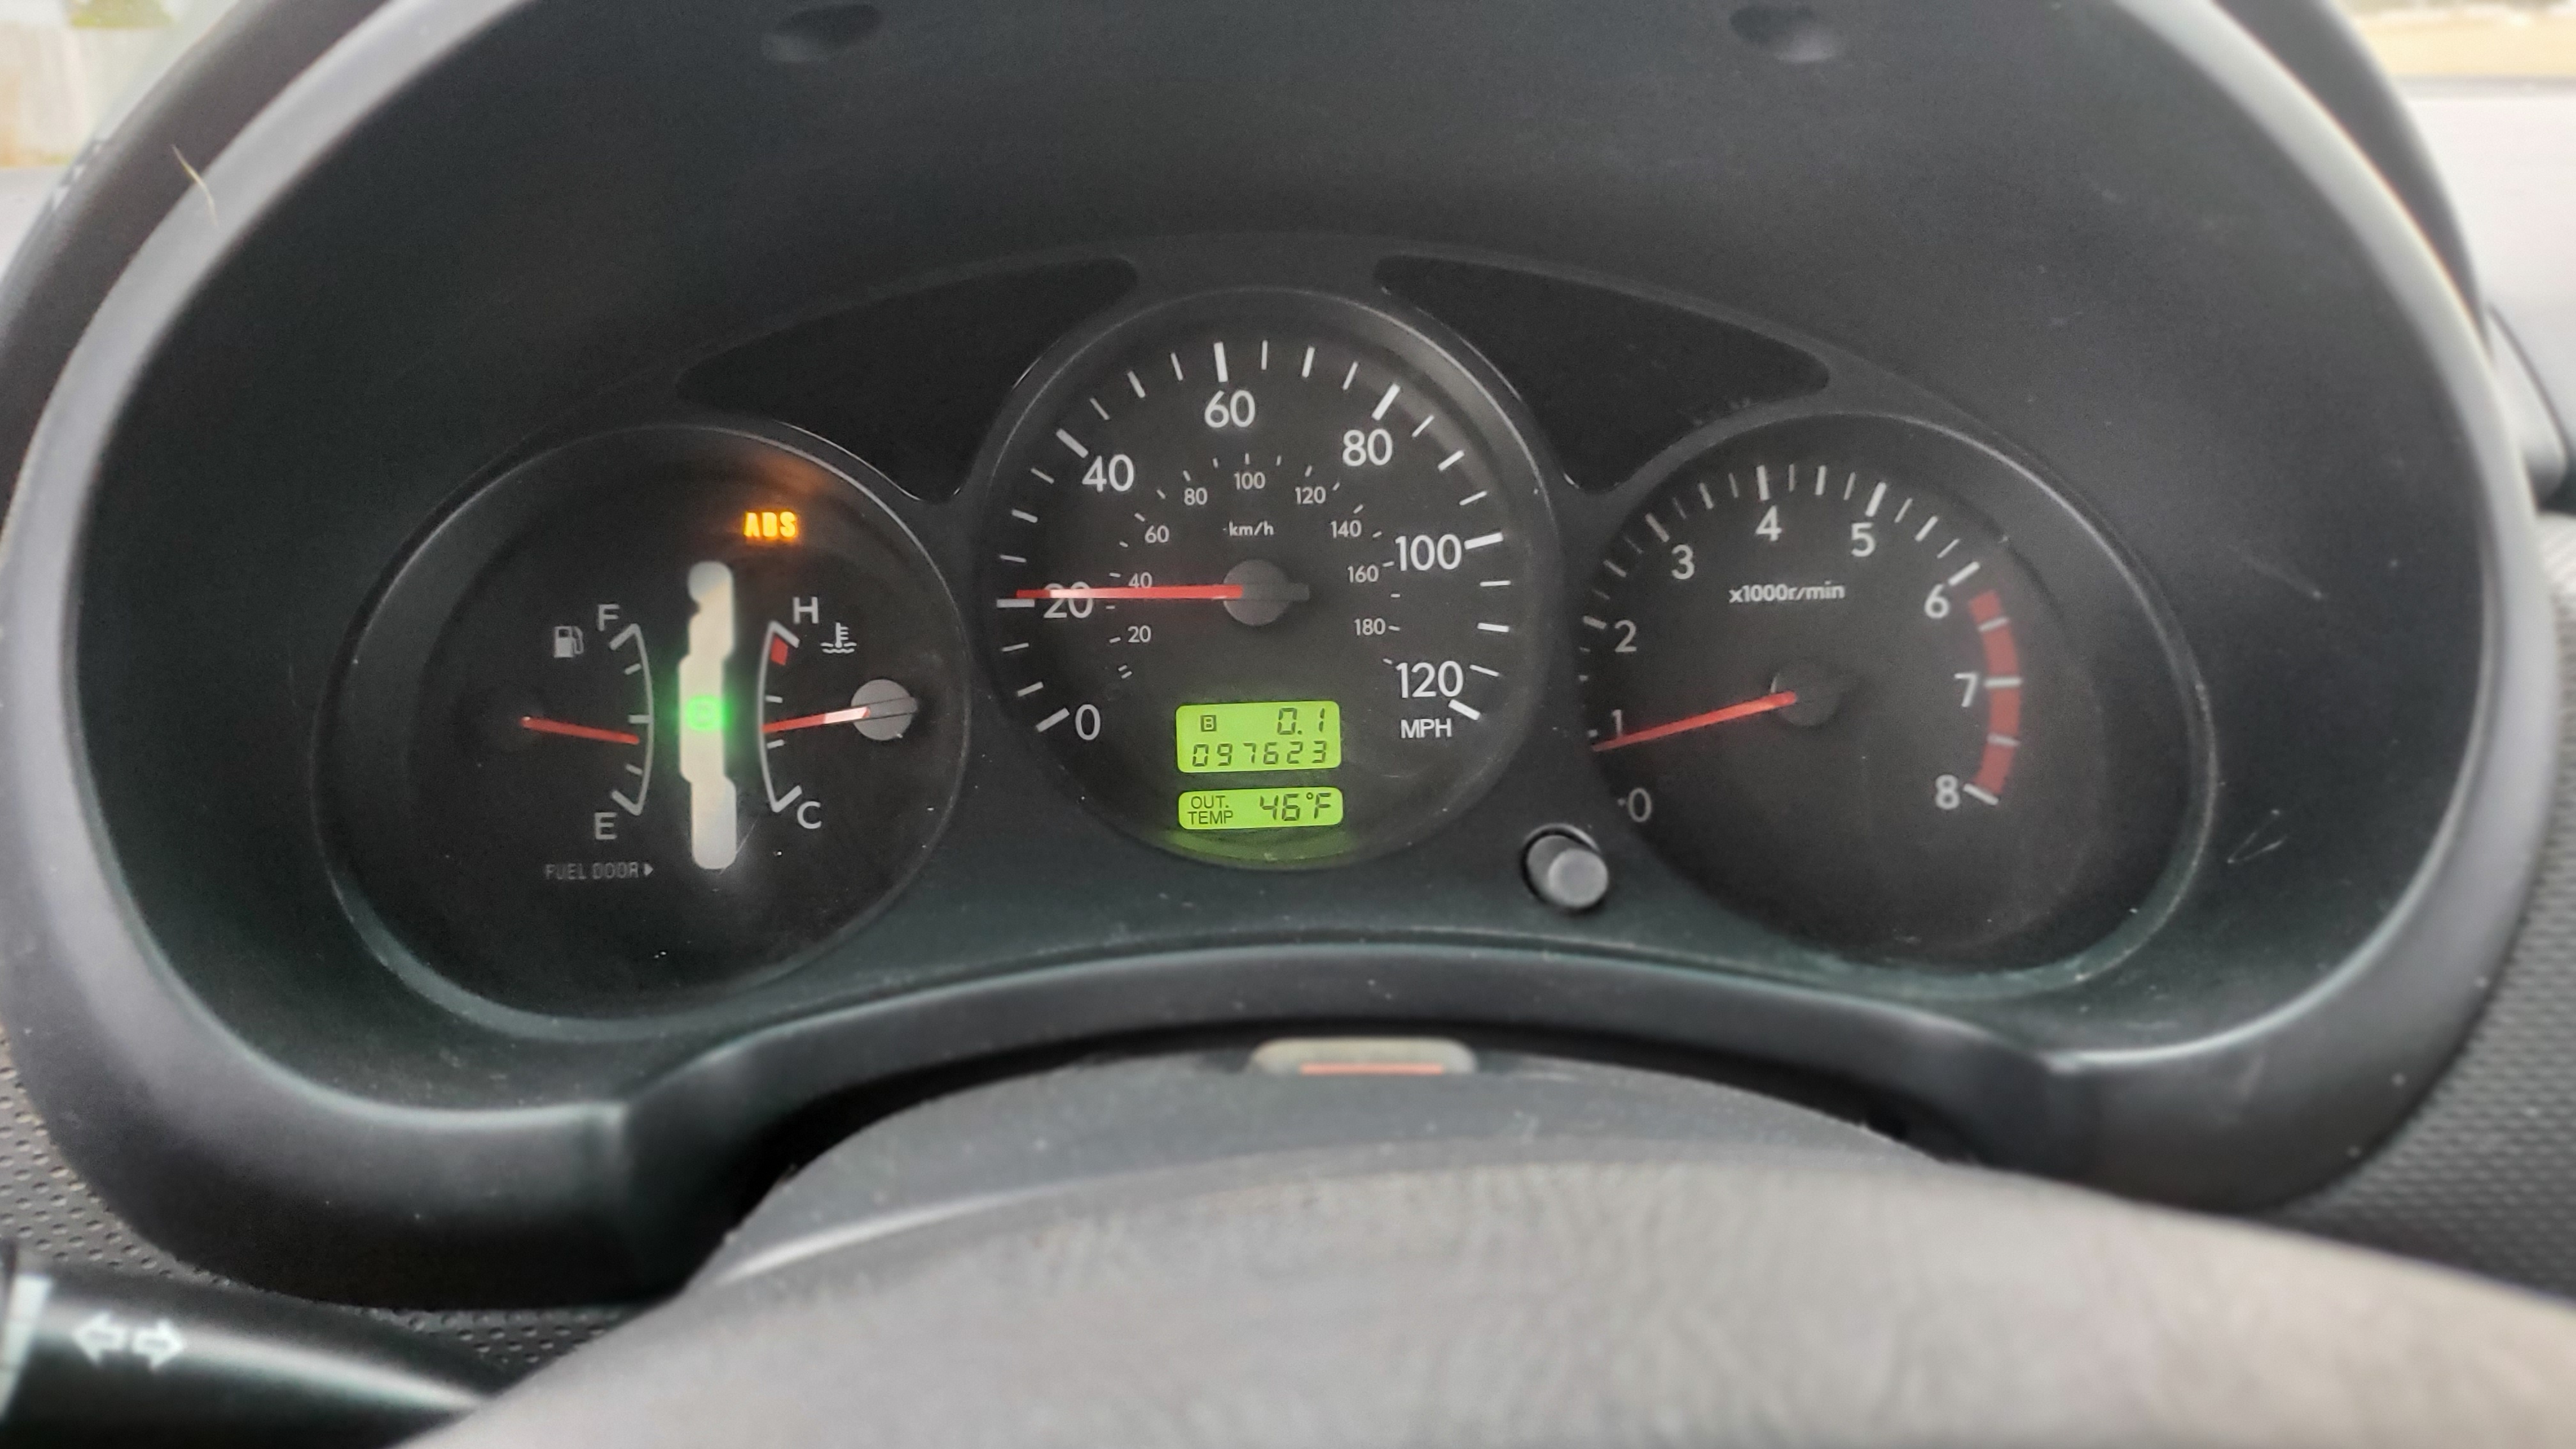
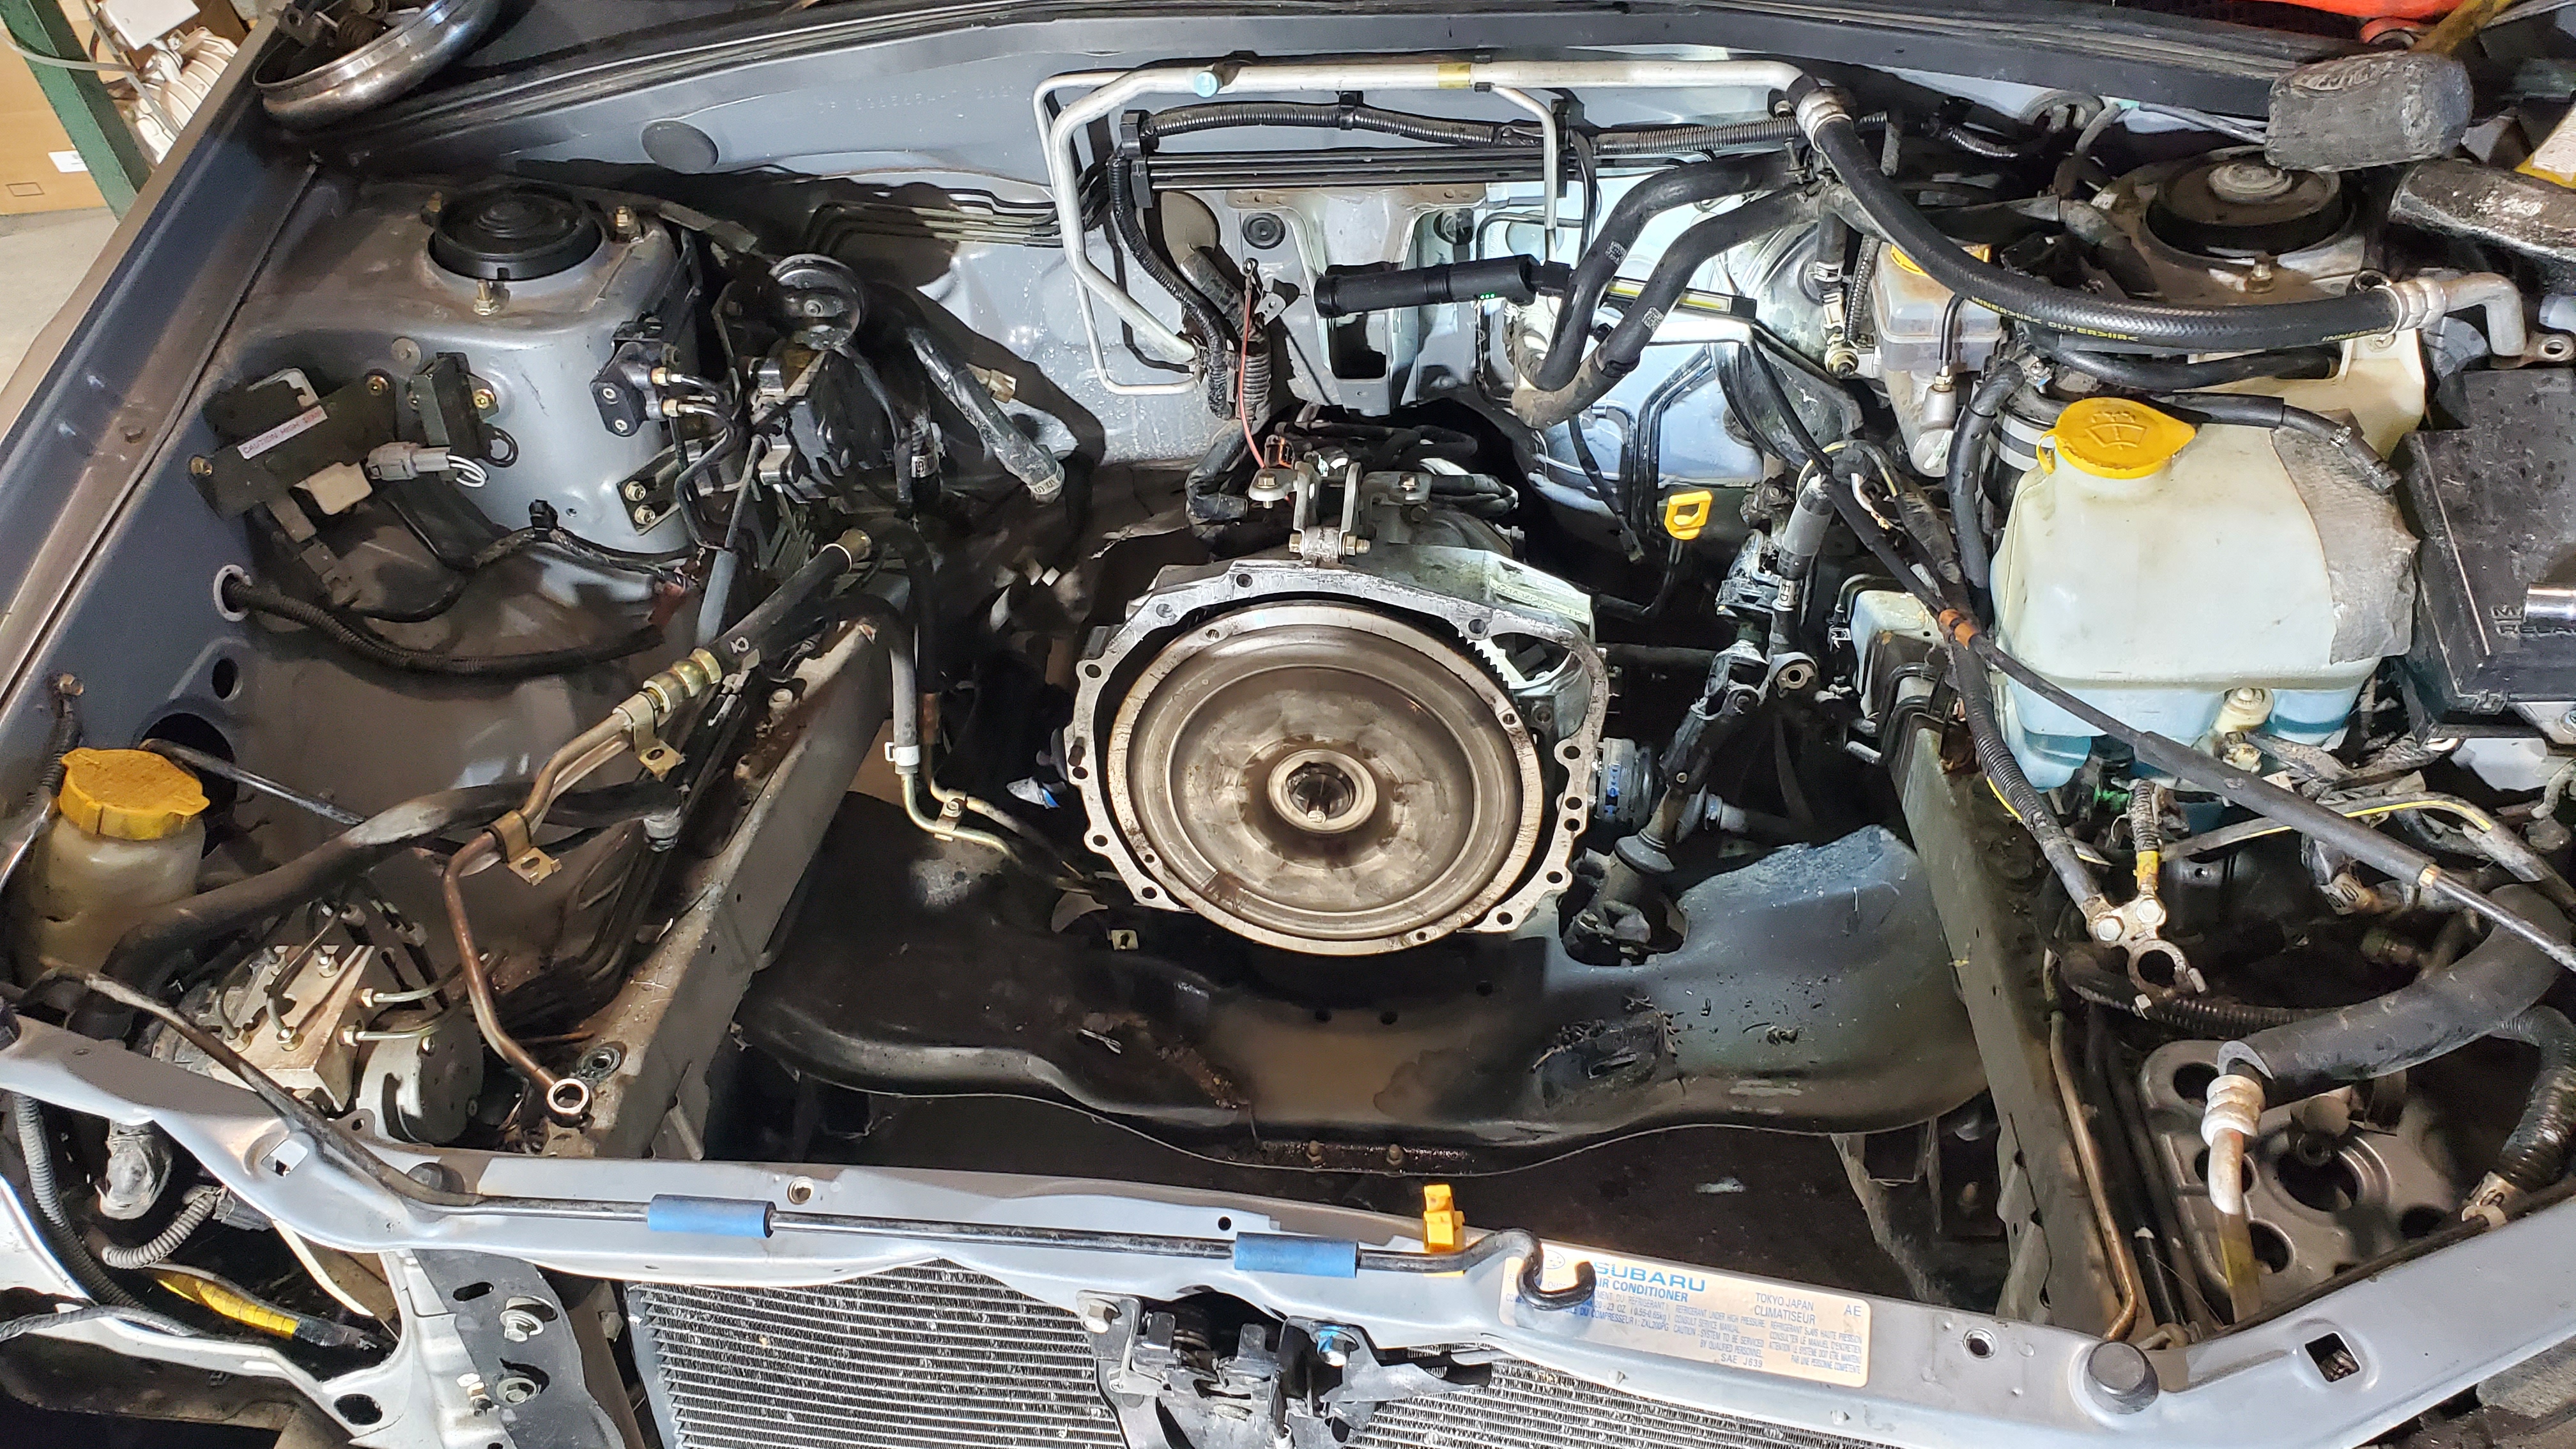
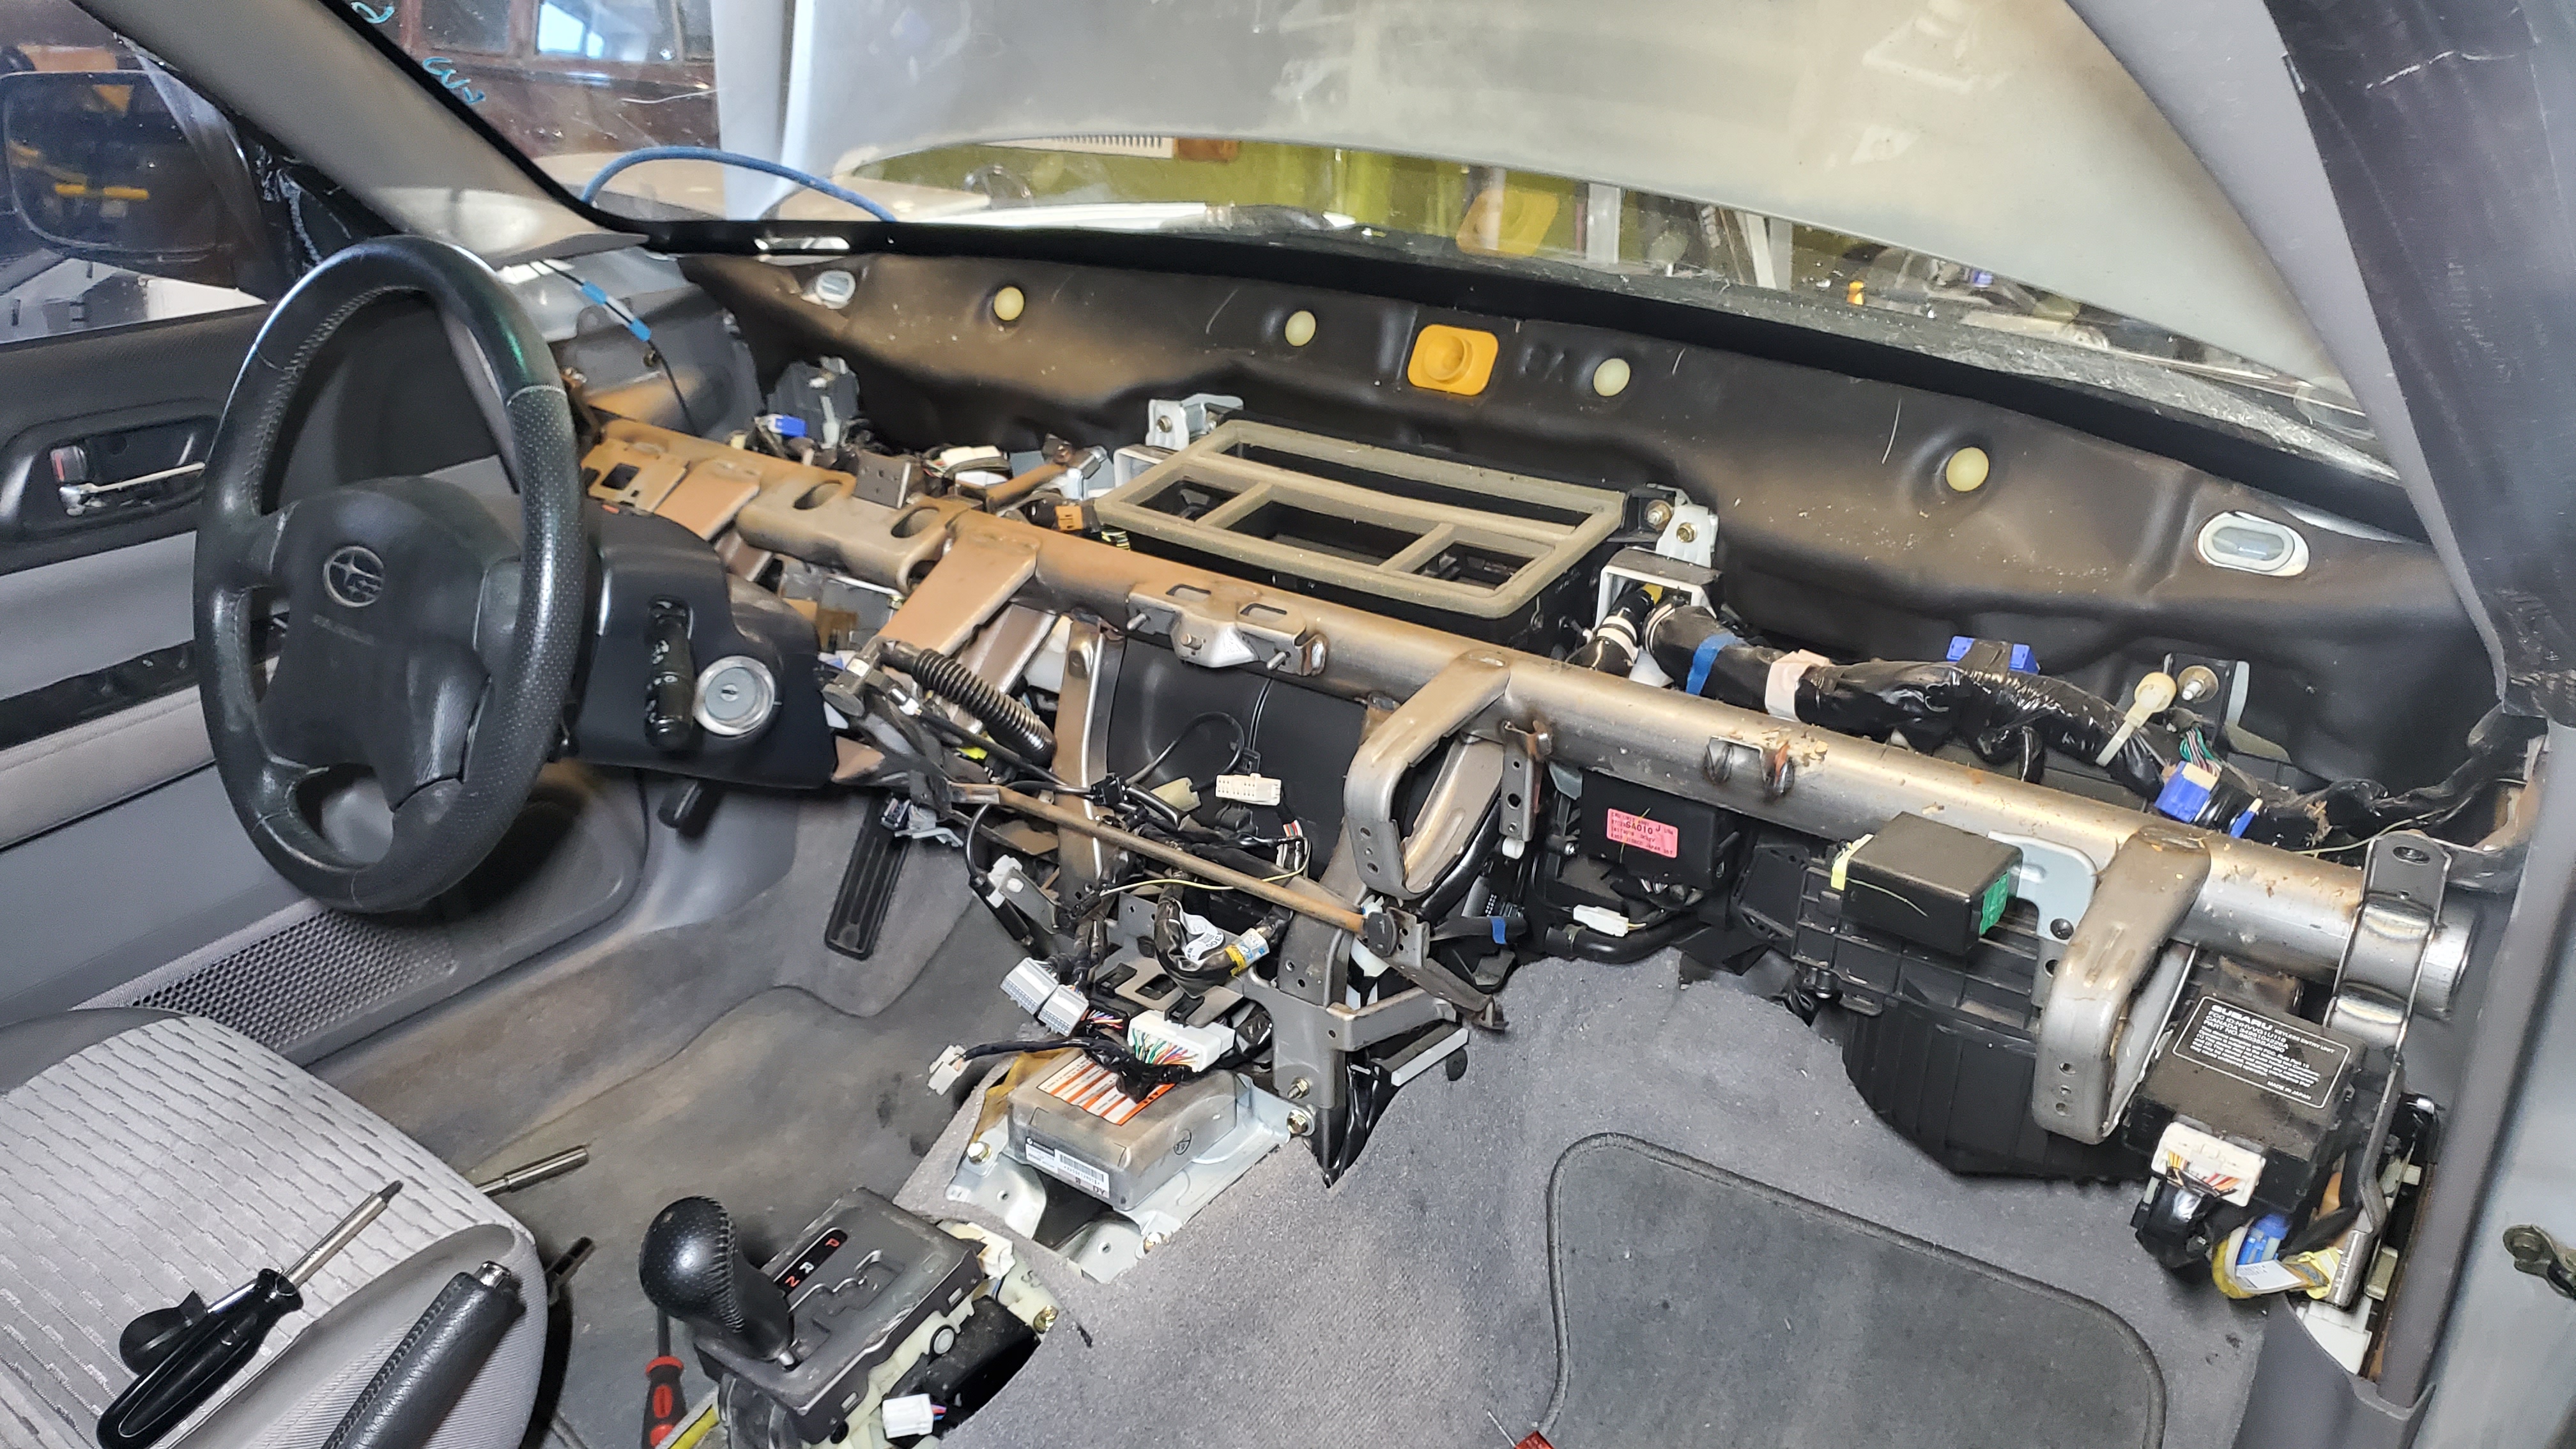
Pictures of it running at warmup, engine removal, and dash removal.
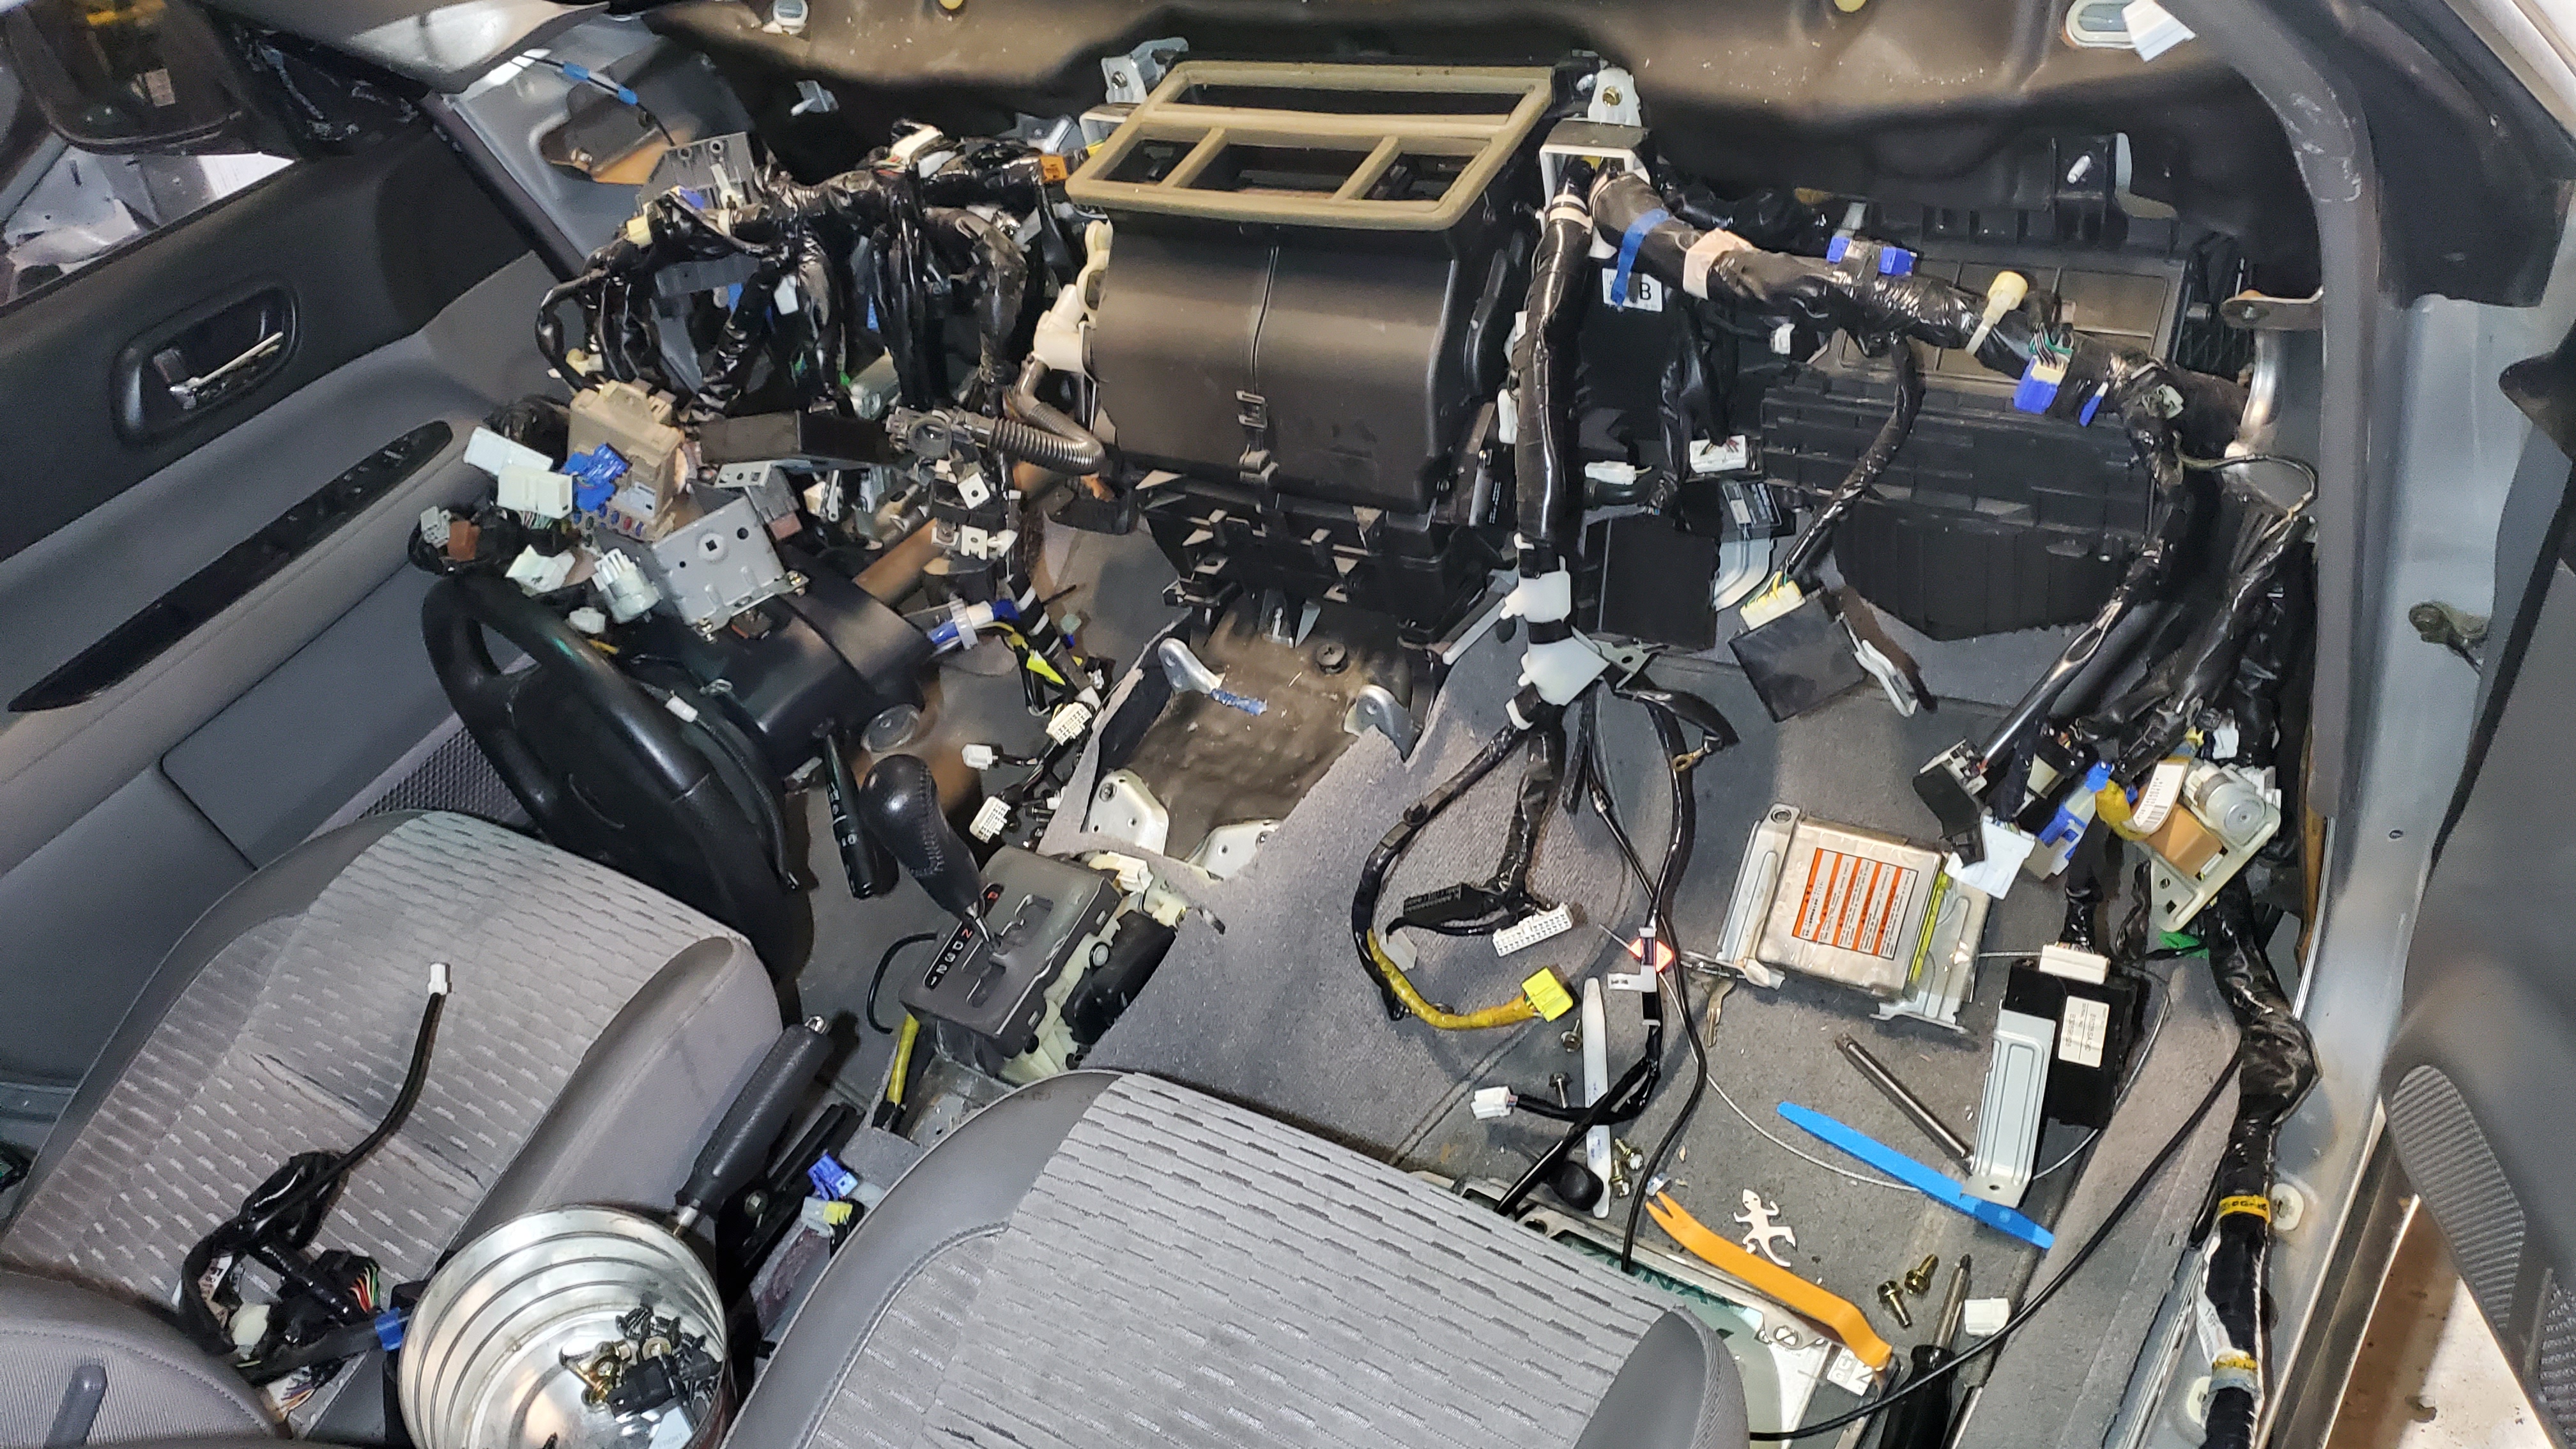
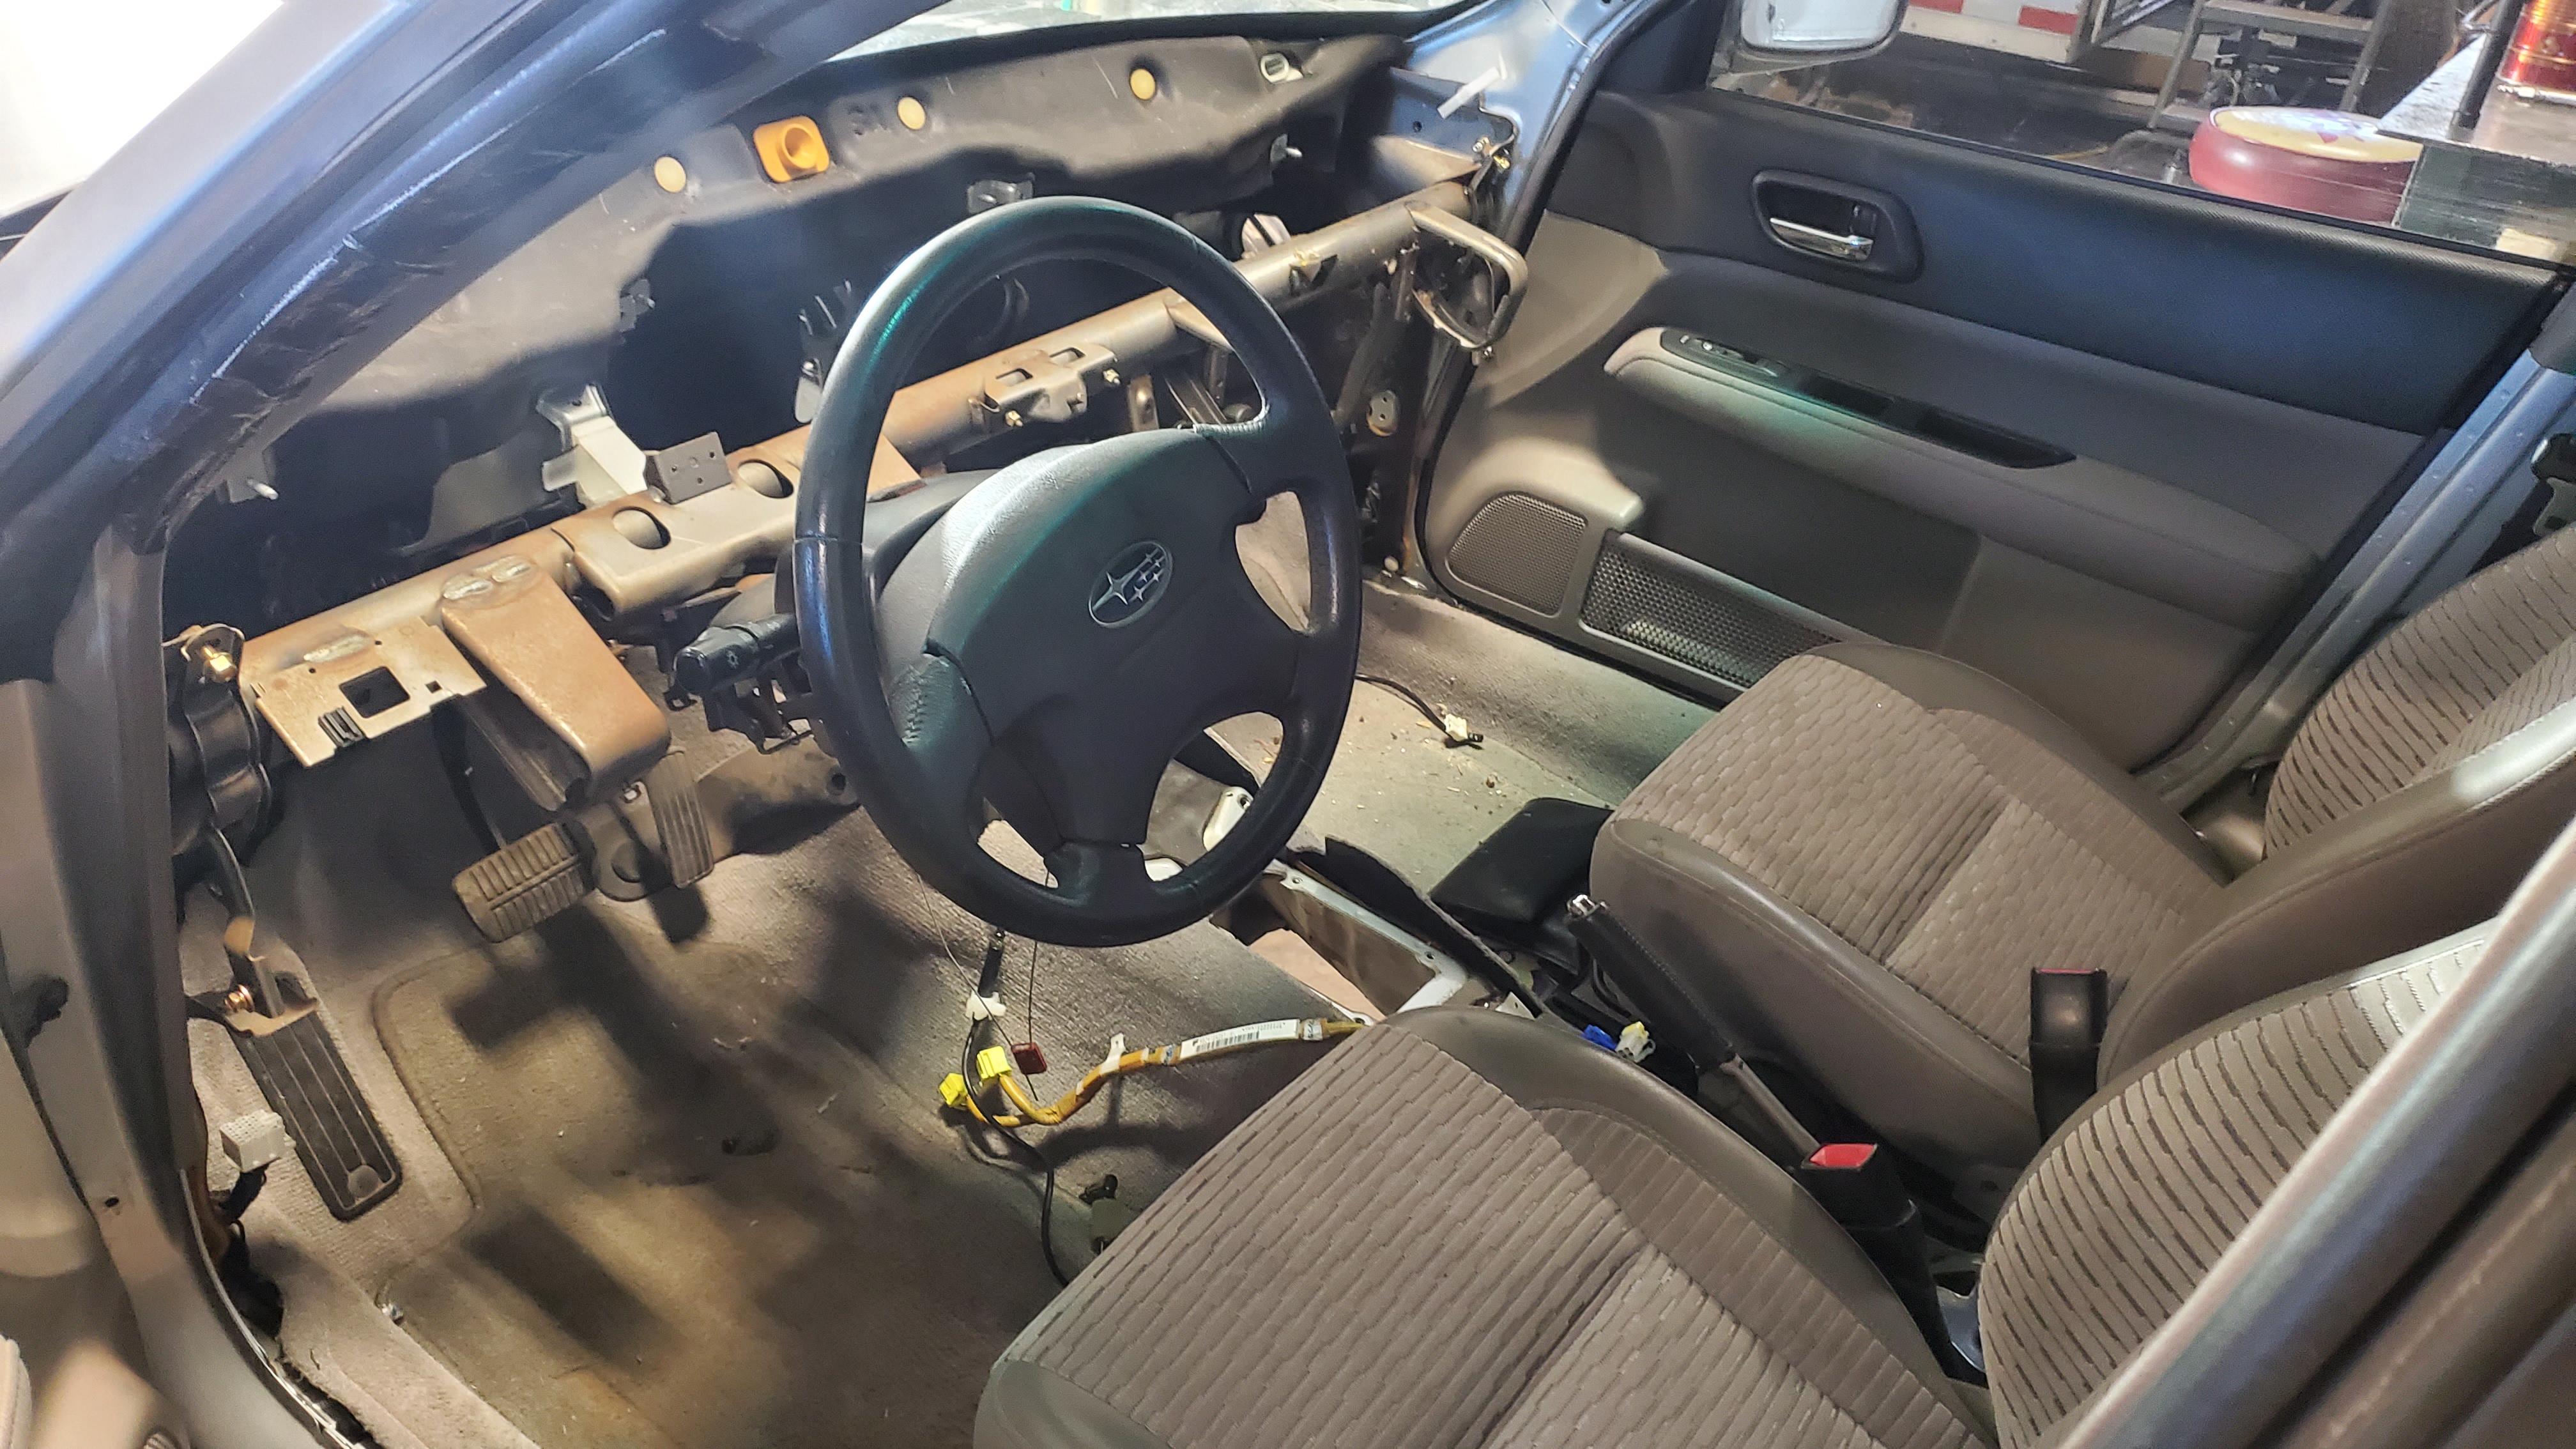
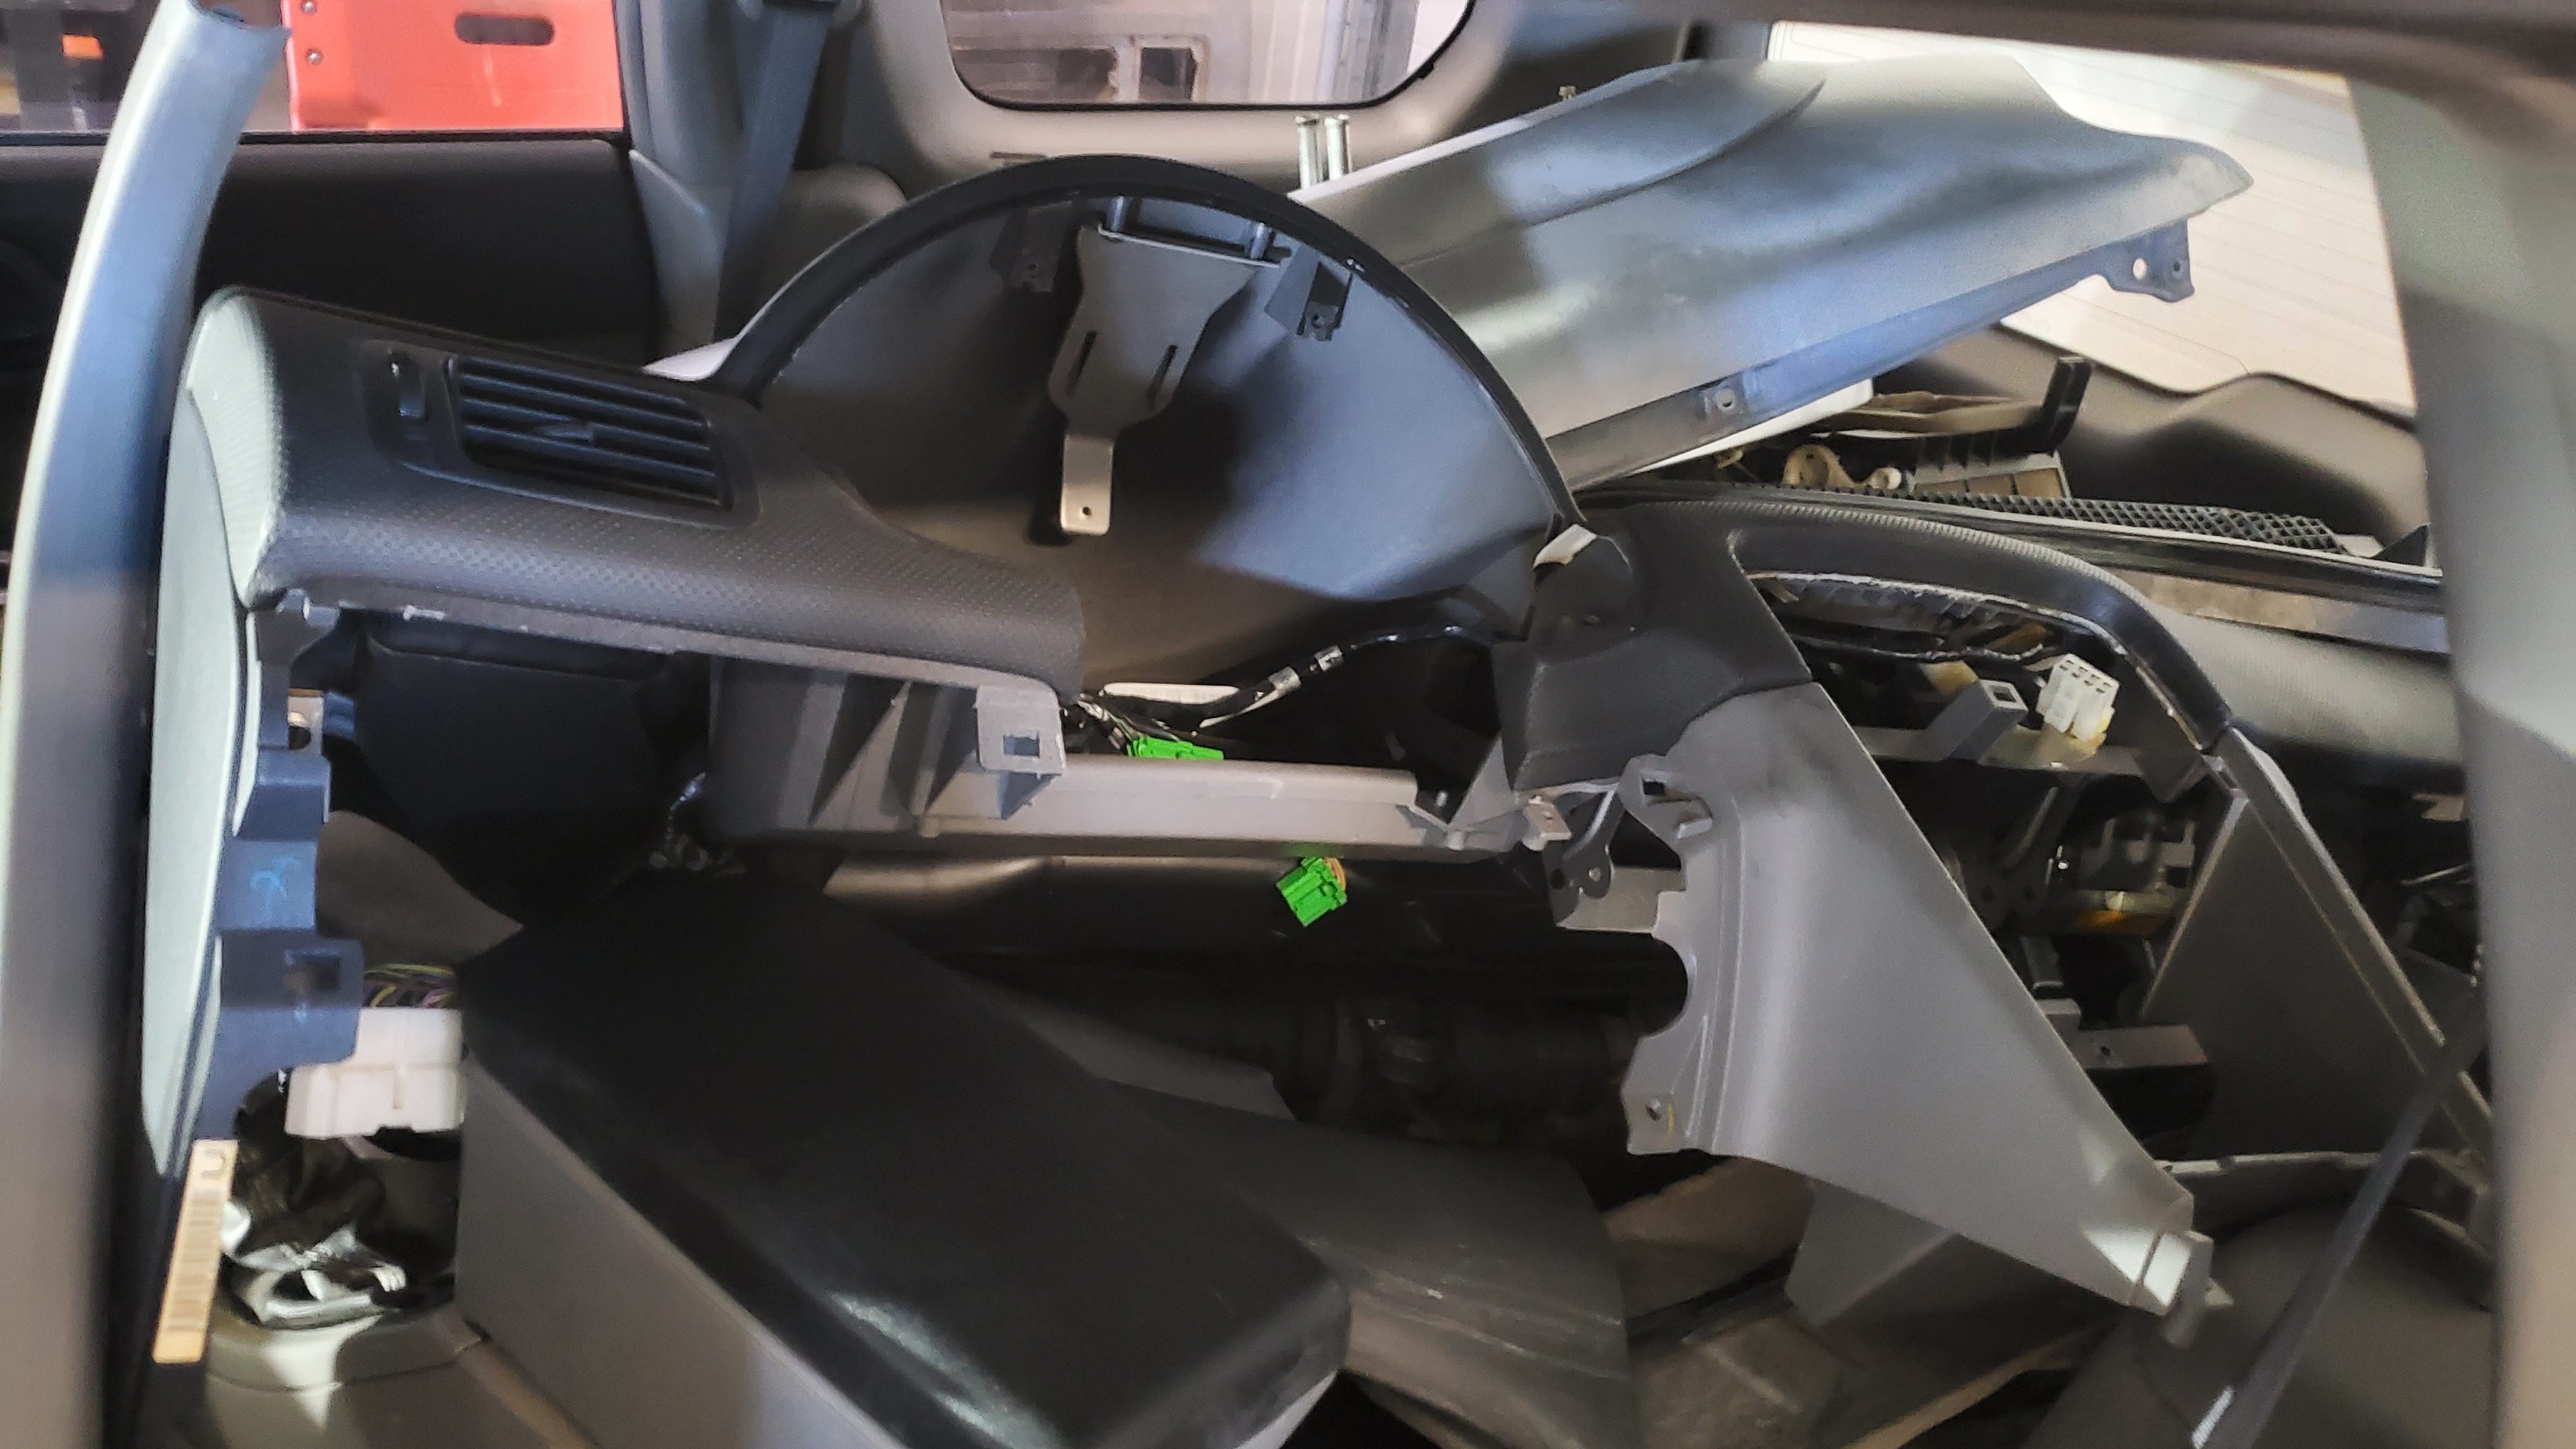
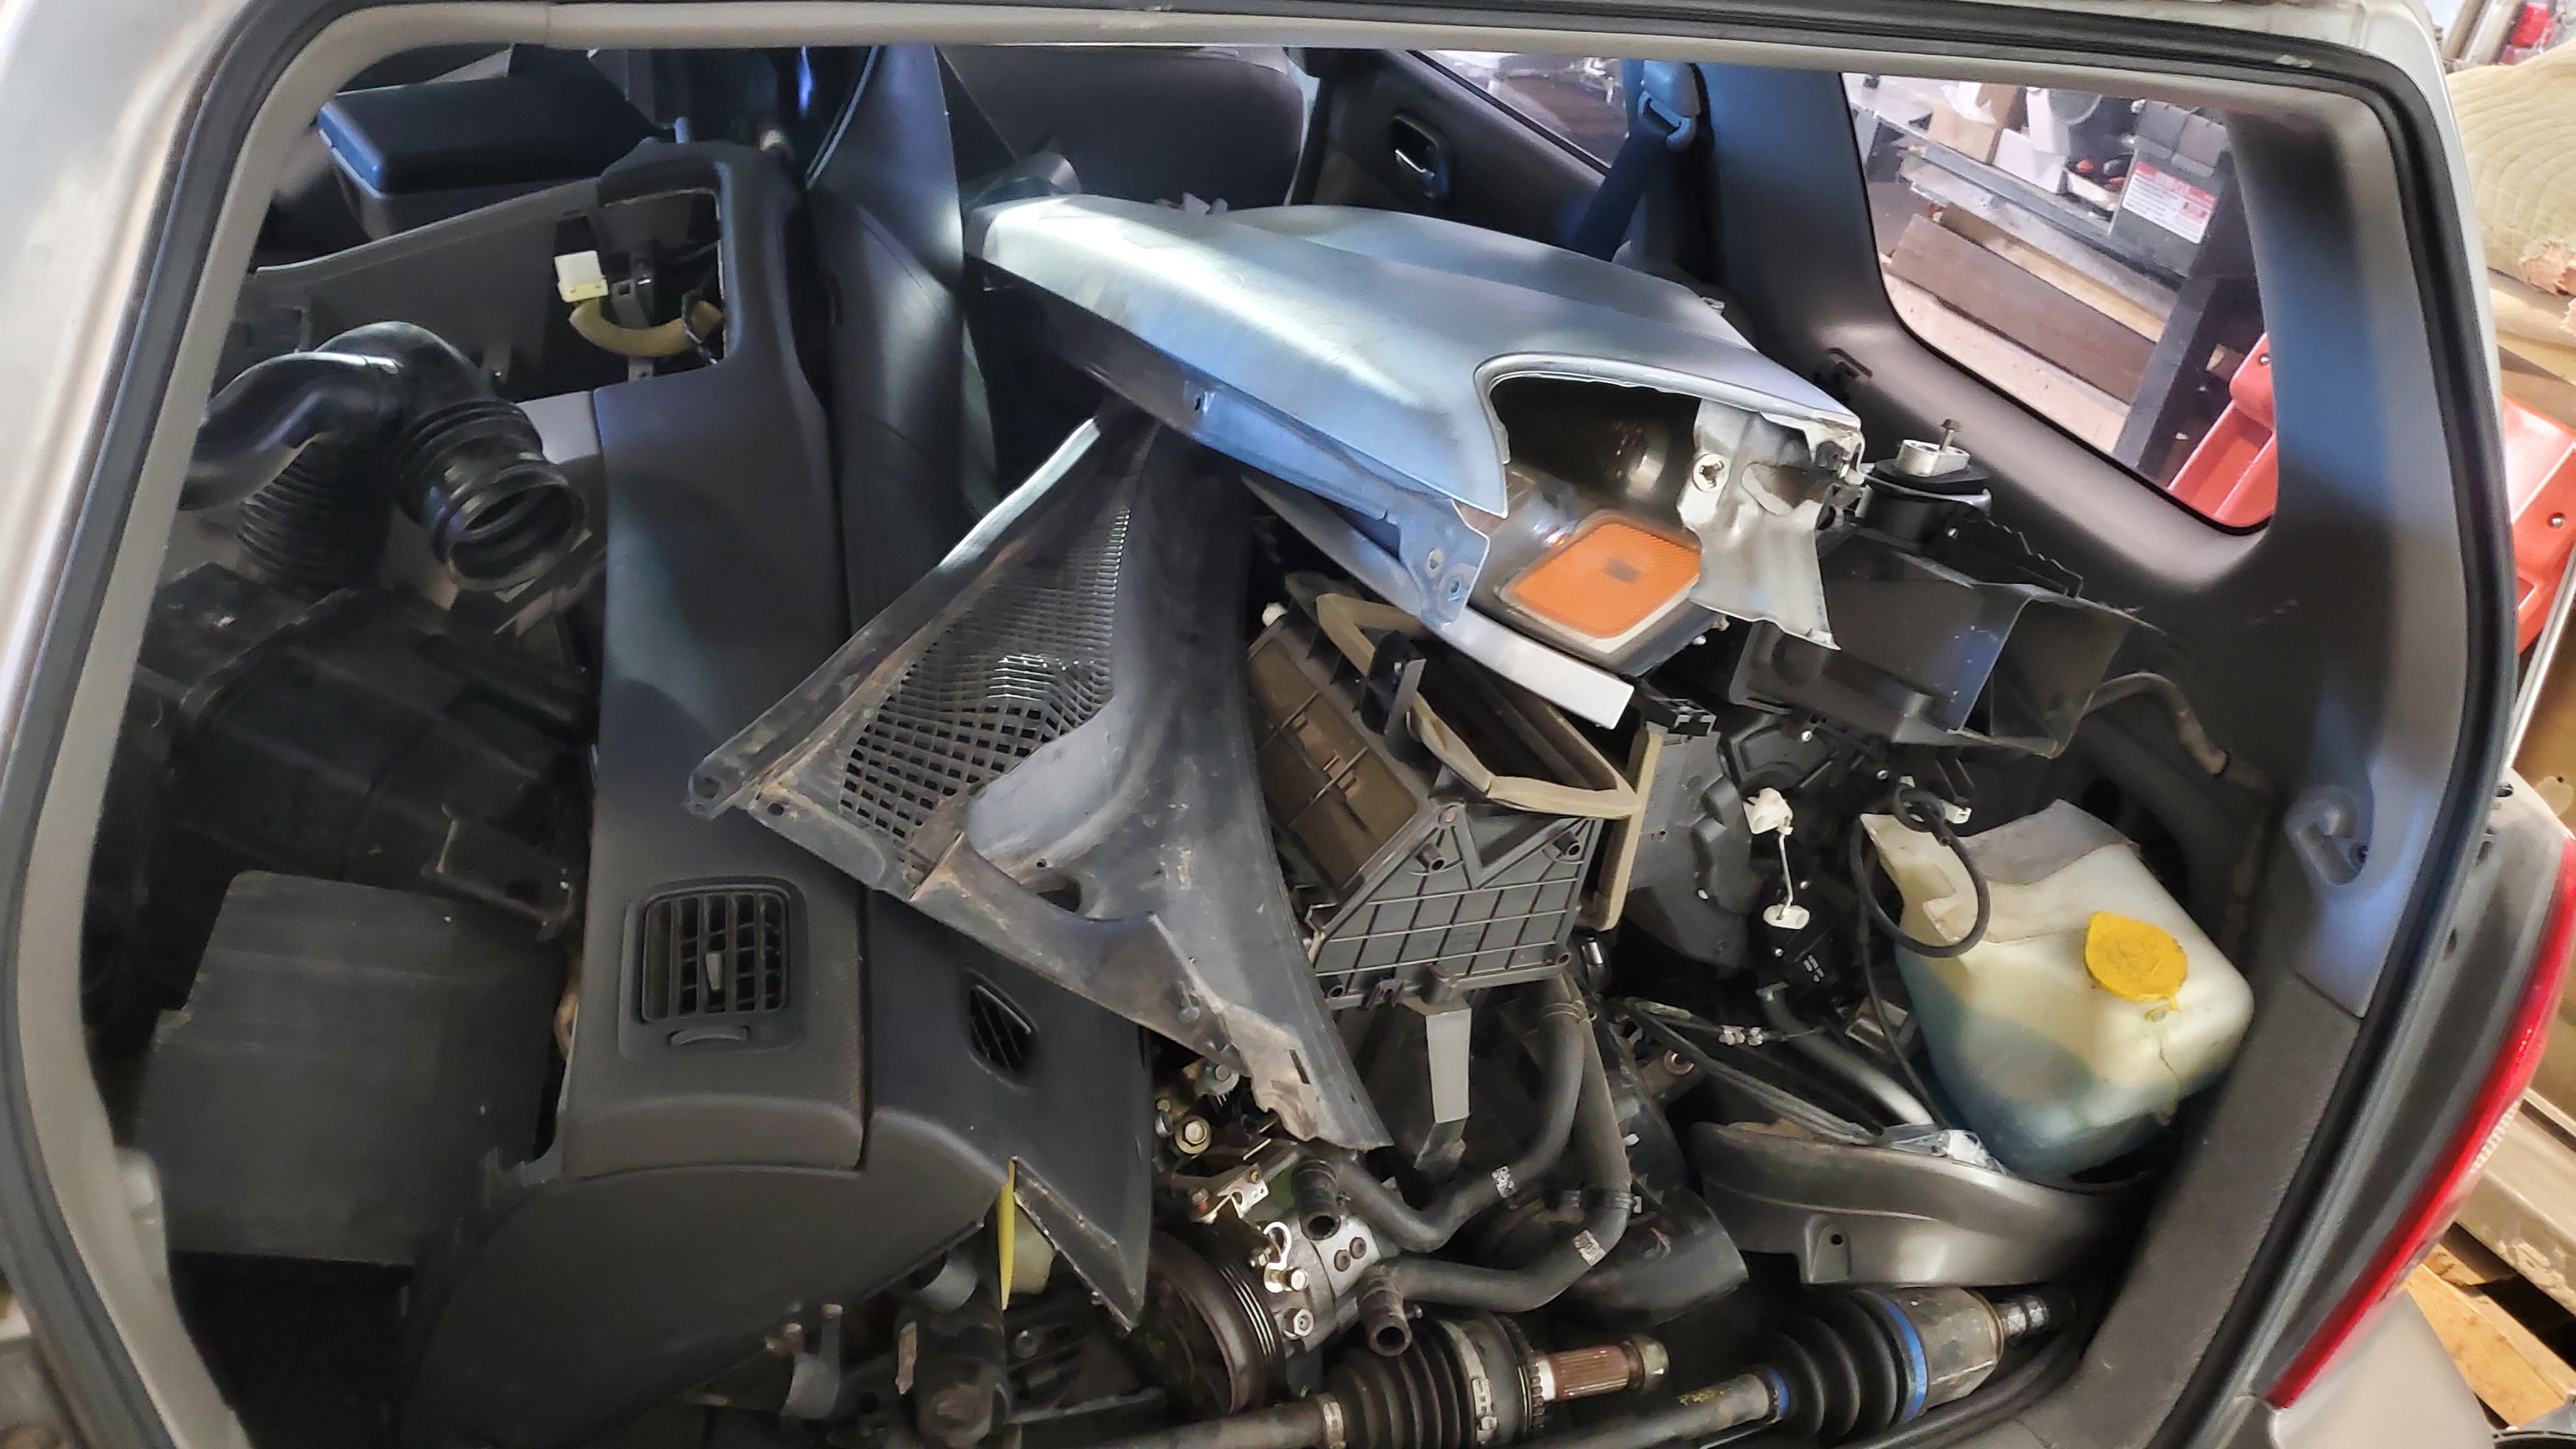
The wiring coming out, all the way out, and all the parts that came off laid in the back of the car. The car was then sent to the crusher.
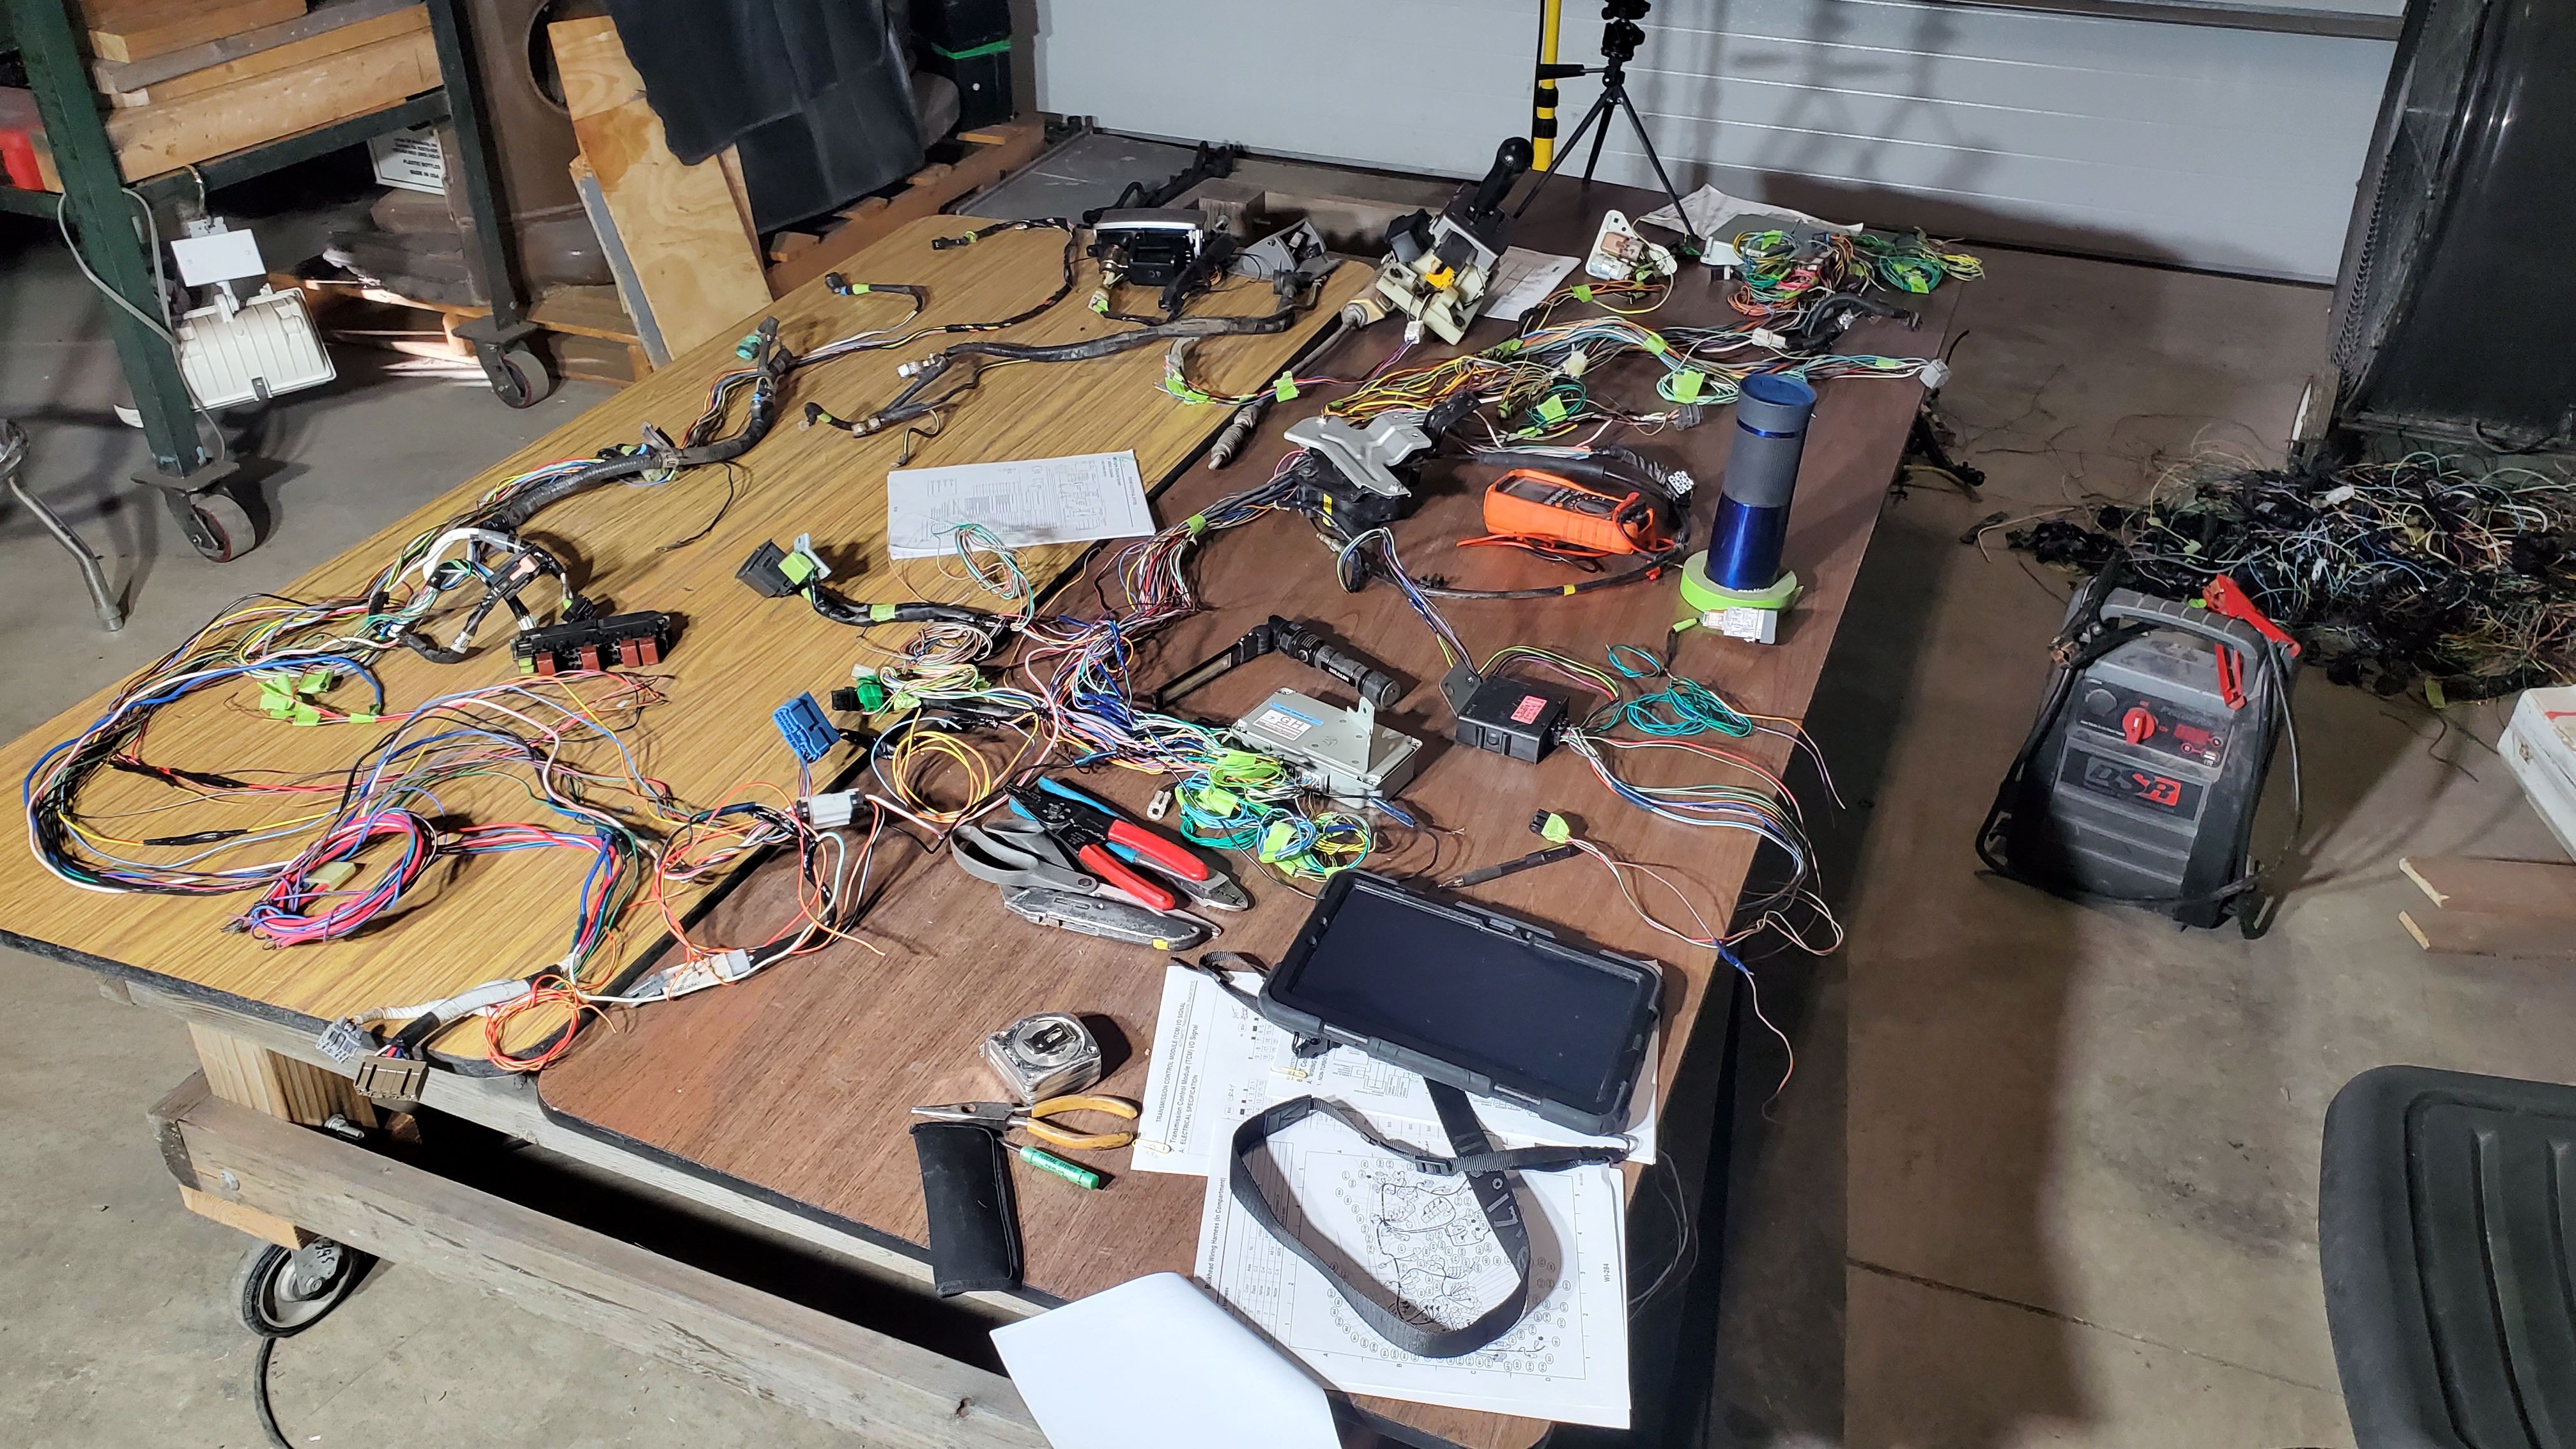
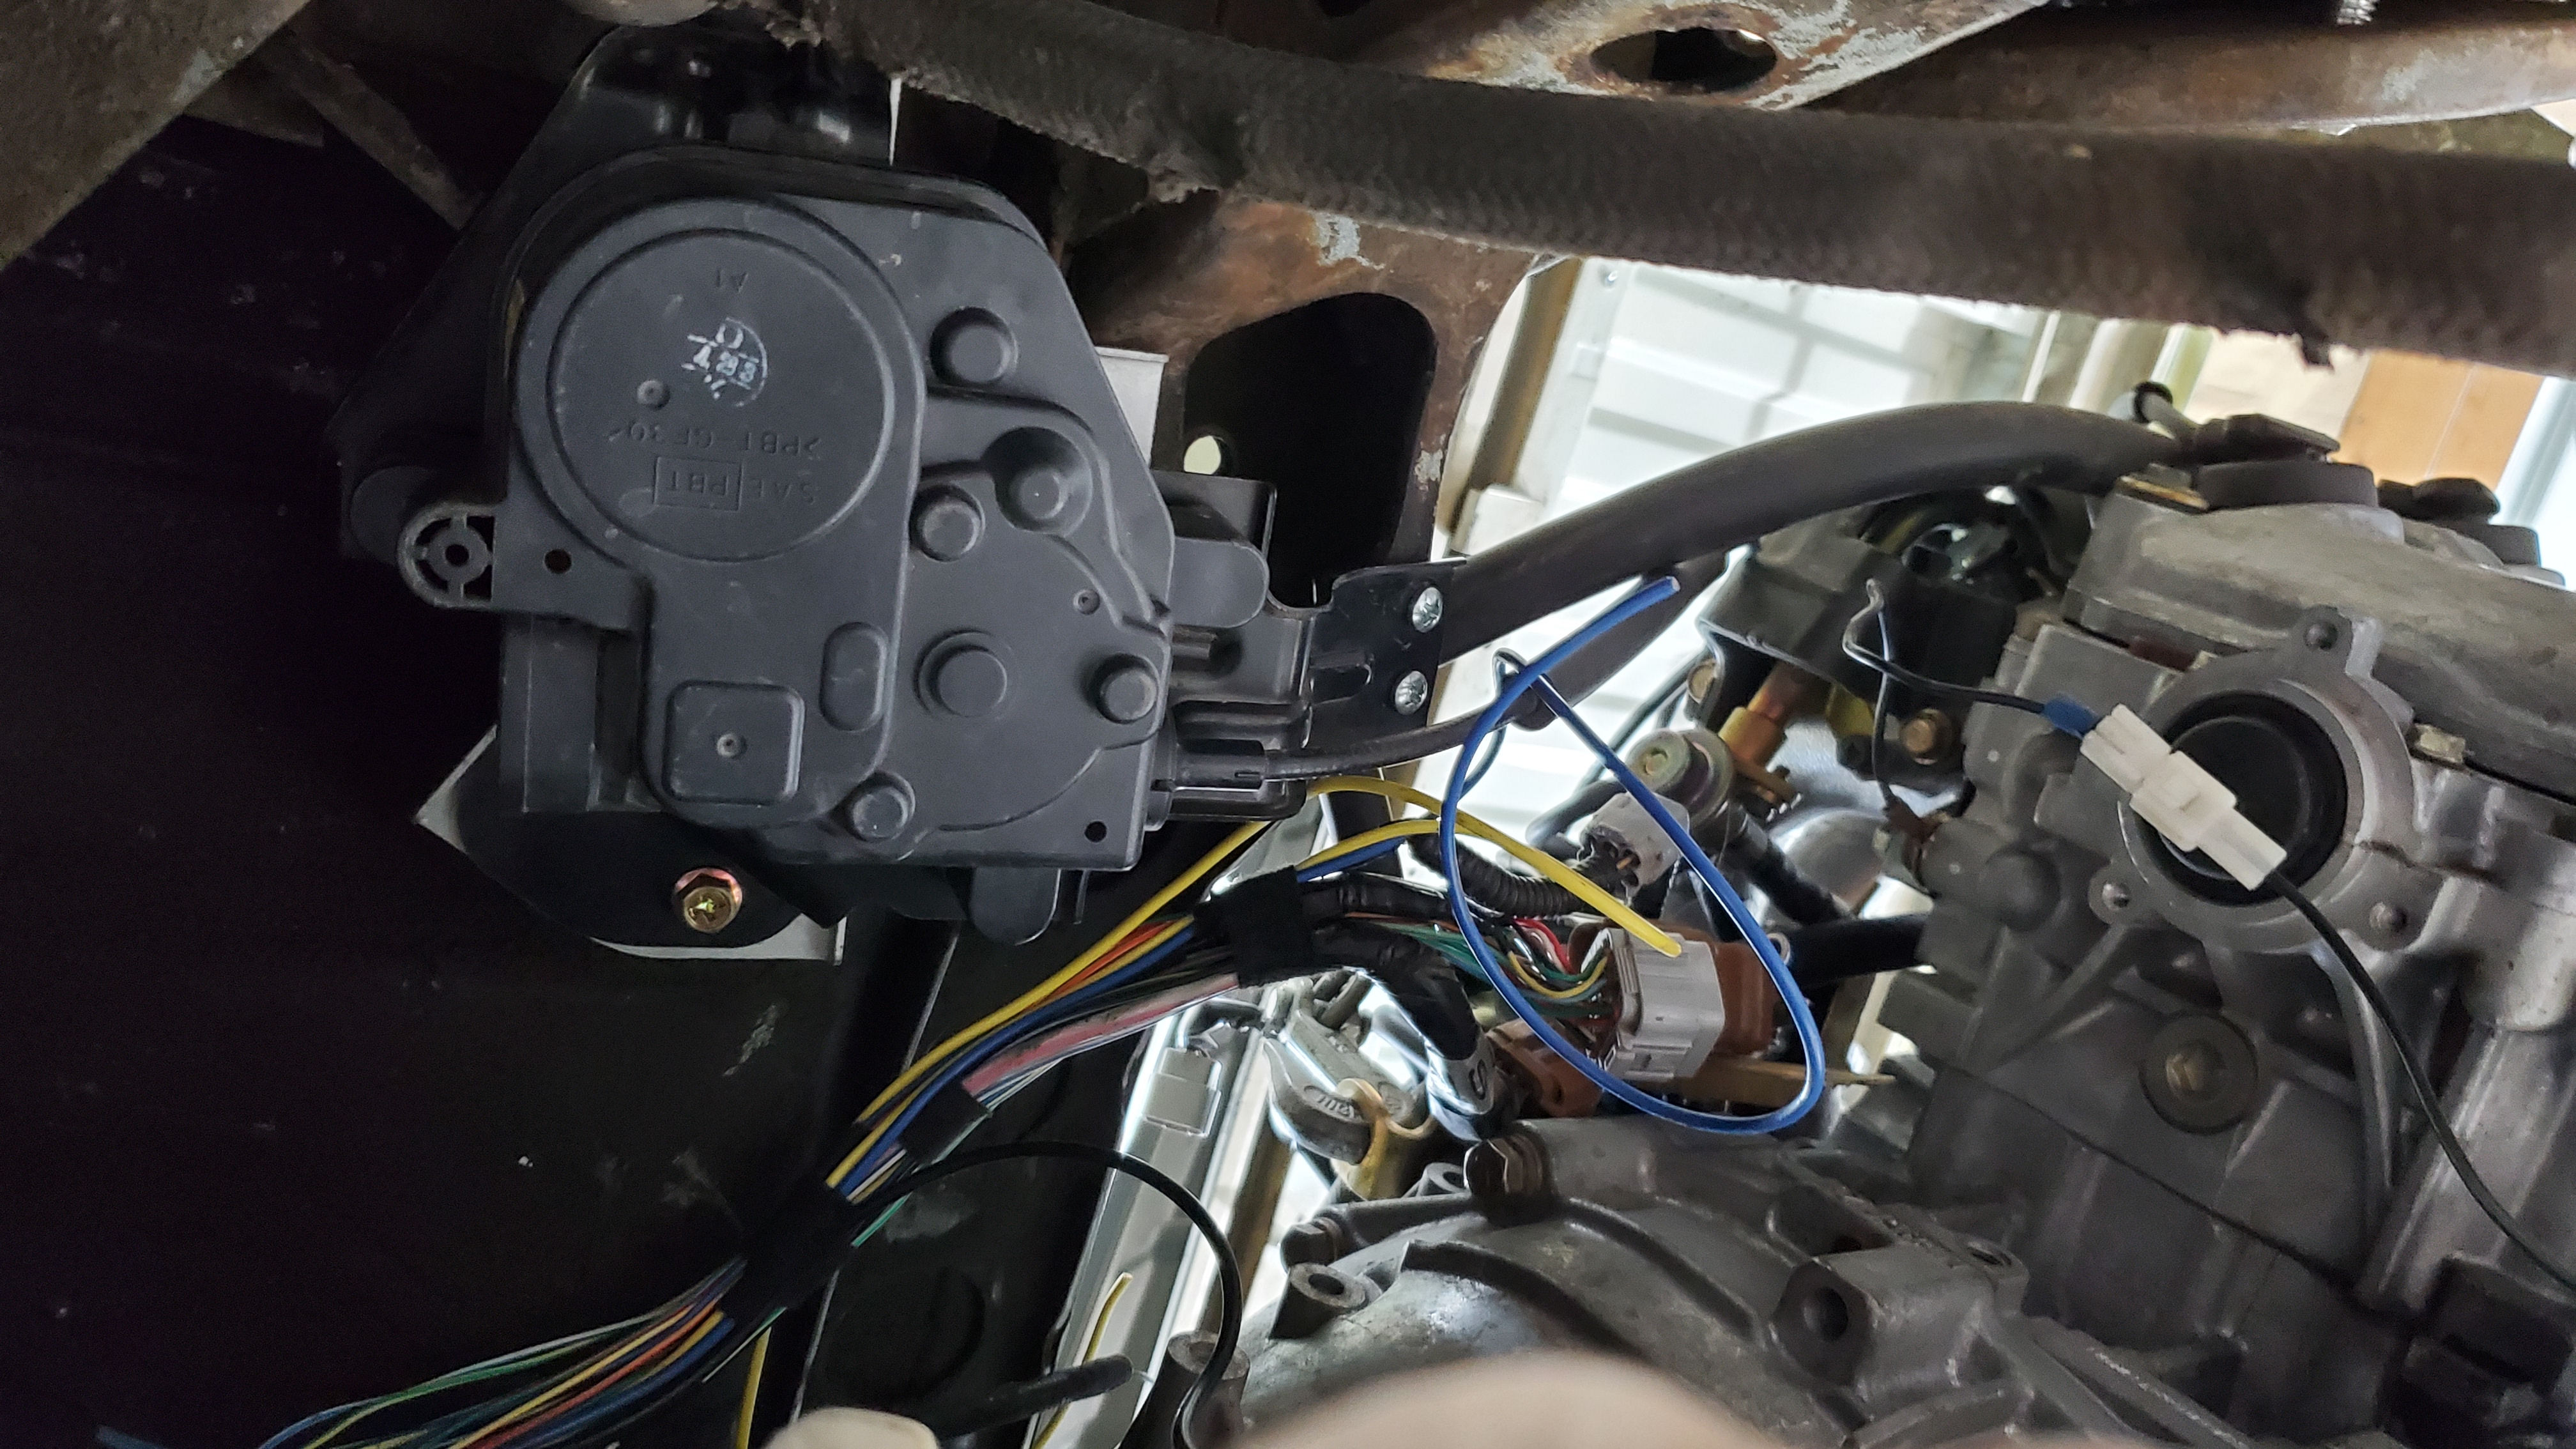
The wiring out of the car, with circuits separated and rerouted to the new layout. This was during the pin-out and sorting of the harness for the ECU, TCU, cruise, A/C, fans, and relays.
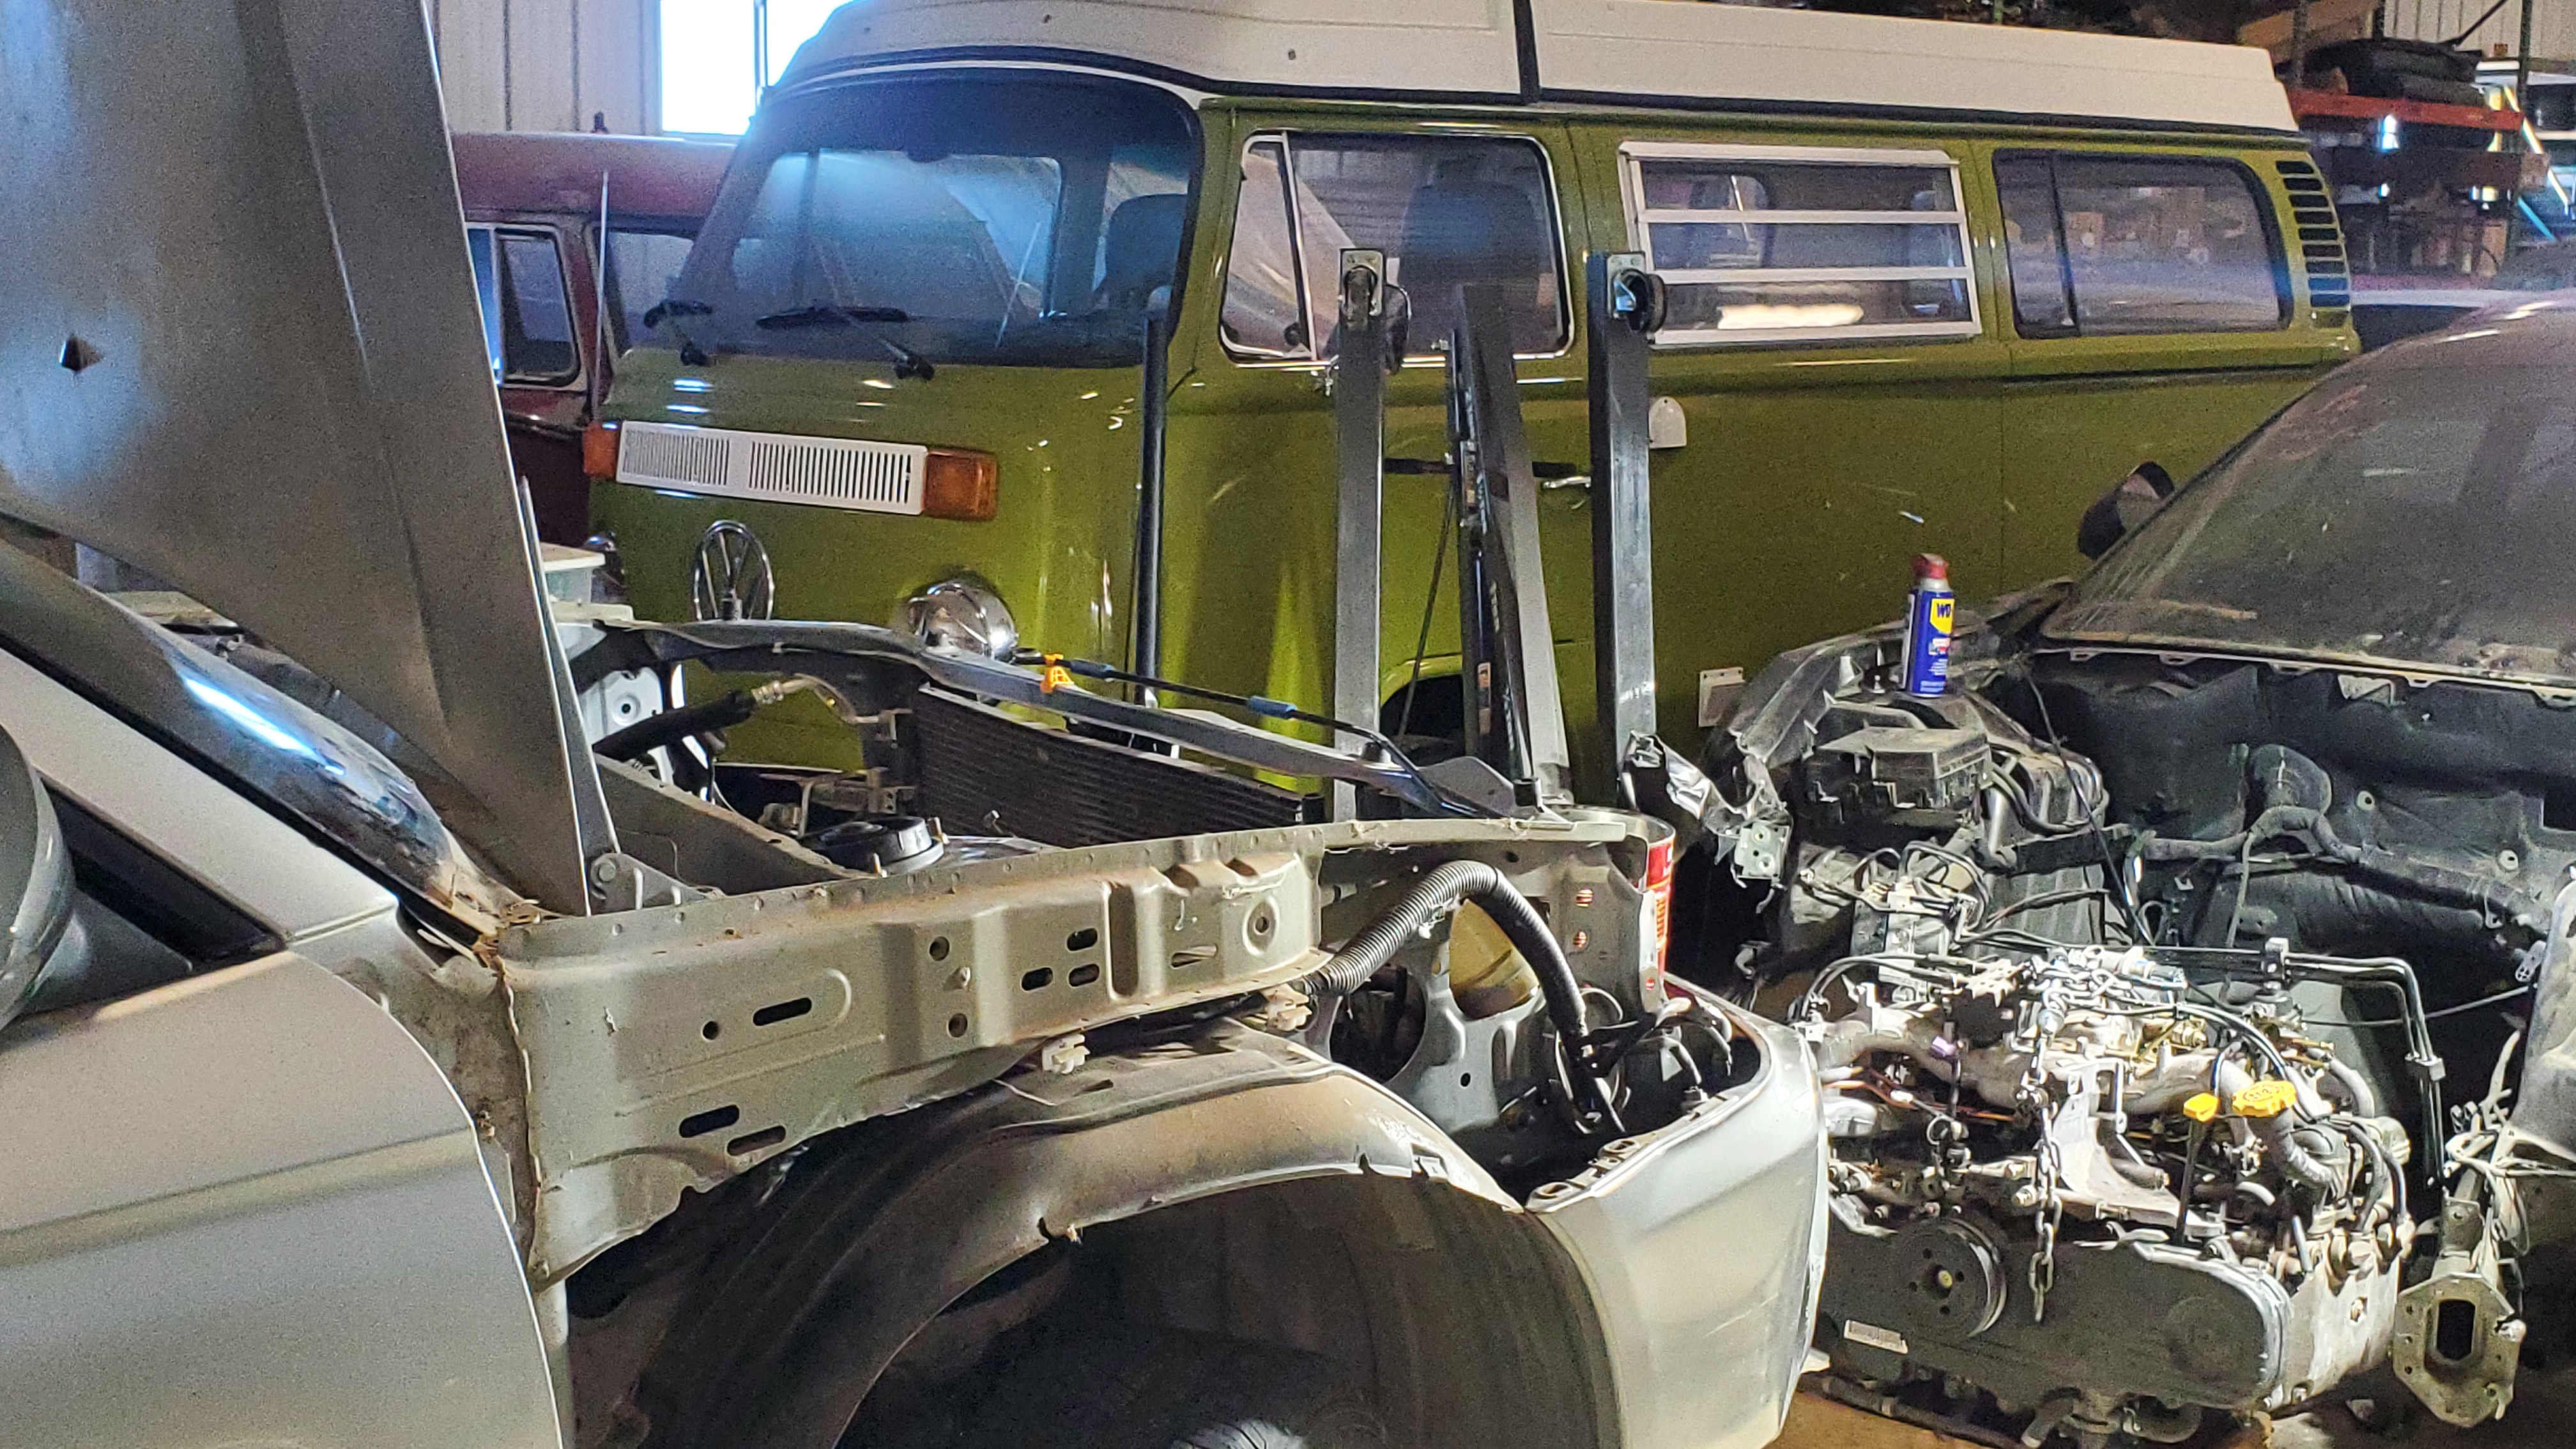
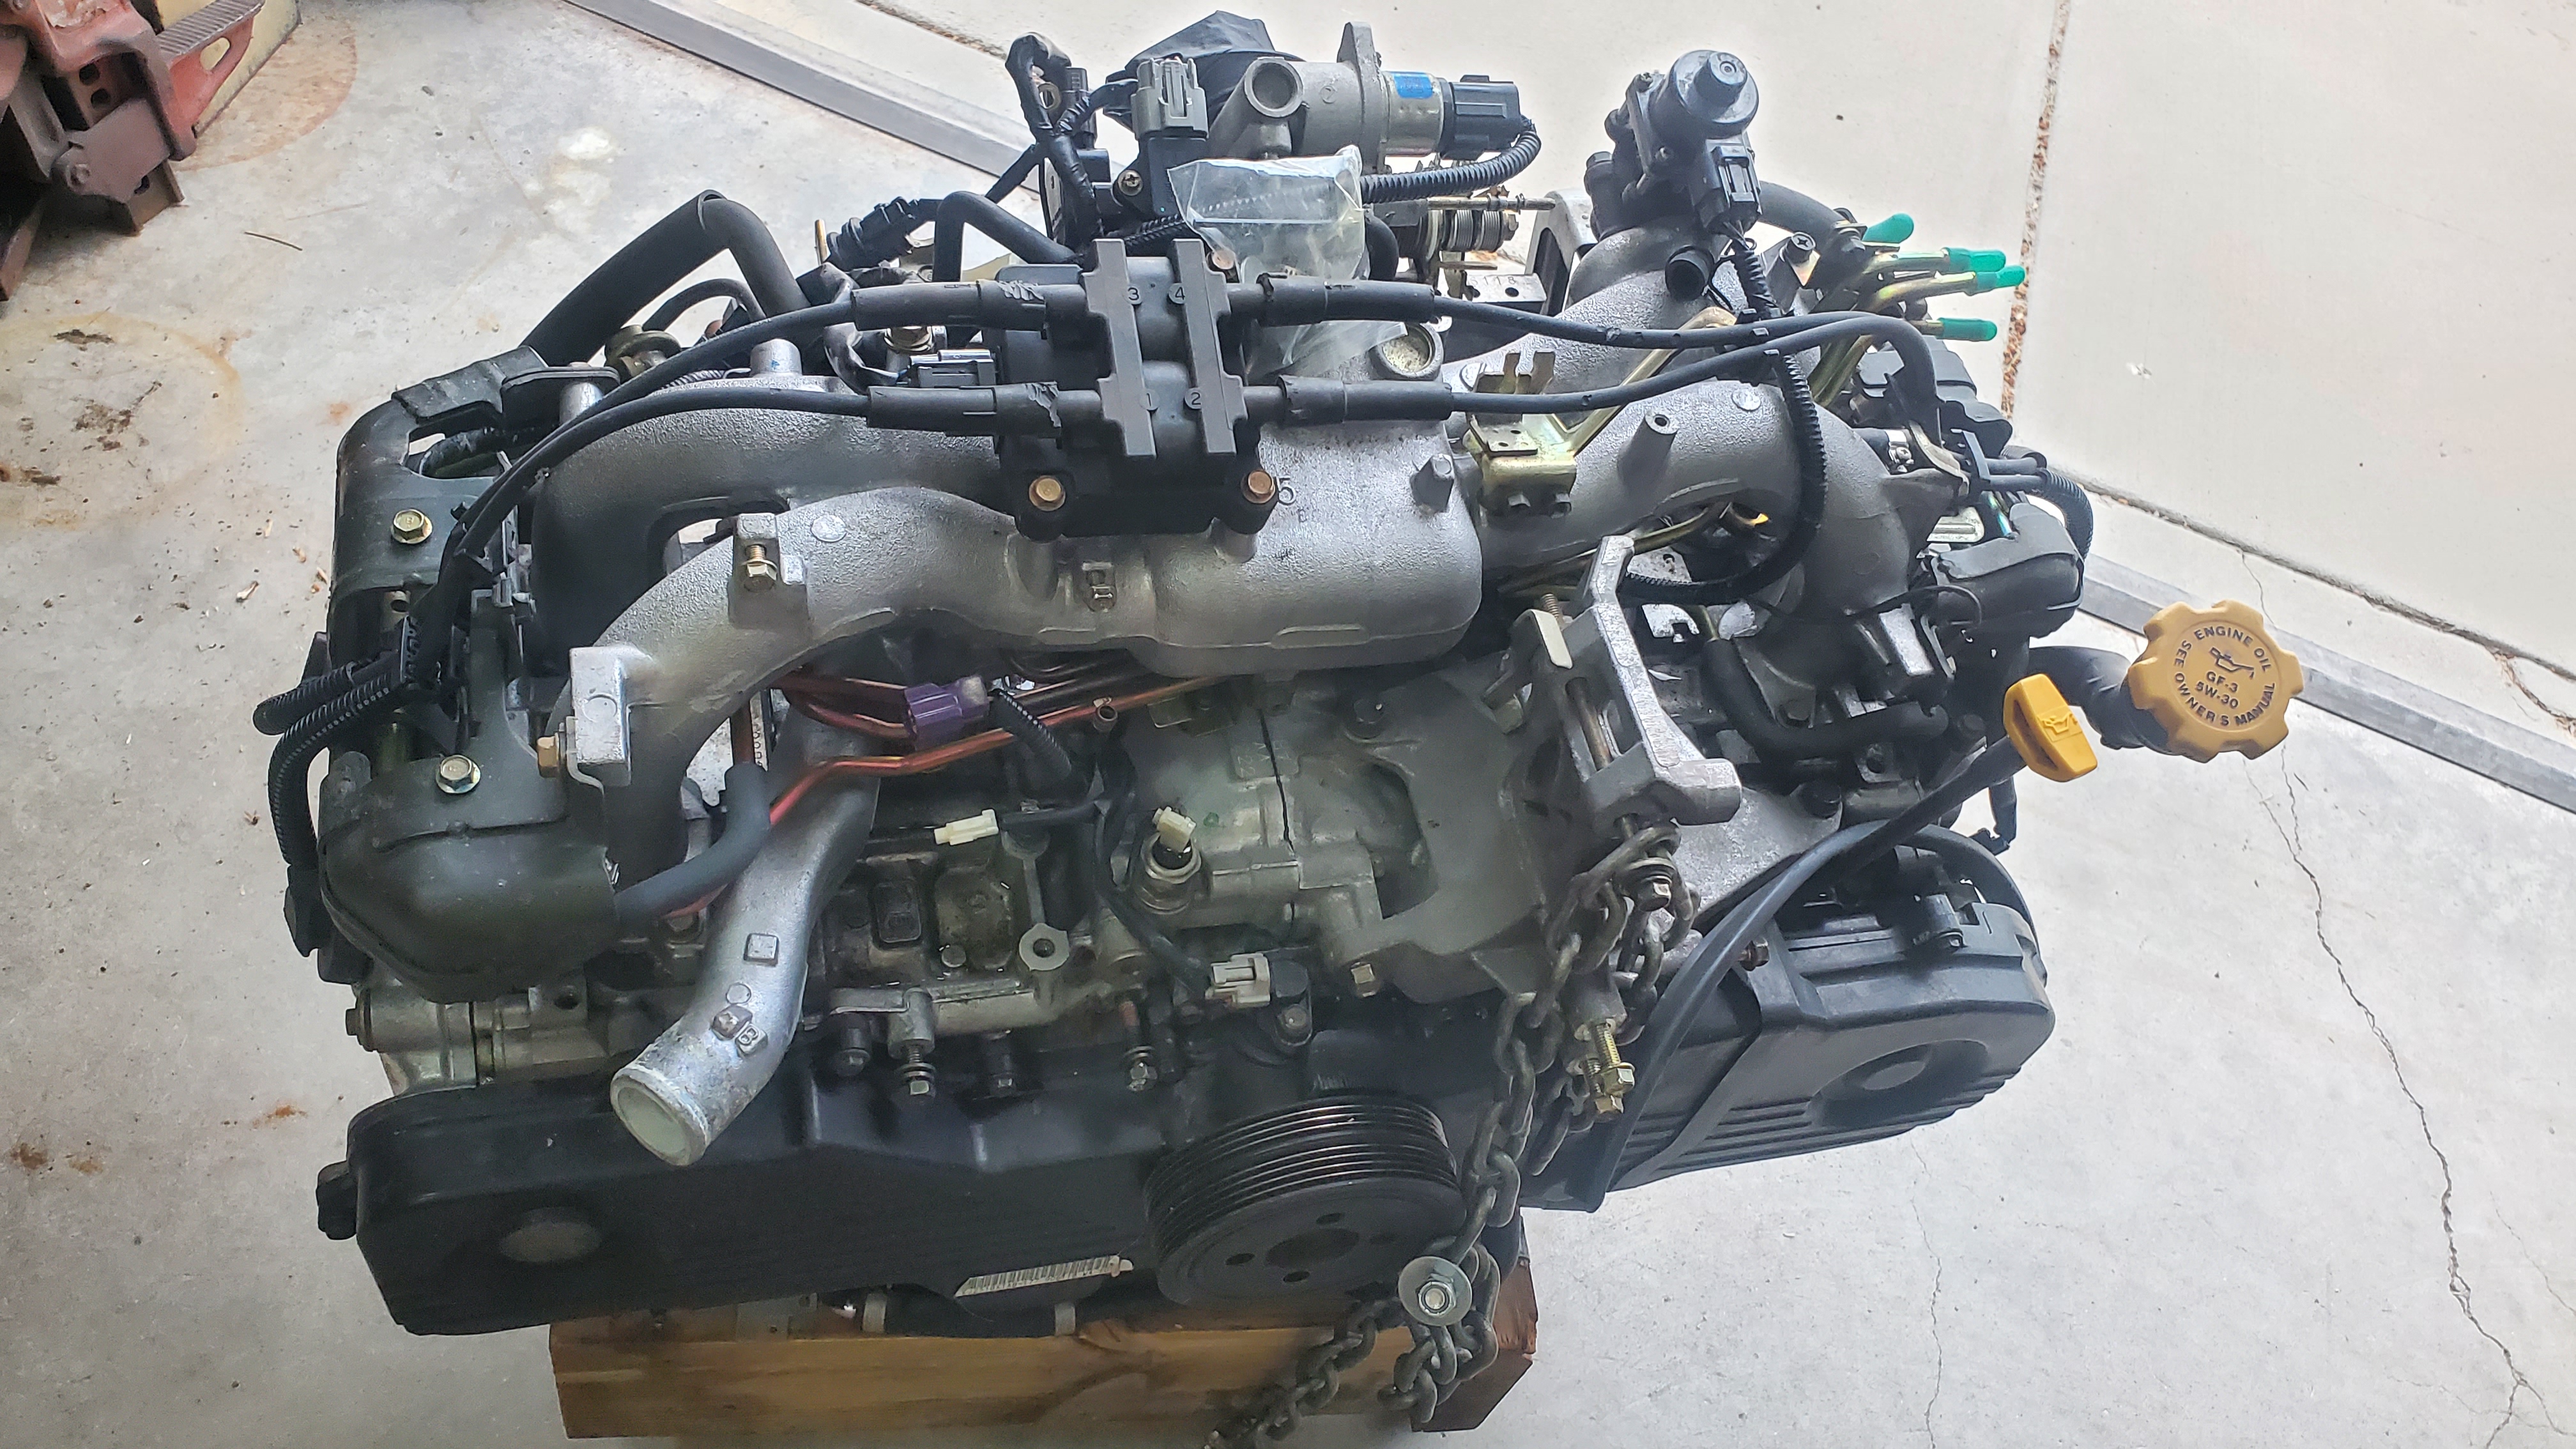
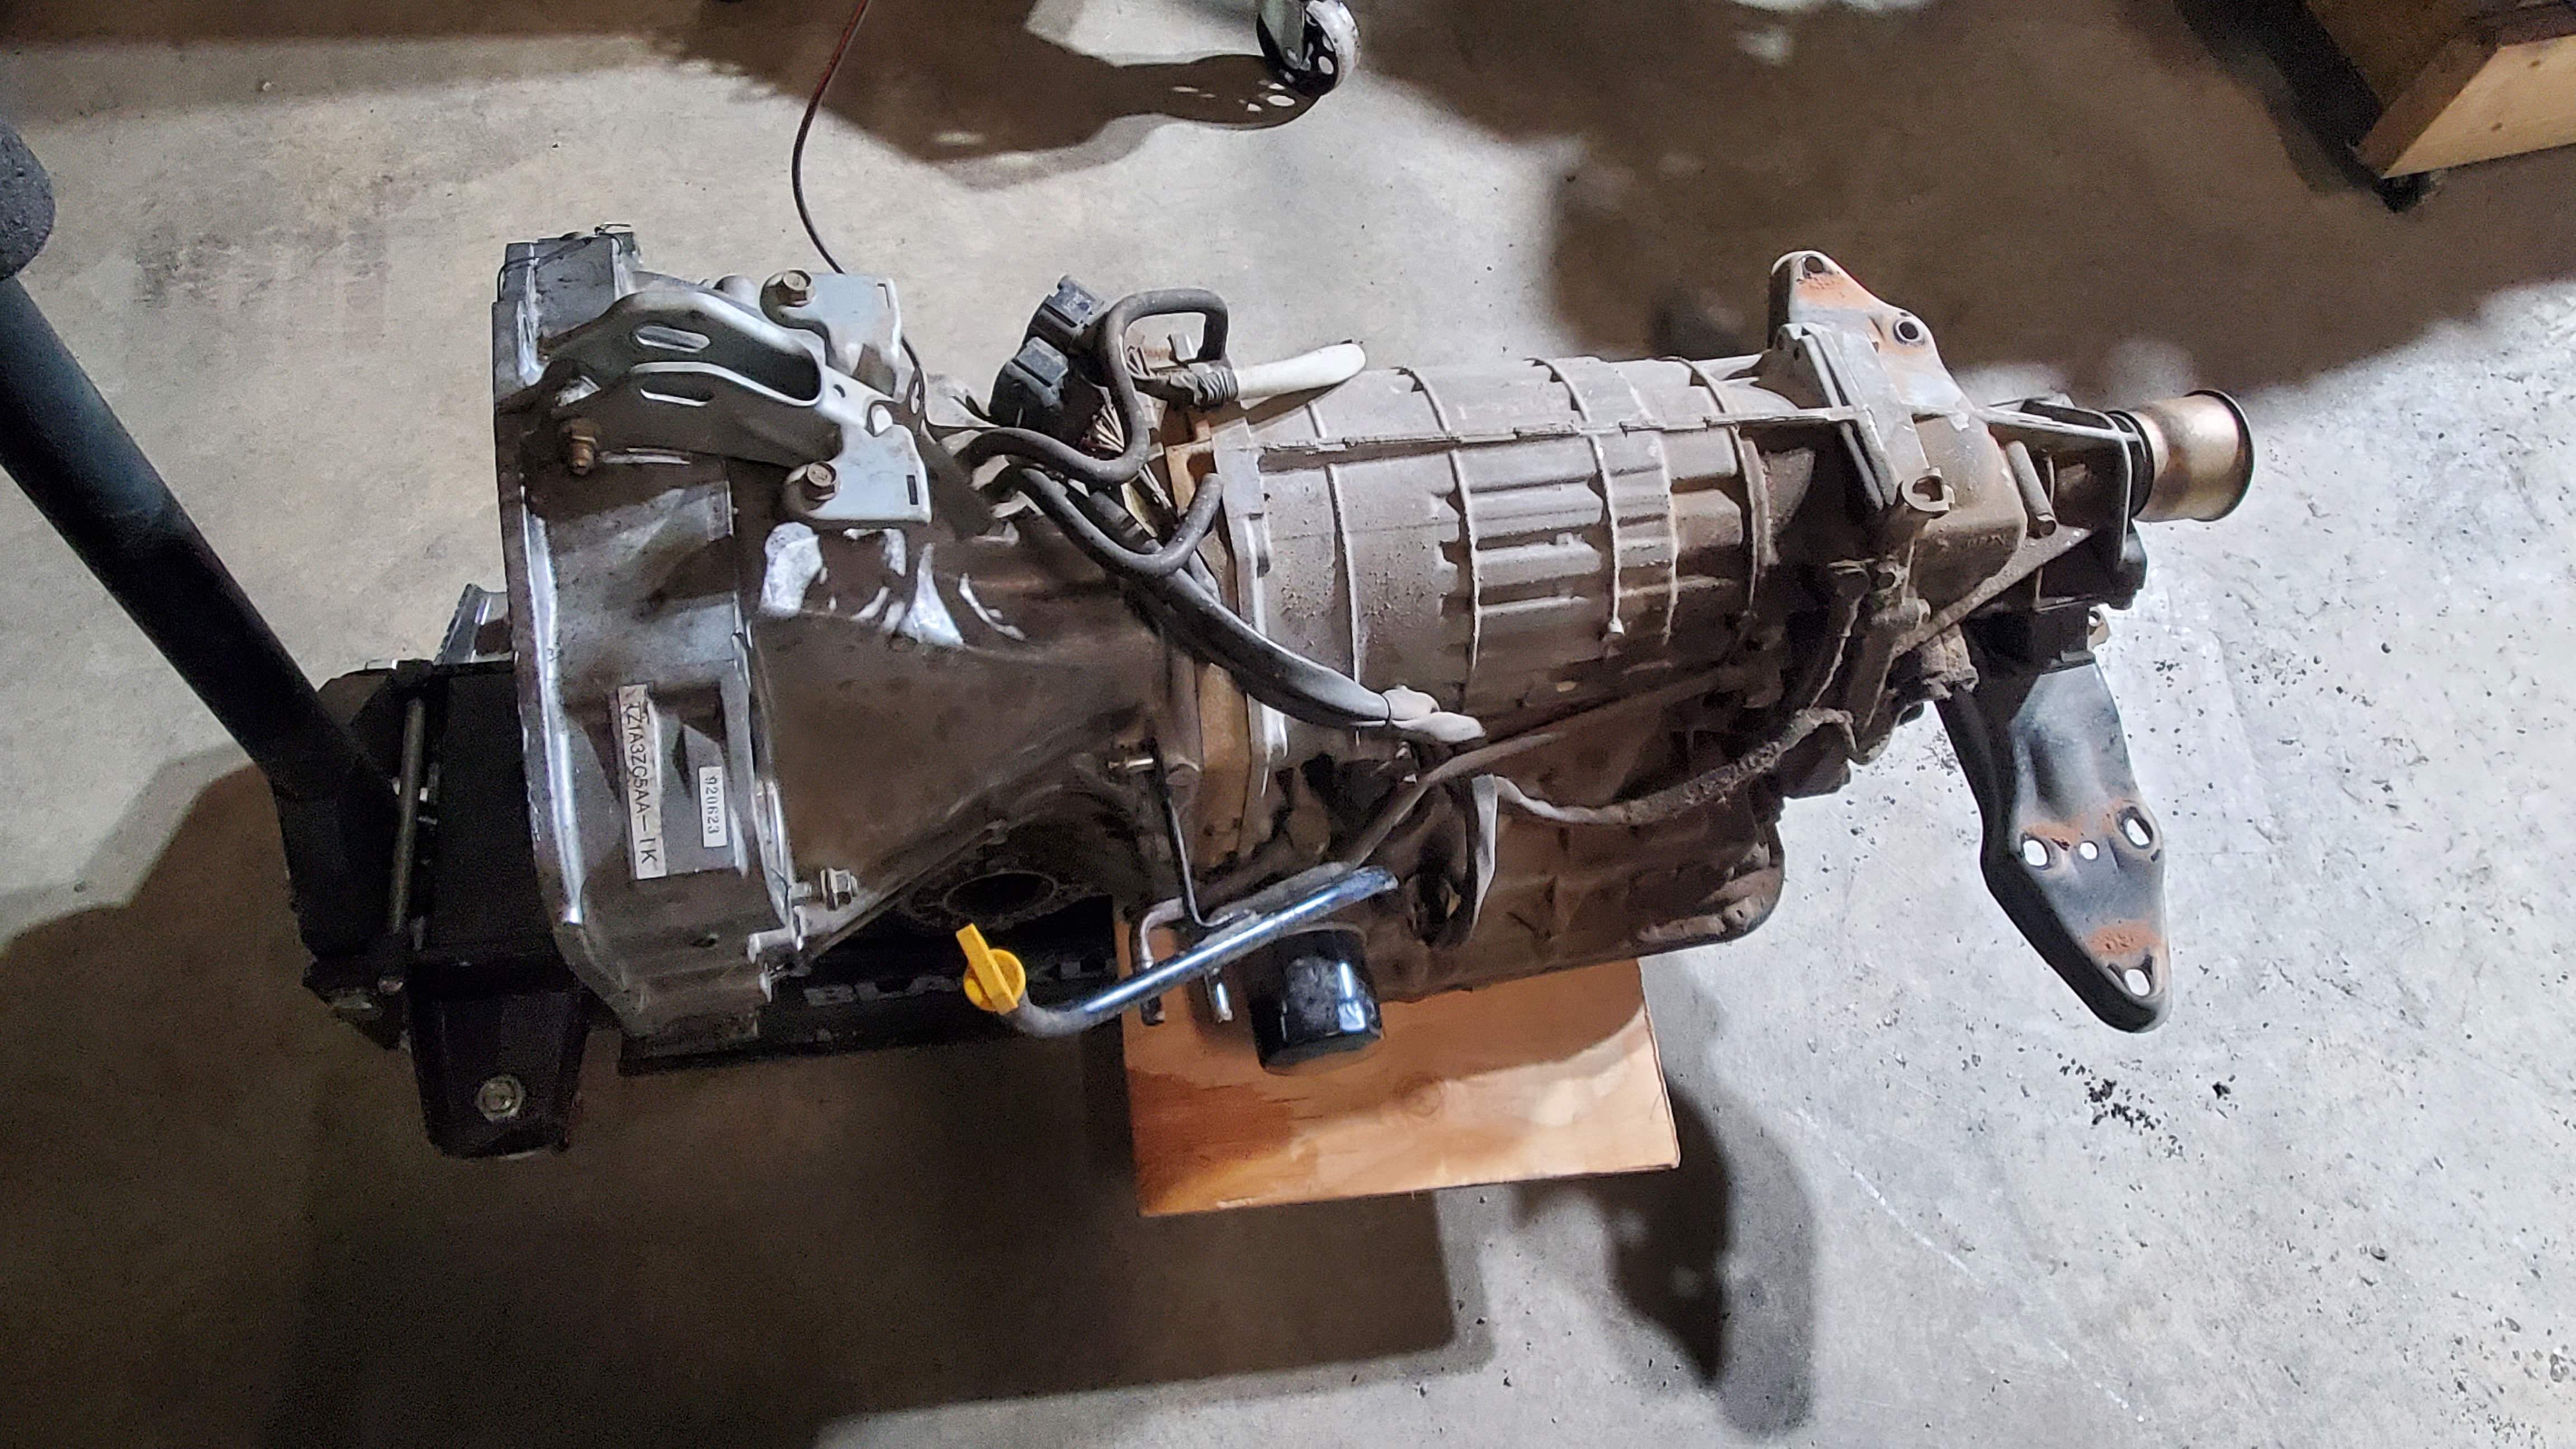
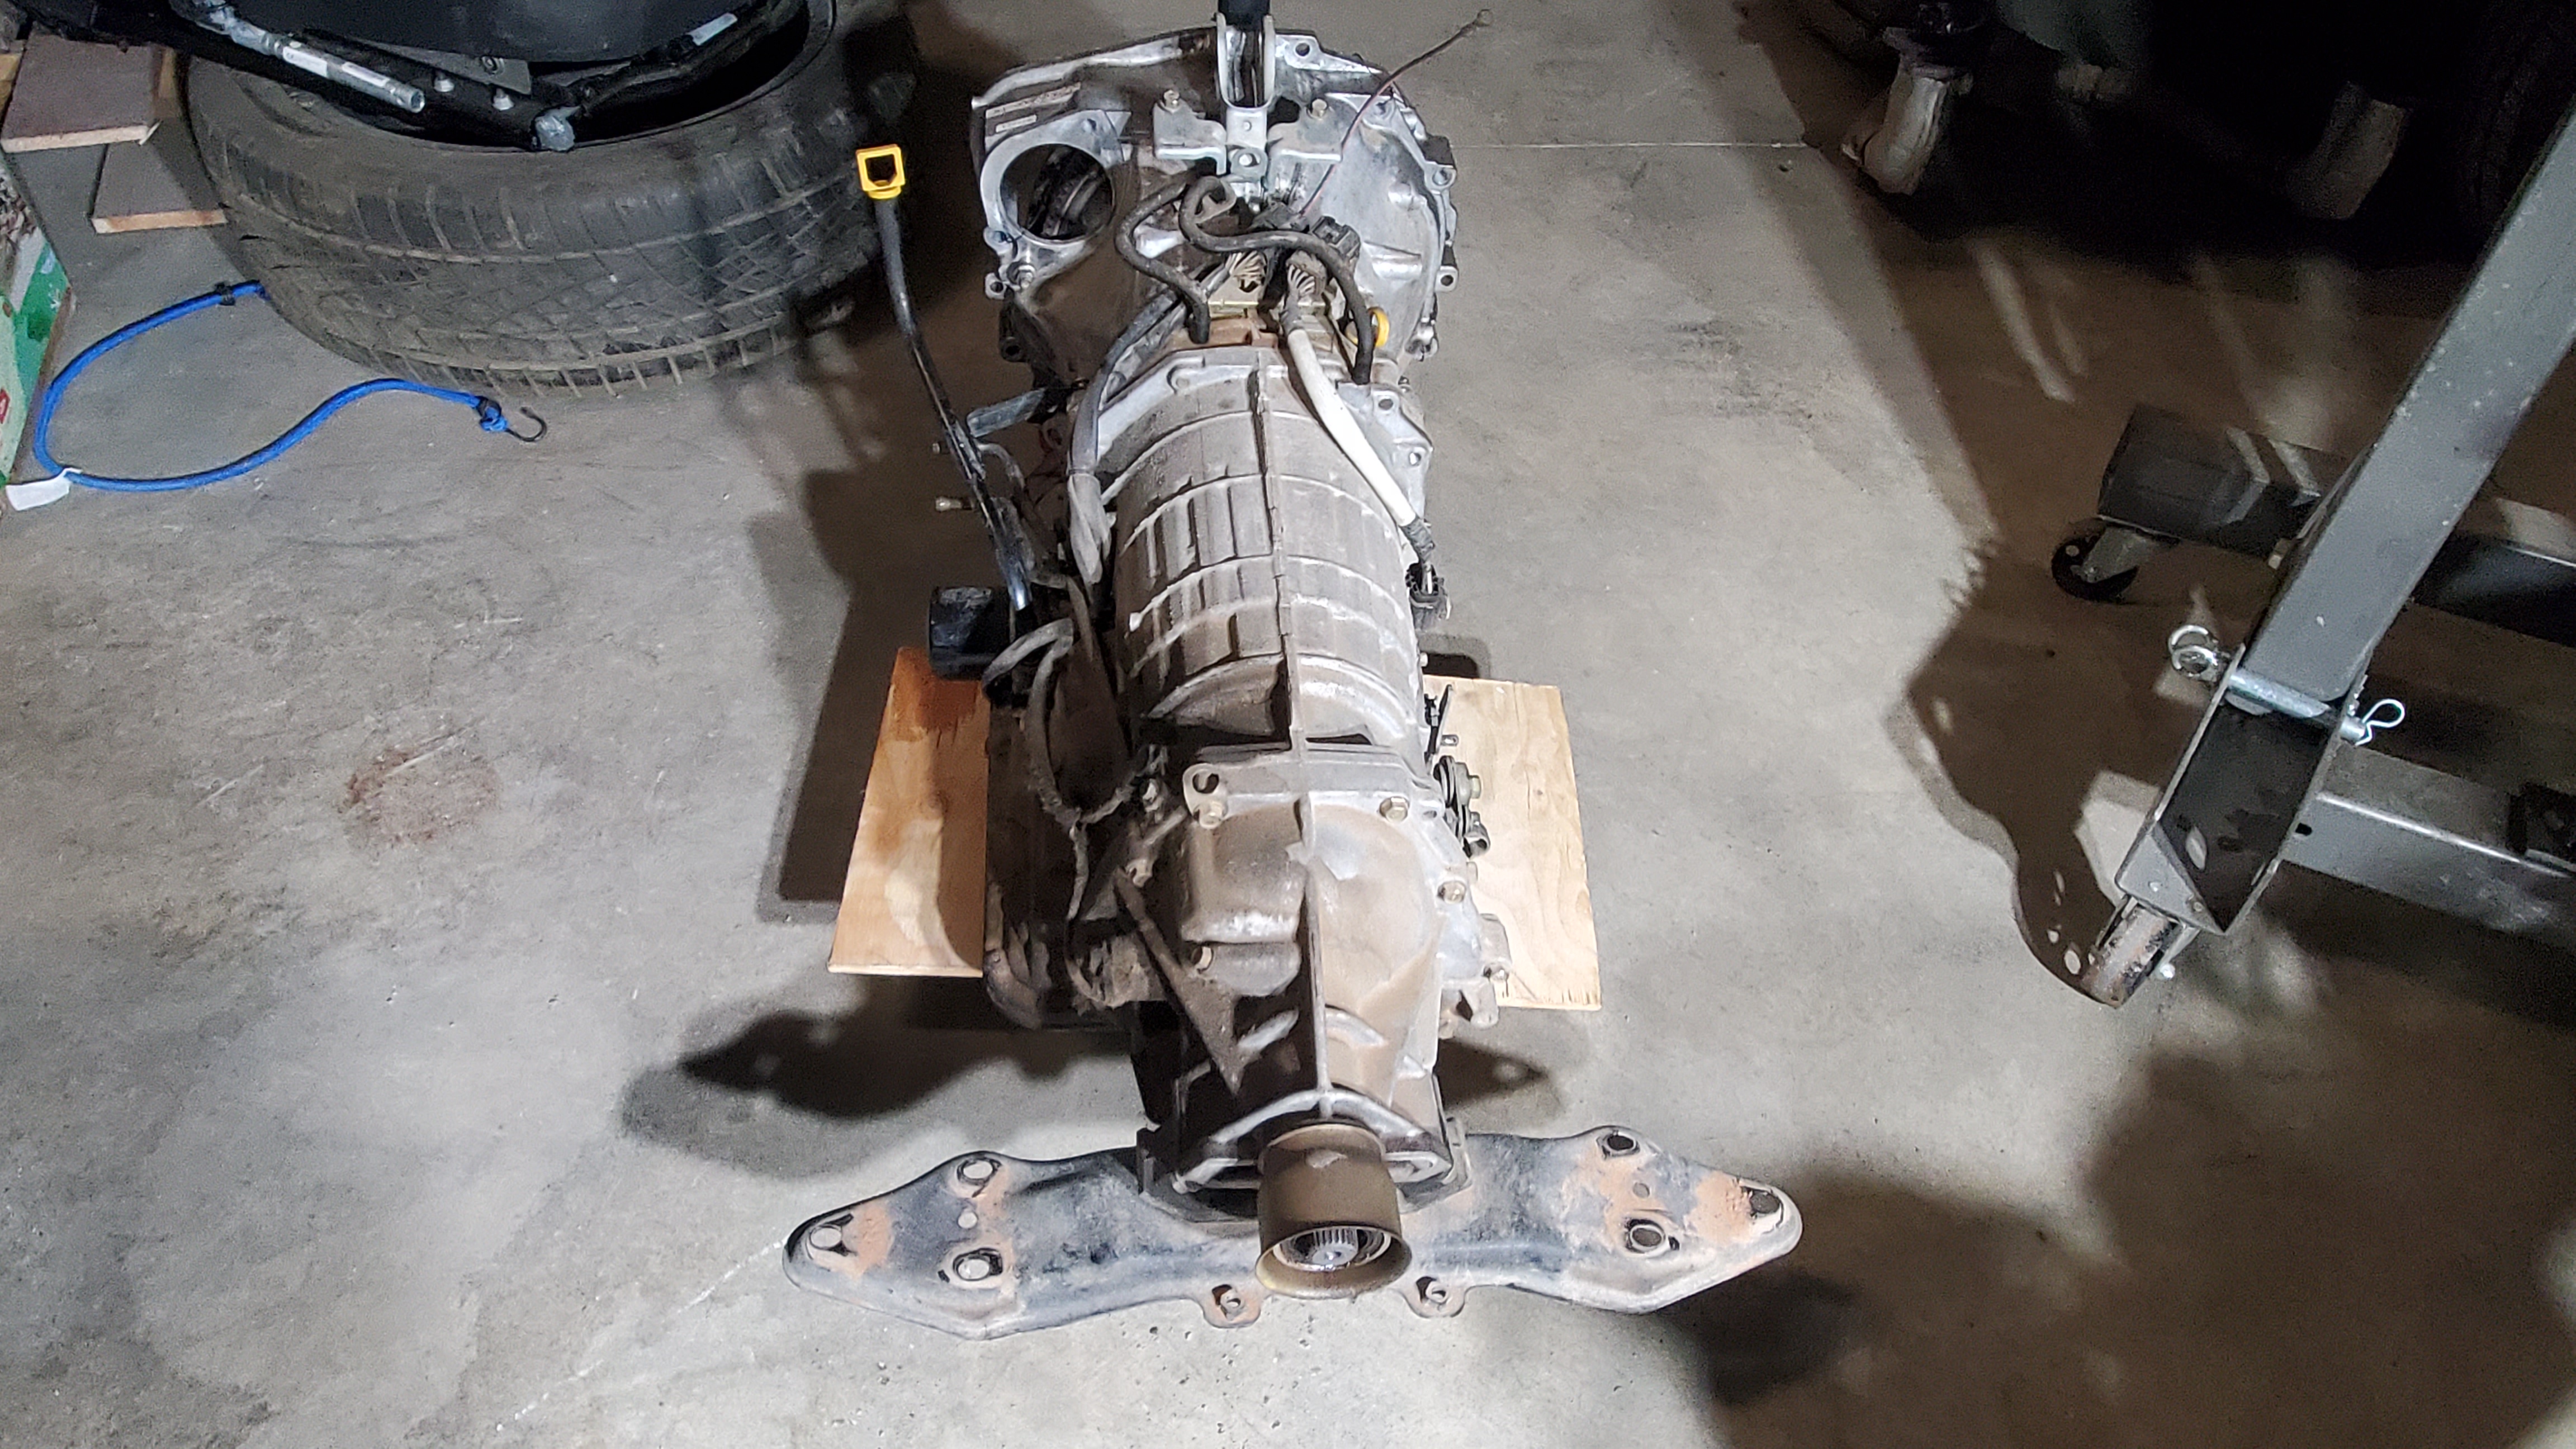
But the engine and transmission will be a lot cooler in the Bus! It’s hard to find a car with less than 100k on it anymore, and this was a great find. Getting ready to install the engine in a 2020 Challenger (not really, but the picture sure looks that way). Who wants a Hemi when you can have Subaru power!
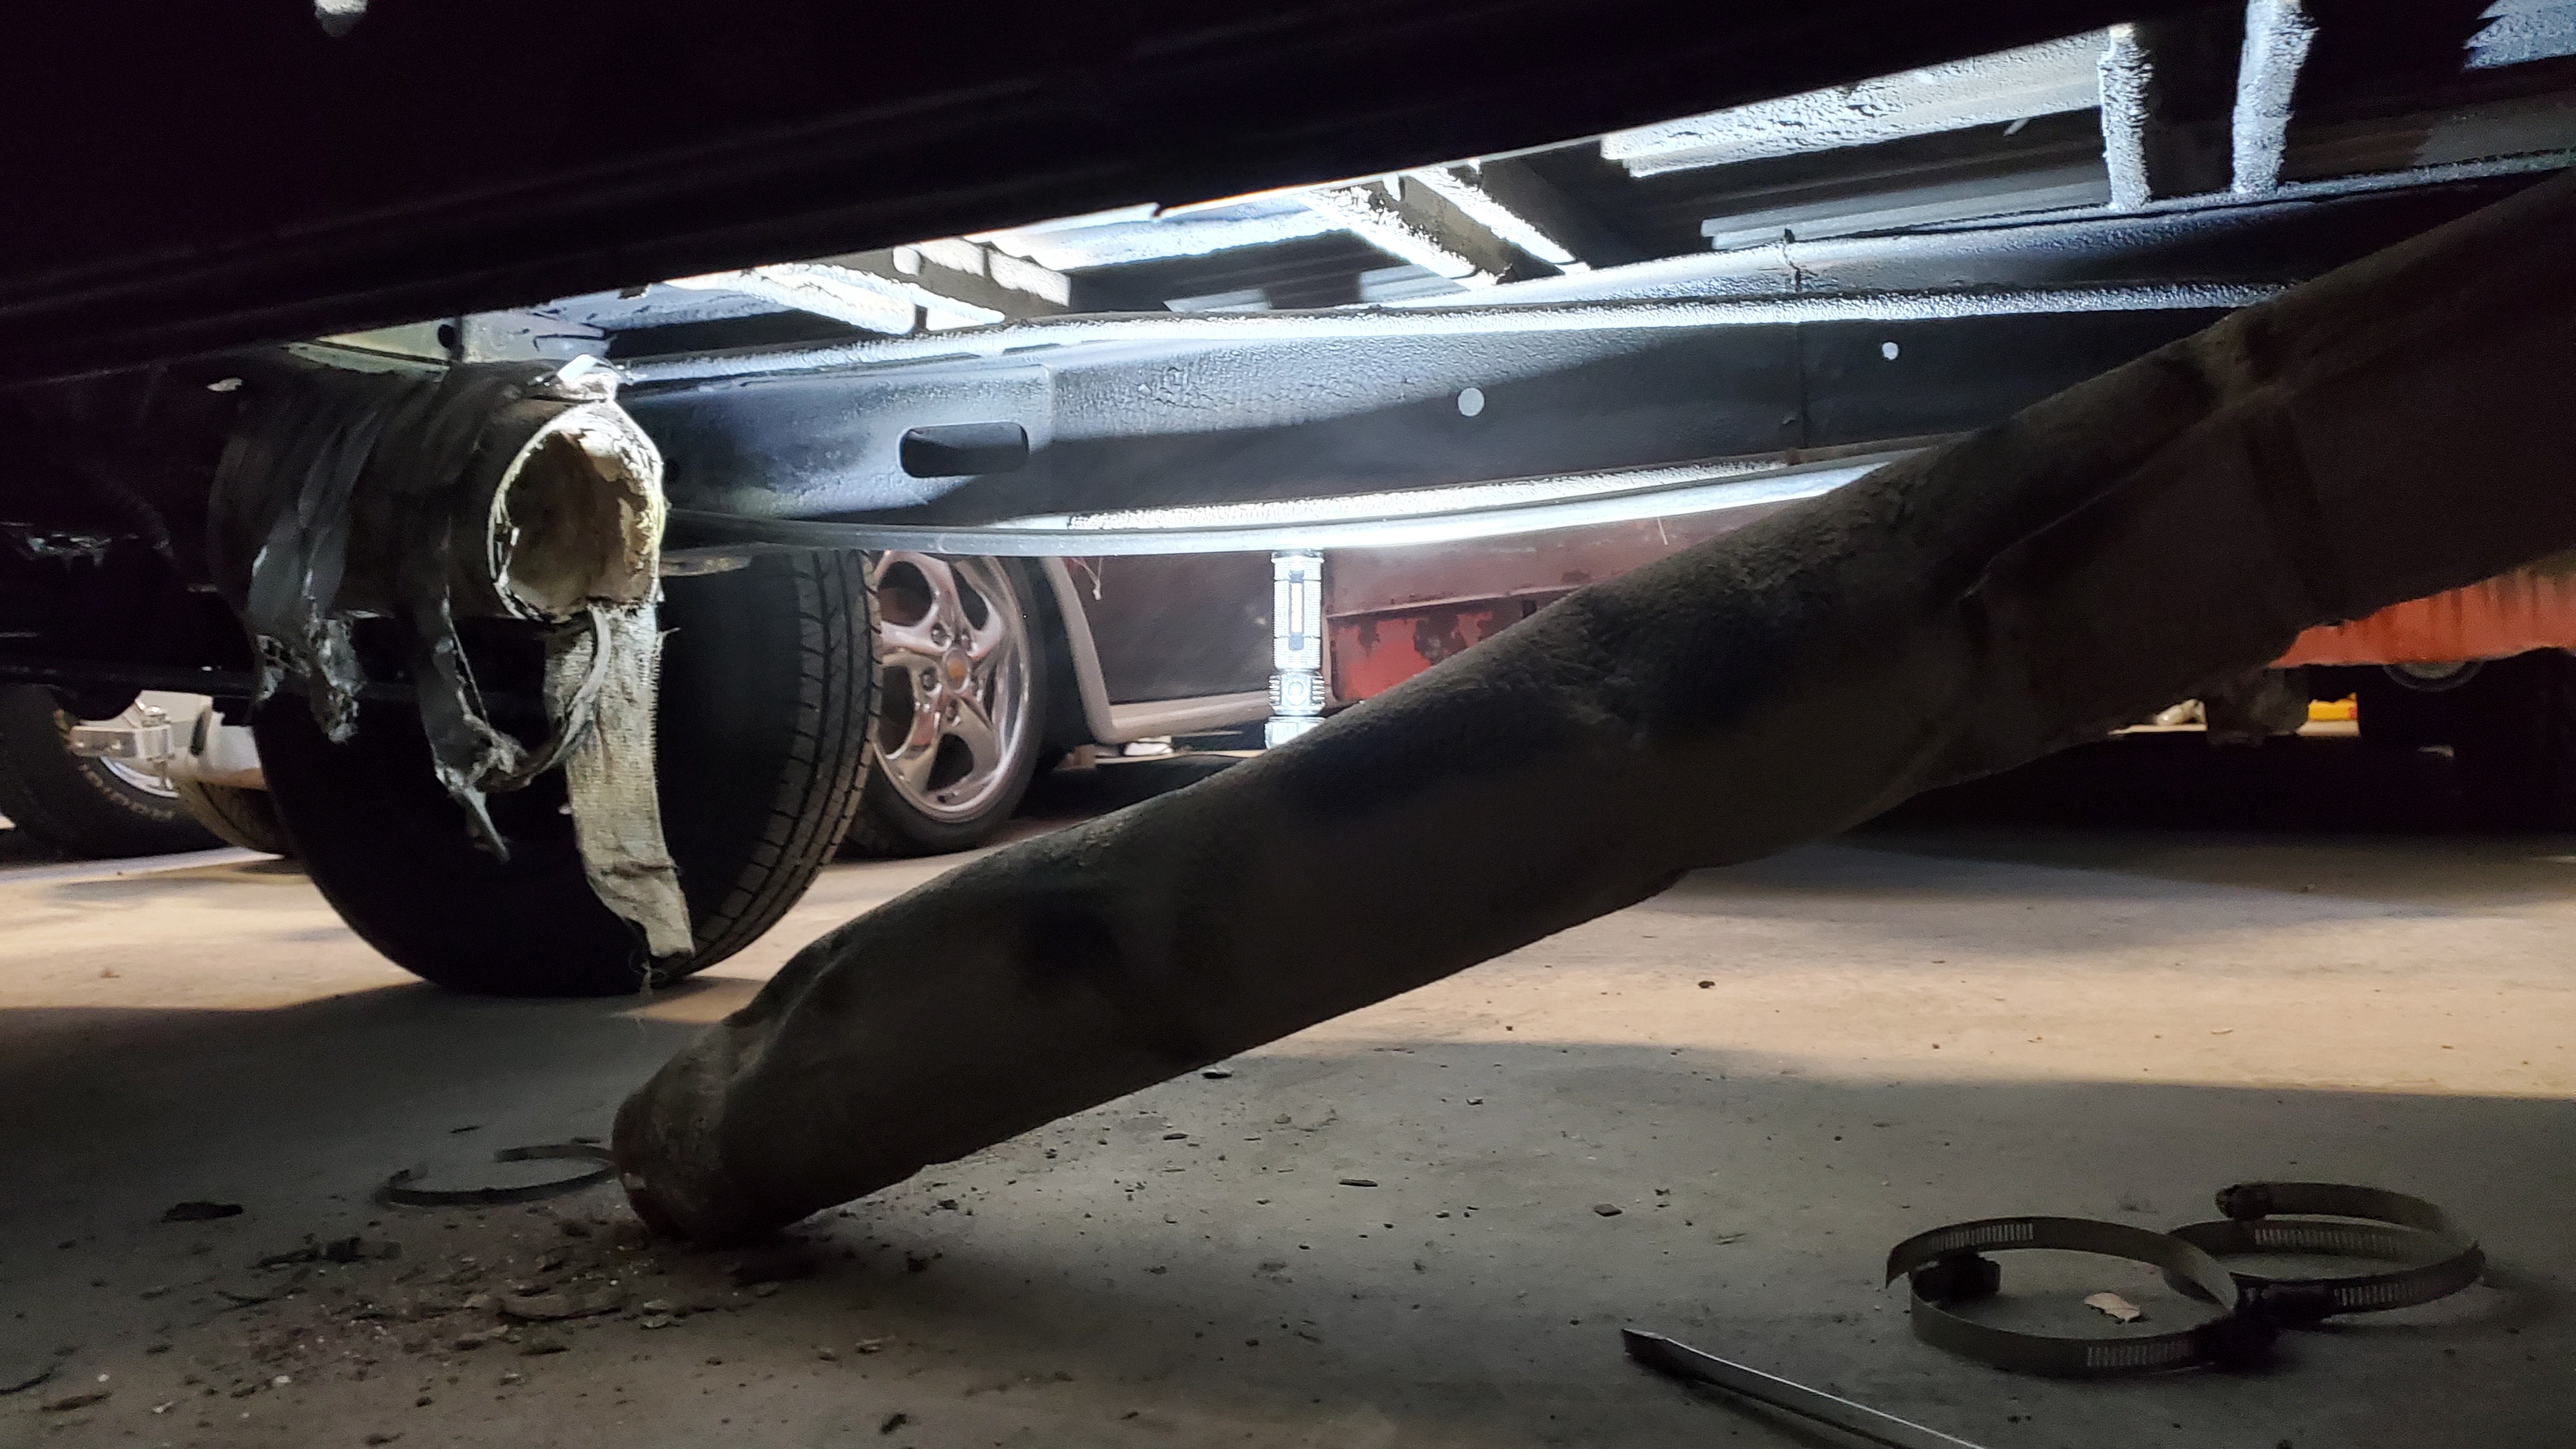
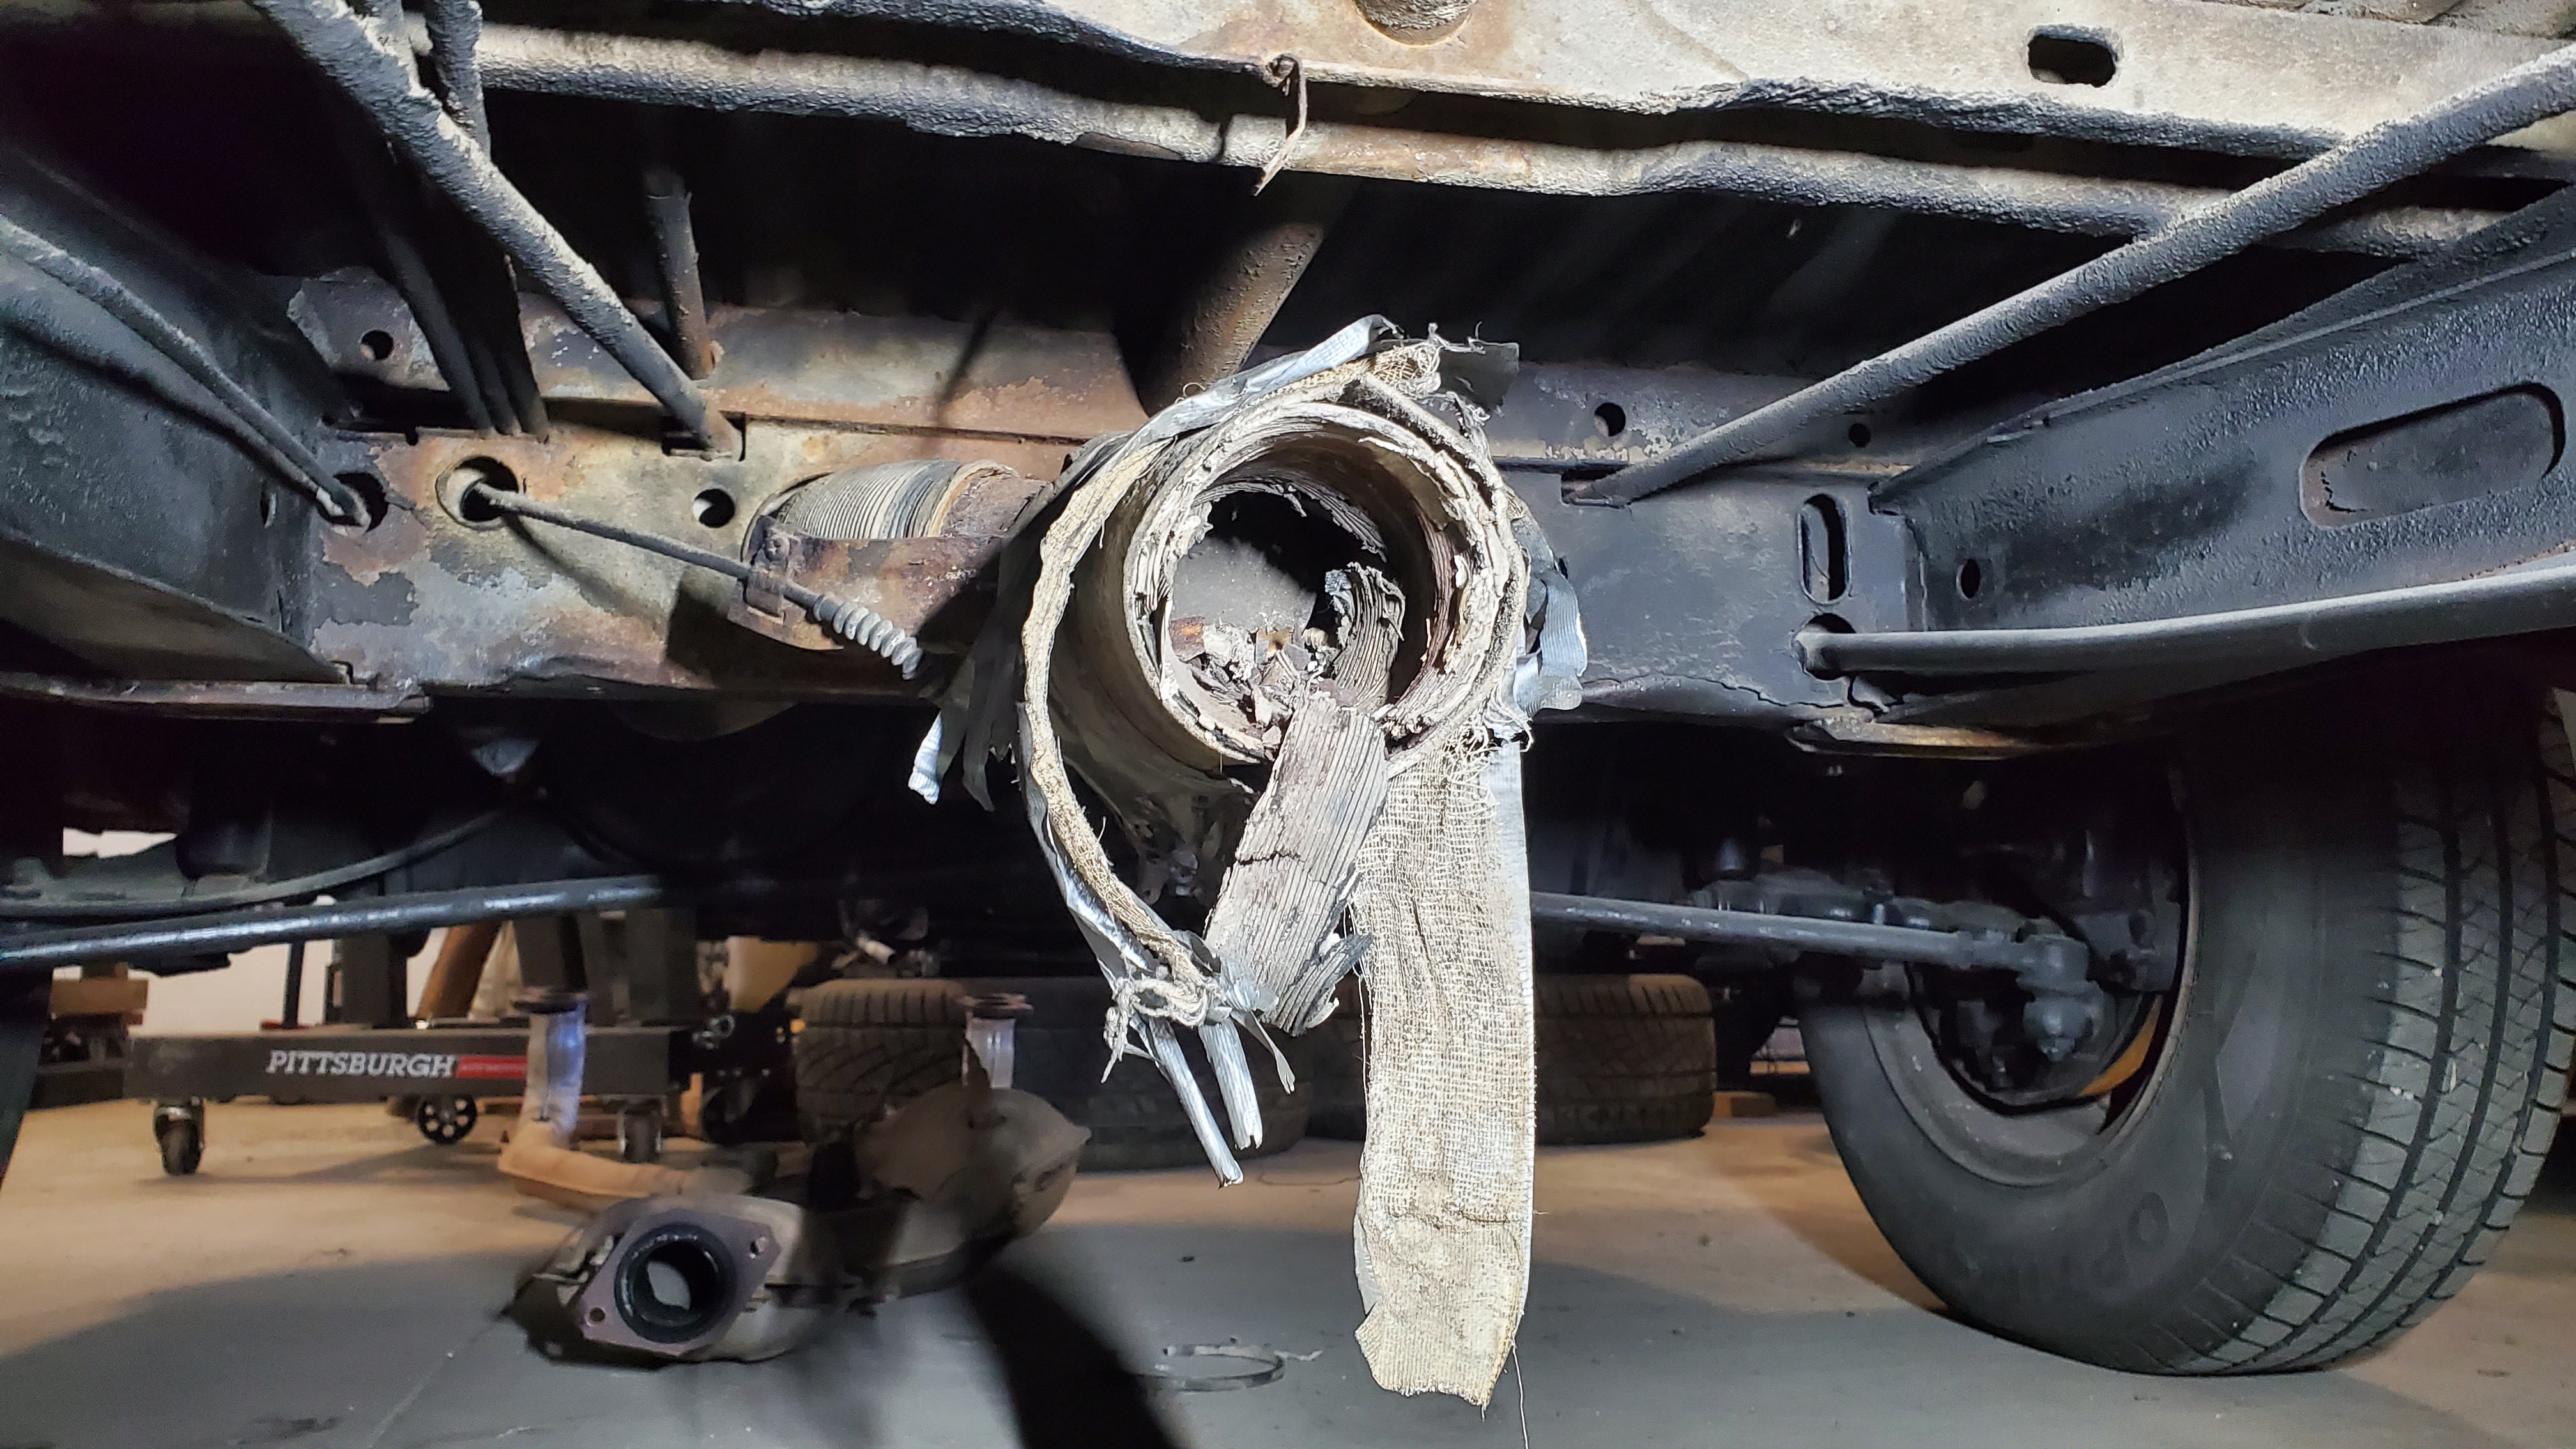
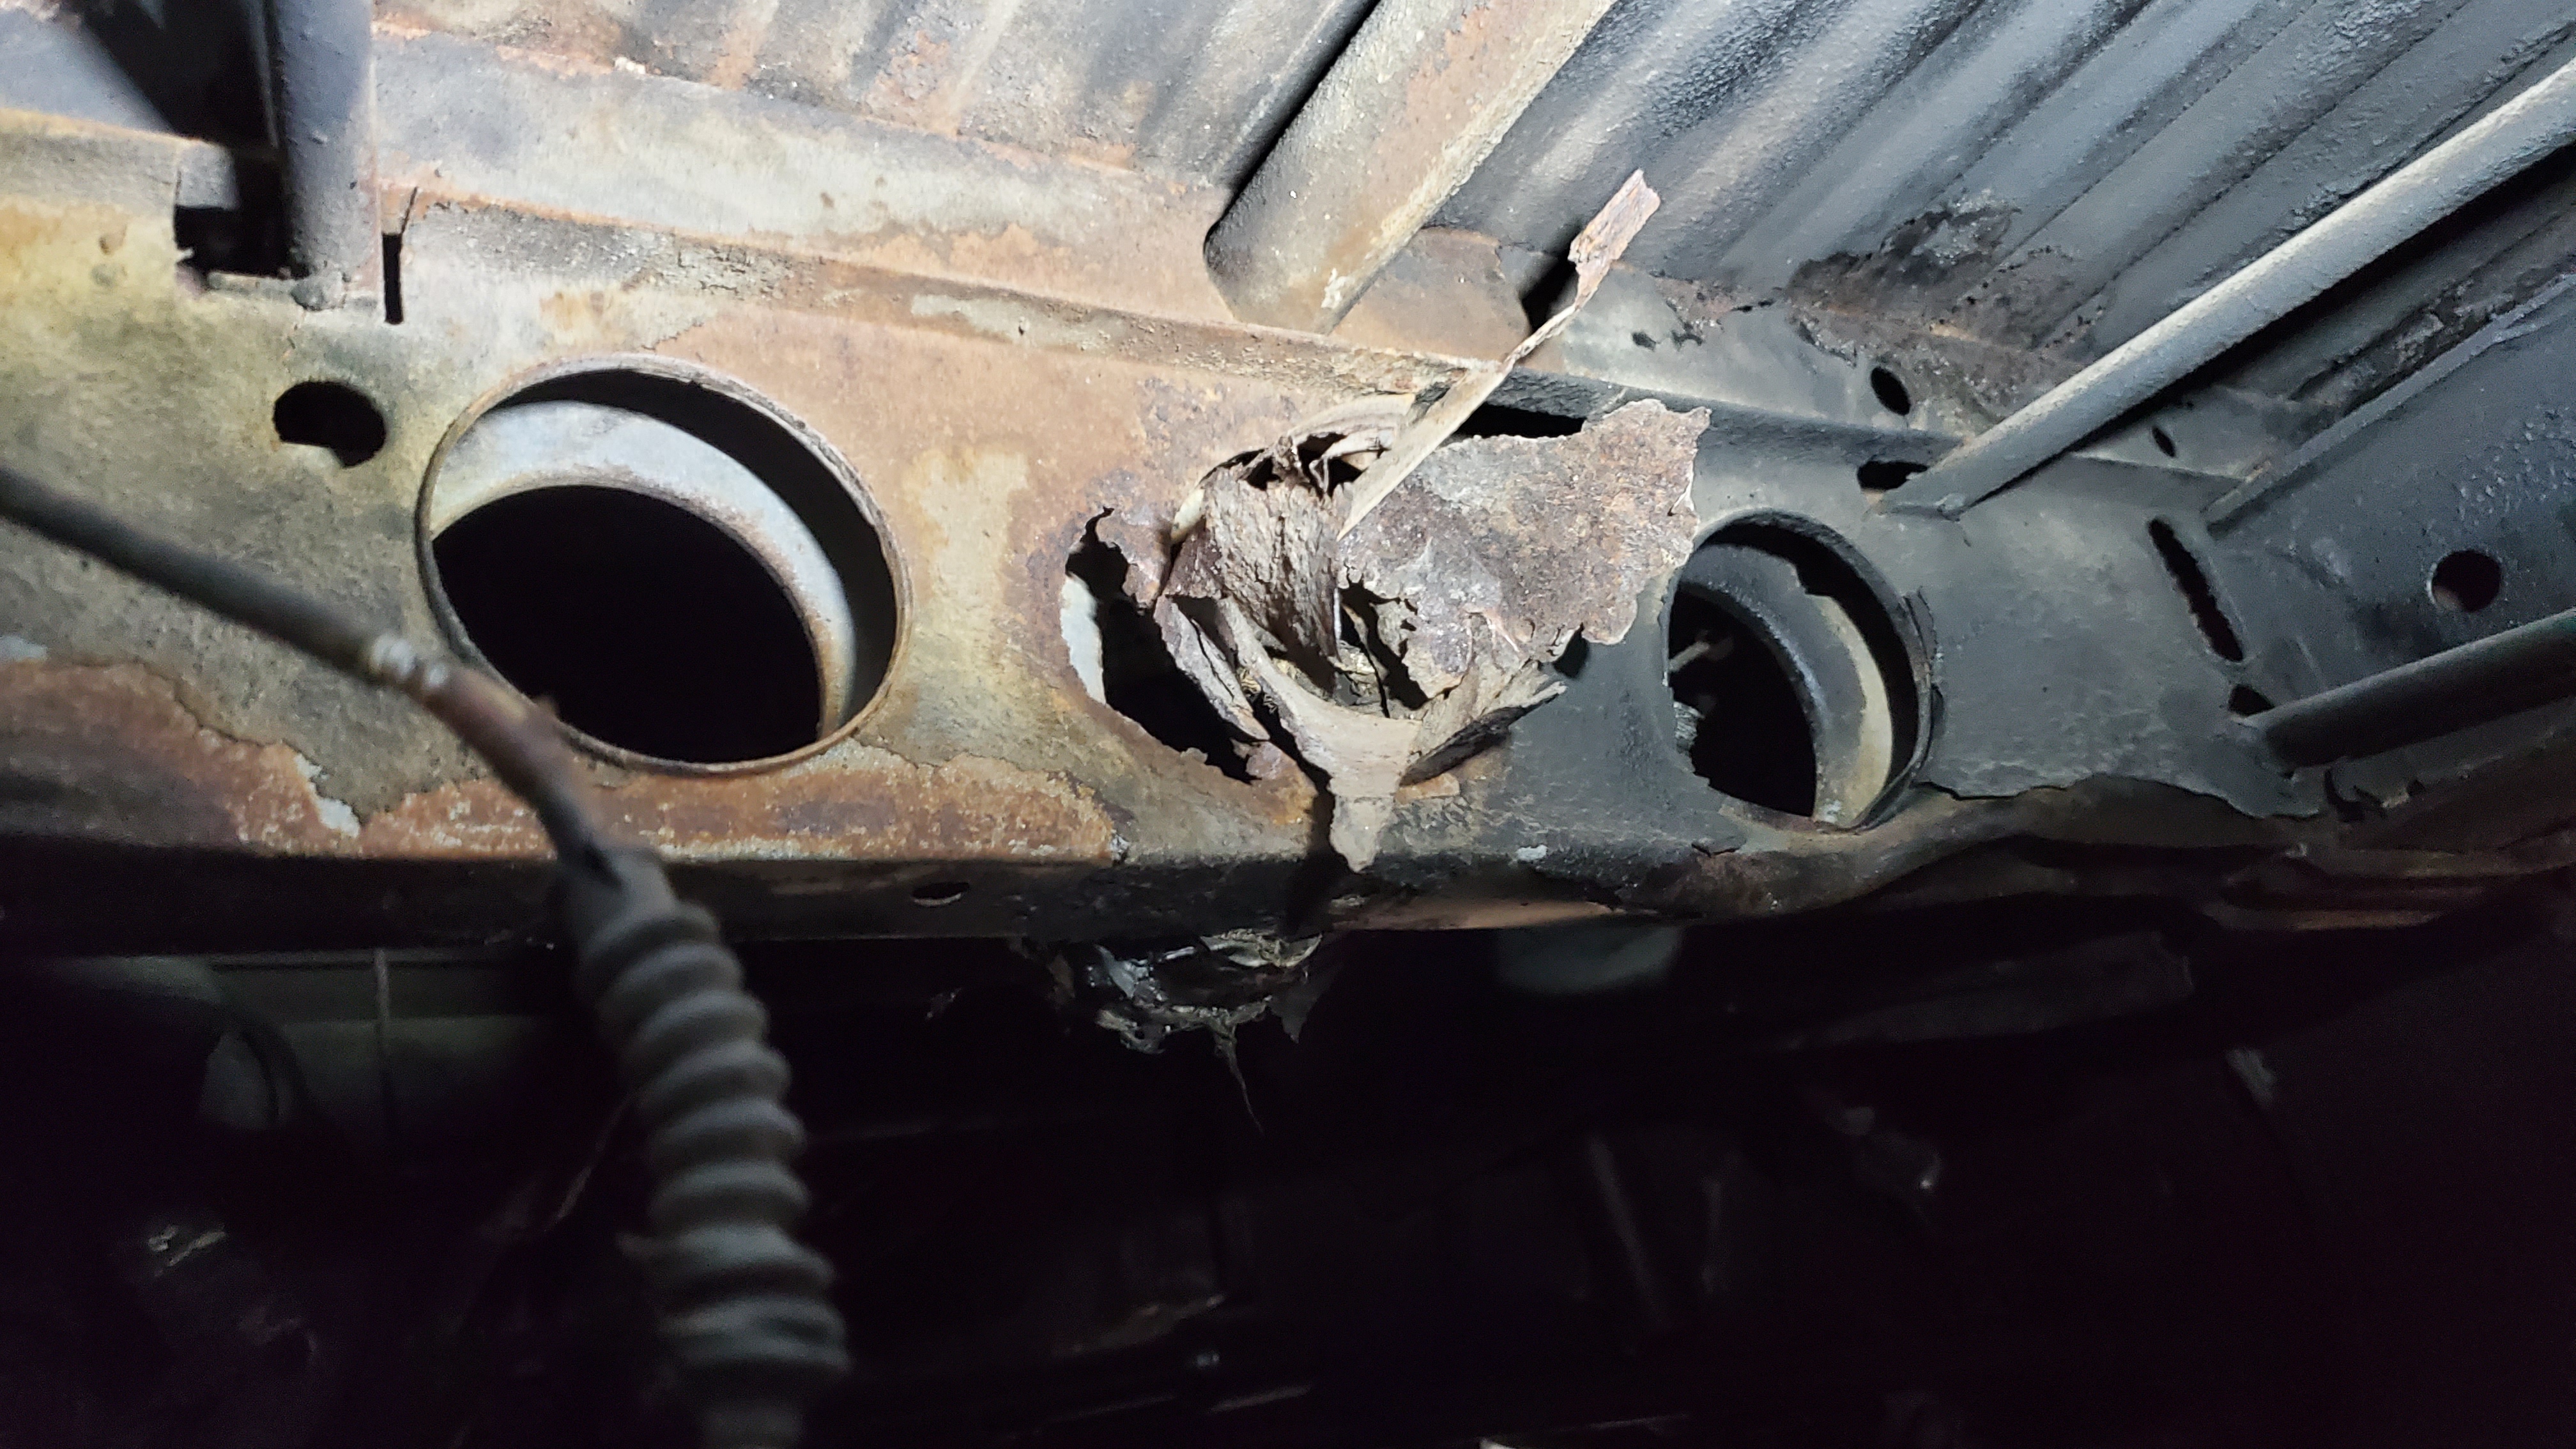
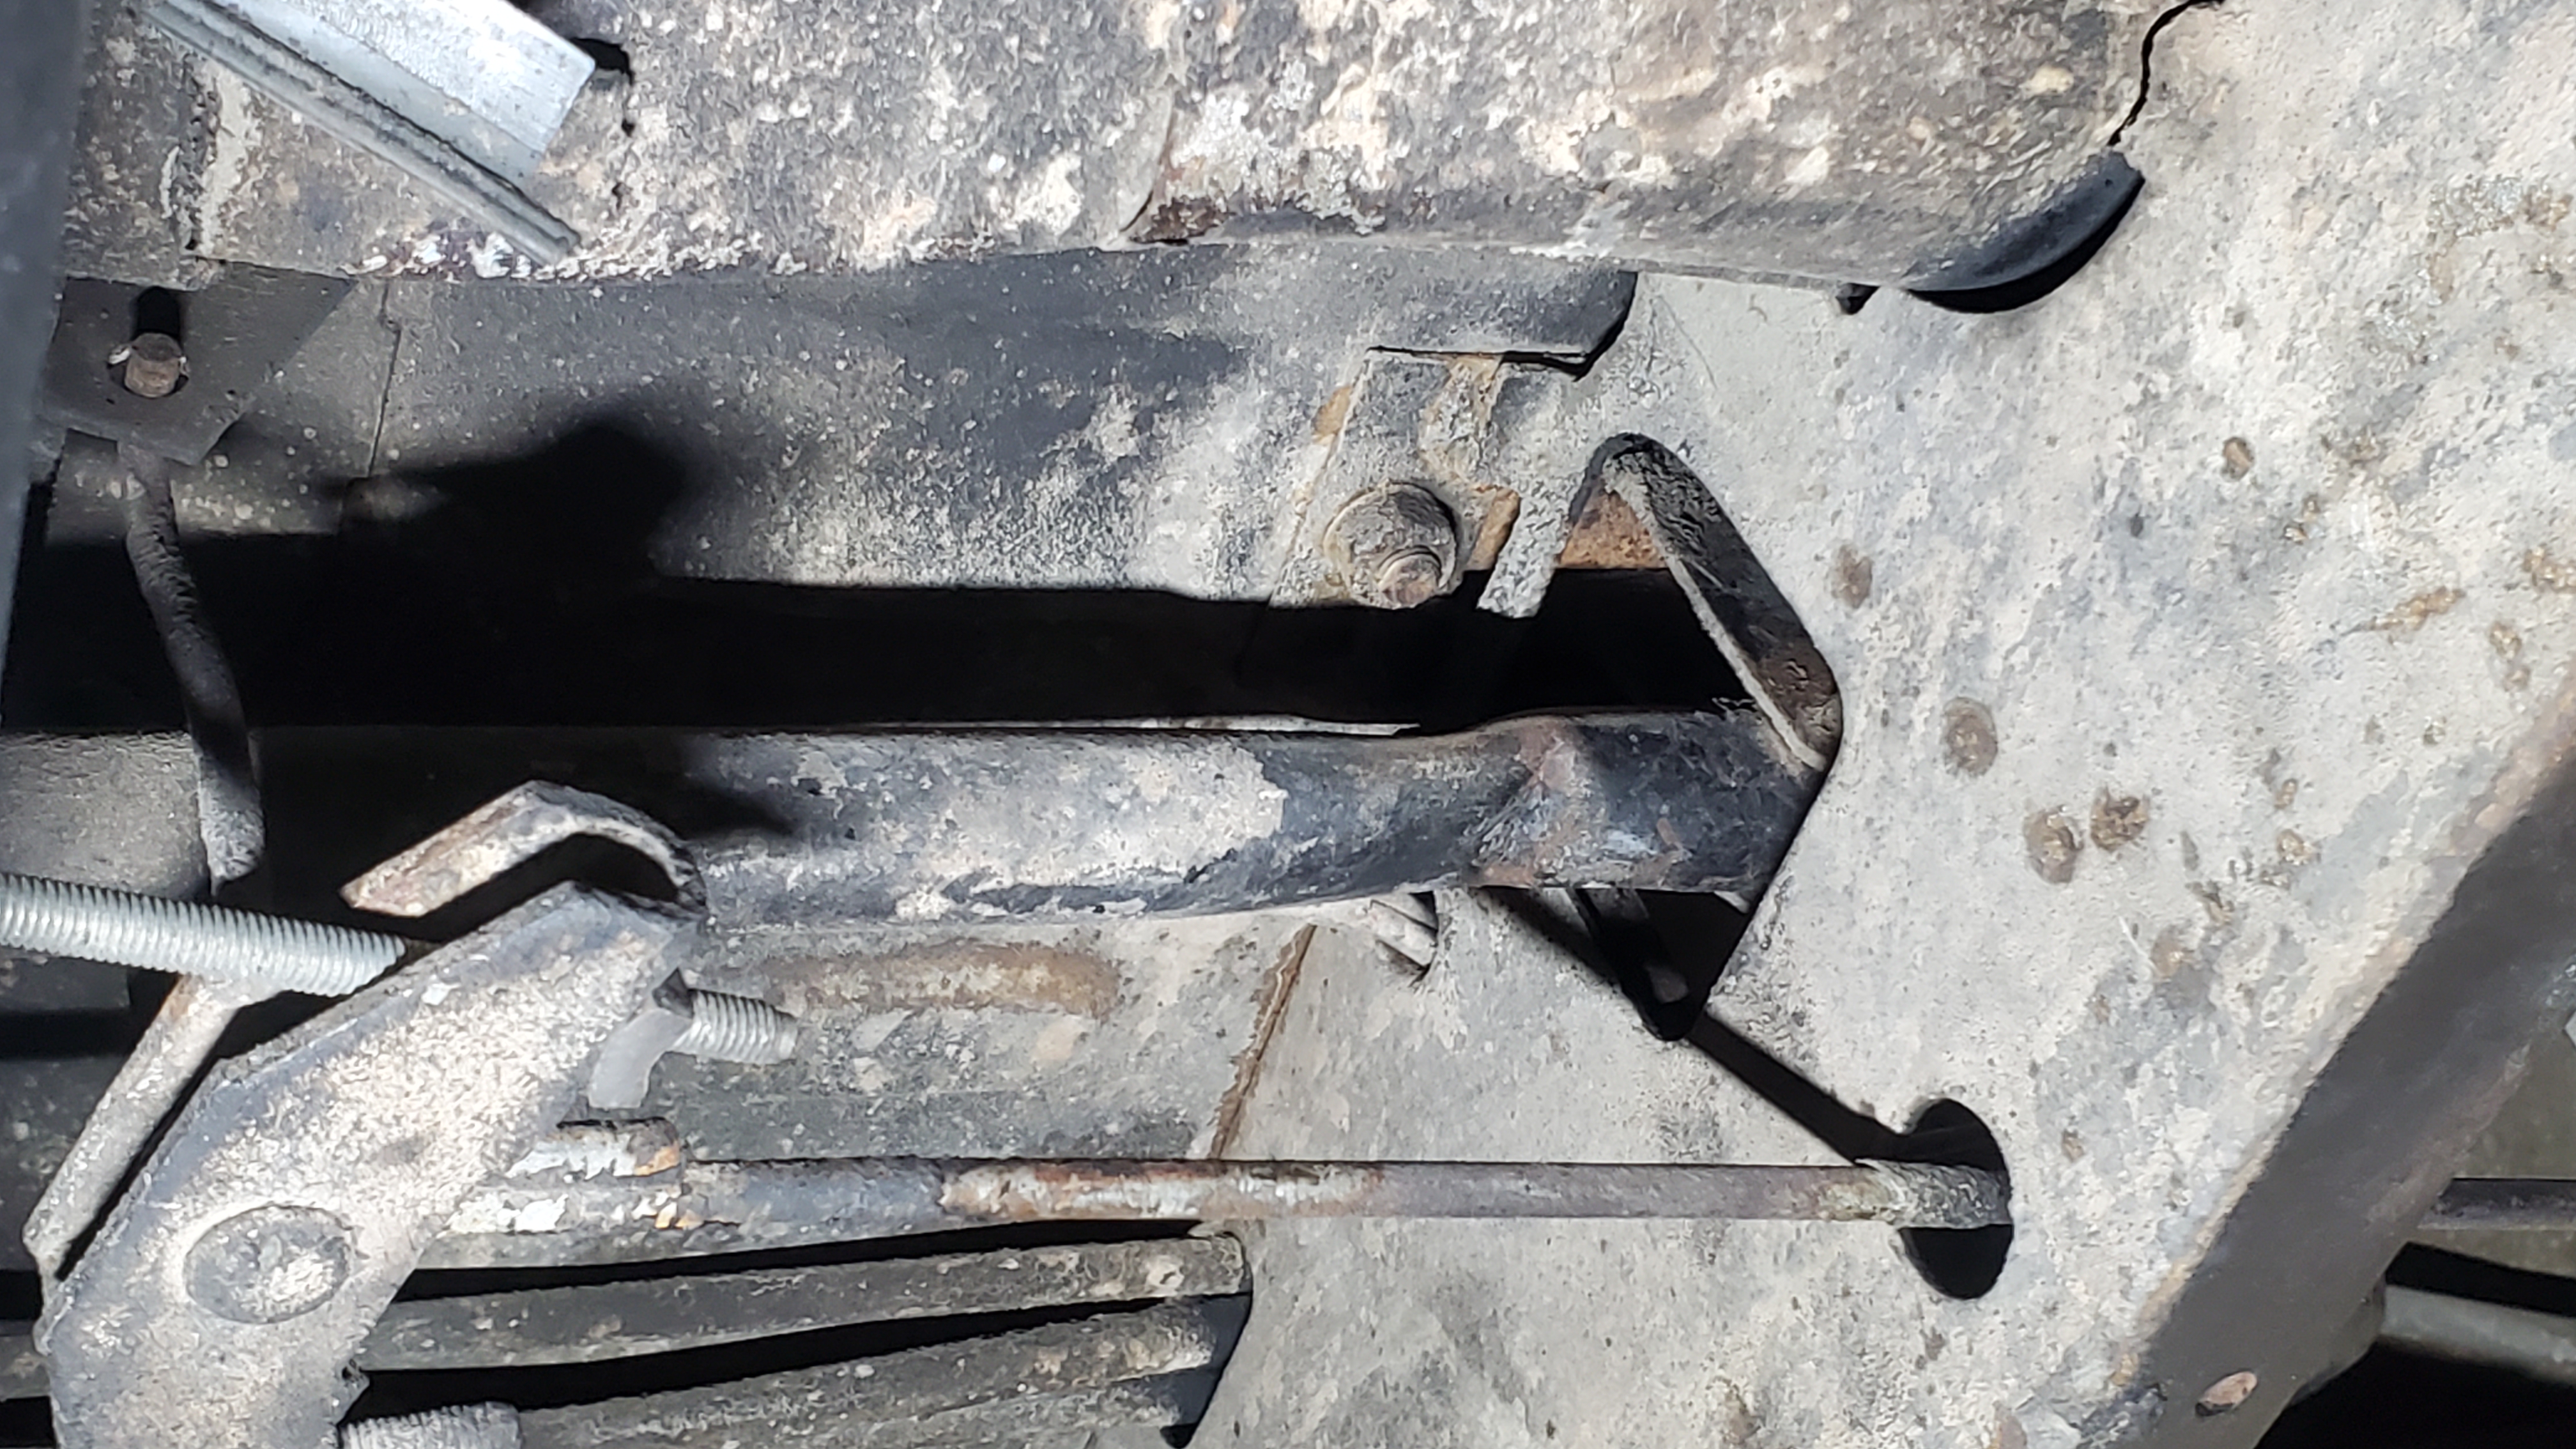
I went to cut the center heat tube out, when I realized that the duct tape was the only thing holding the rusty pipe in place. The shift rod was bent pretty good, and the bottom of the shifter was tweaked as well.
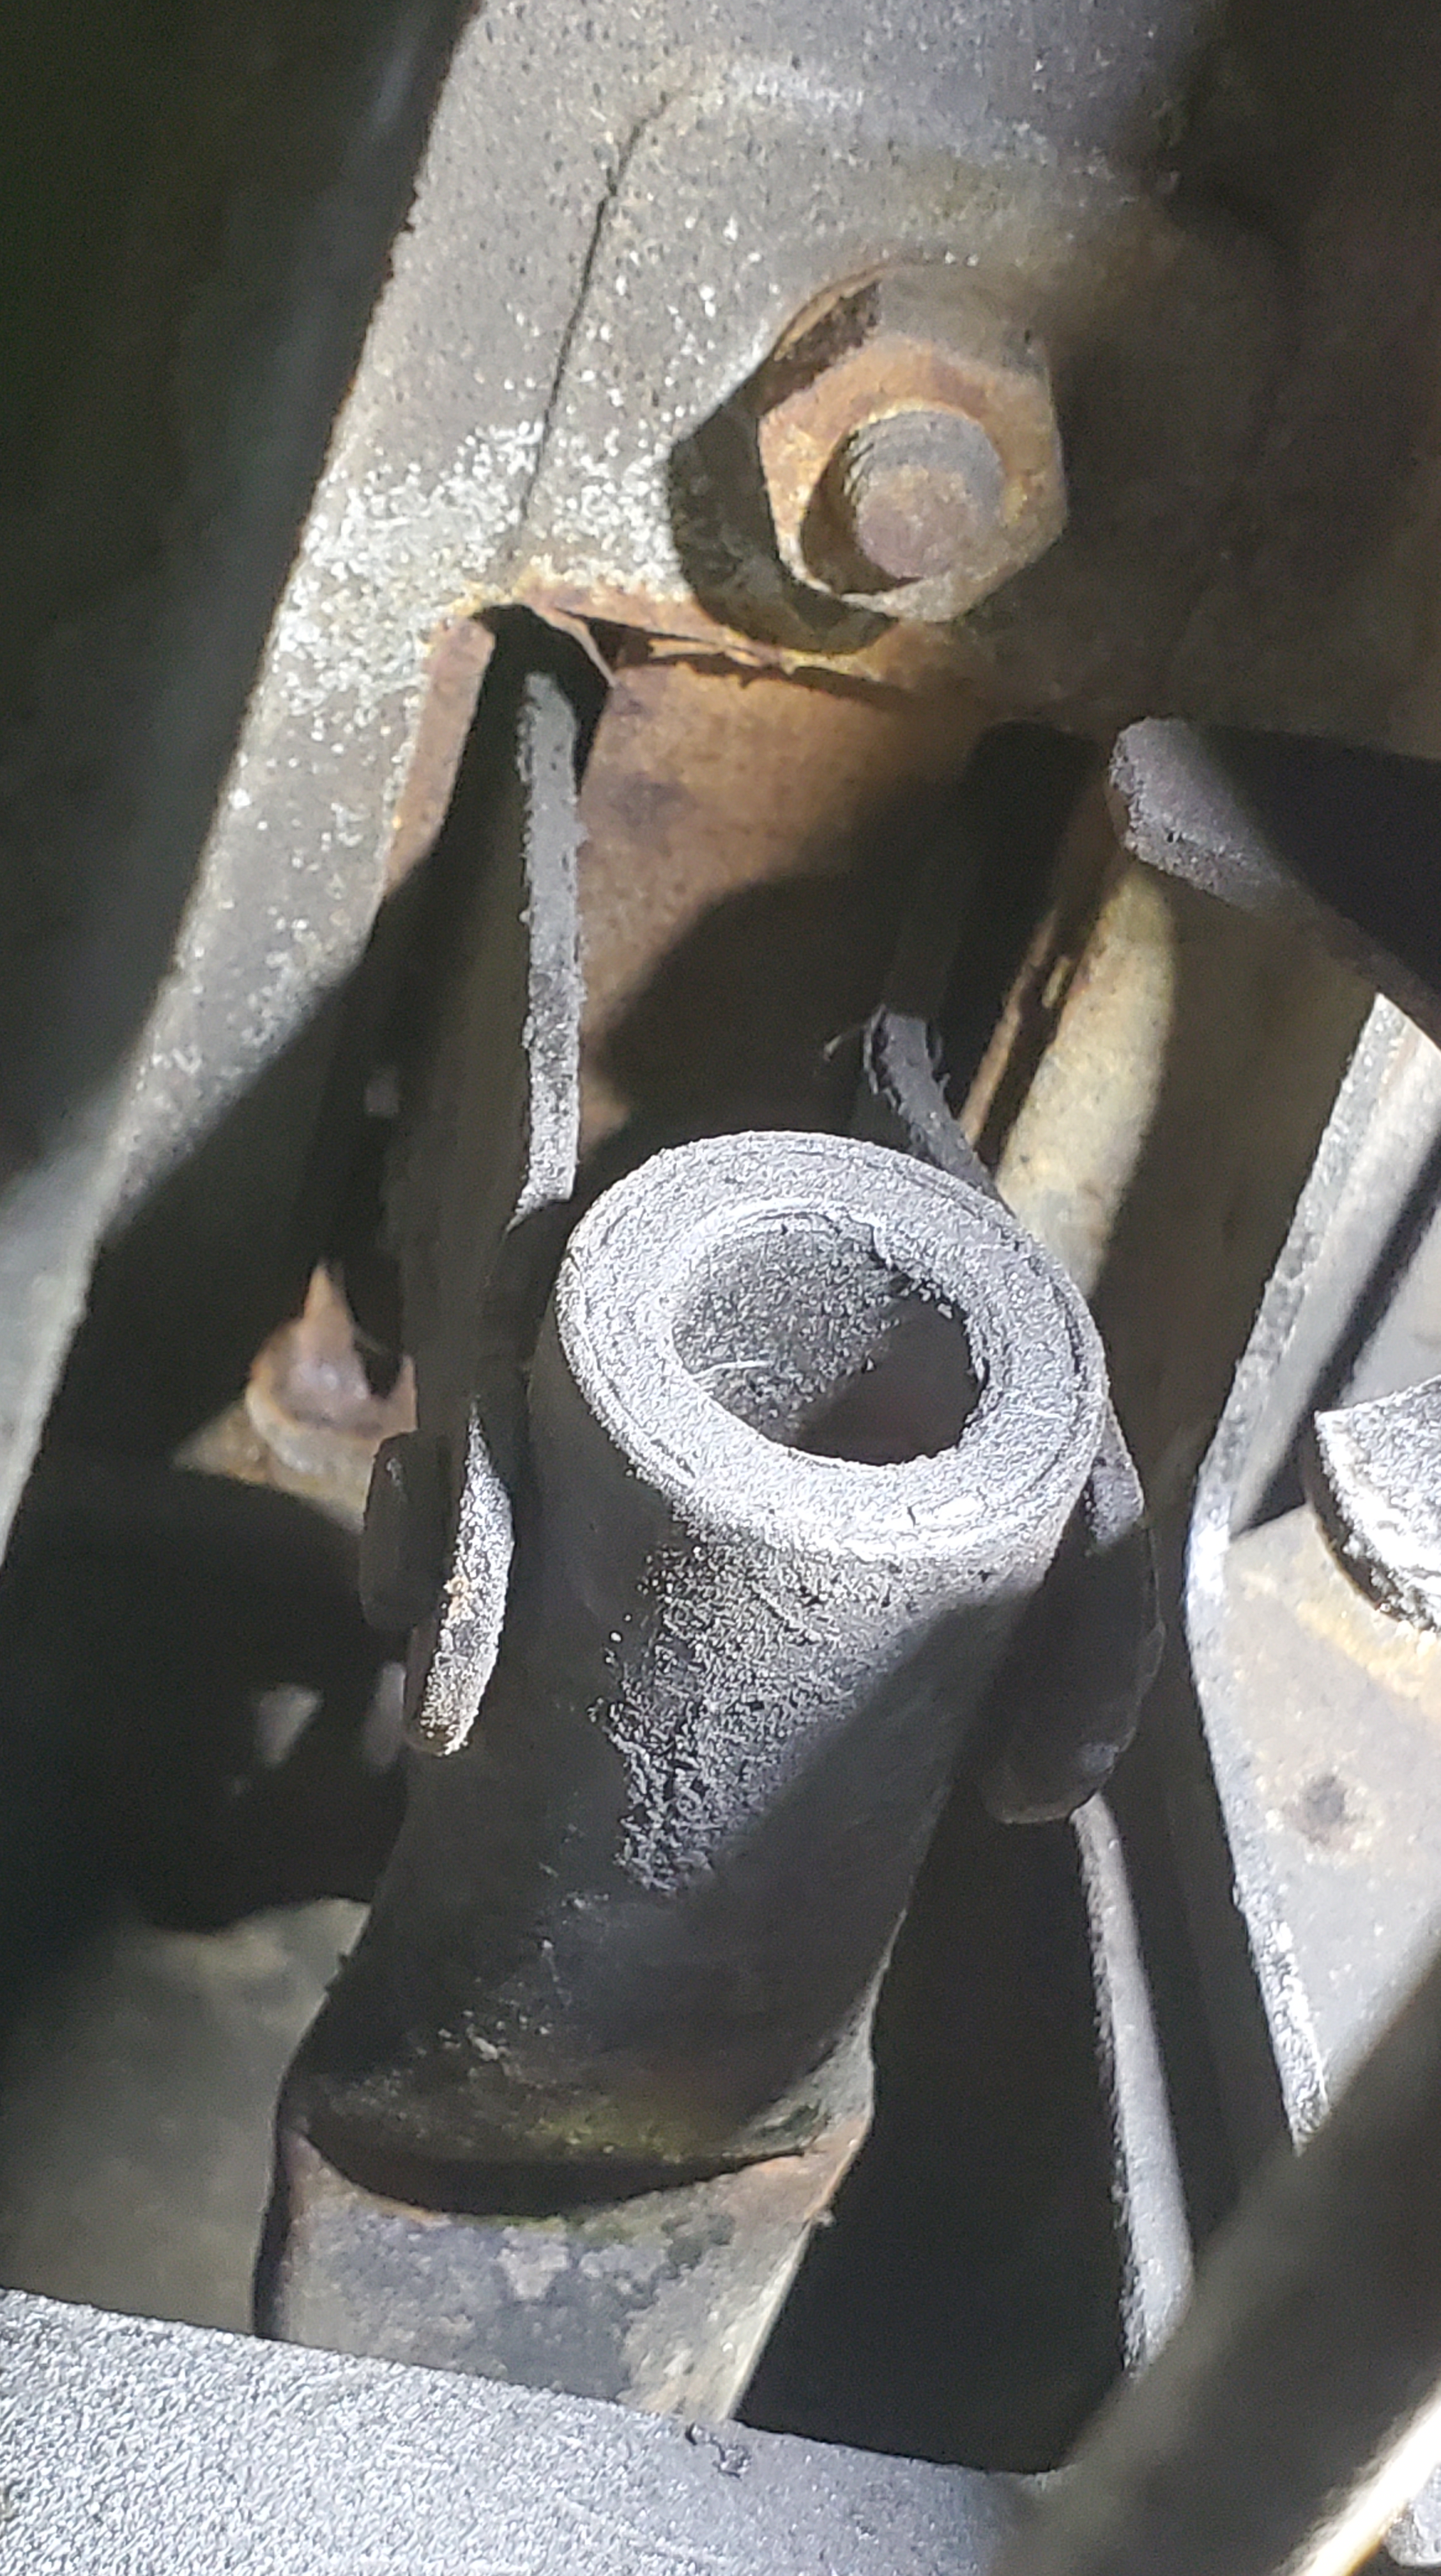
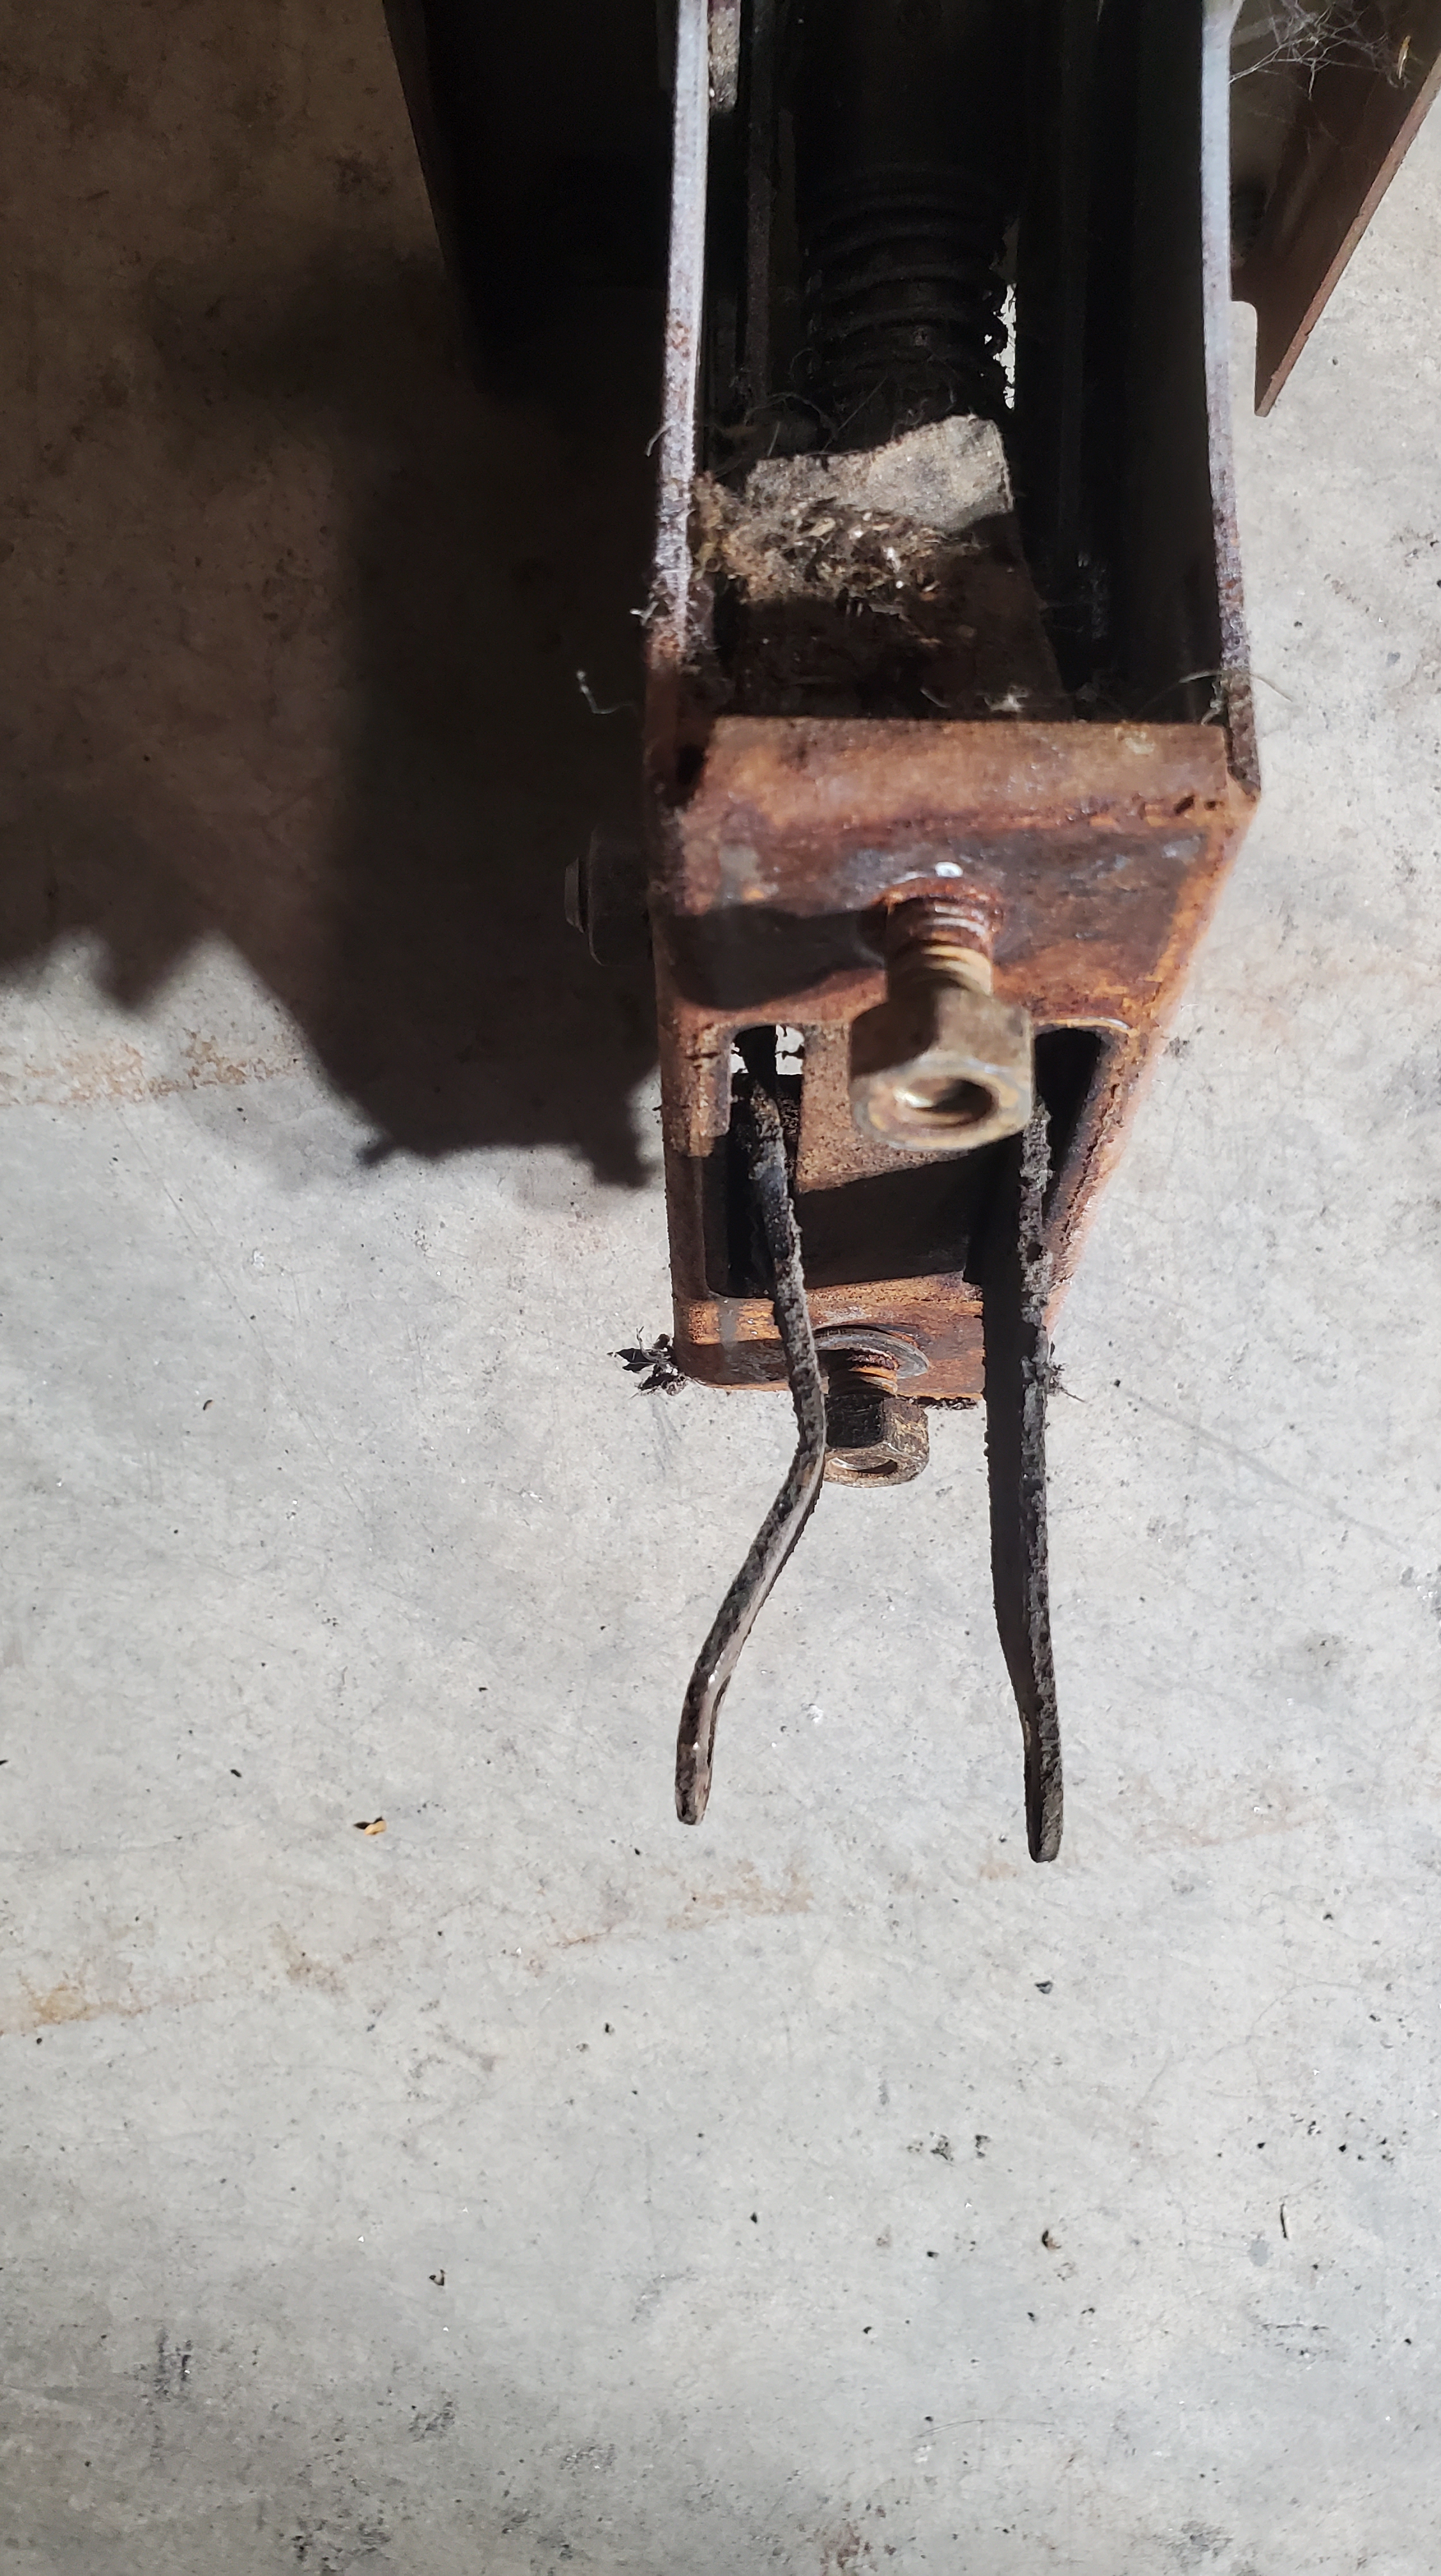
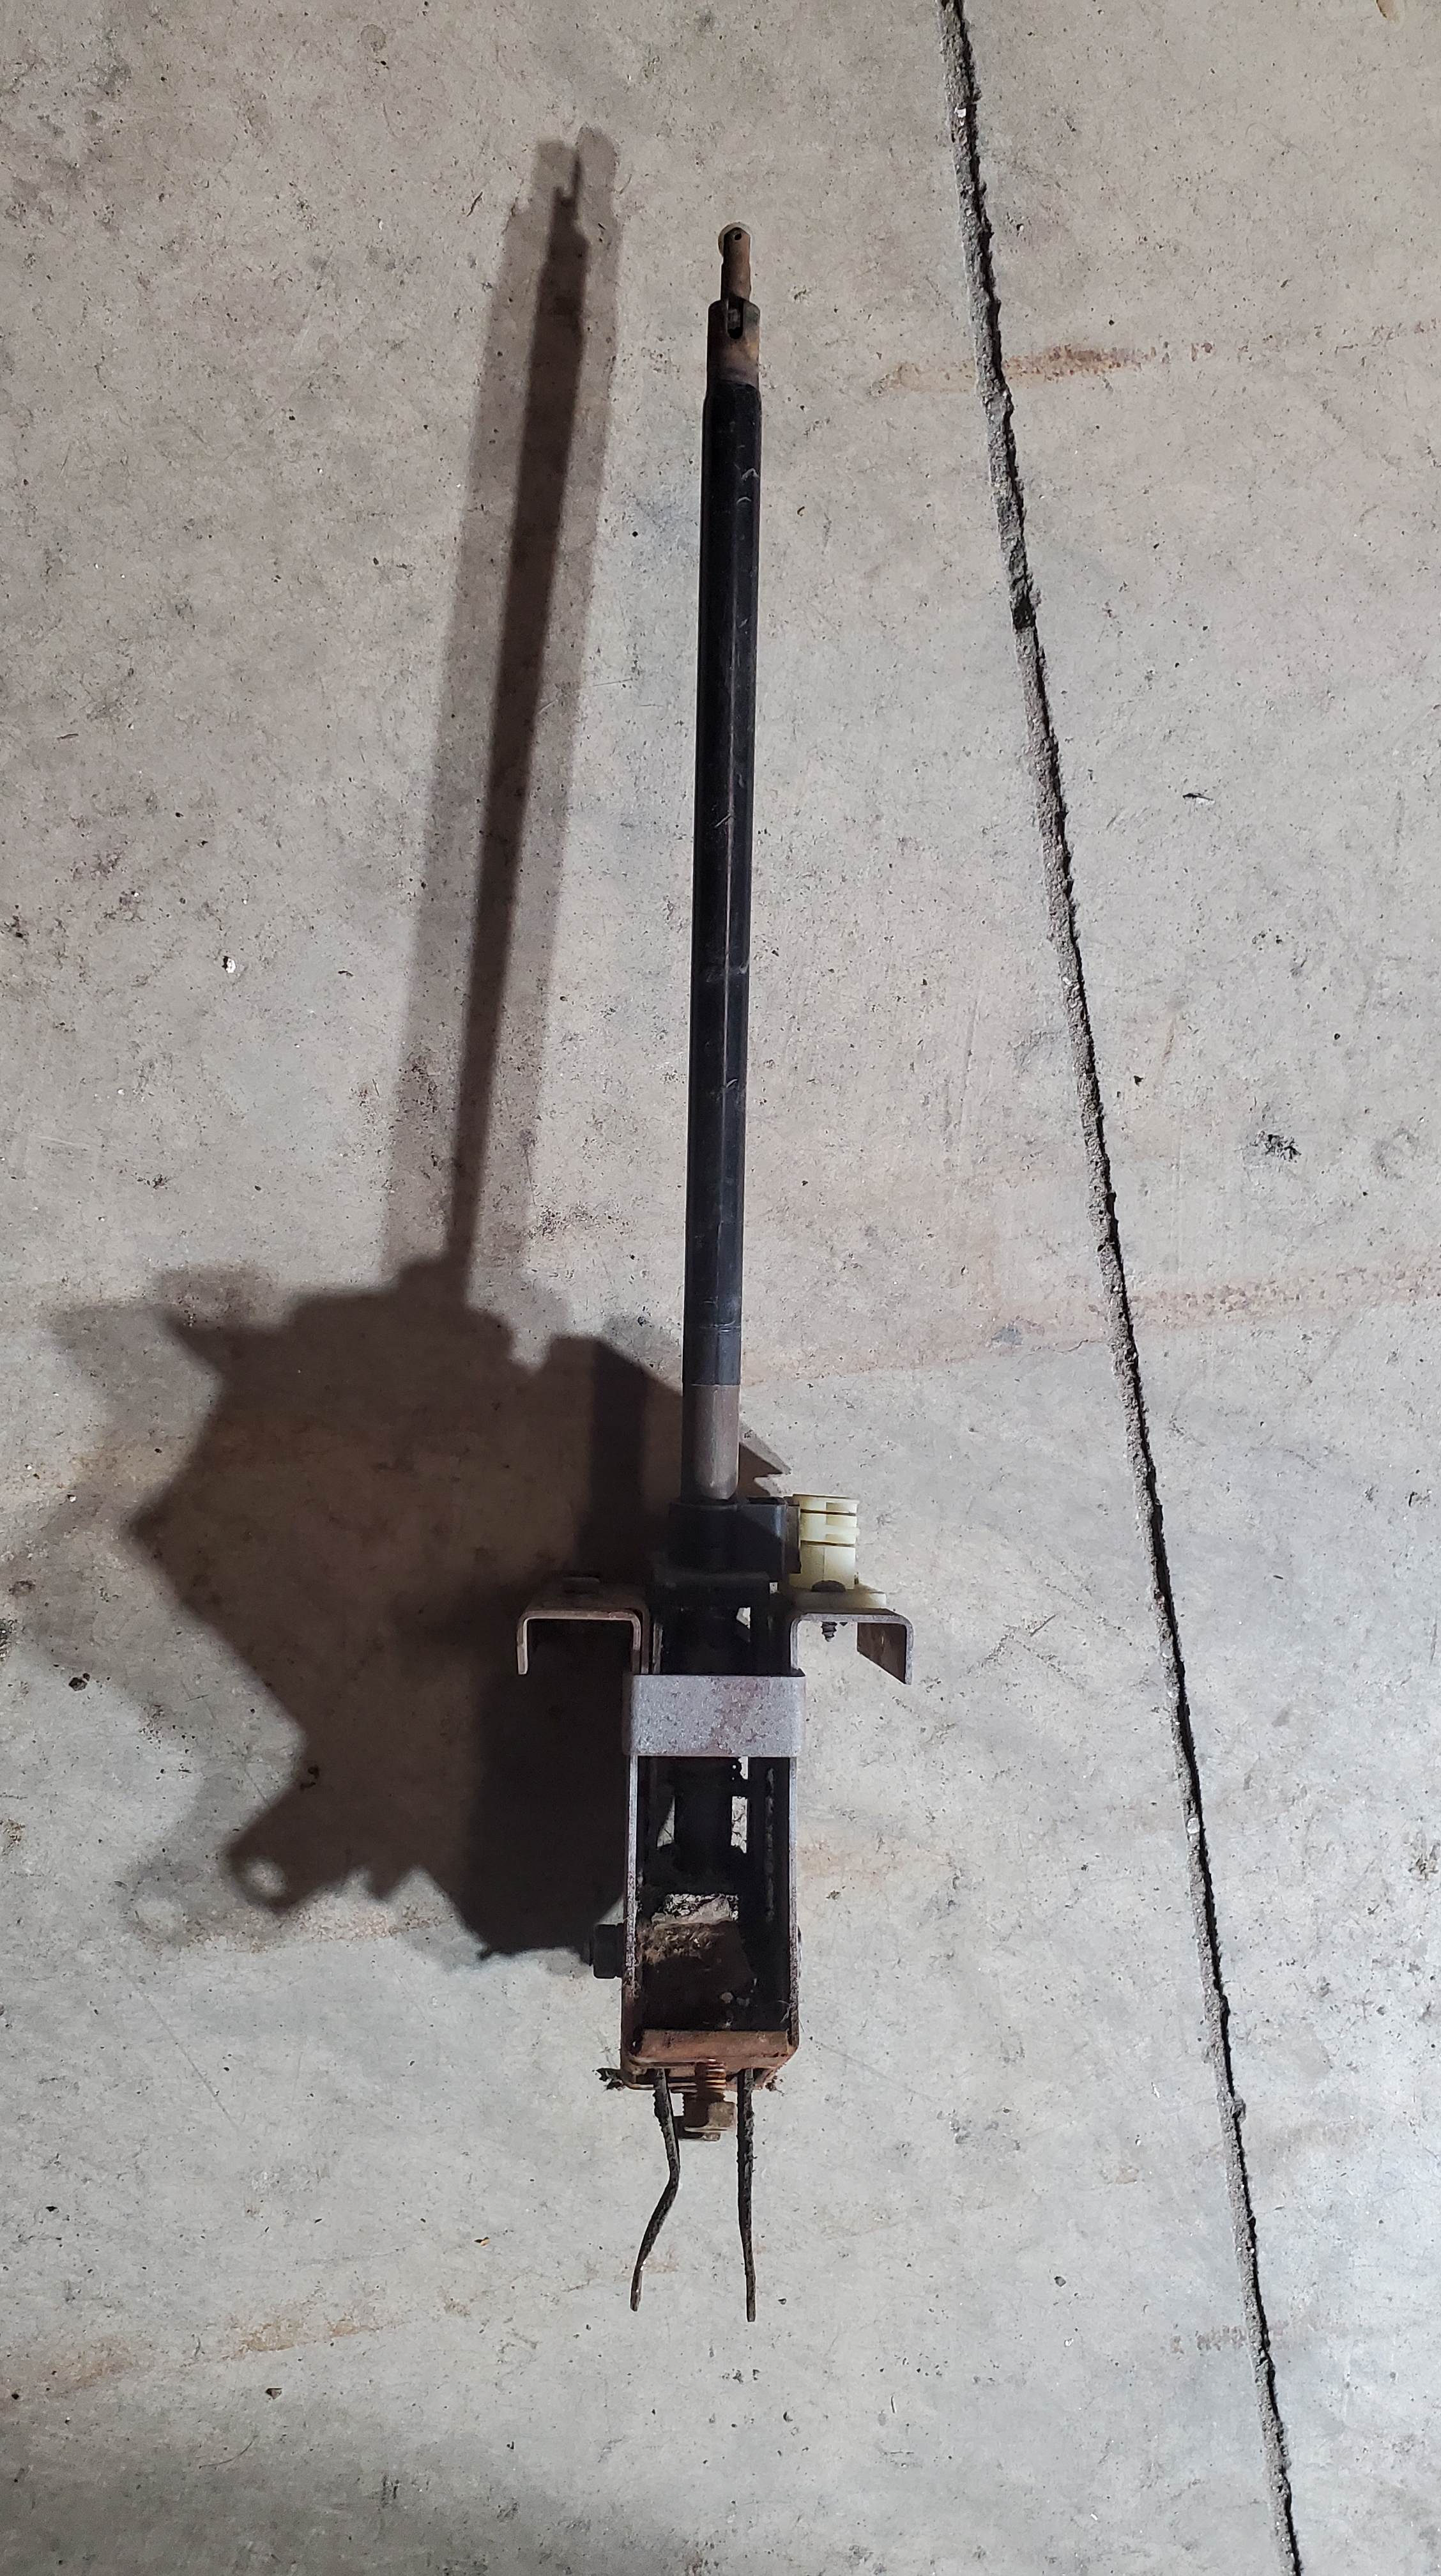
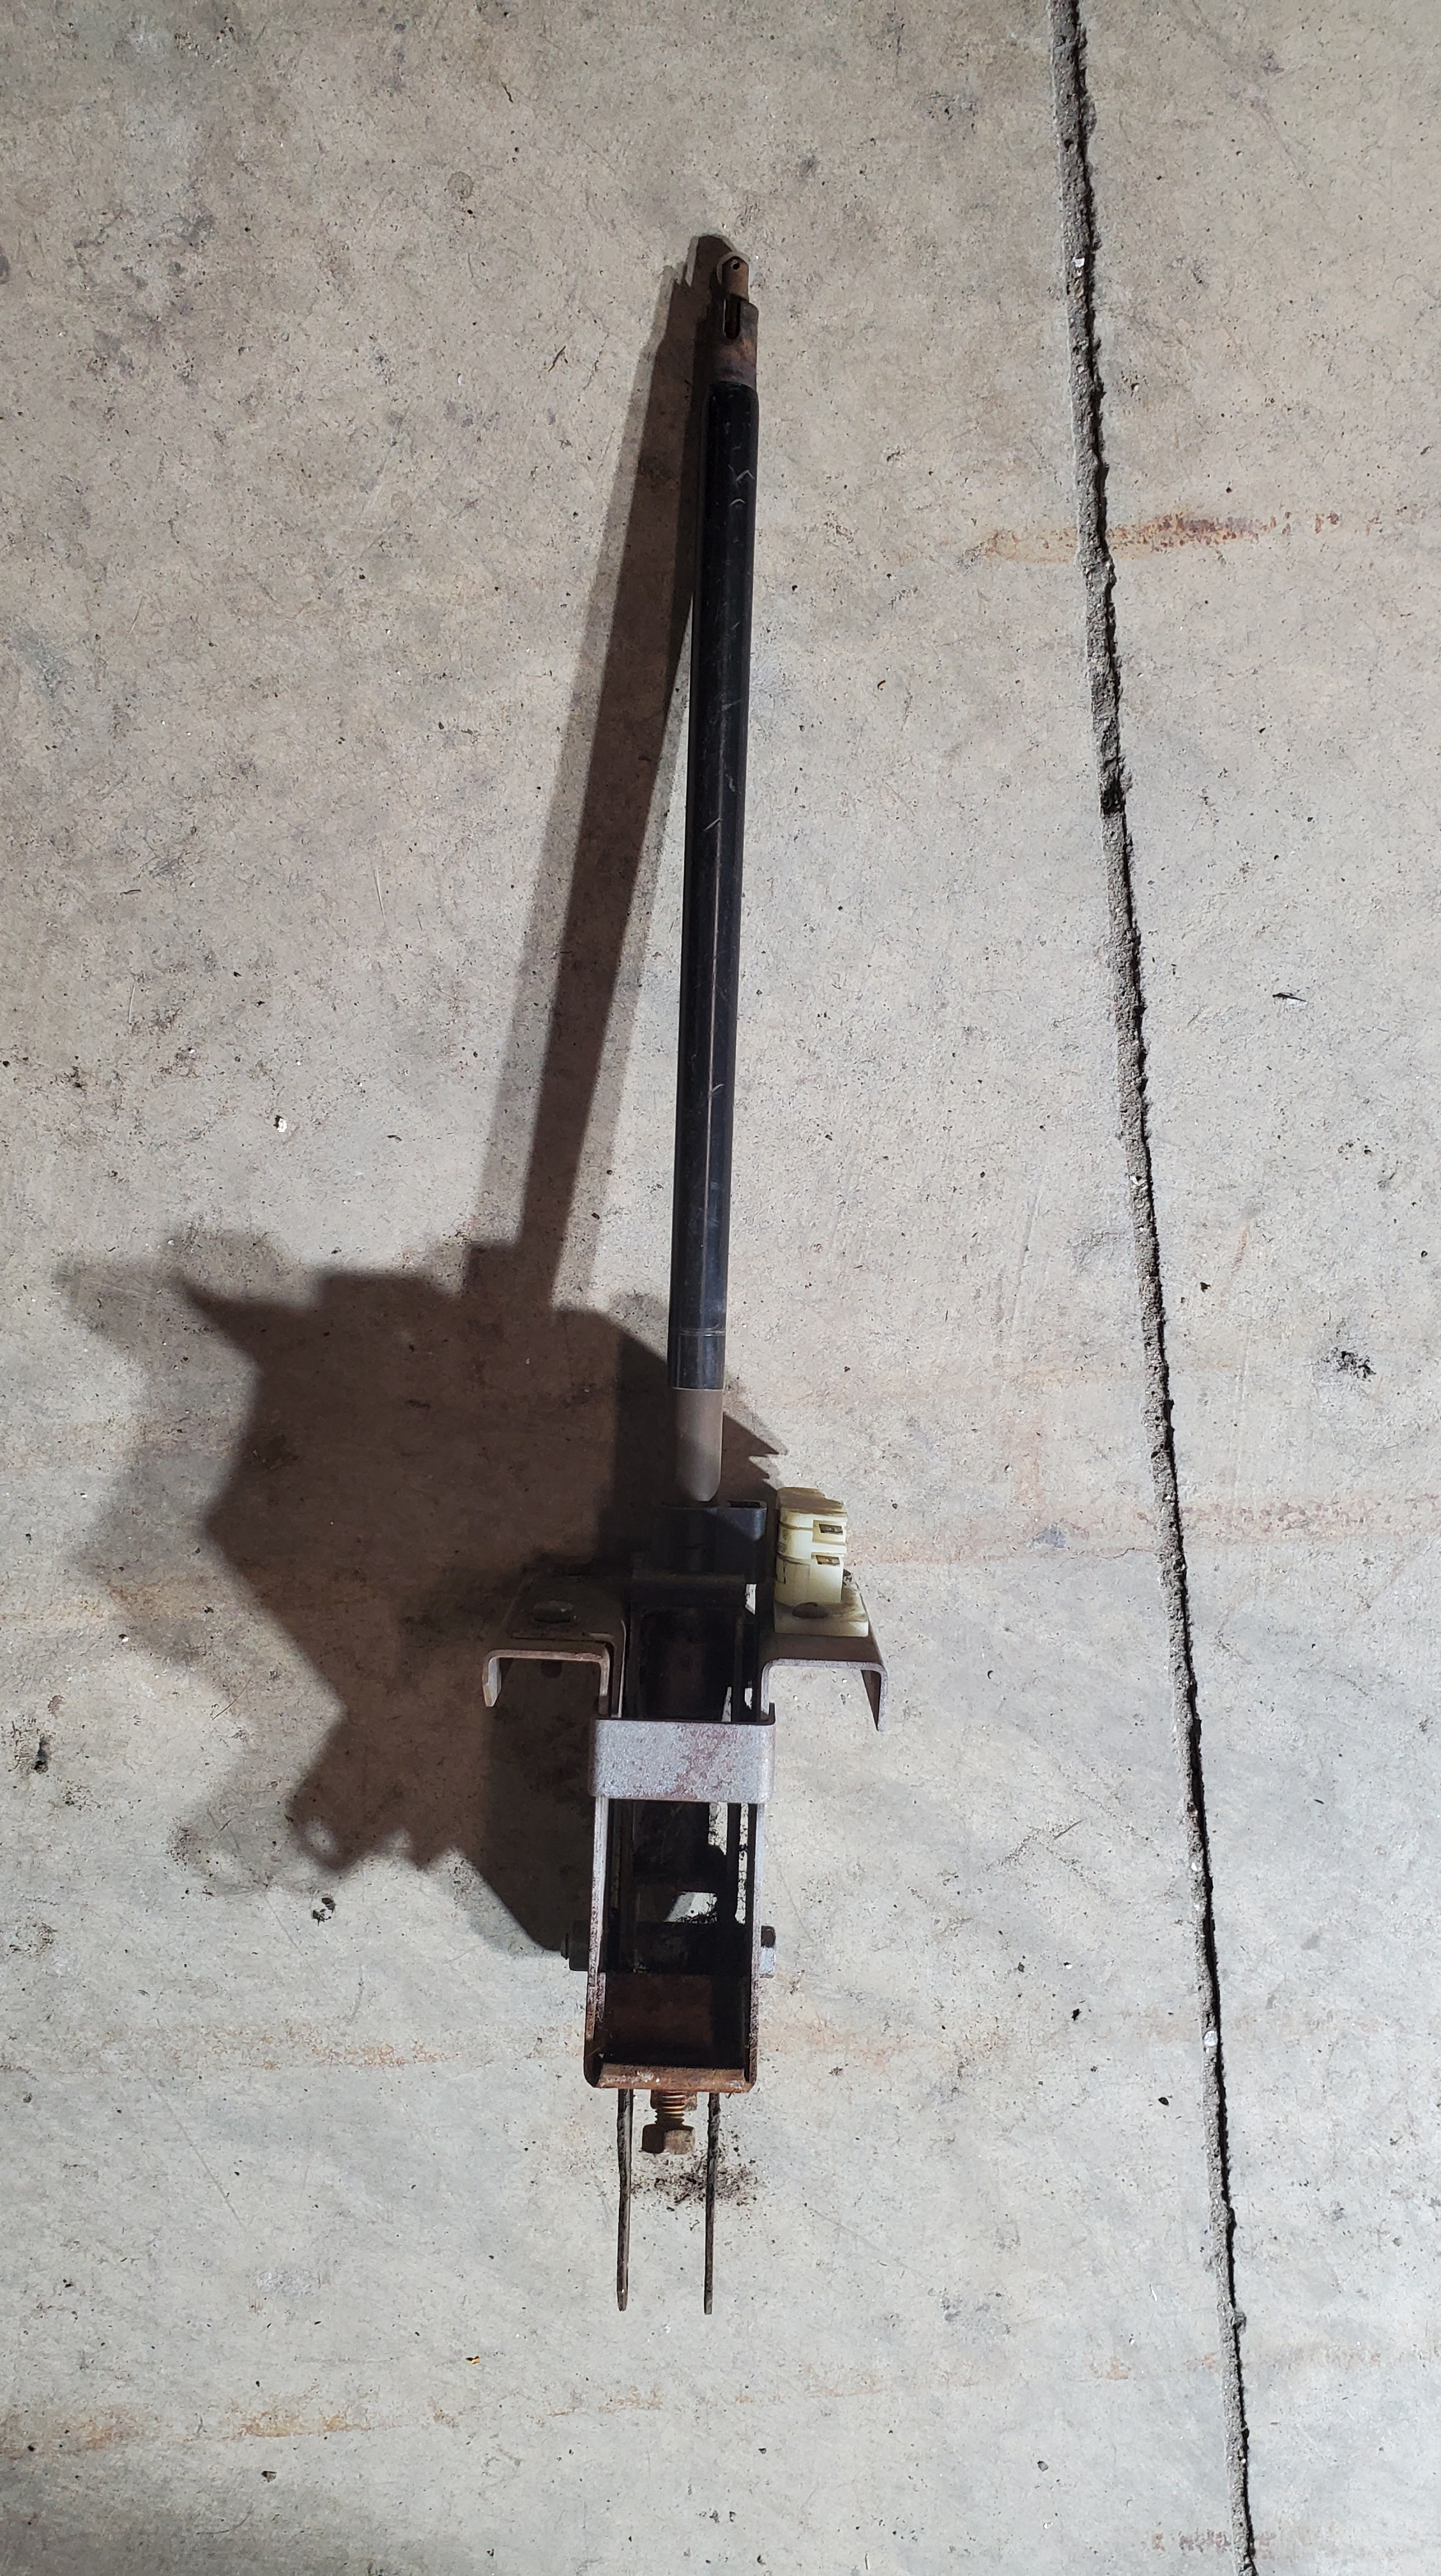
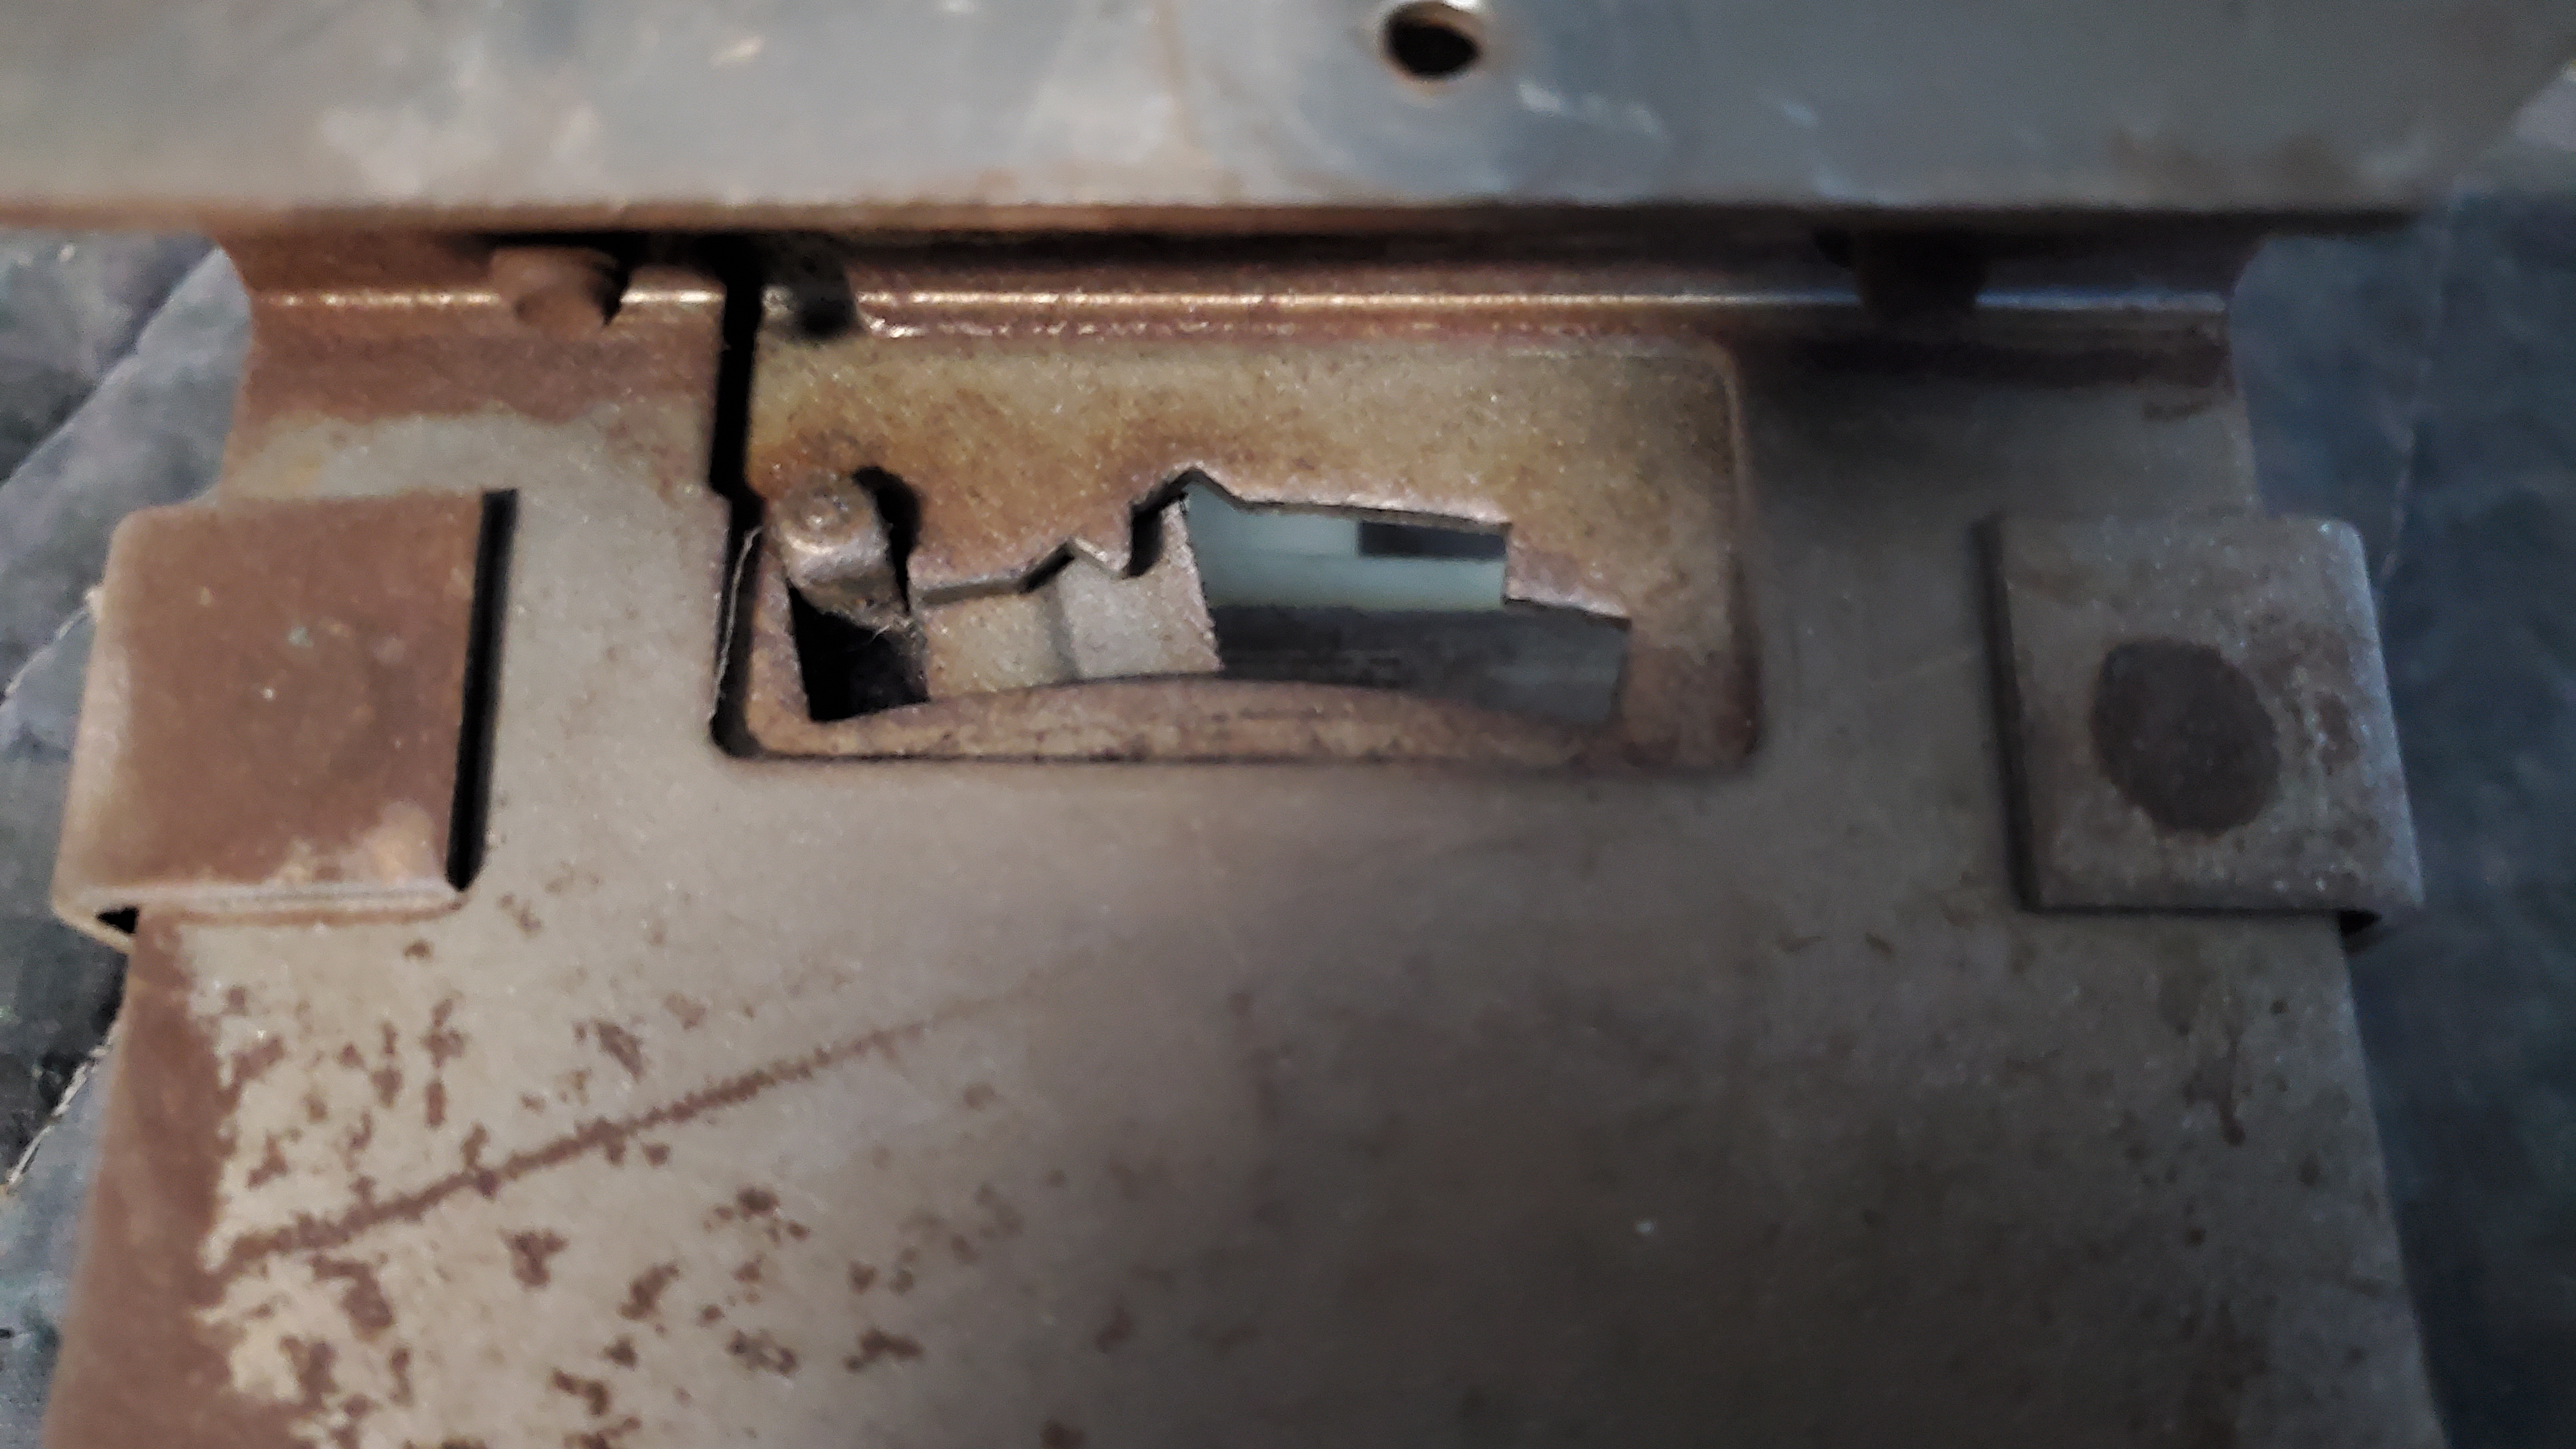
The shaft for the automatic isn’t available, so it was fabricated (more pictures later). The gate will have to be changed for the Subaru shift marks.
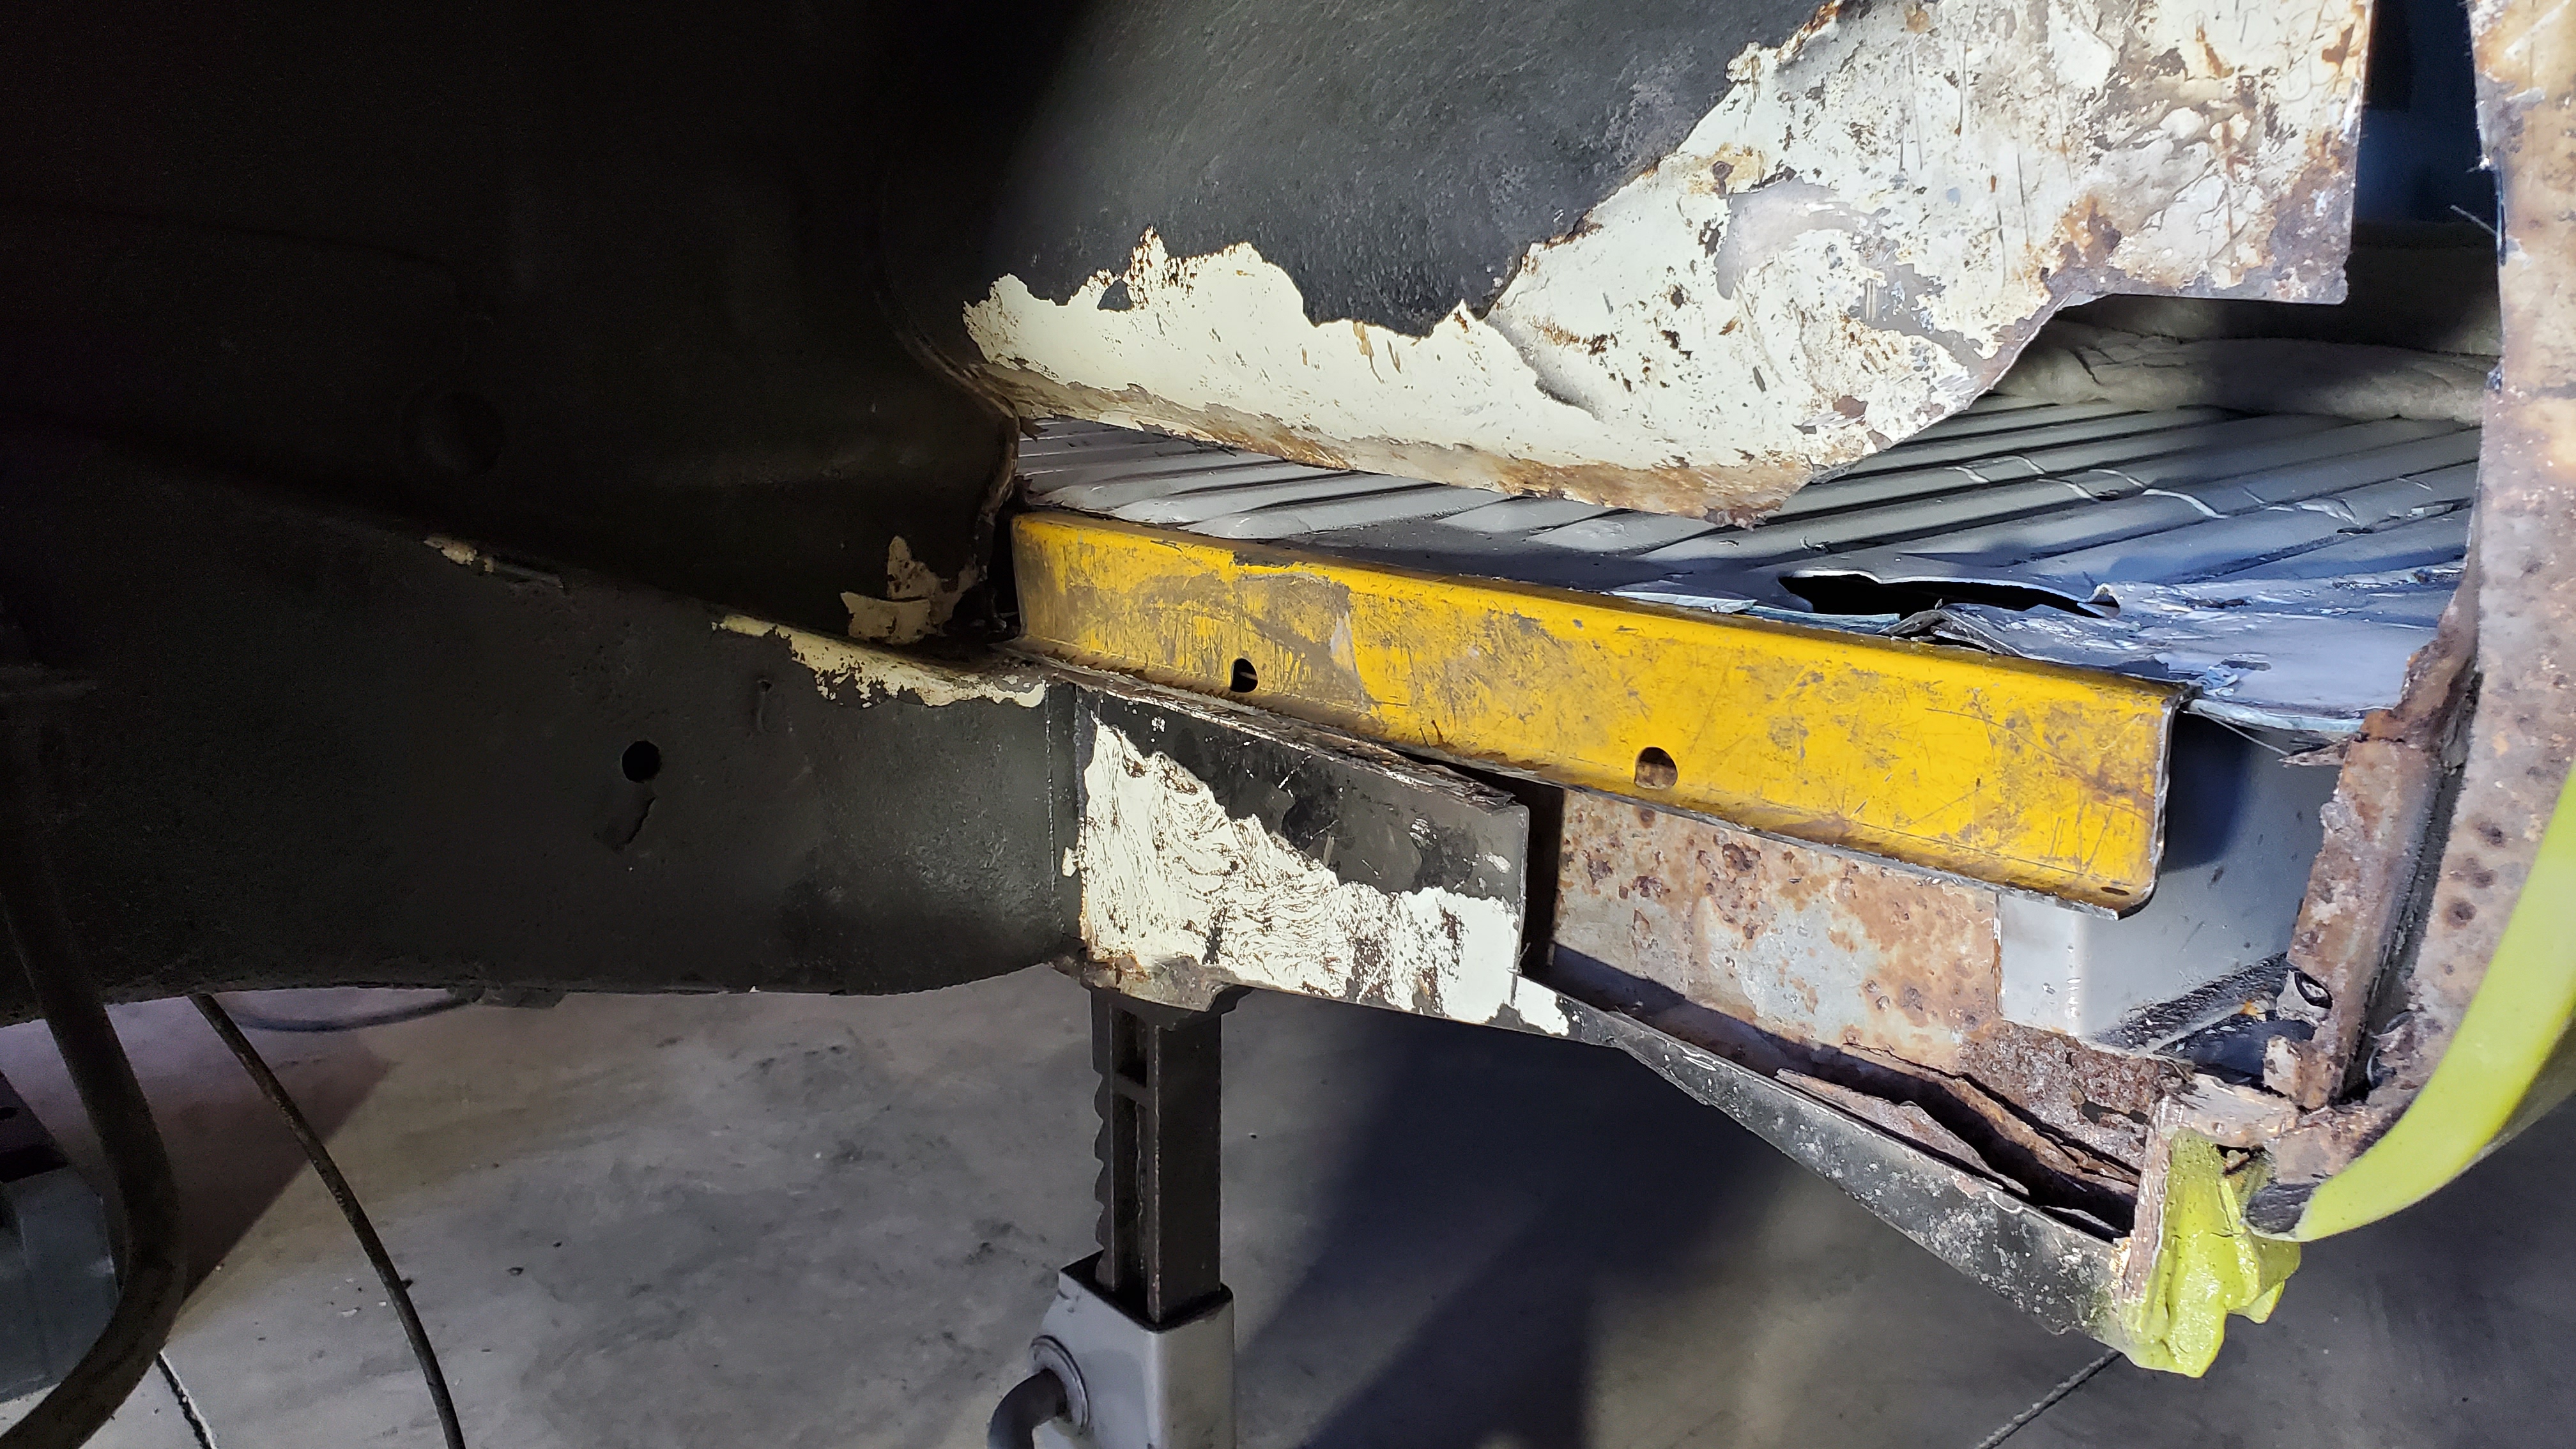
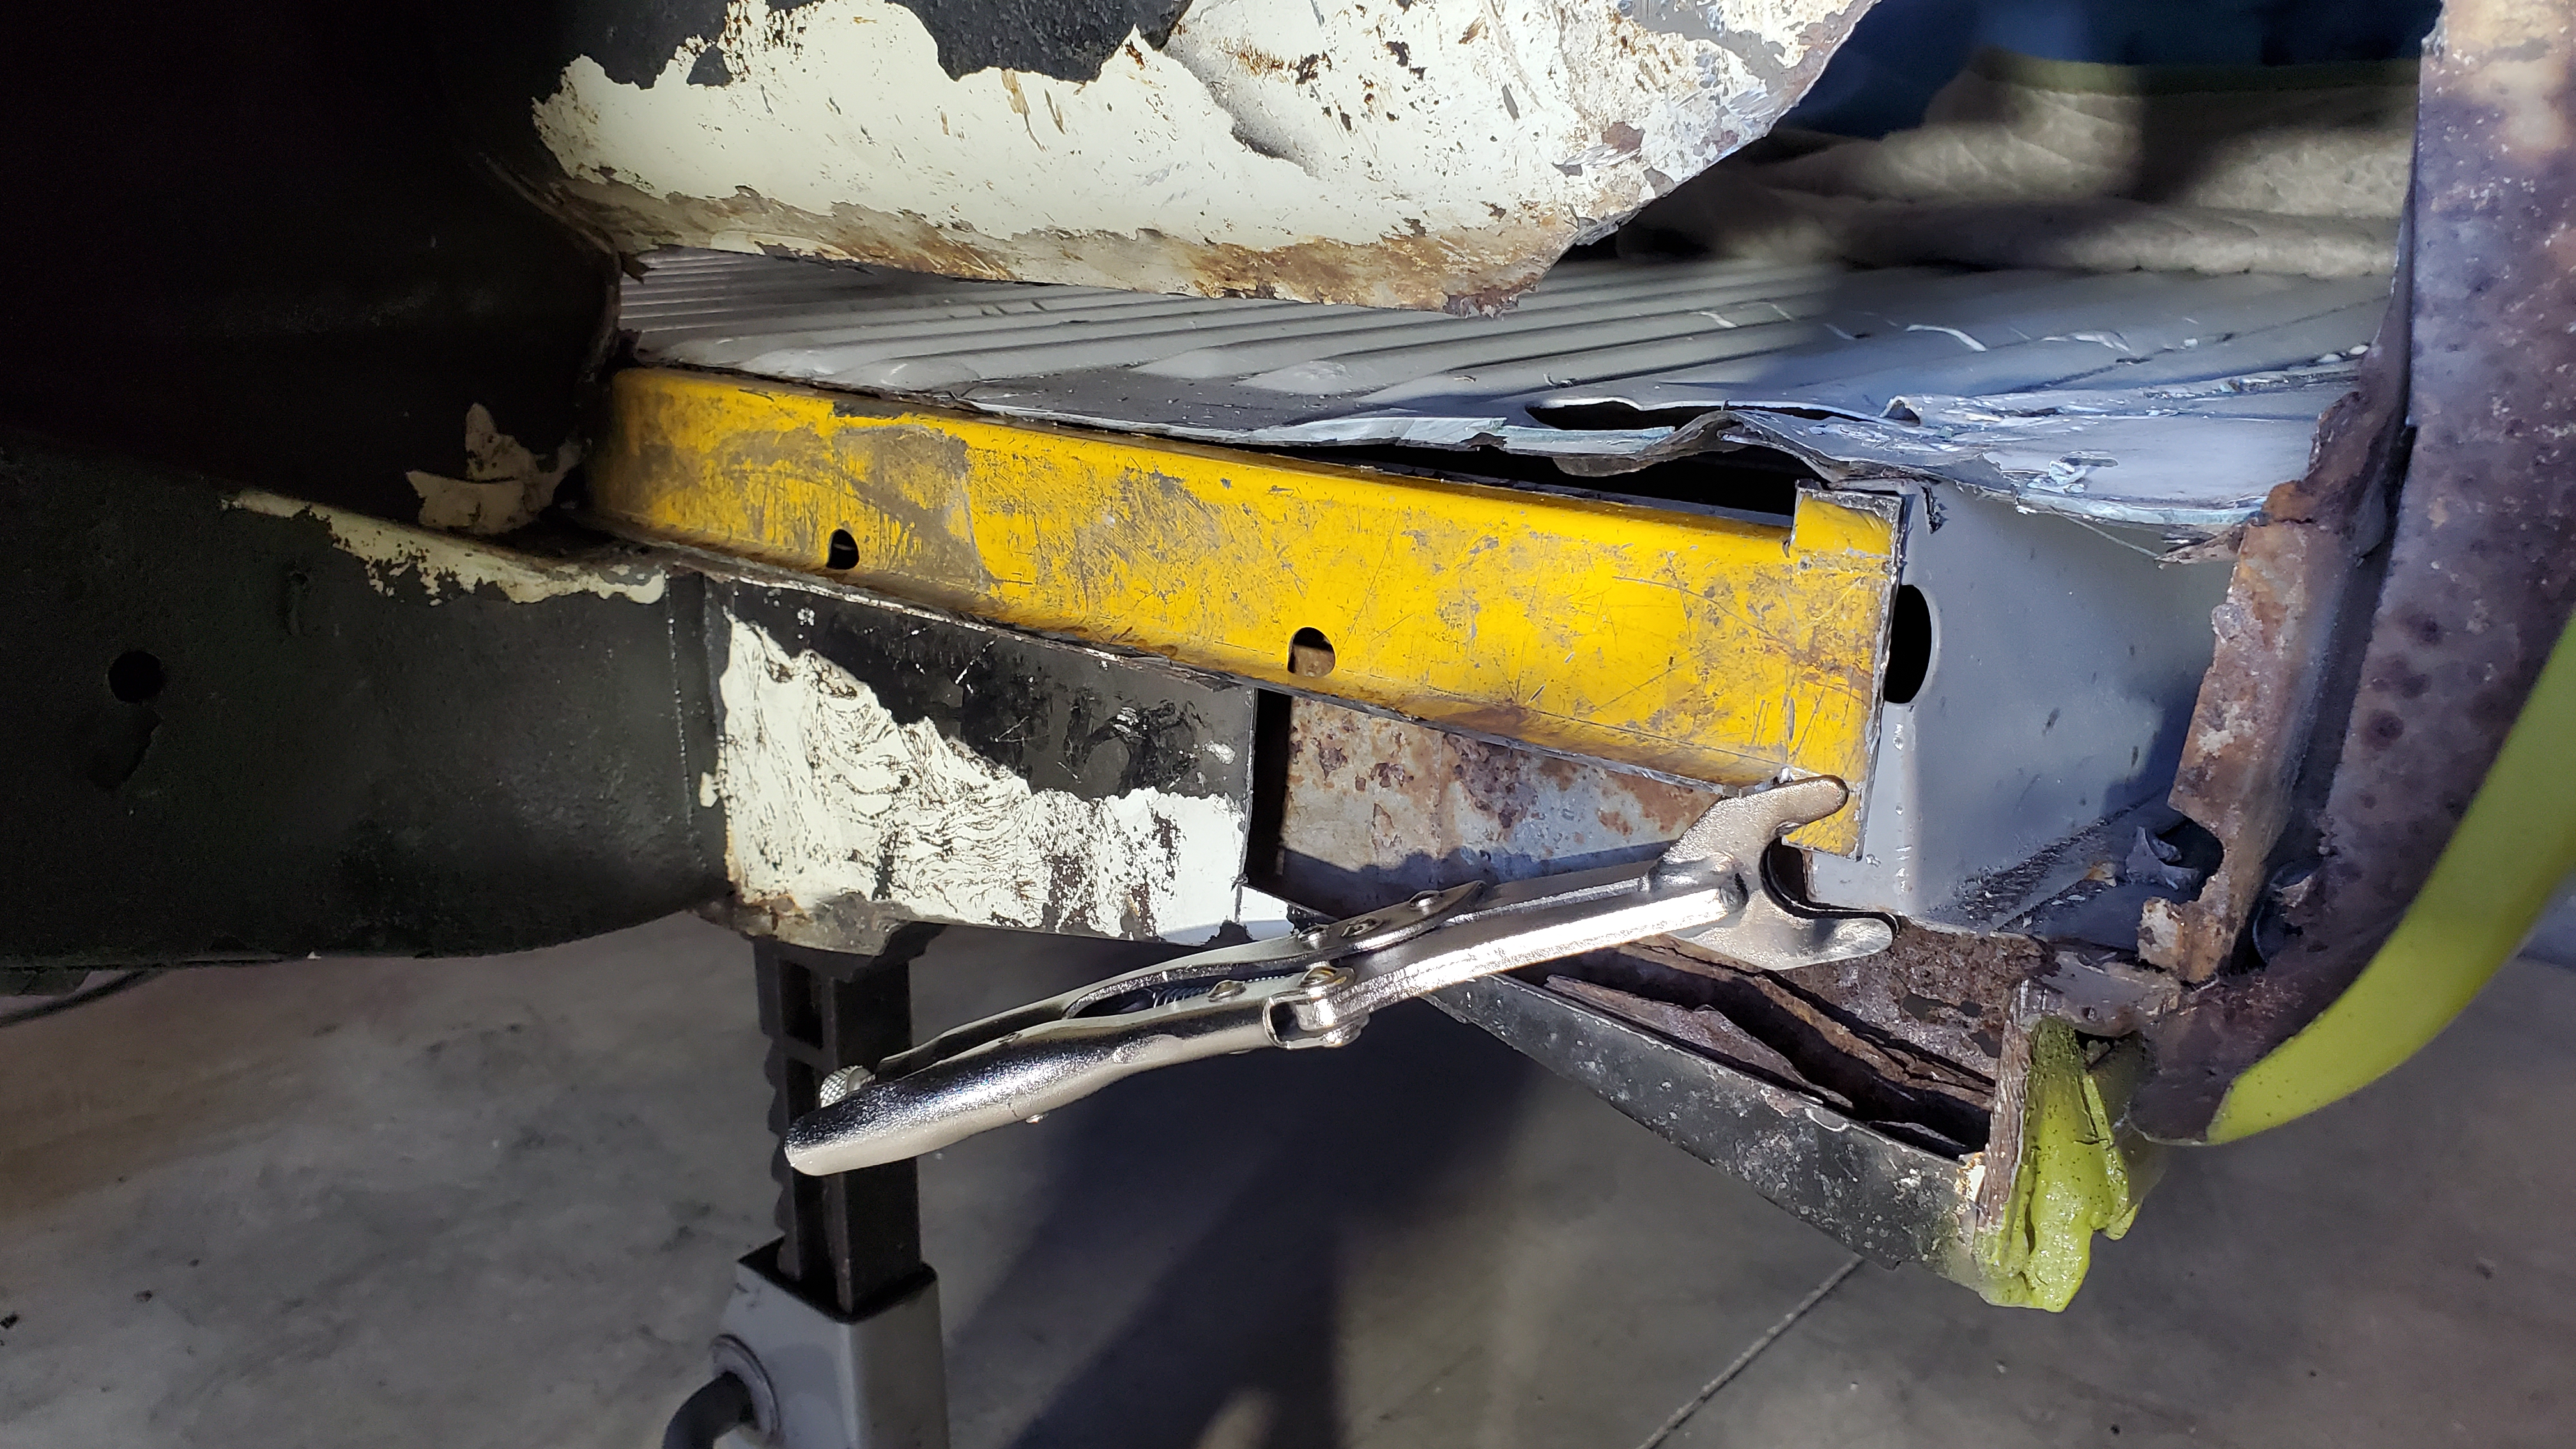
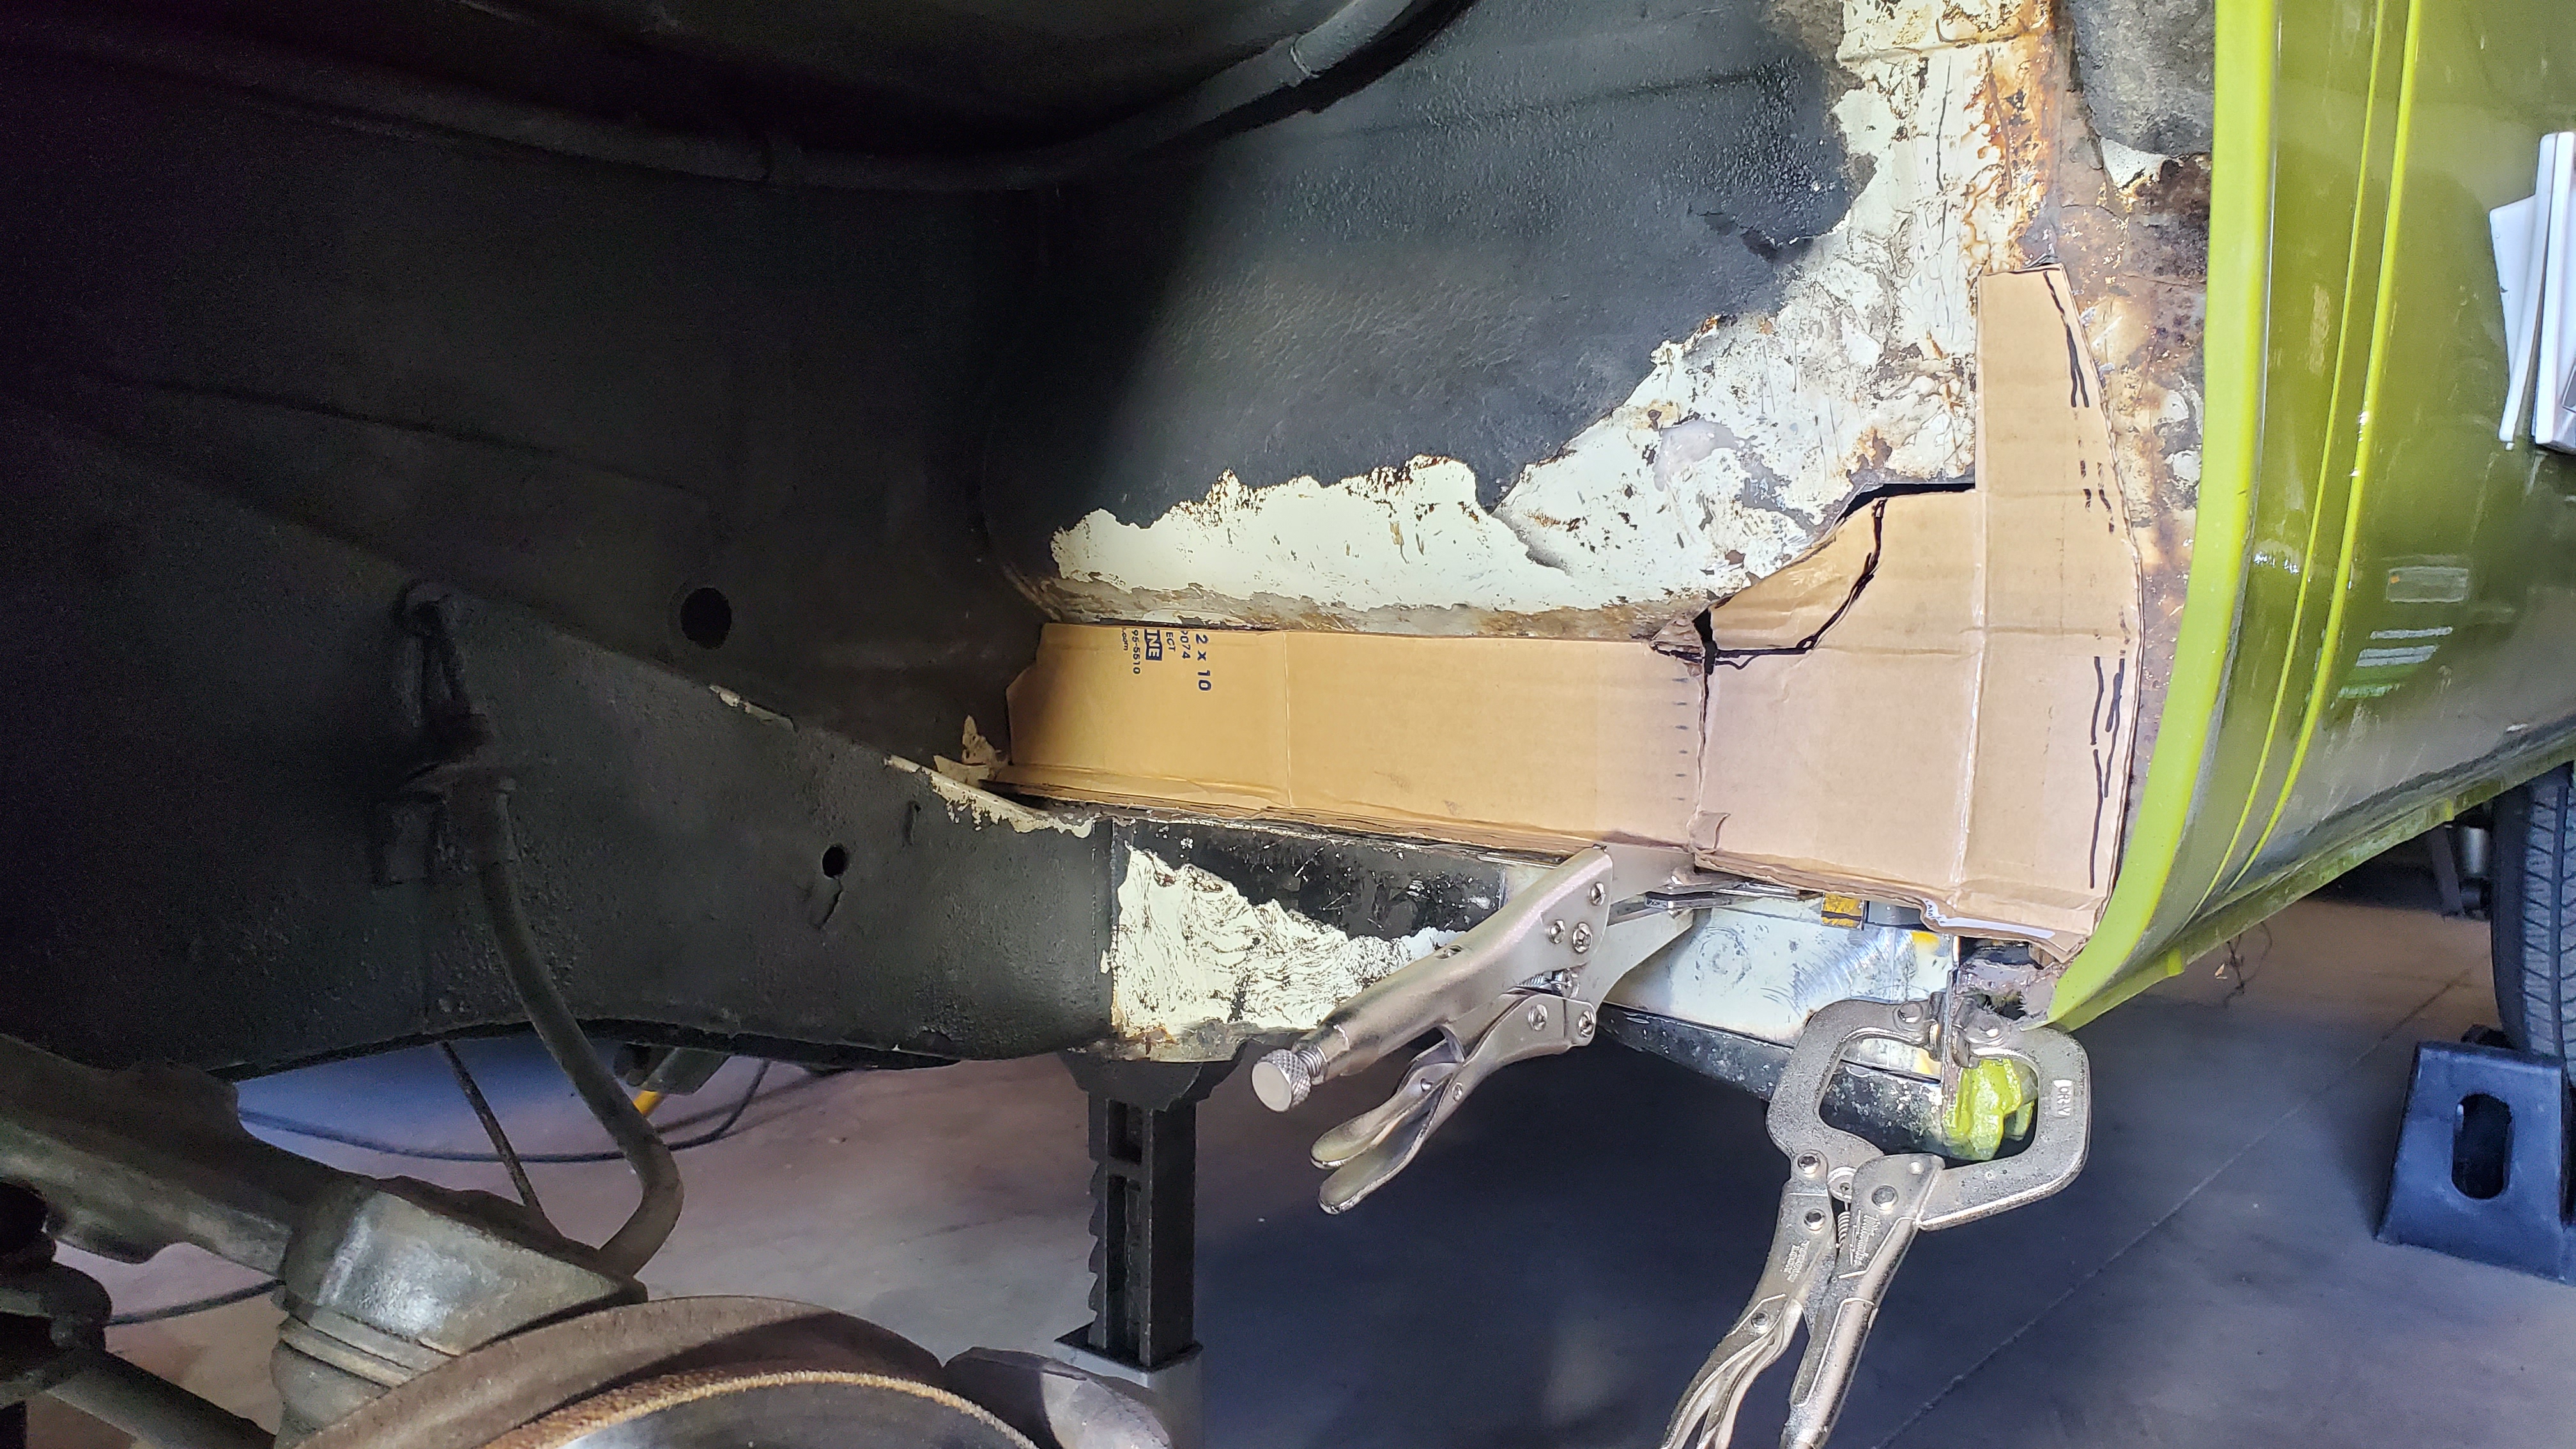
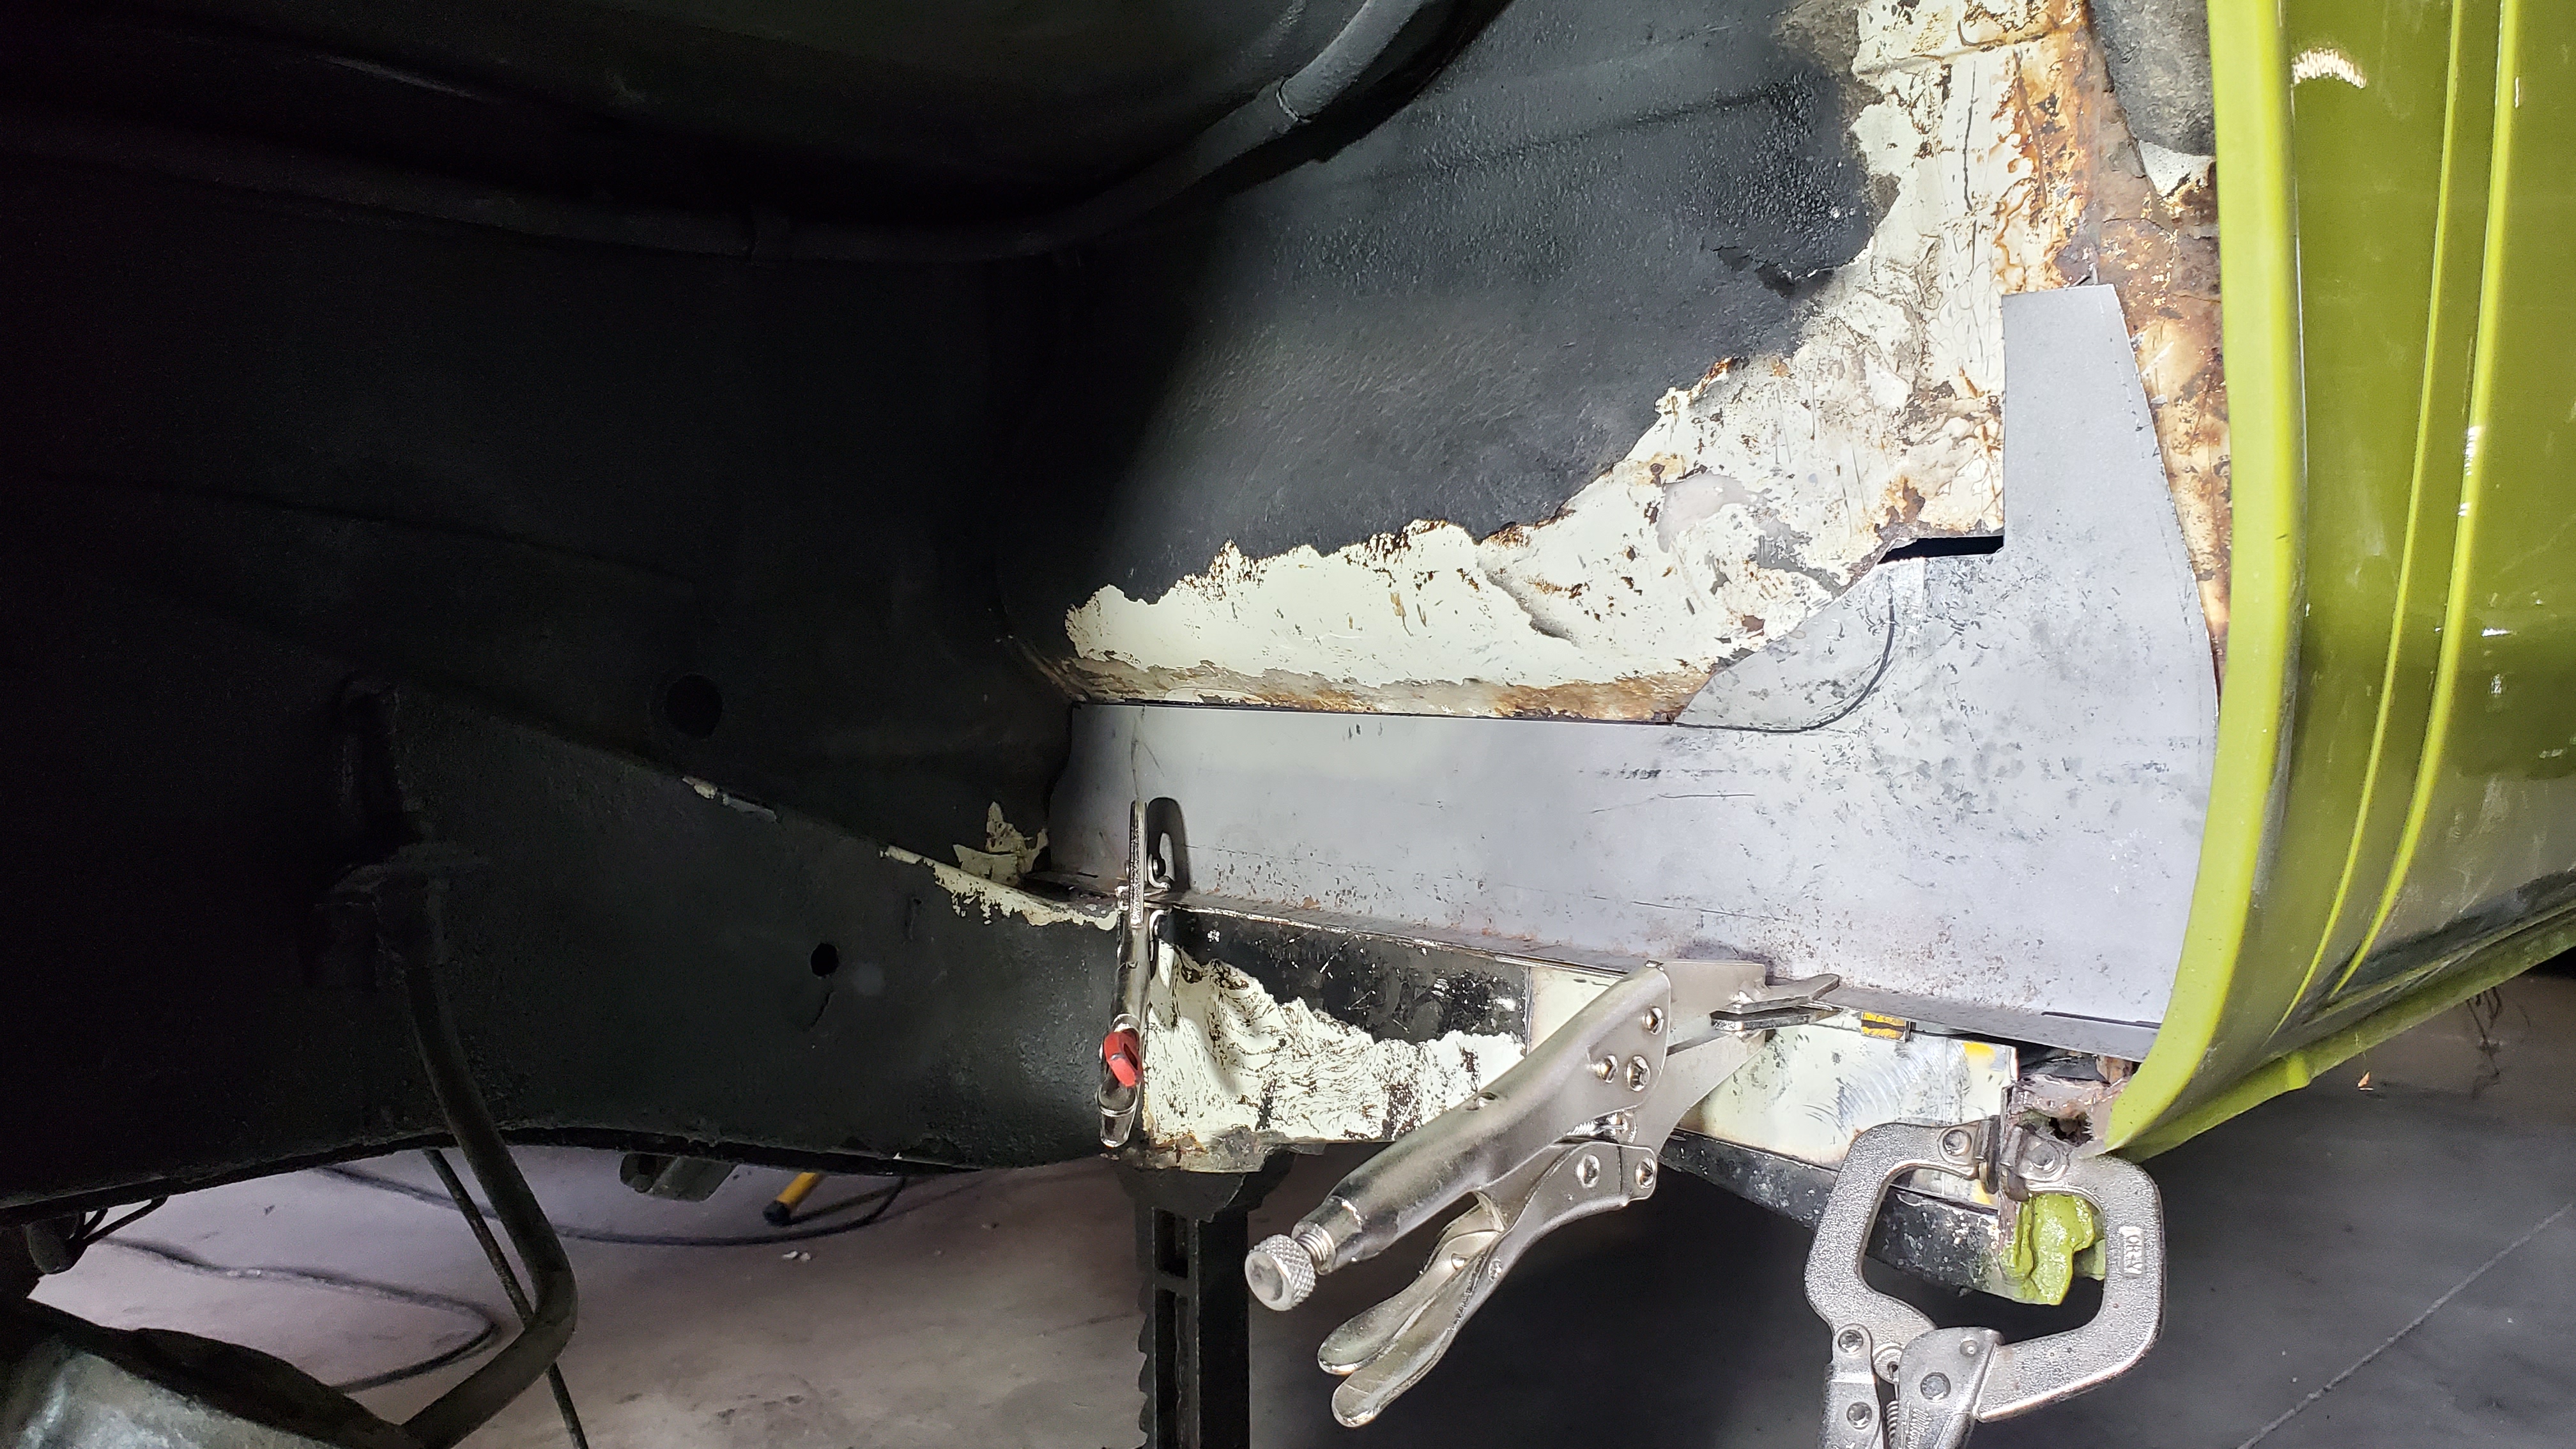
The continuation of the front wheel well rust hole. I use cardboard to get the general shape and bend the metal accordingly. I had some thick metal from a commercial shelf that was used for the inner brace and jack mount repair, and sheet metal was used for the well. Everything is blasted, painted, welded in place, and painted again. That way the inner panels are coated.
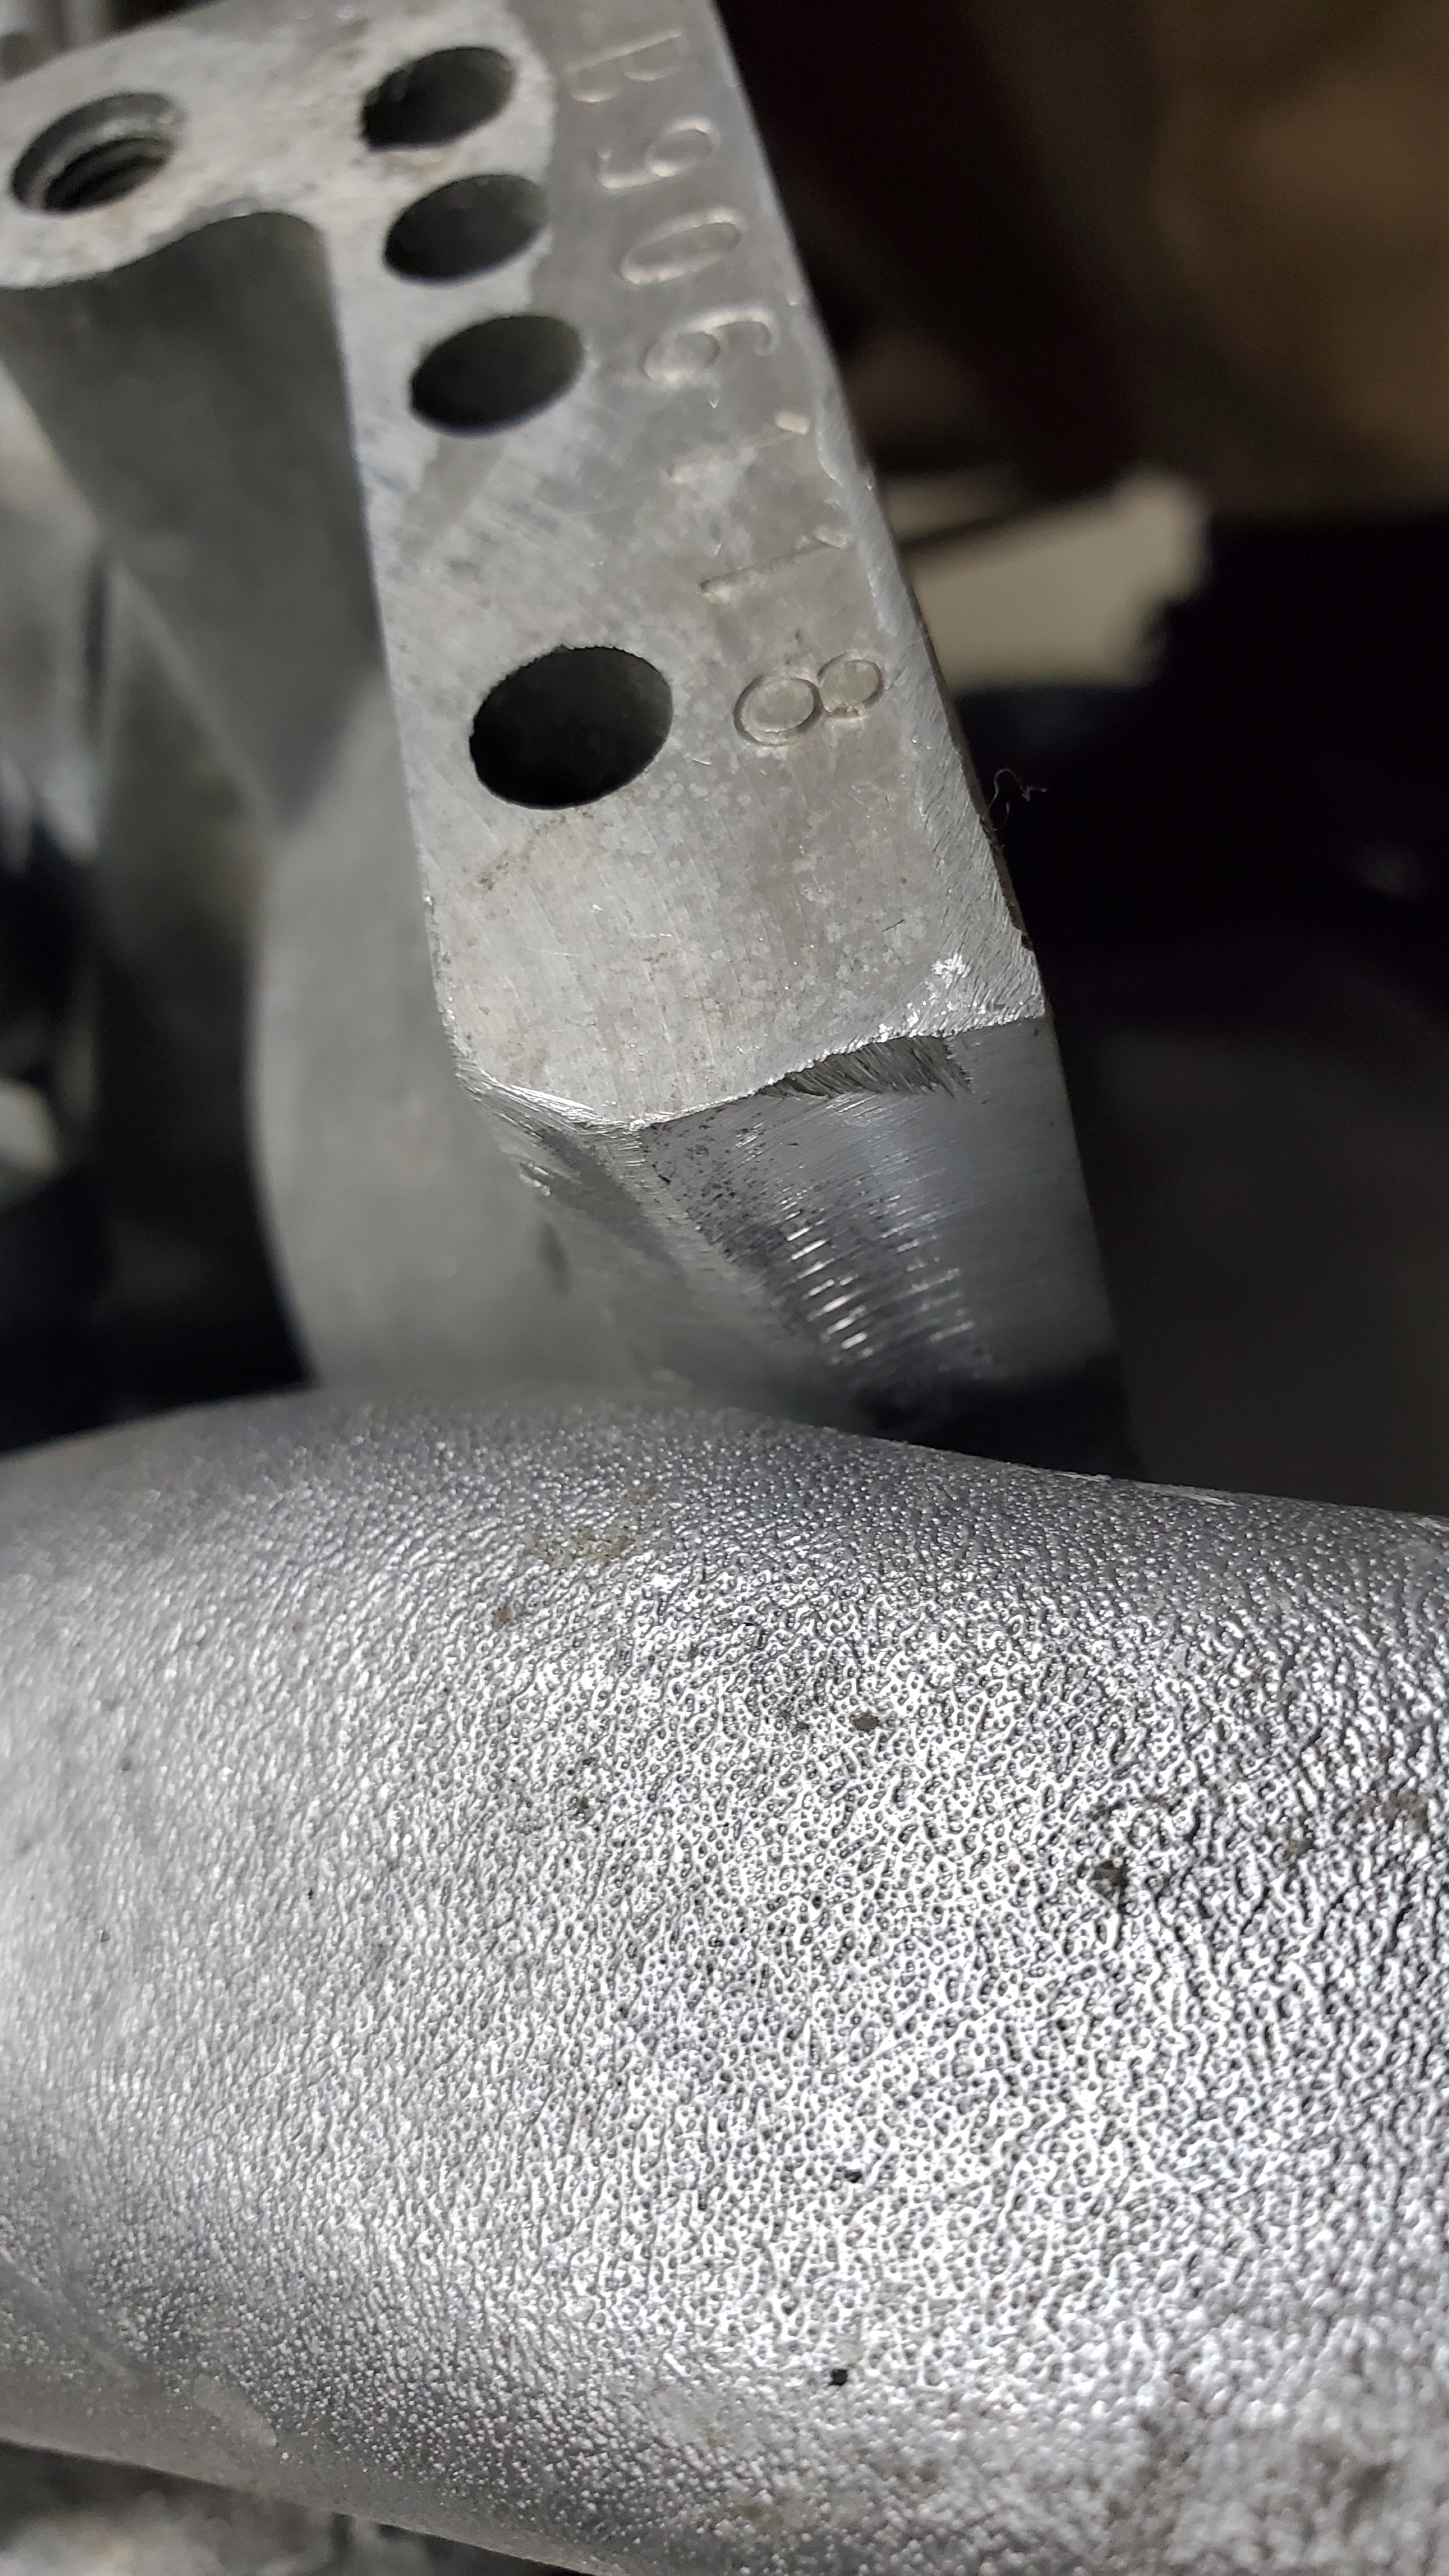
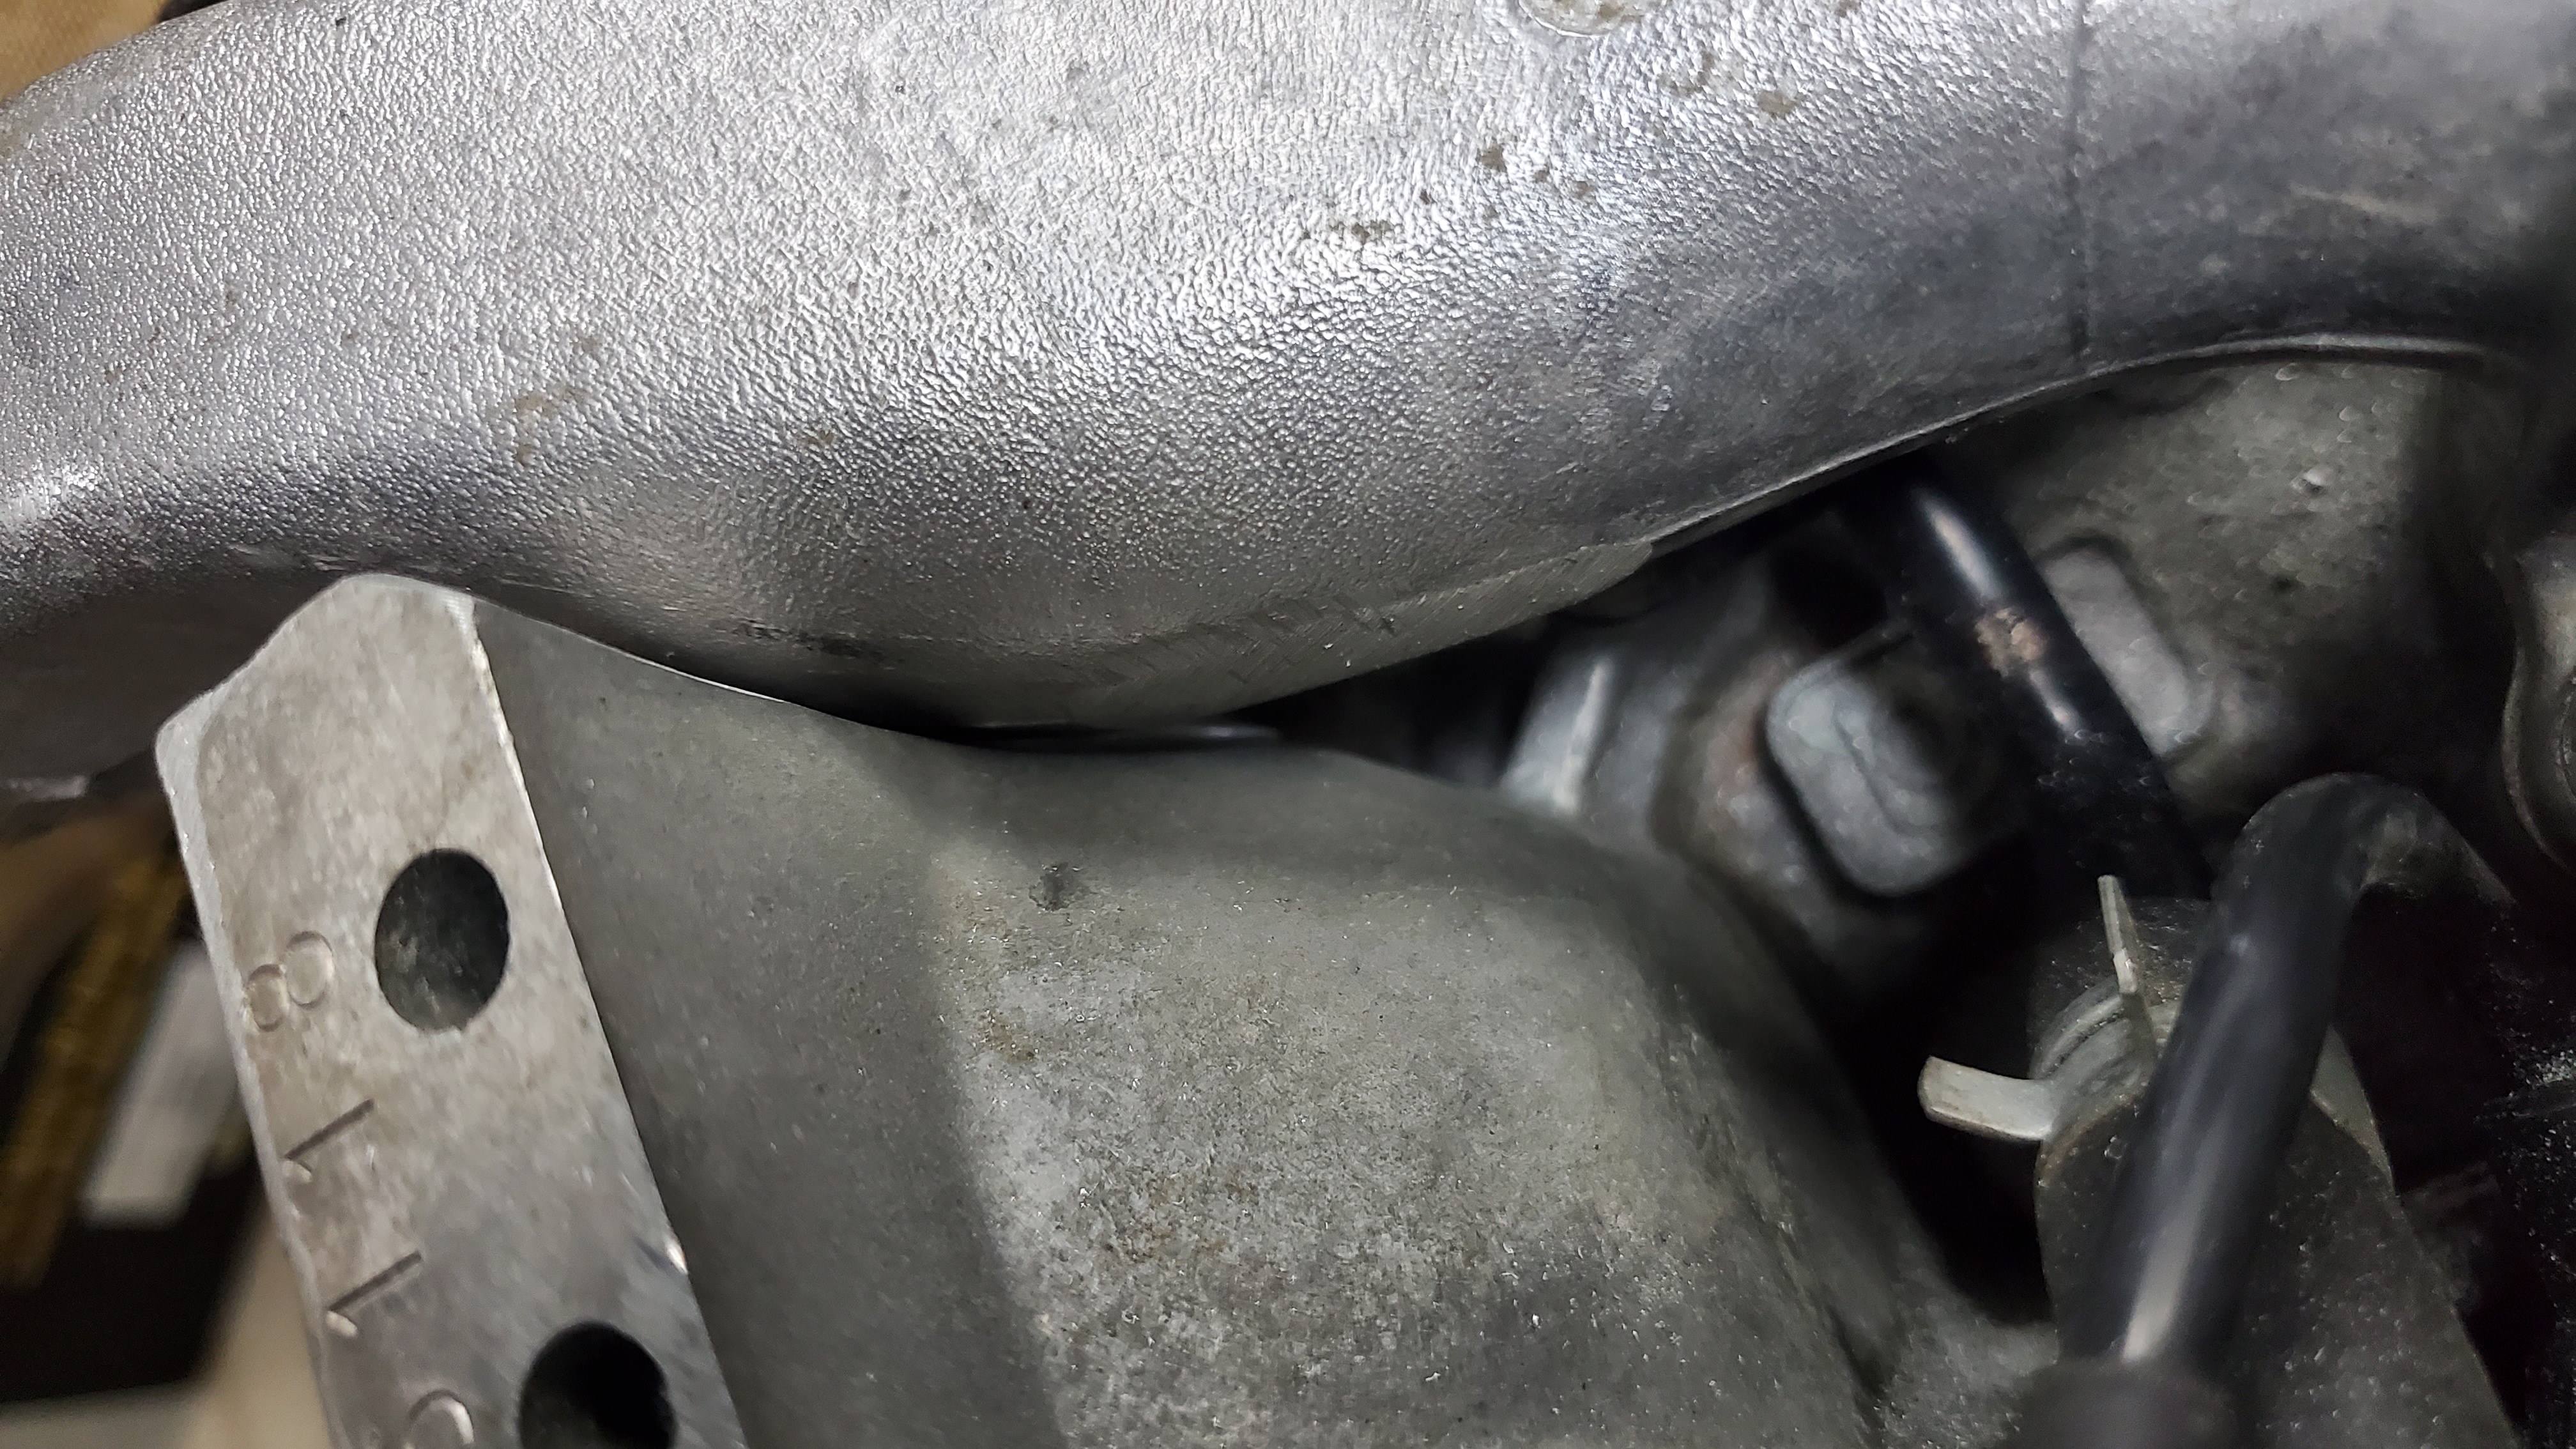
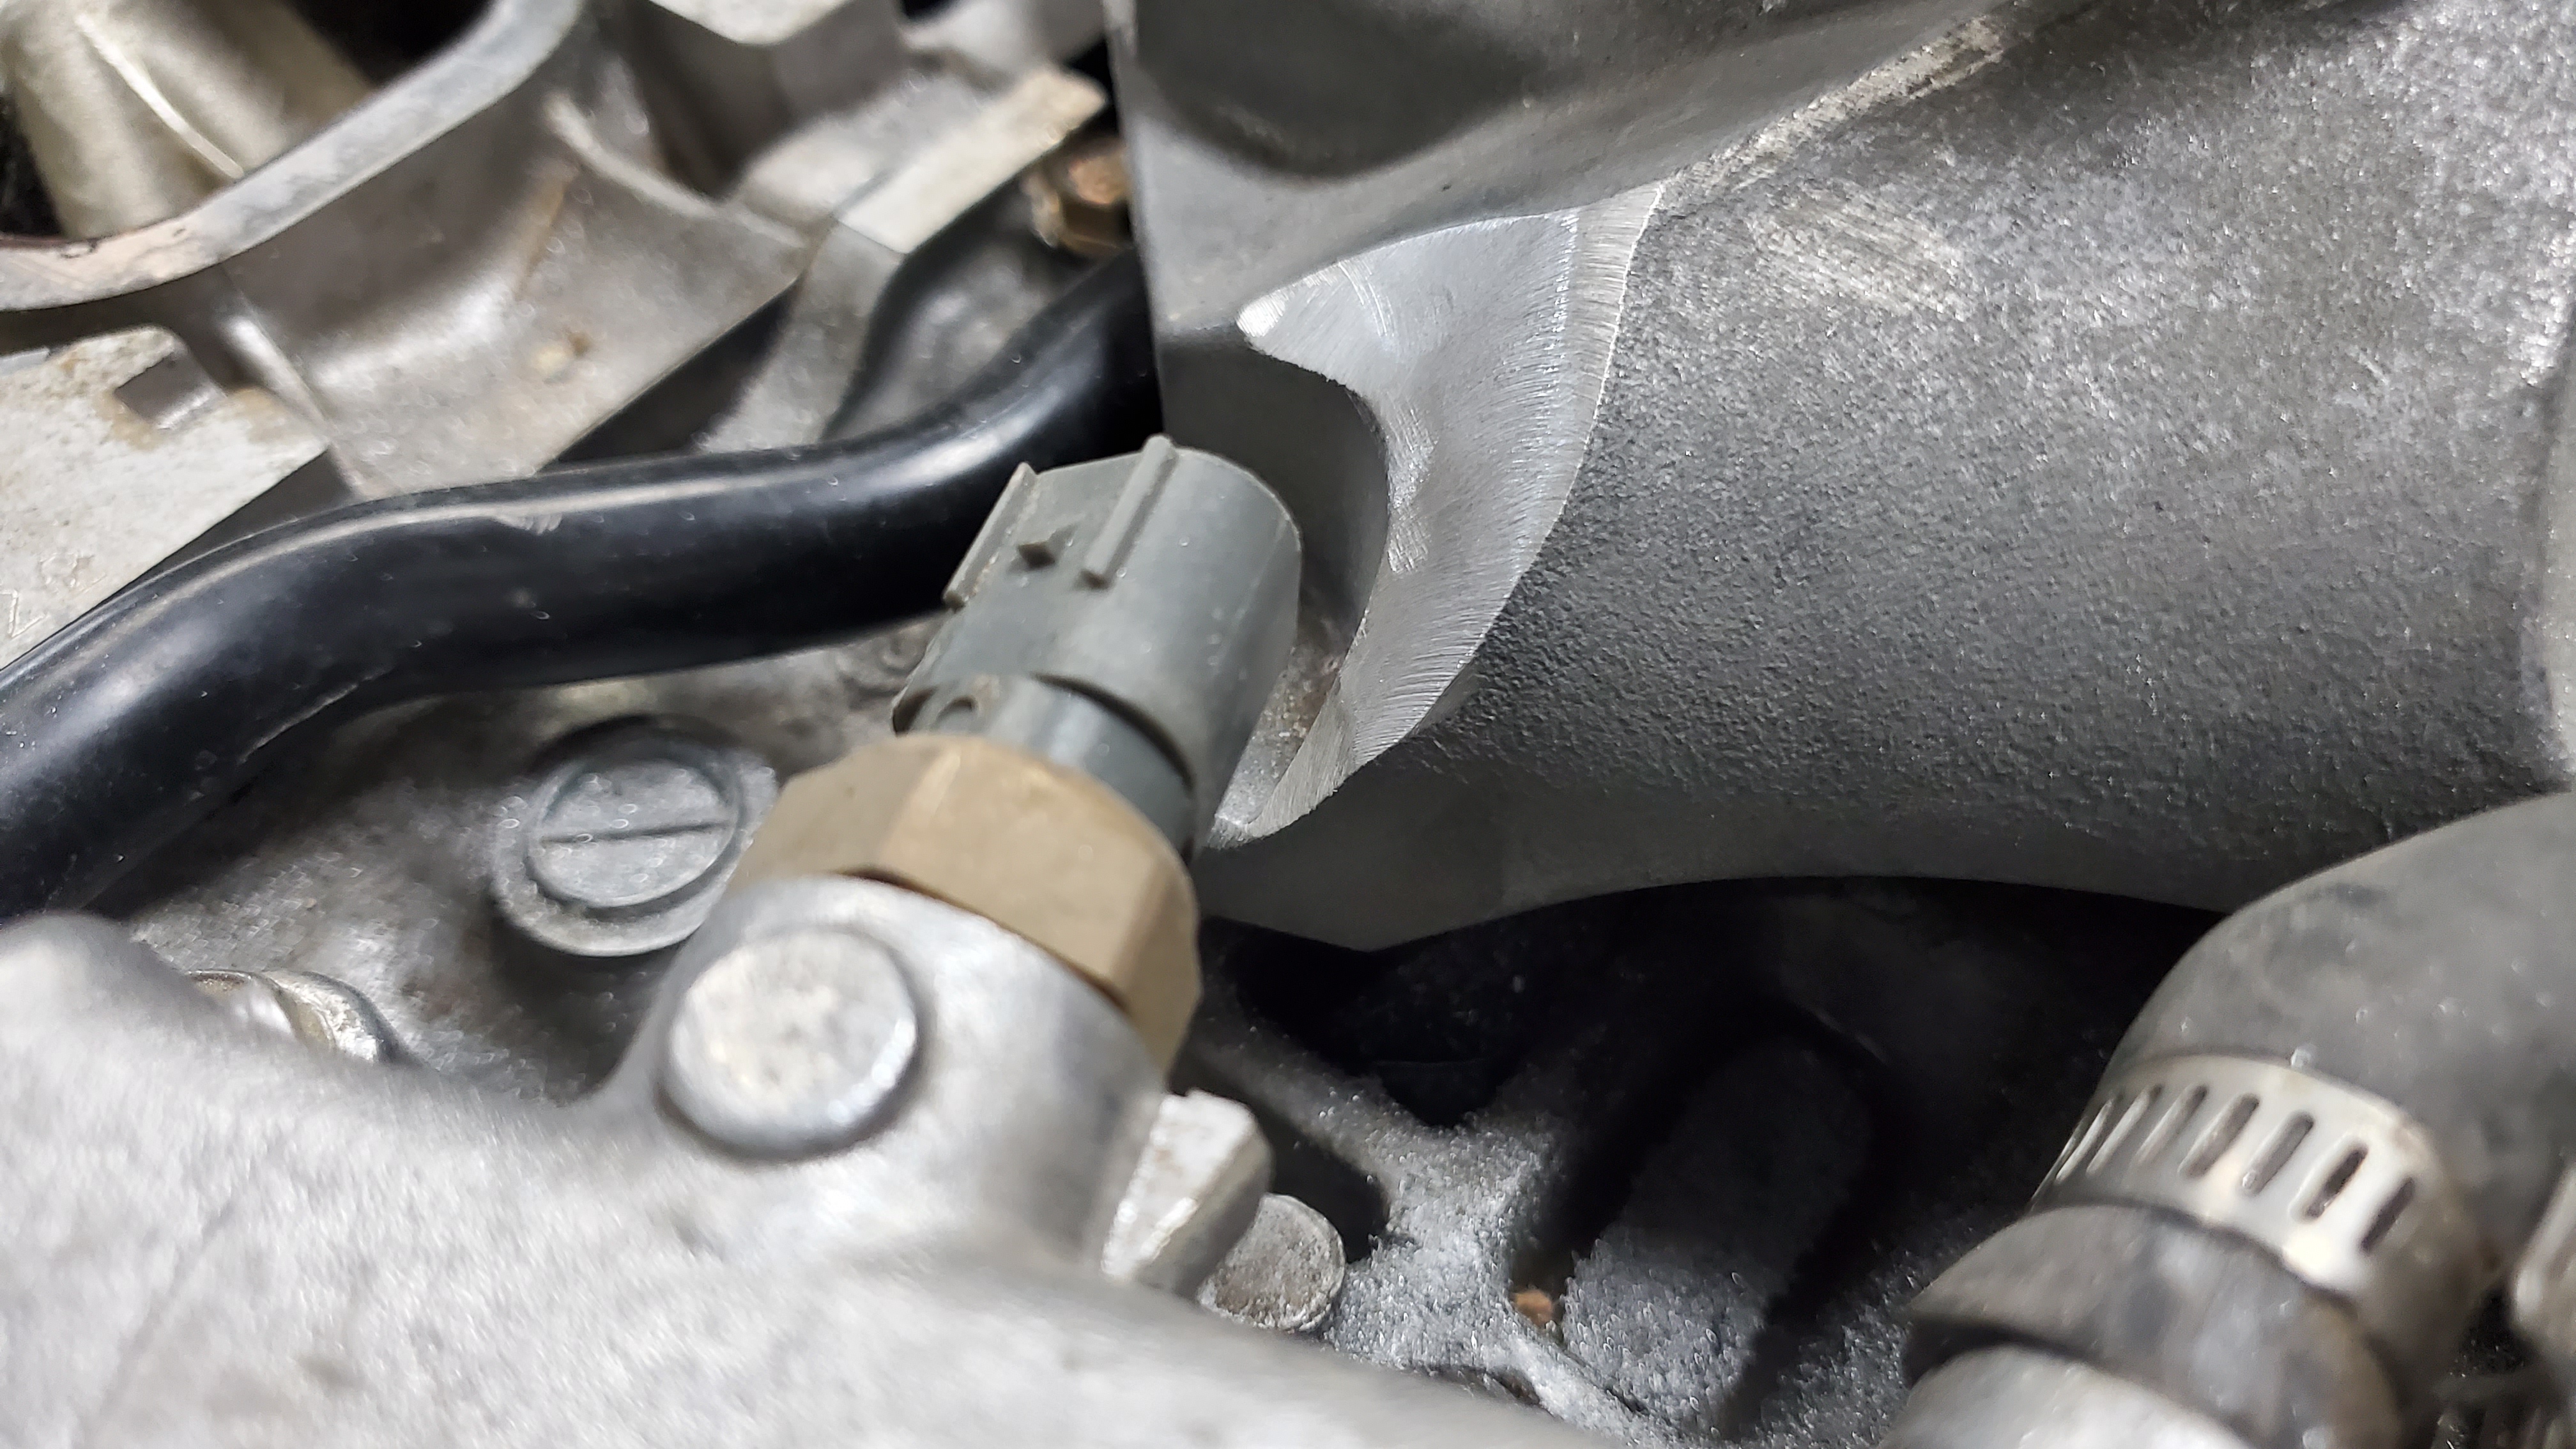
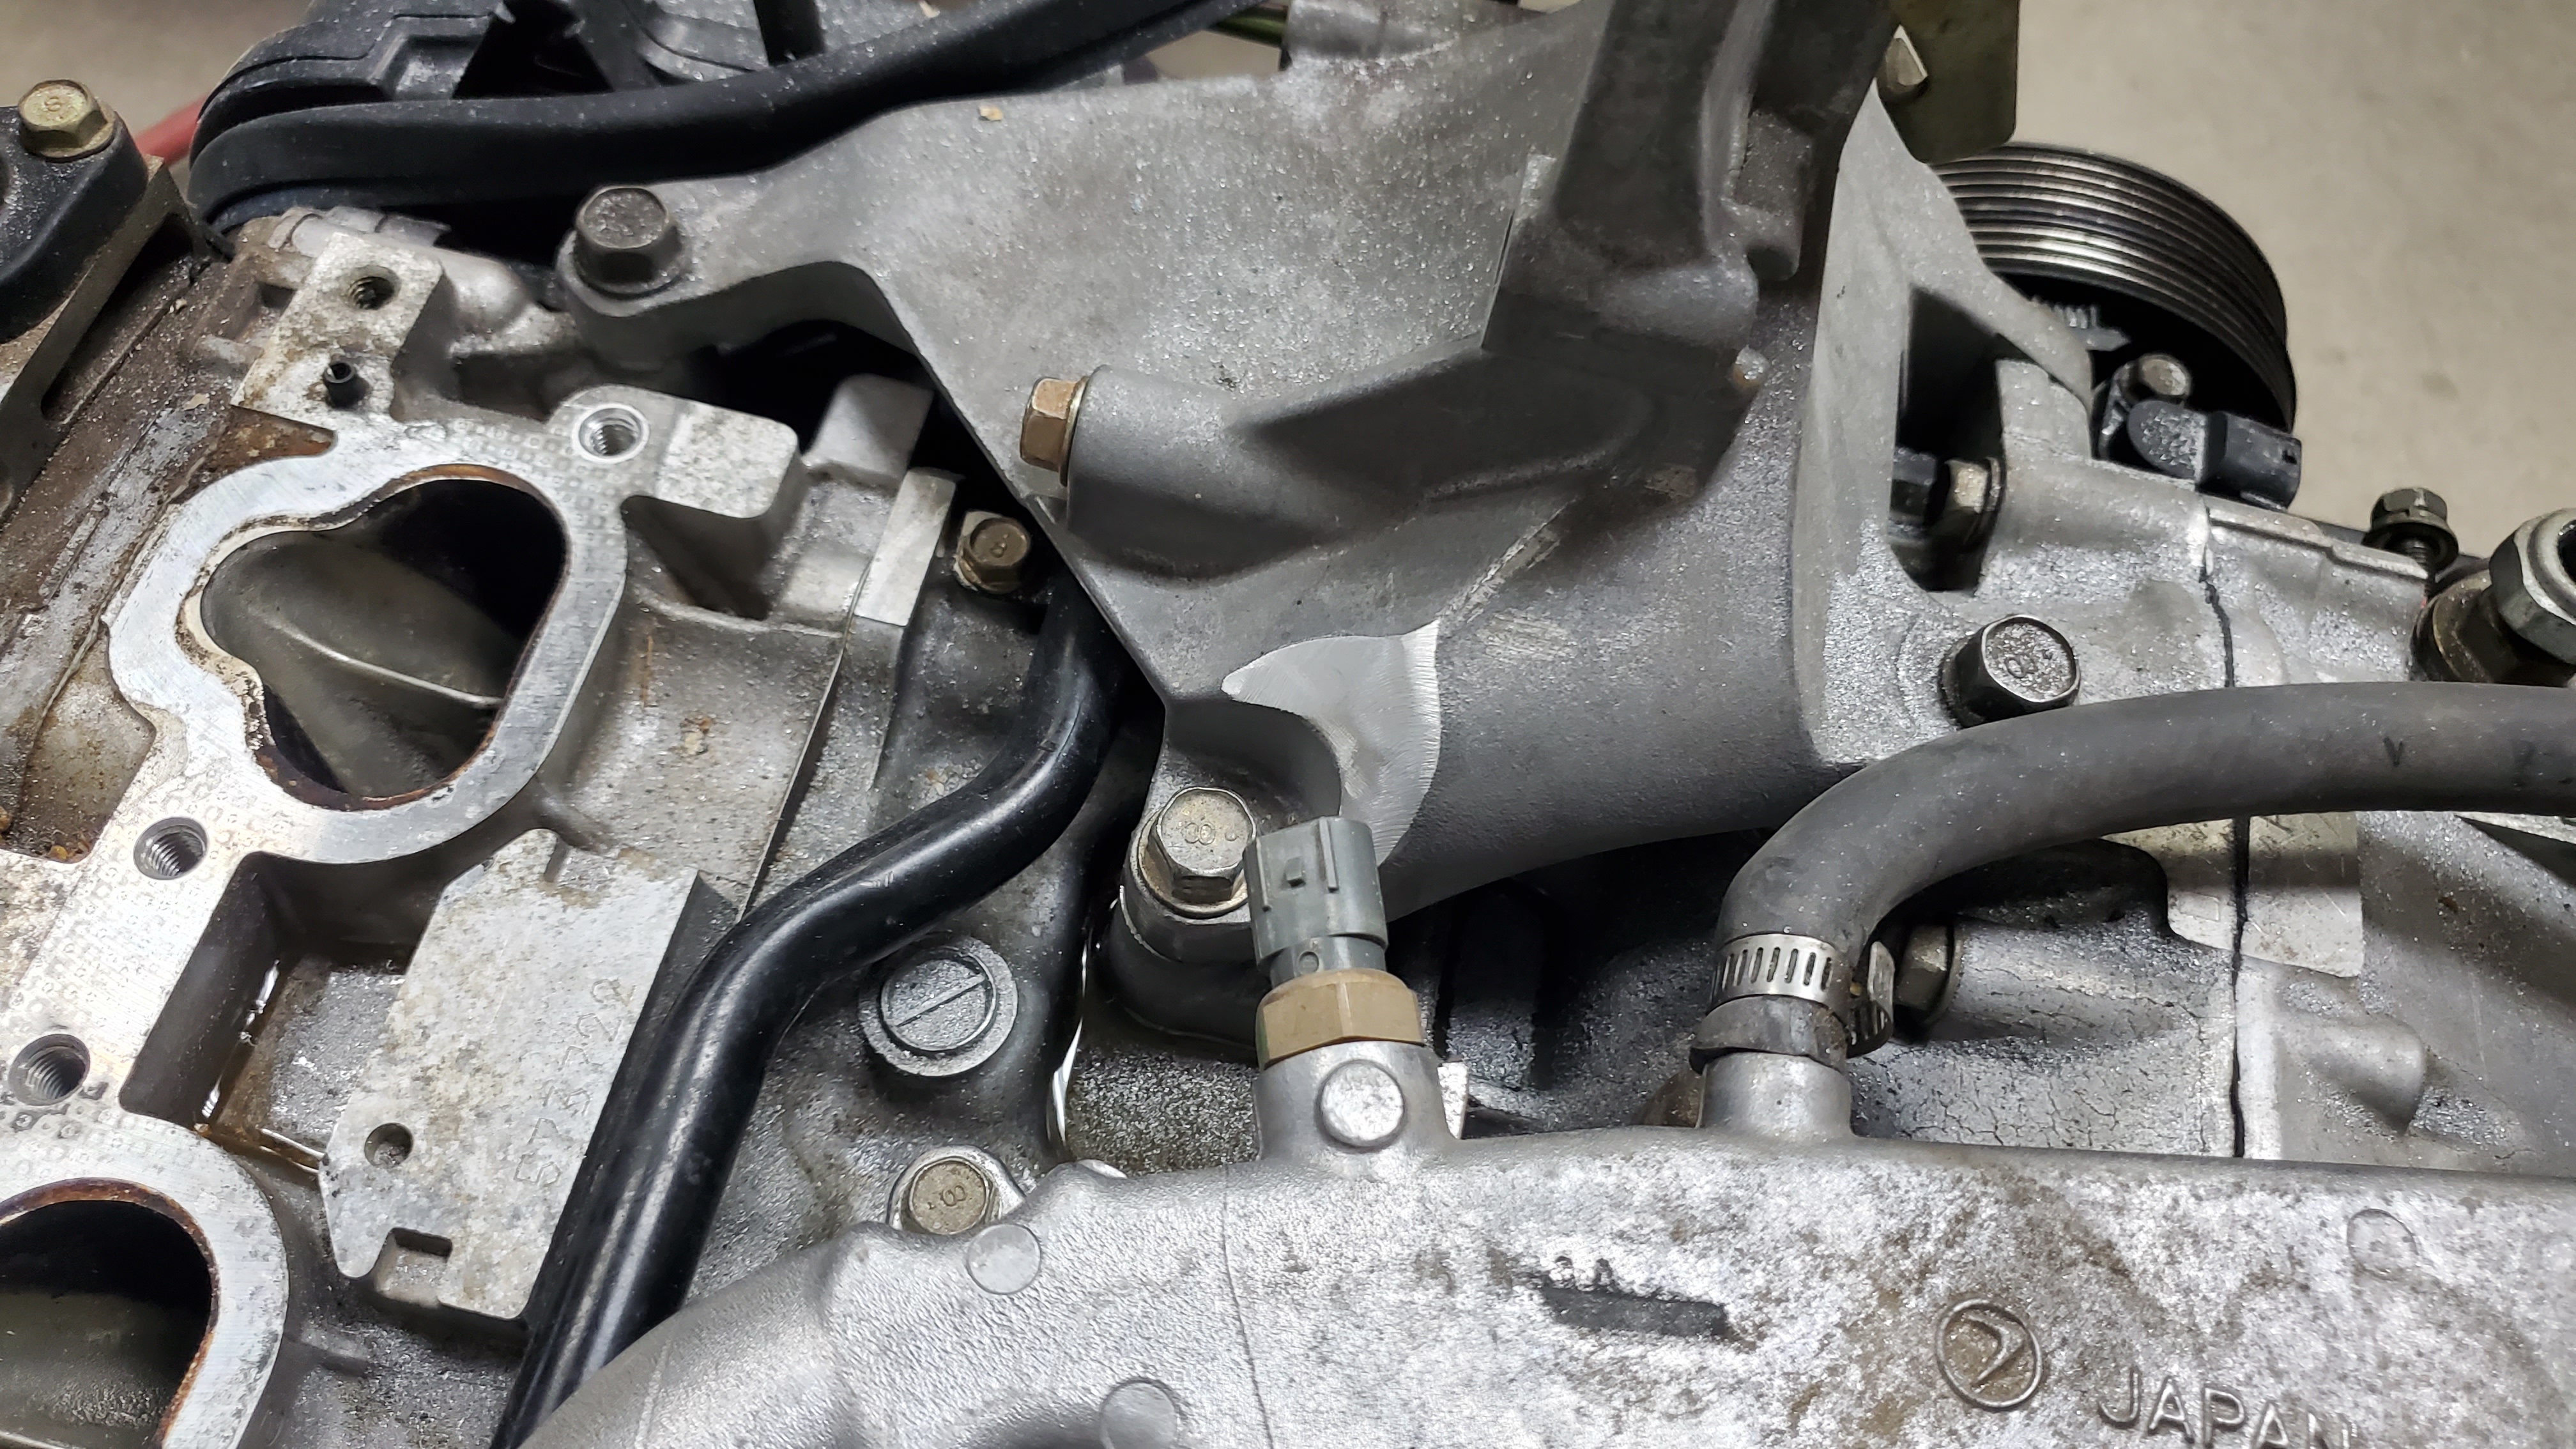
Some of the clearancing needed to flip a water intake on top of the engine.
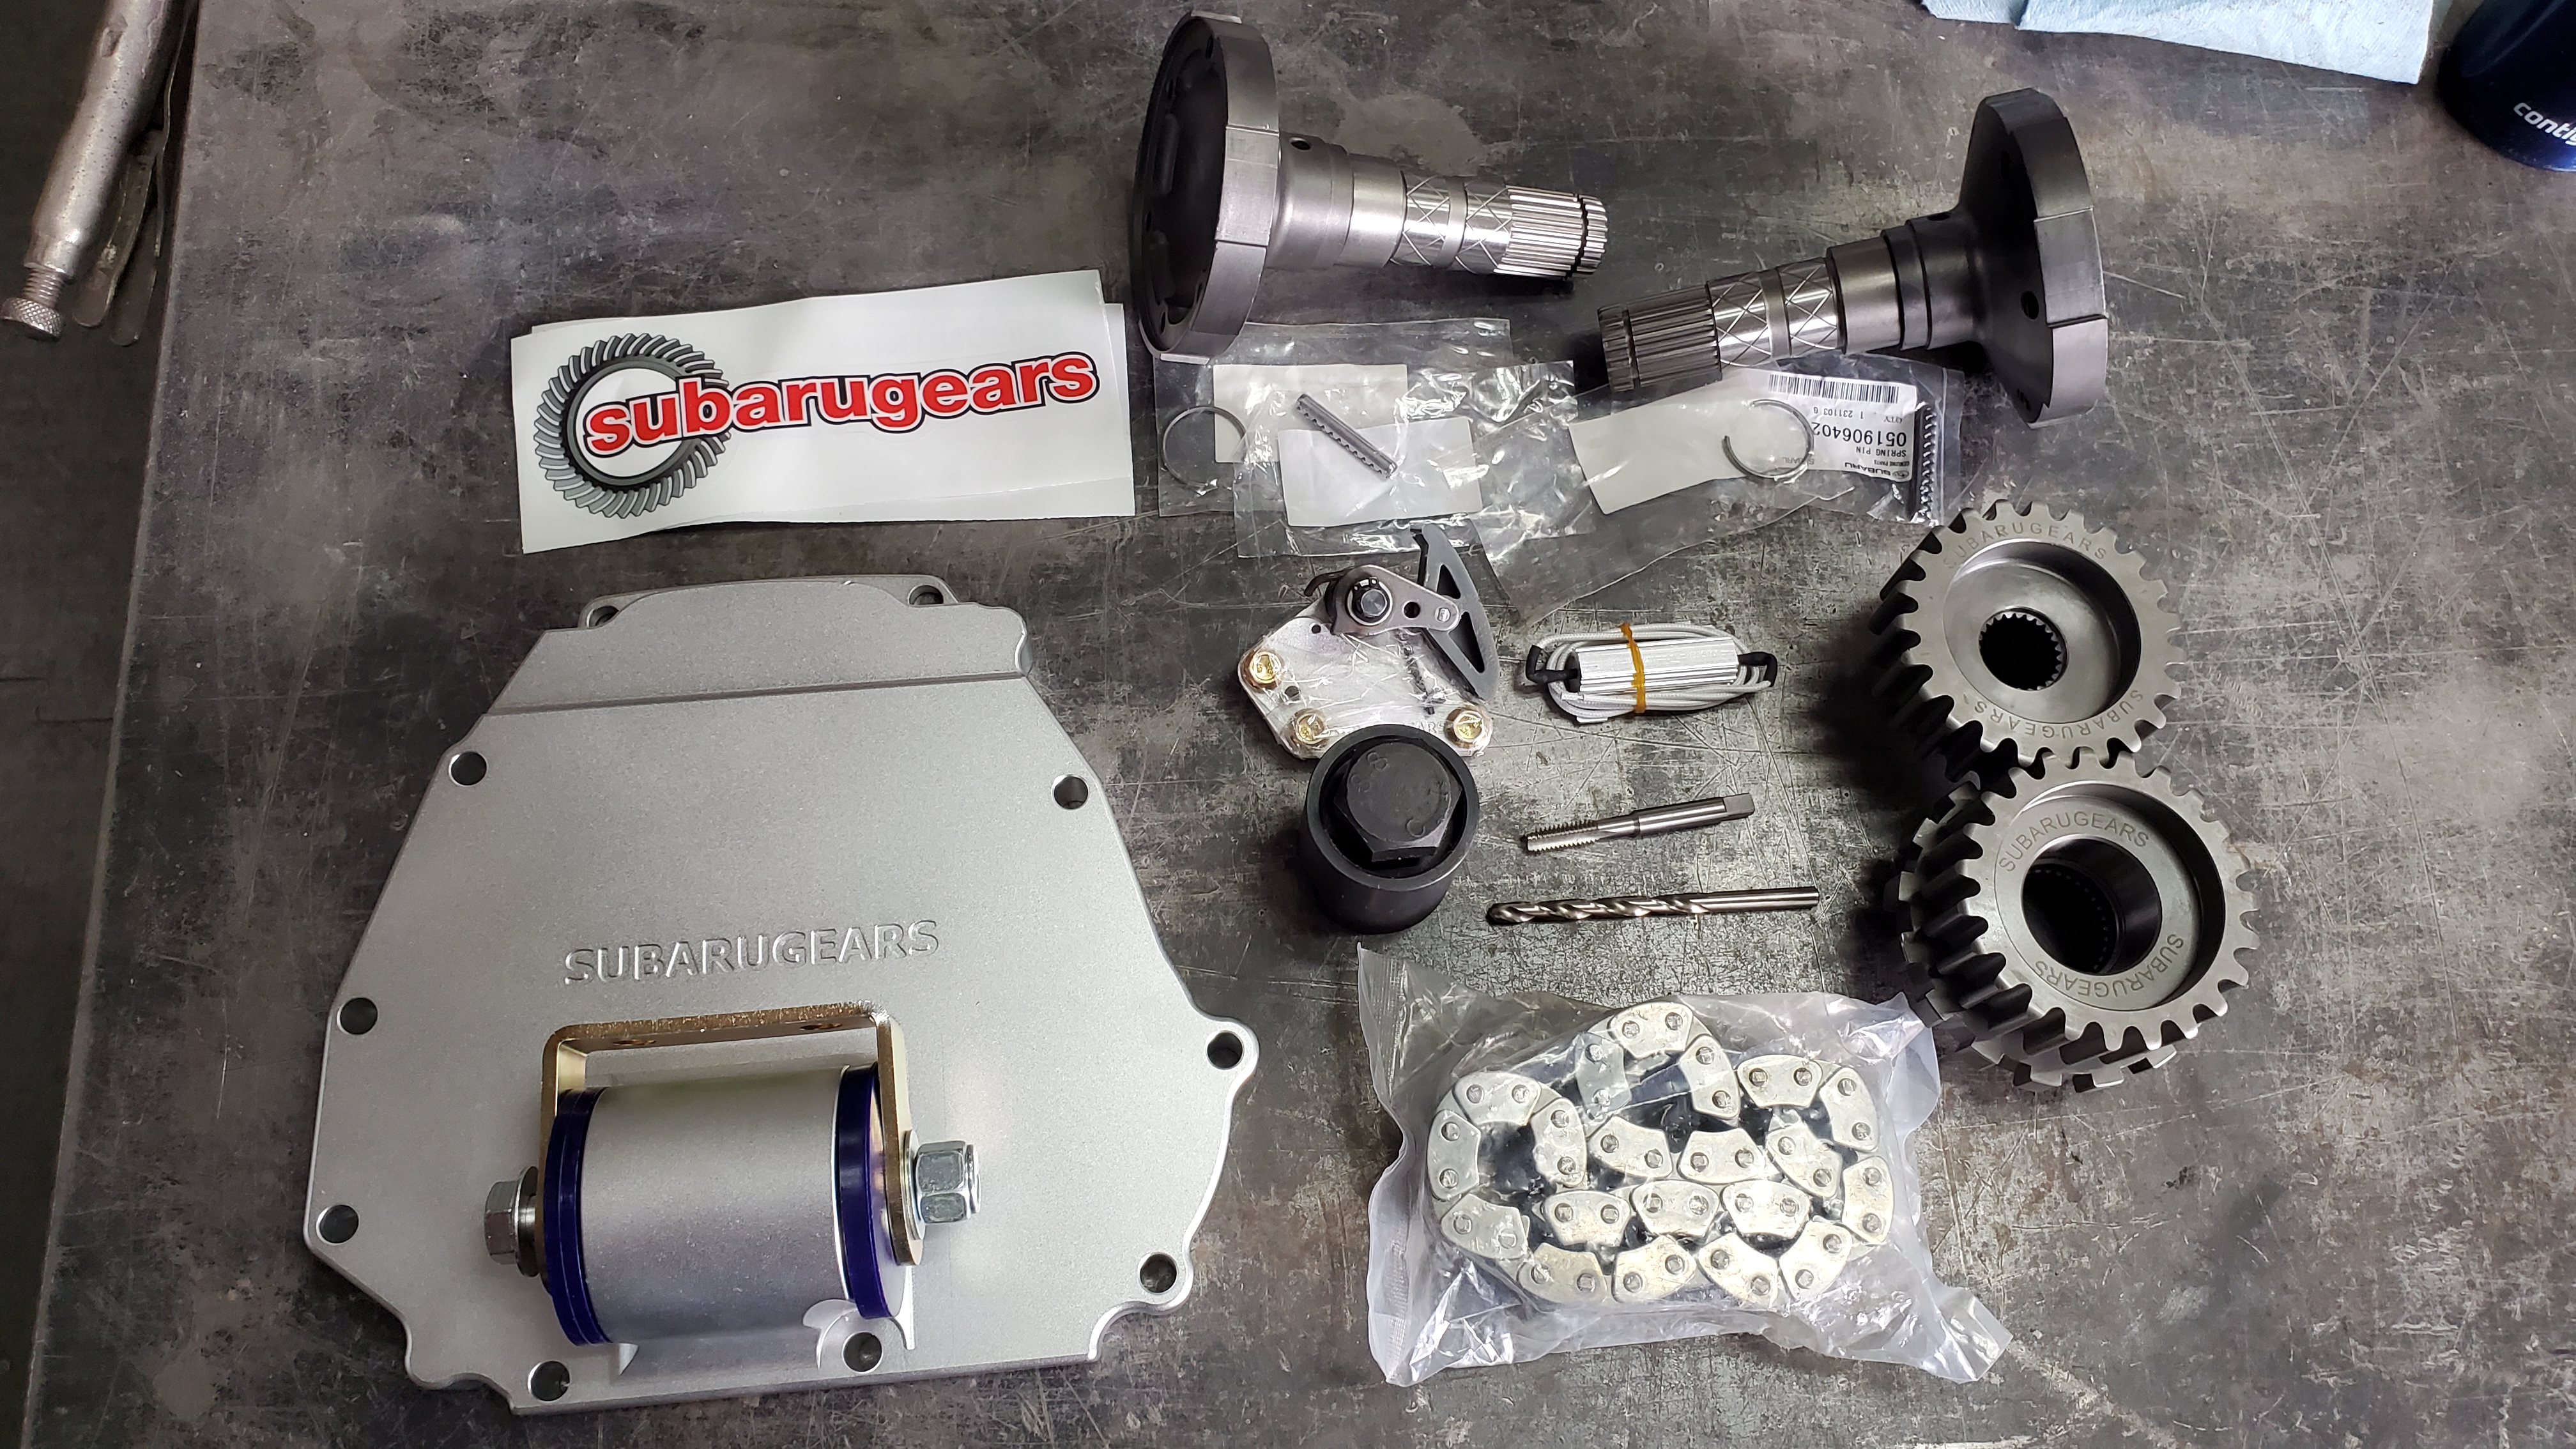
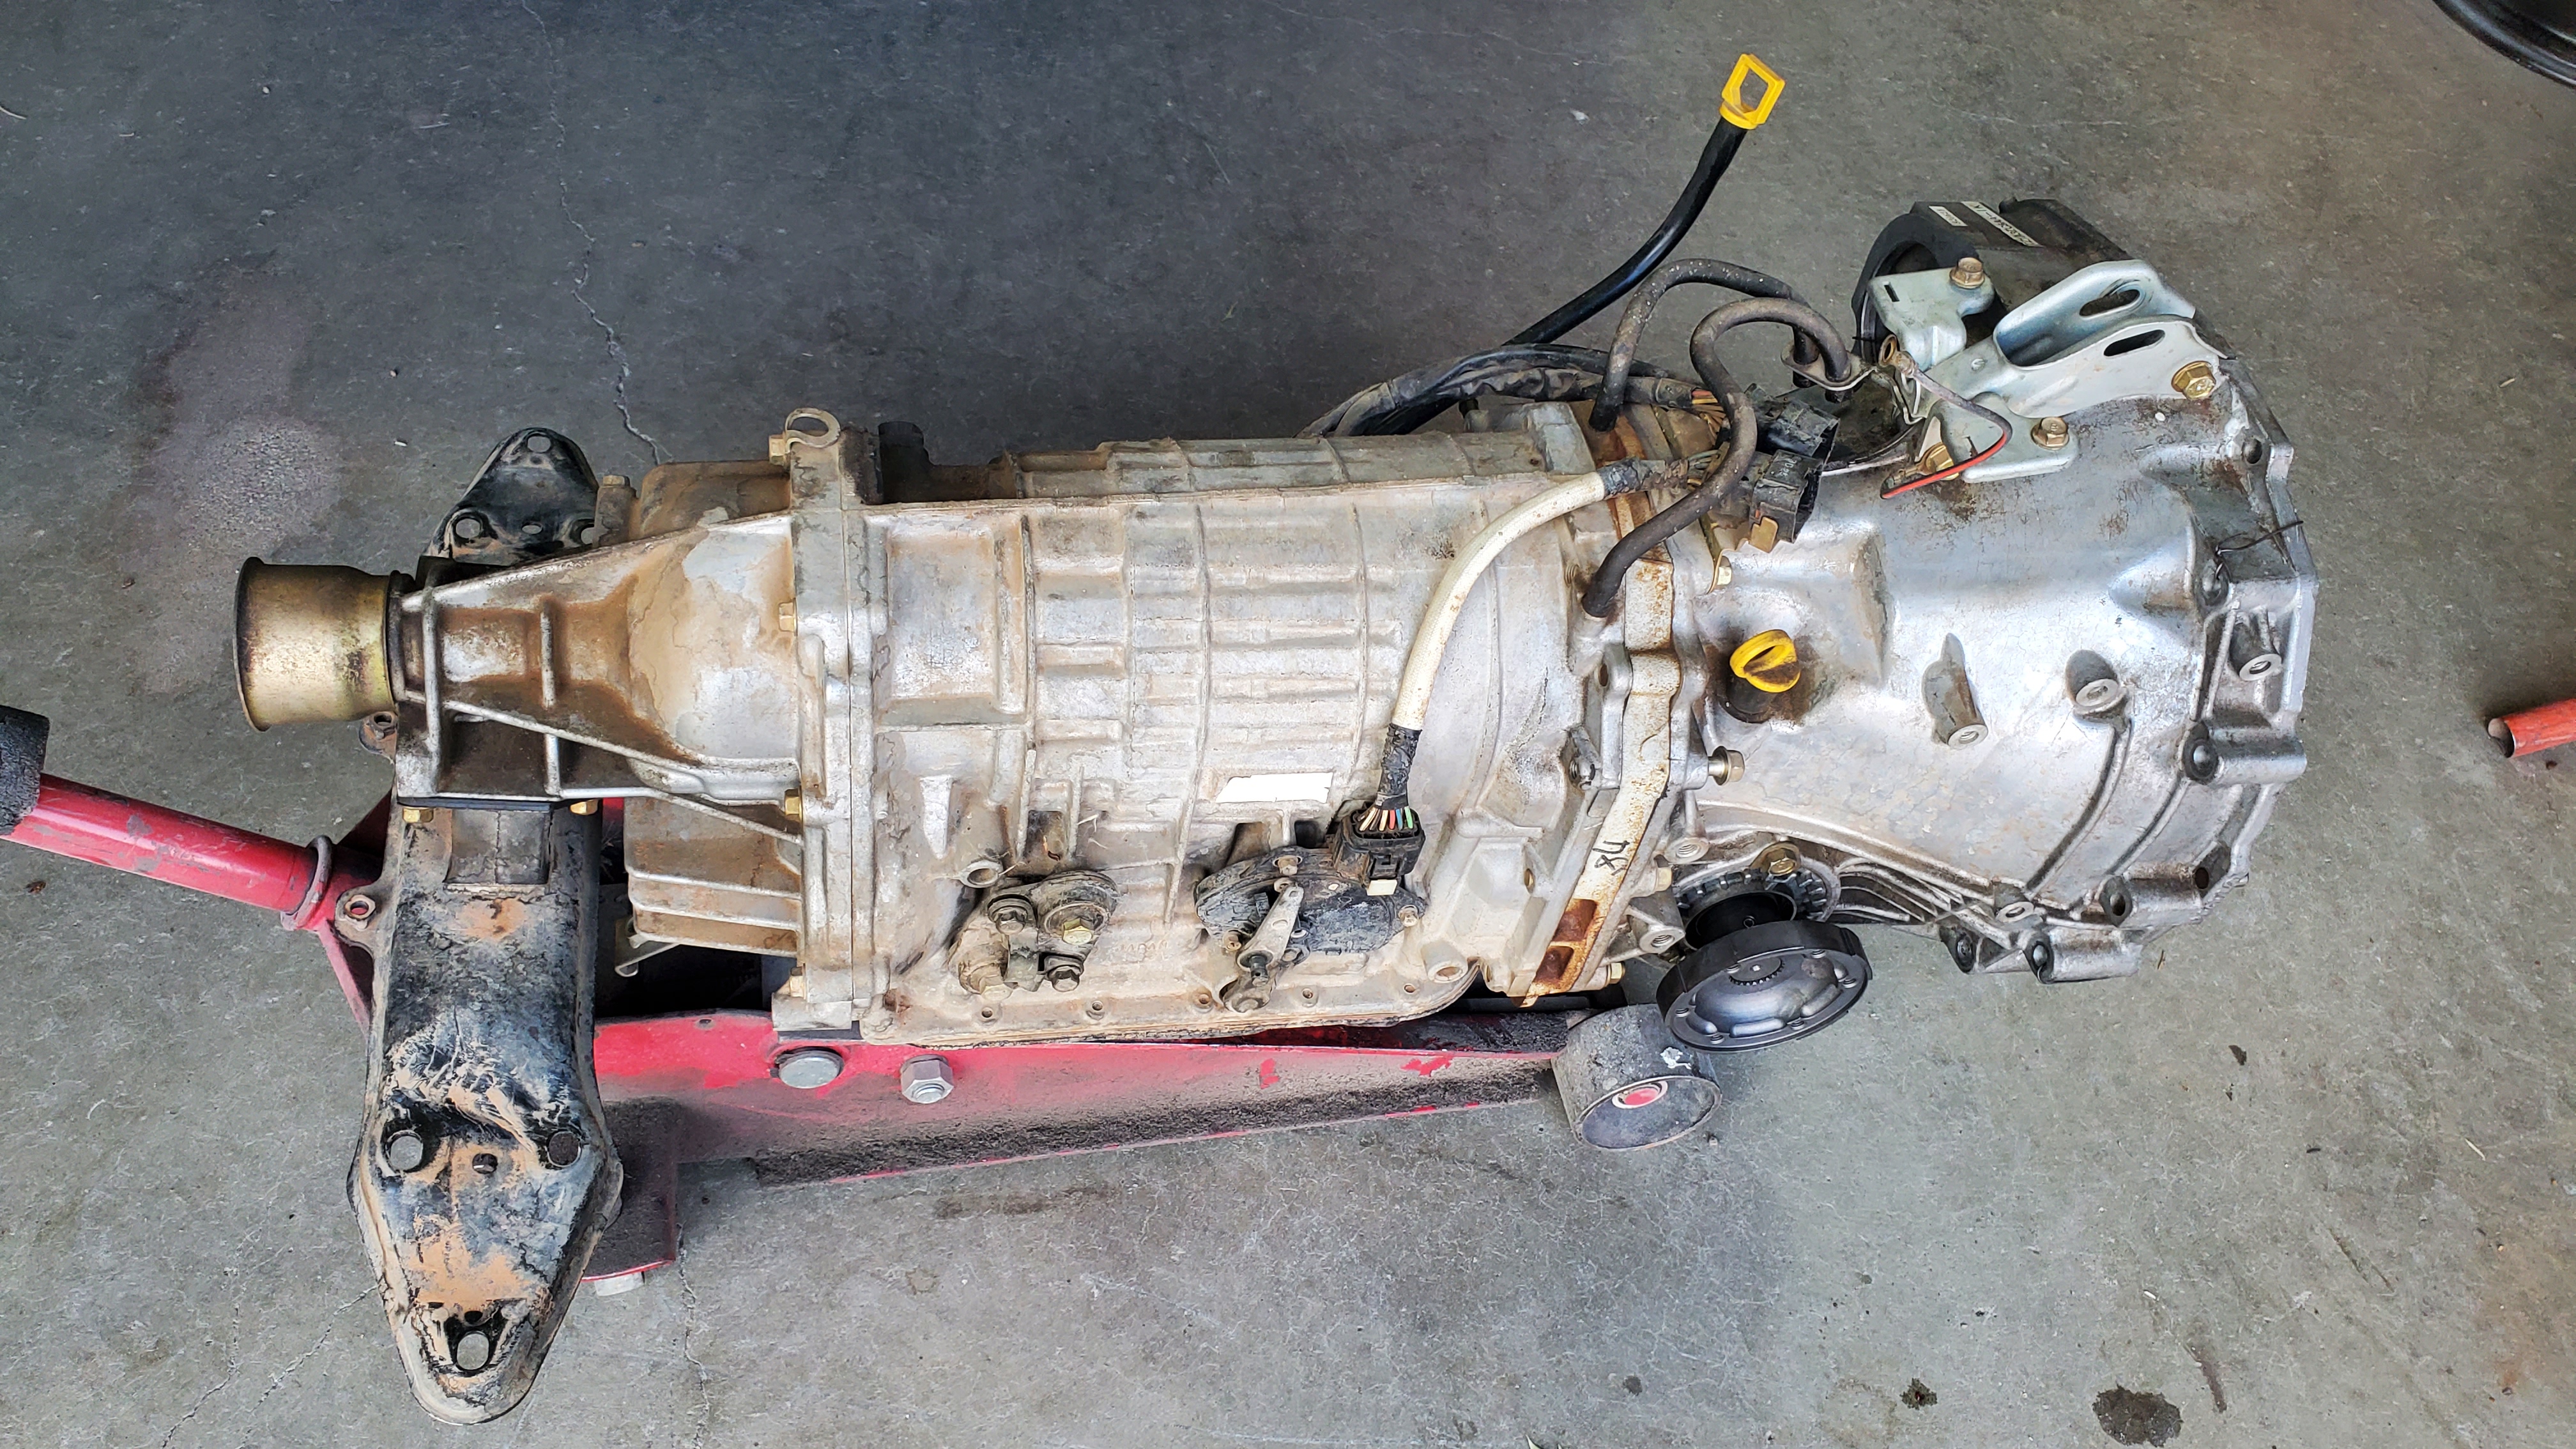
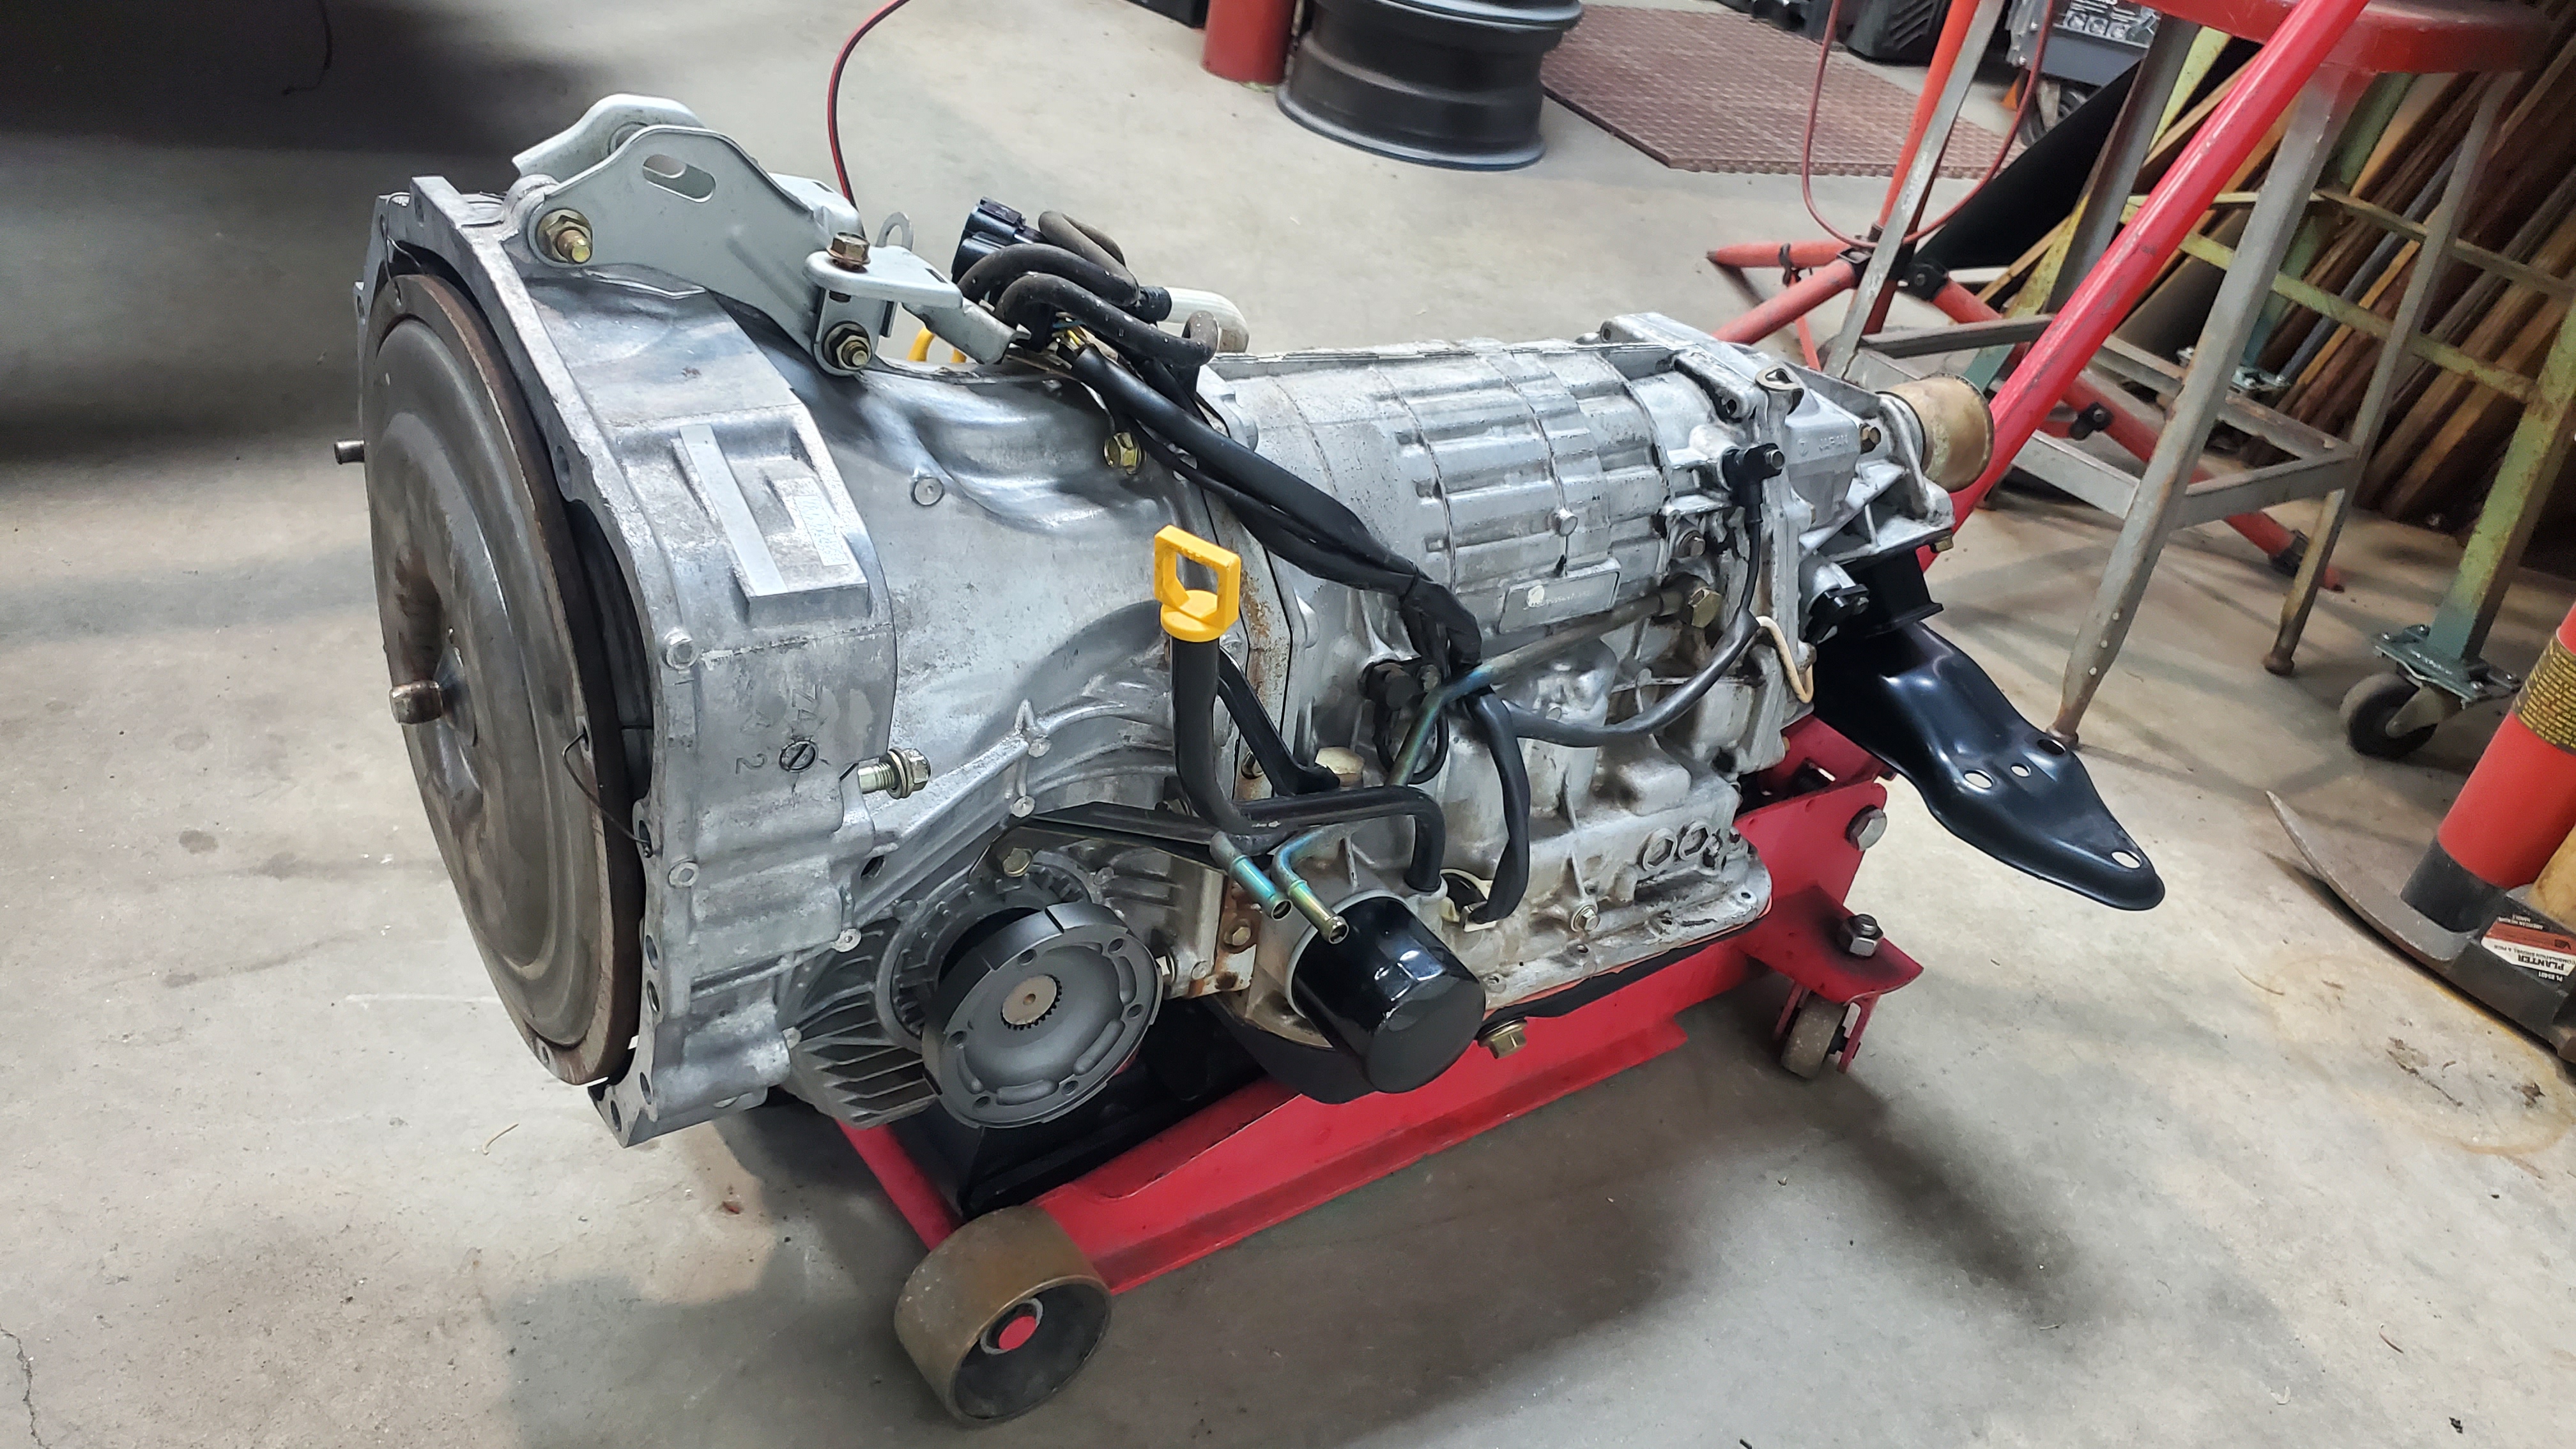
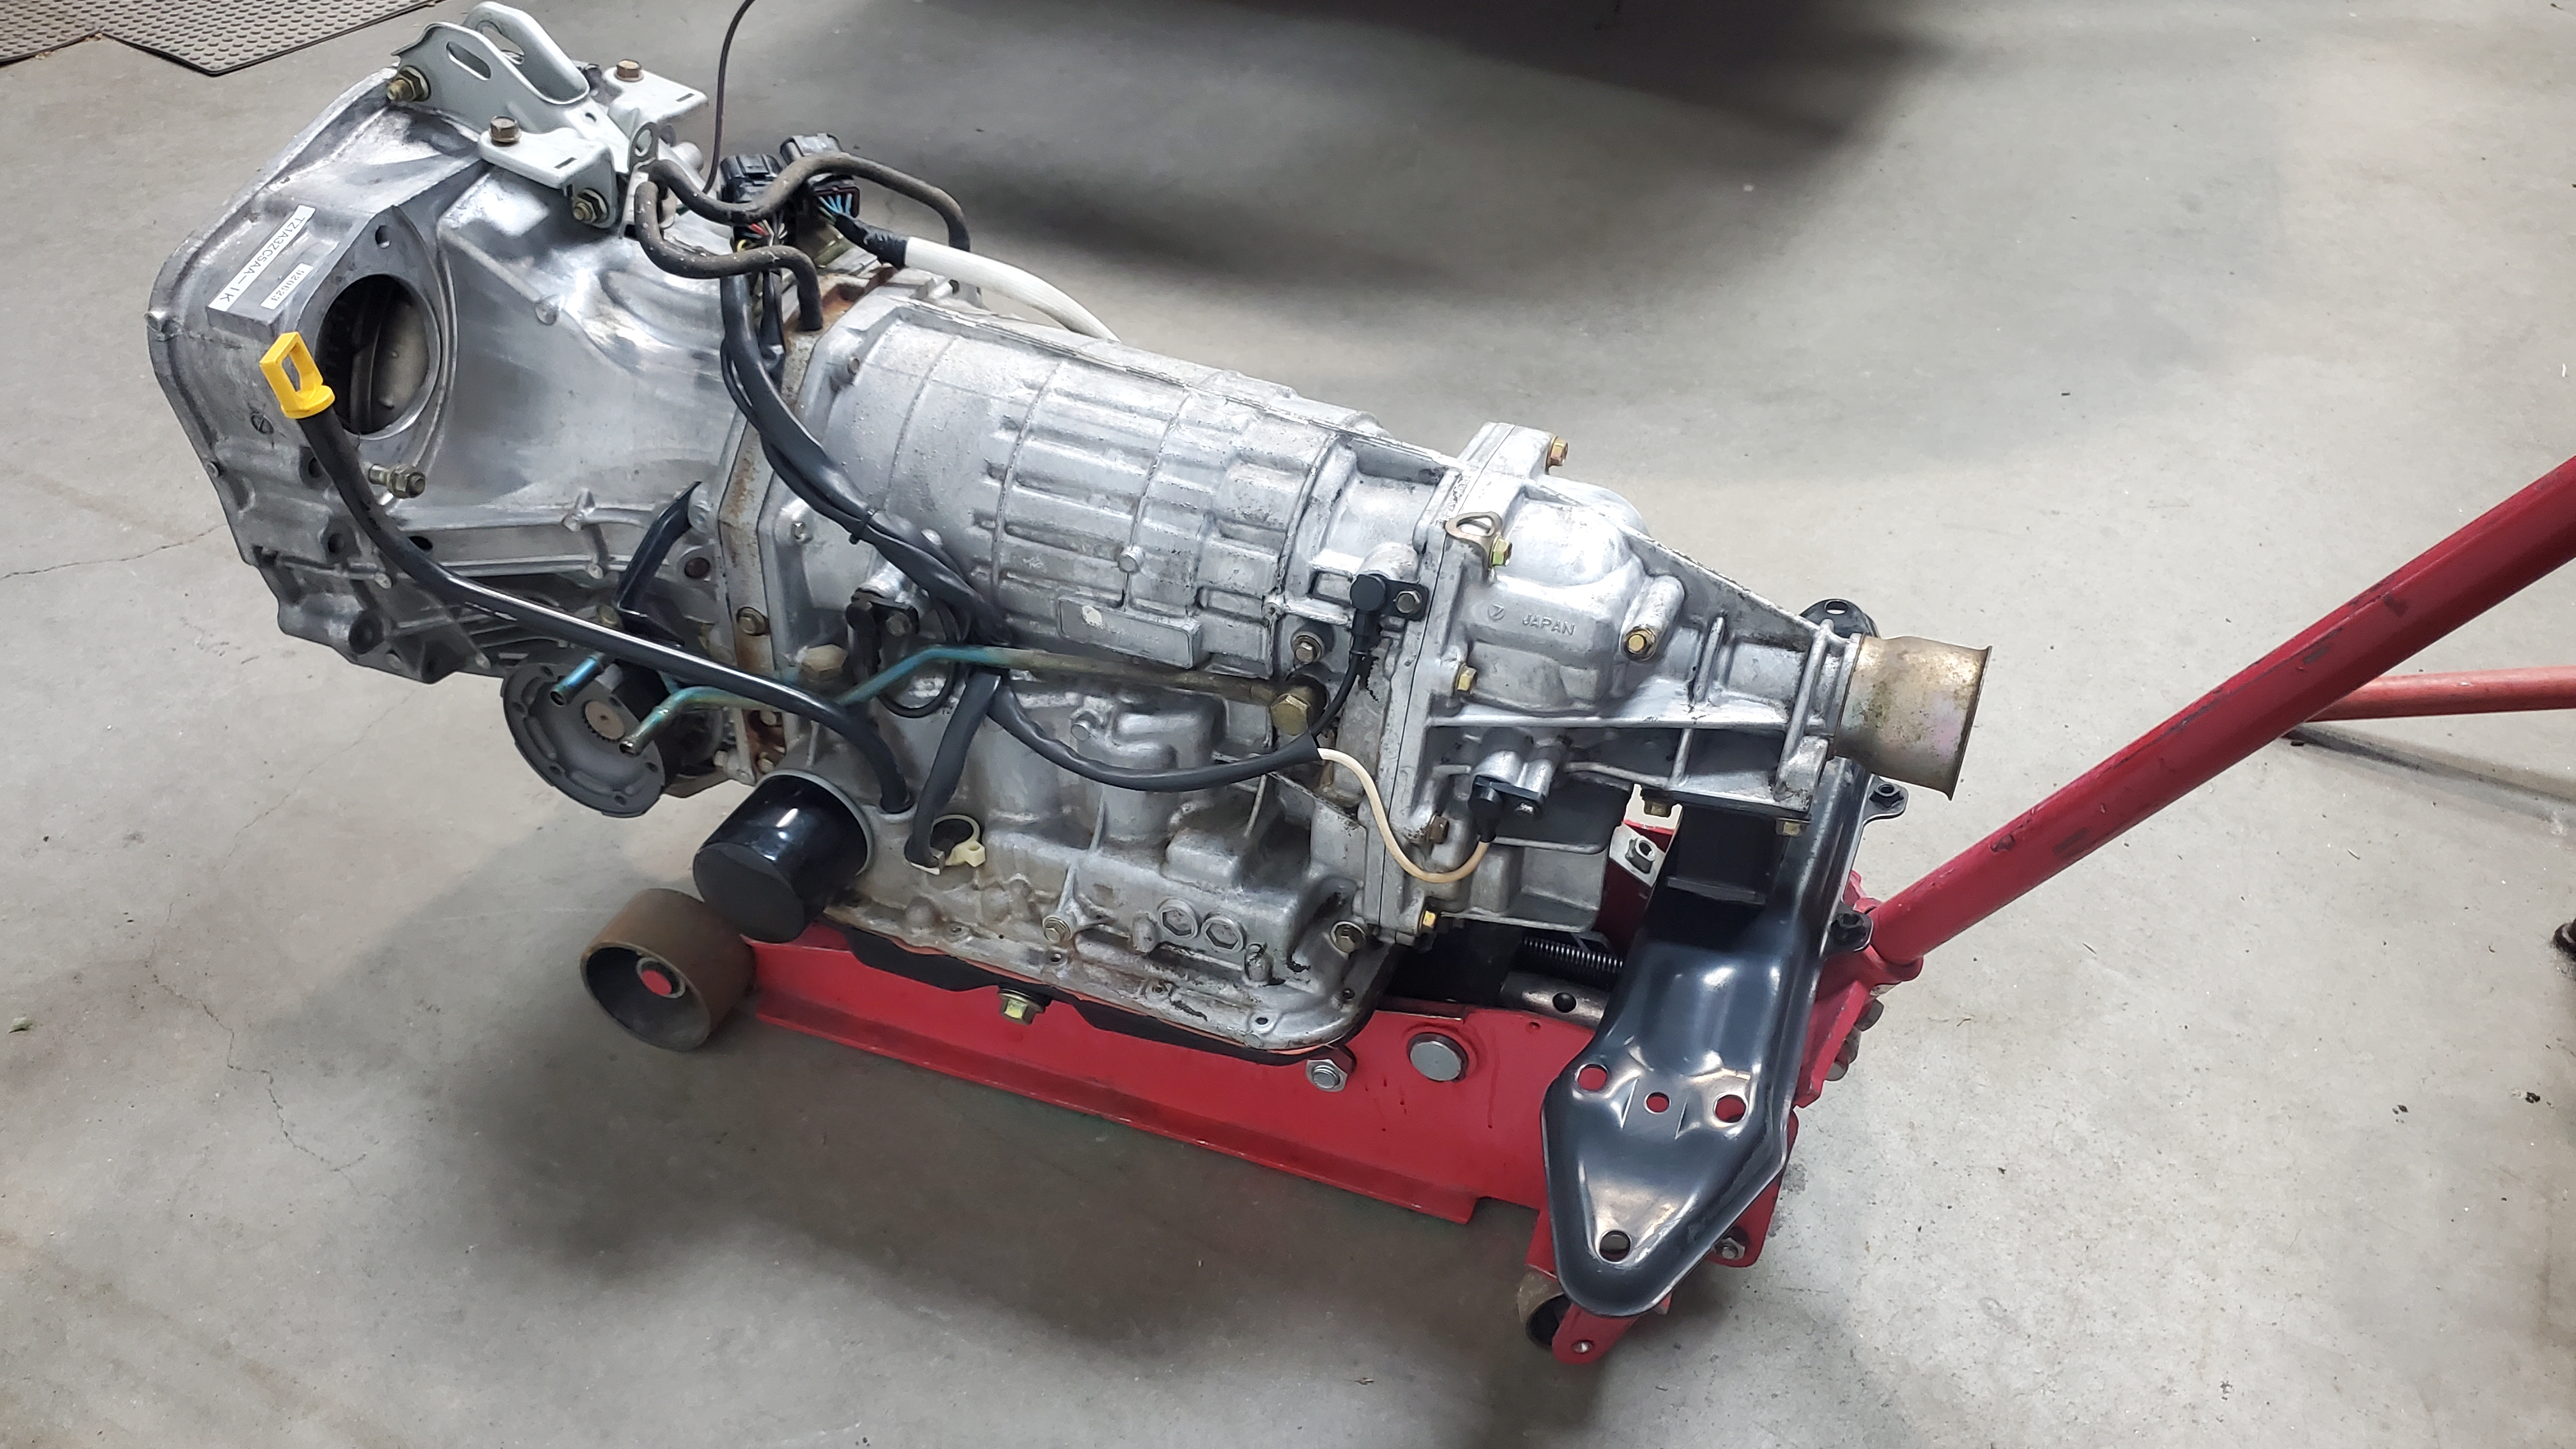
The Subarugears kit has arrived! The transmission was cleaned up, the final drive removed, and the intermediate shaft pulled.
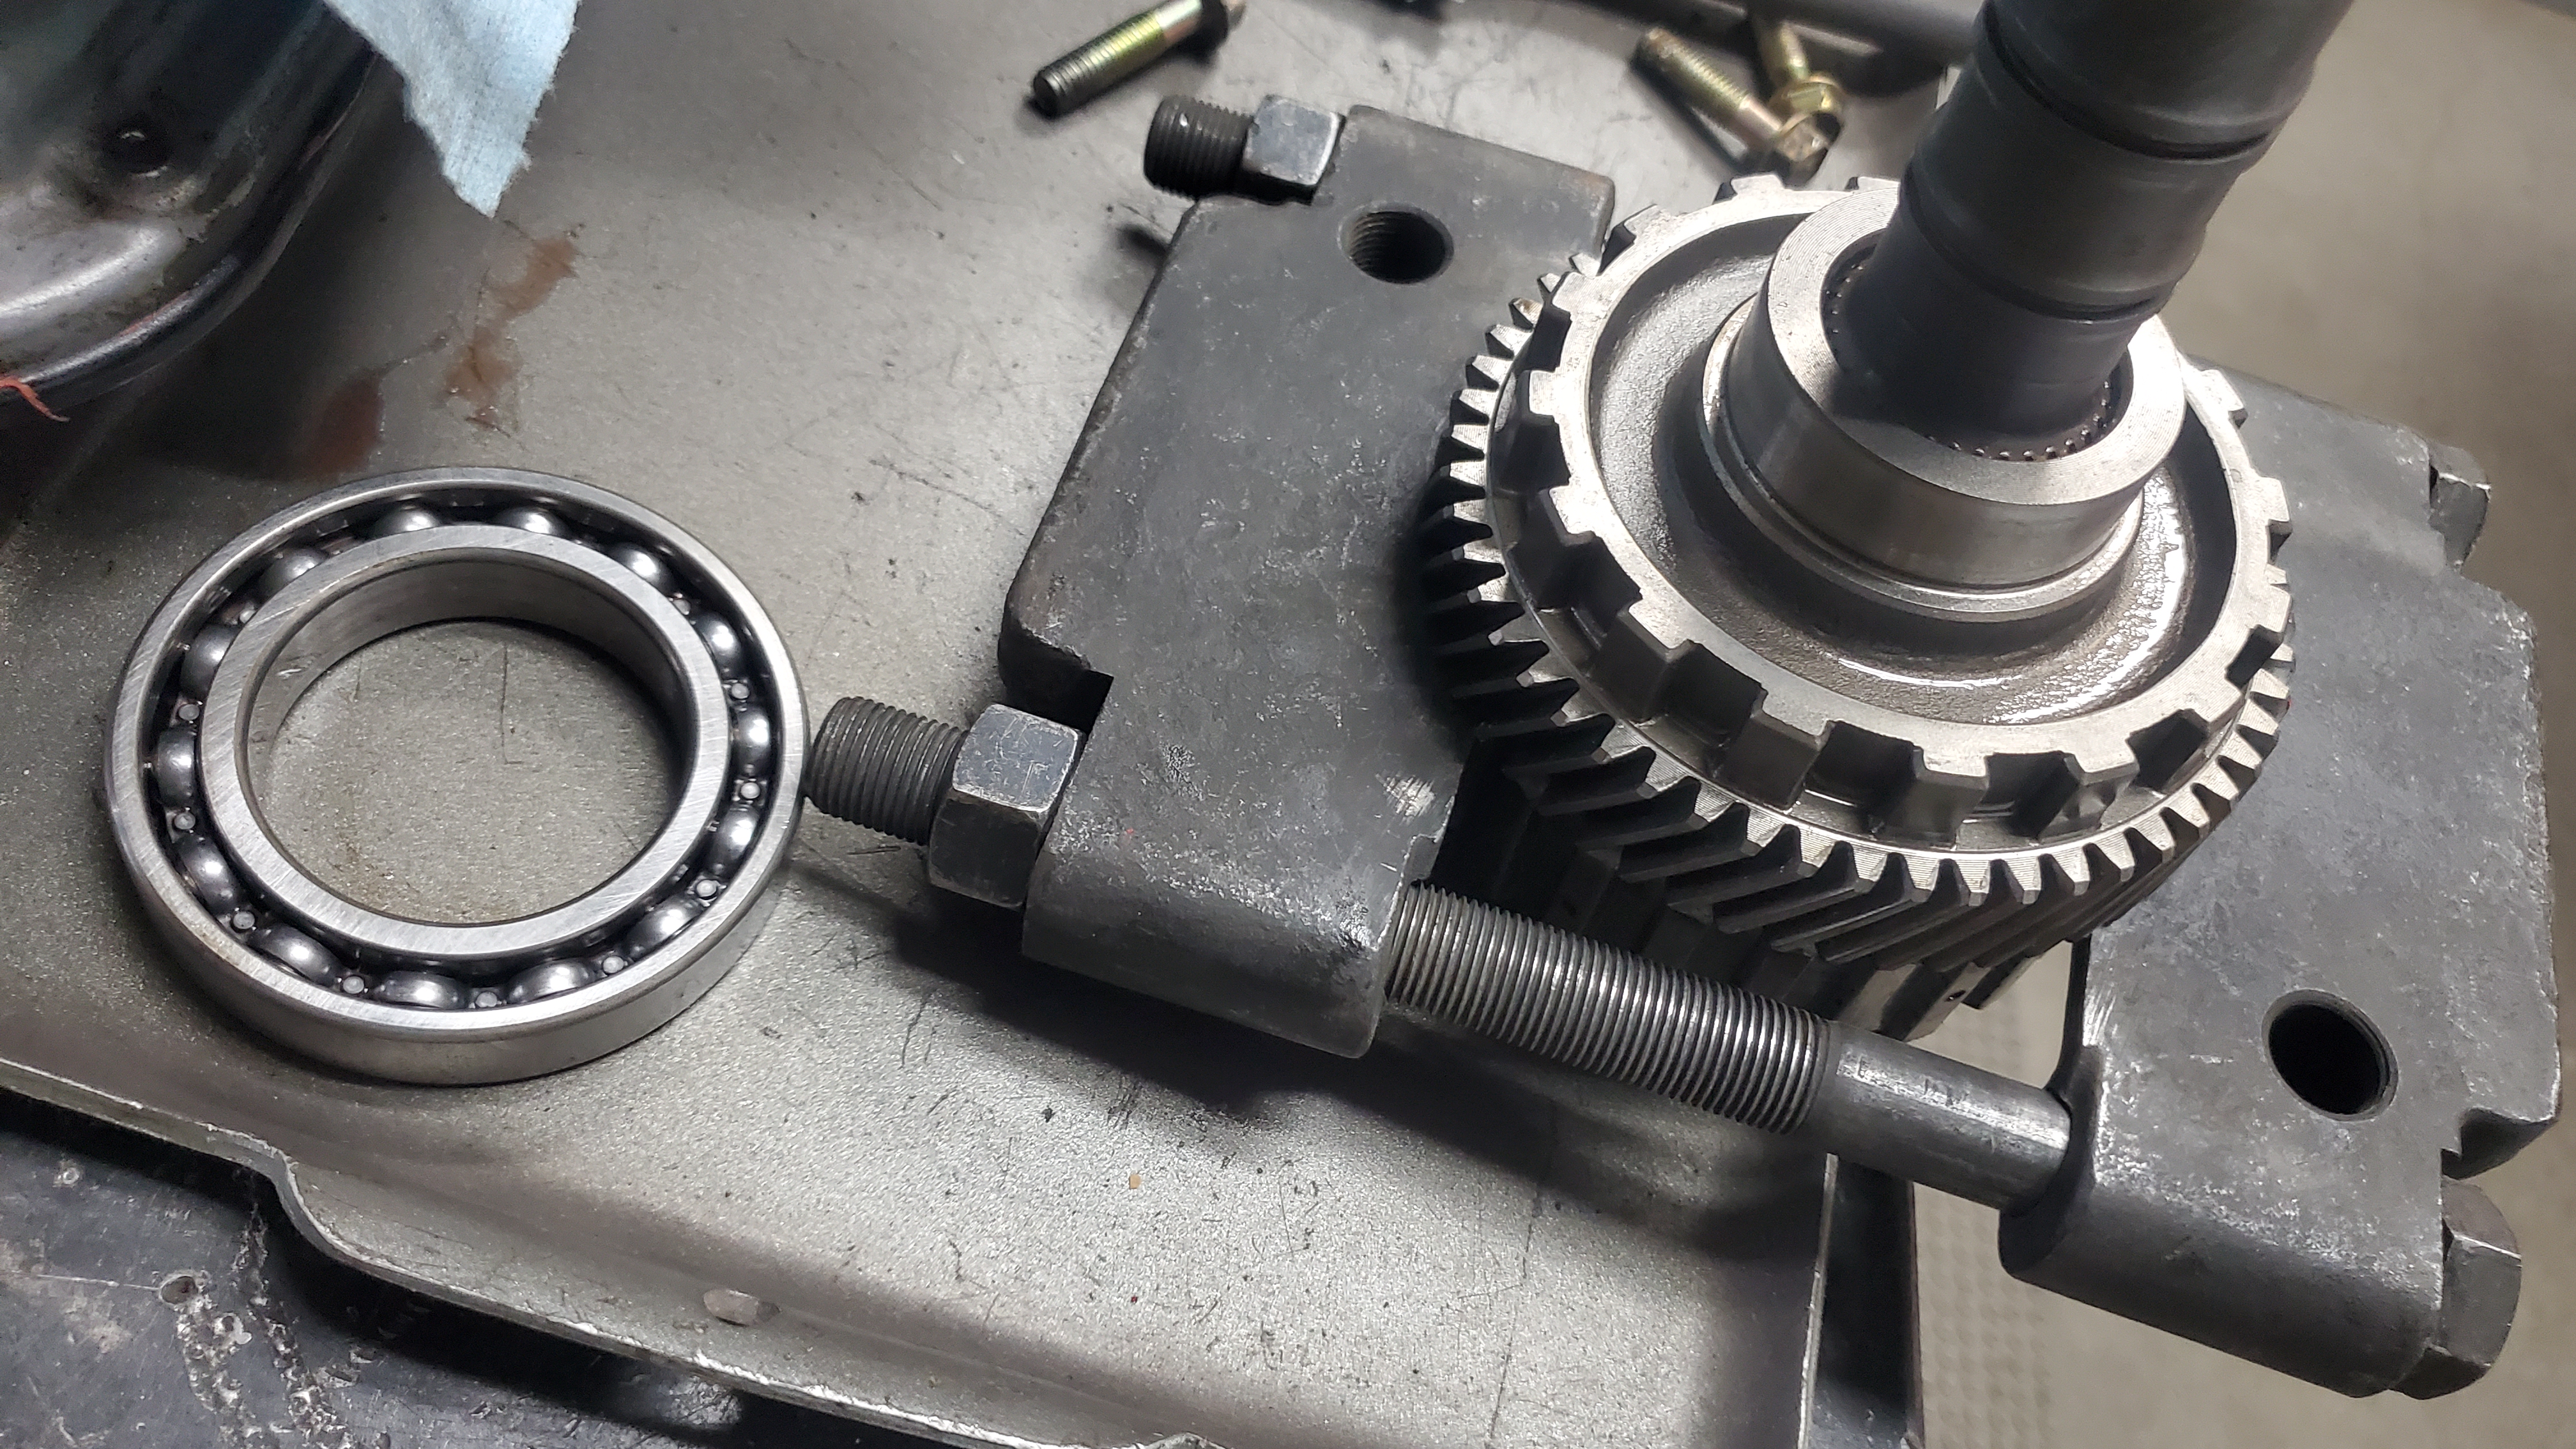
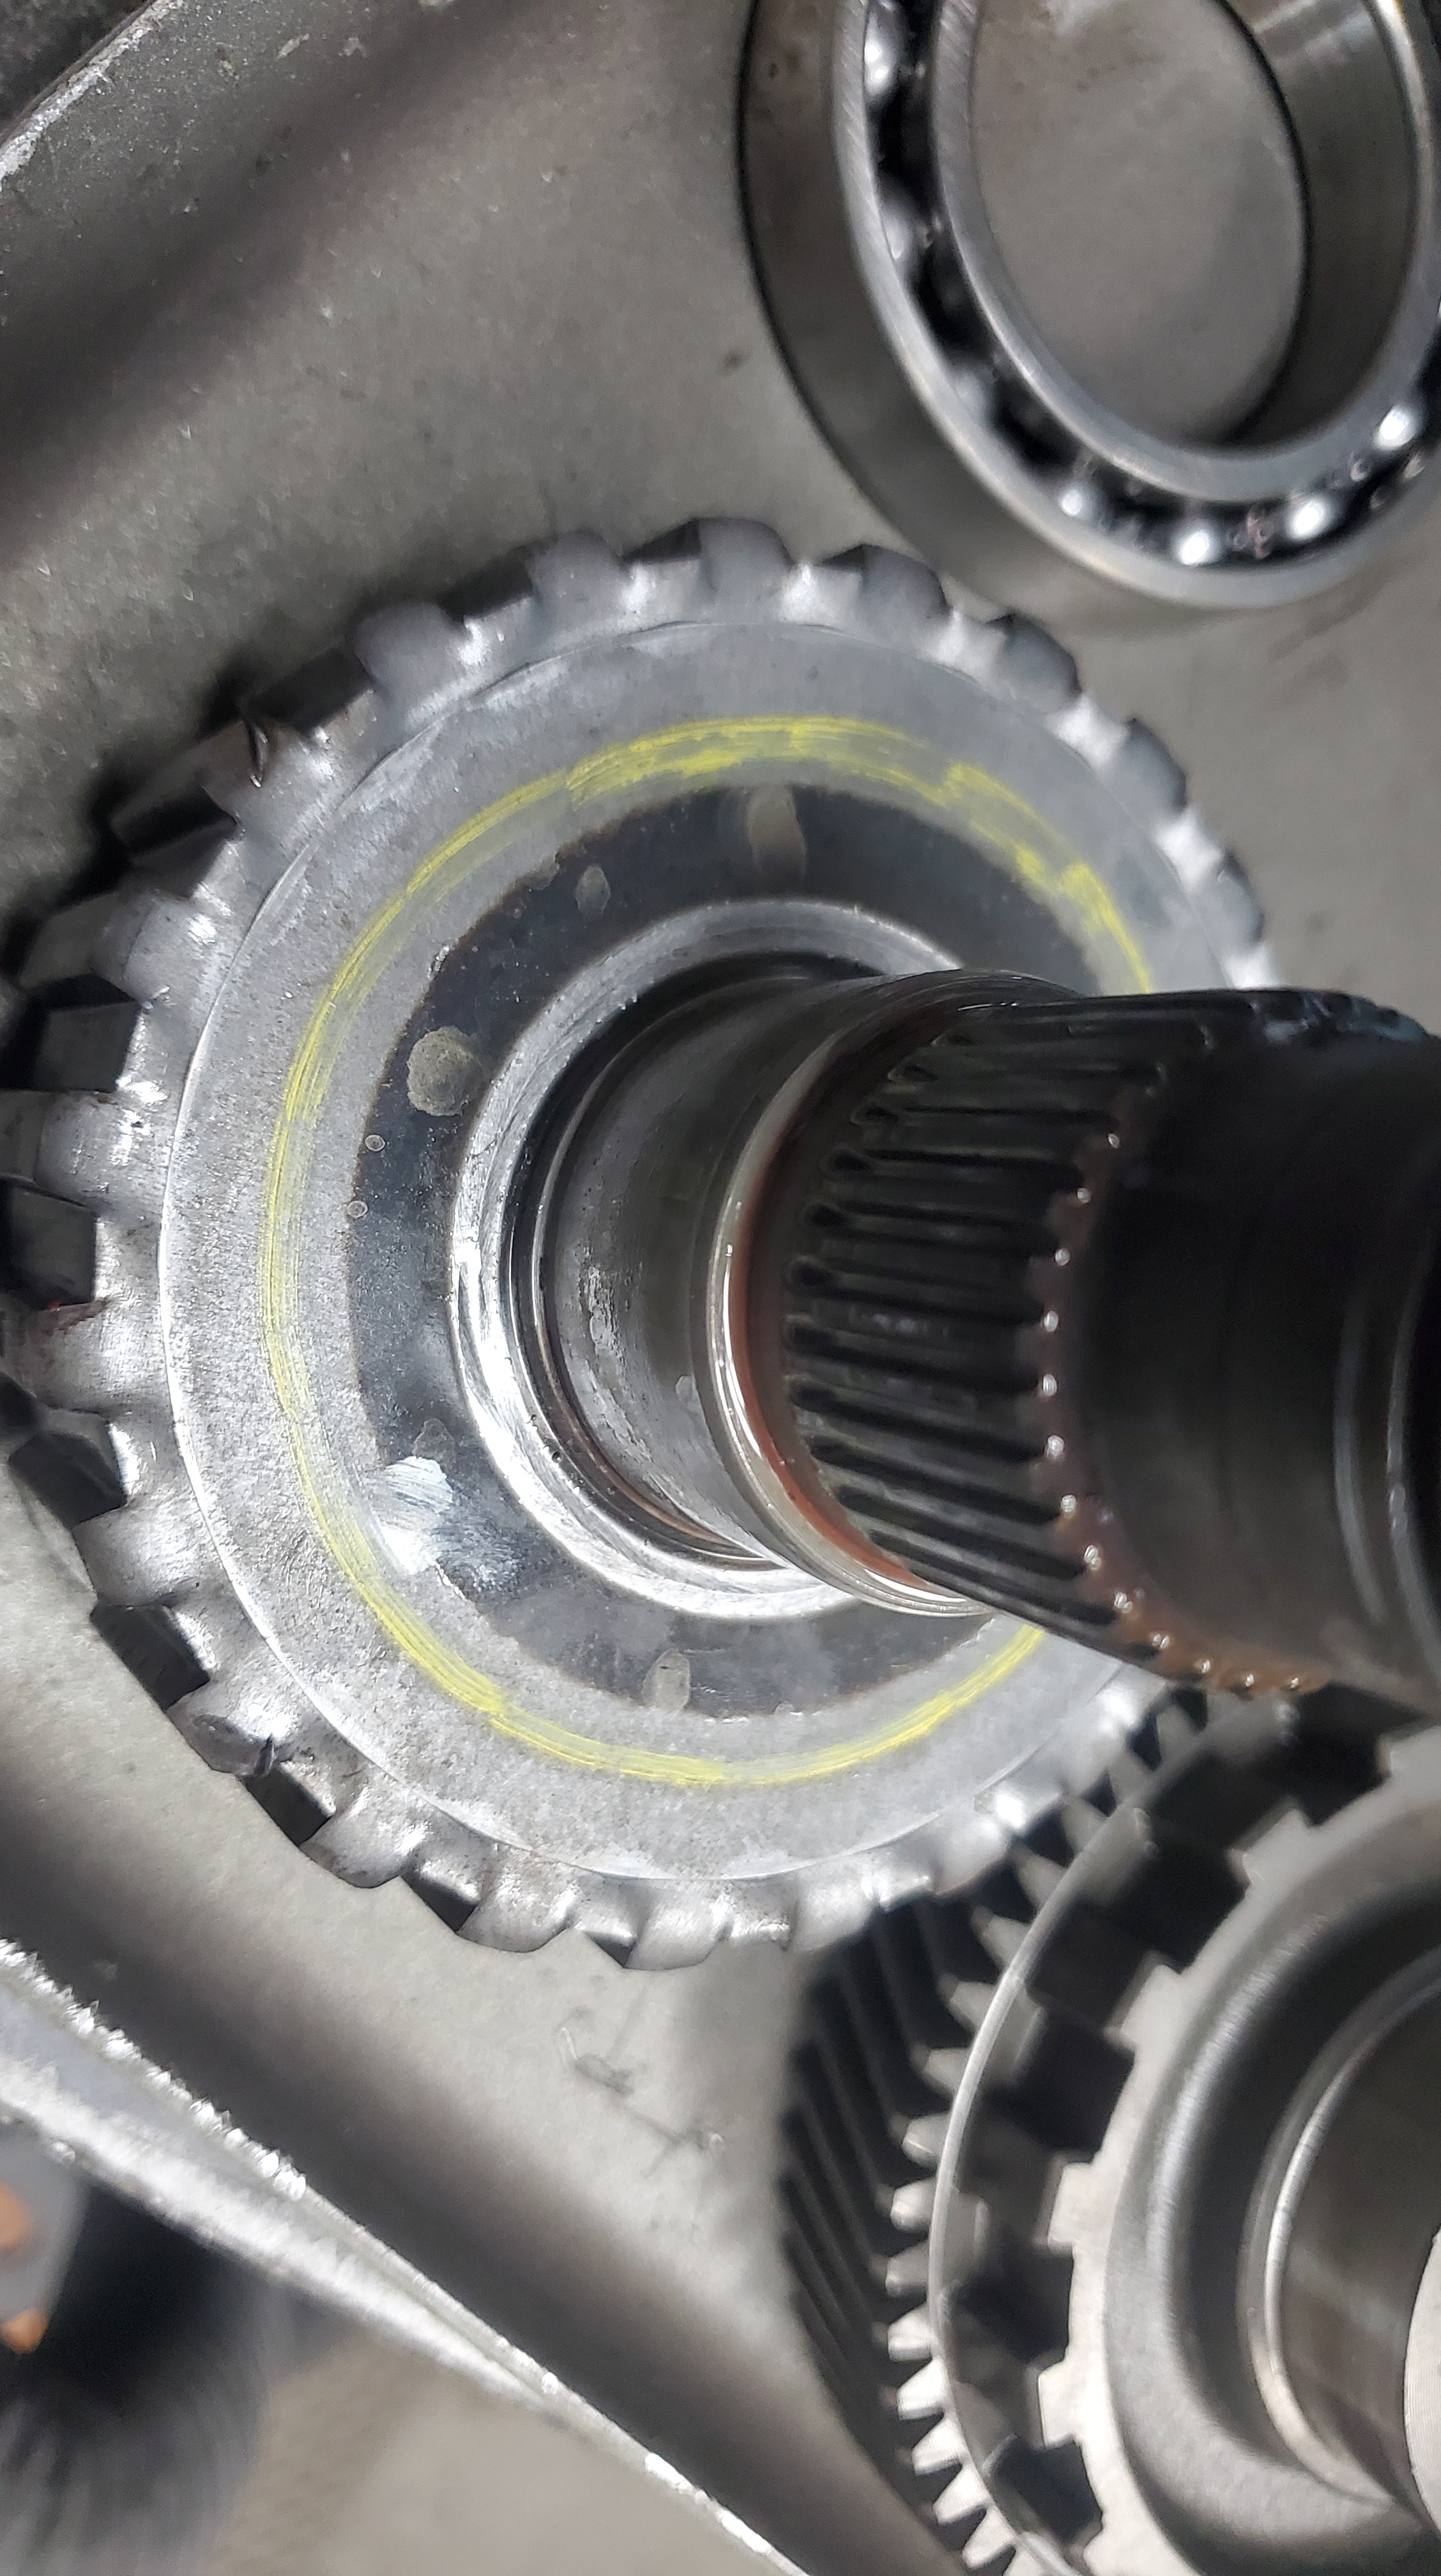
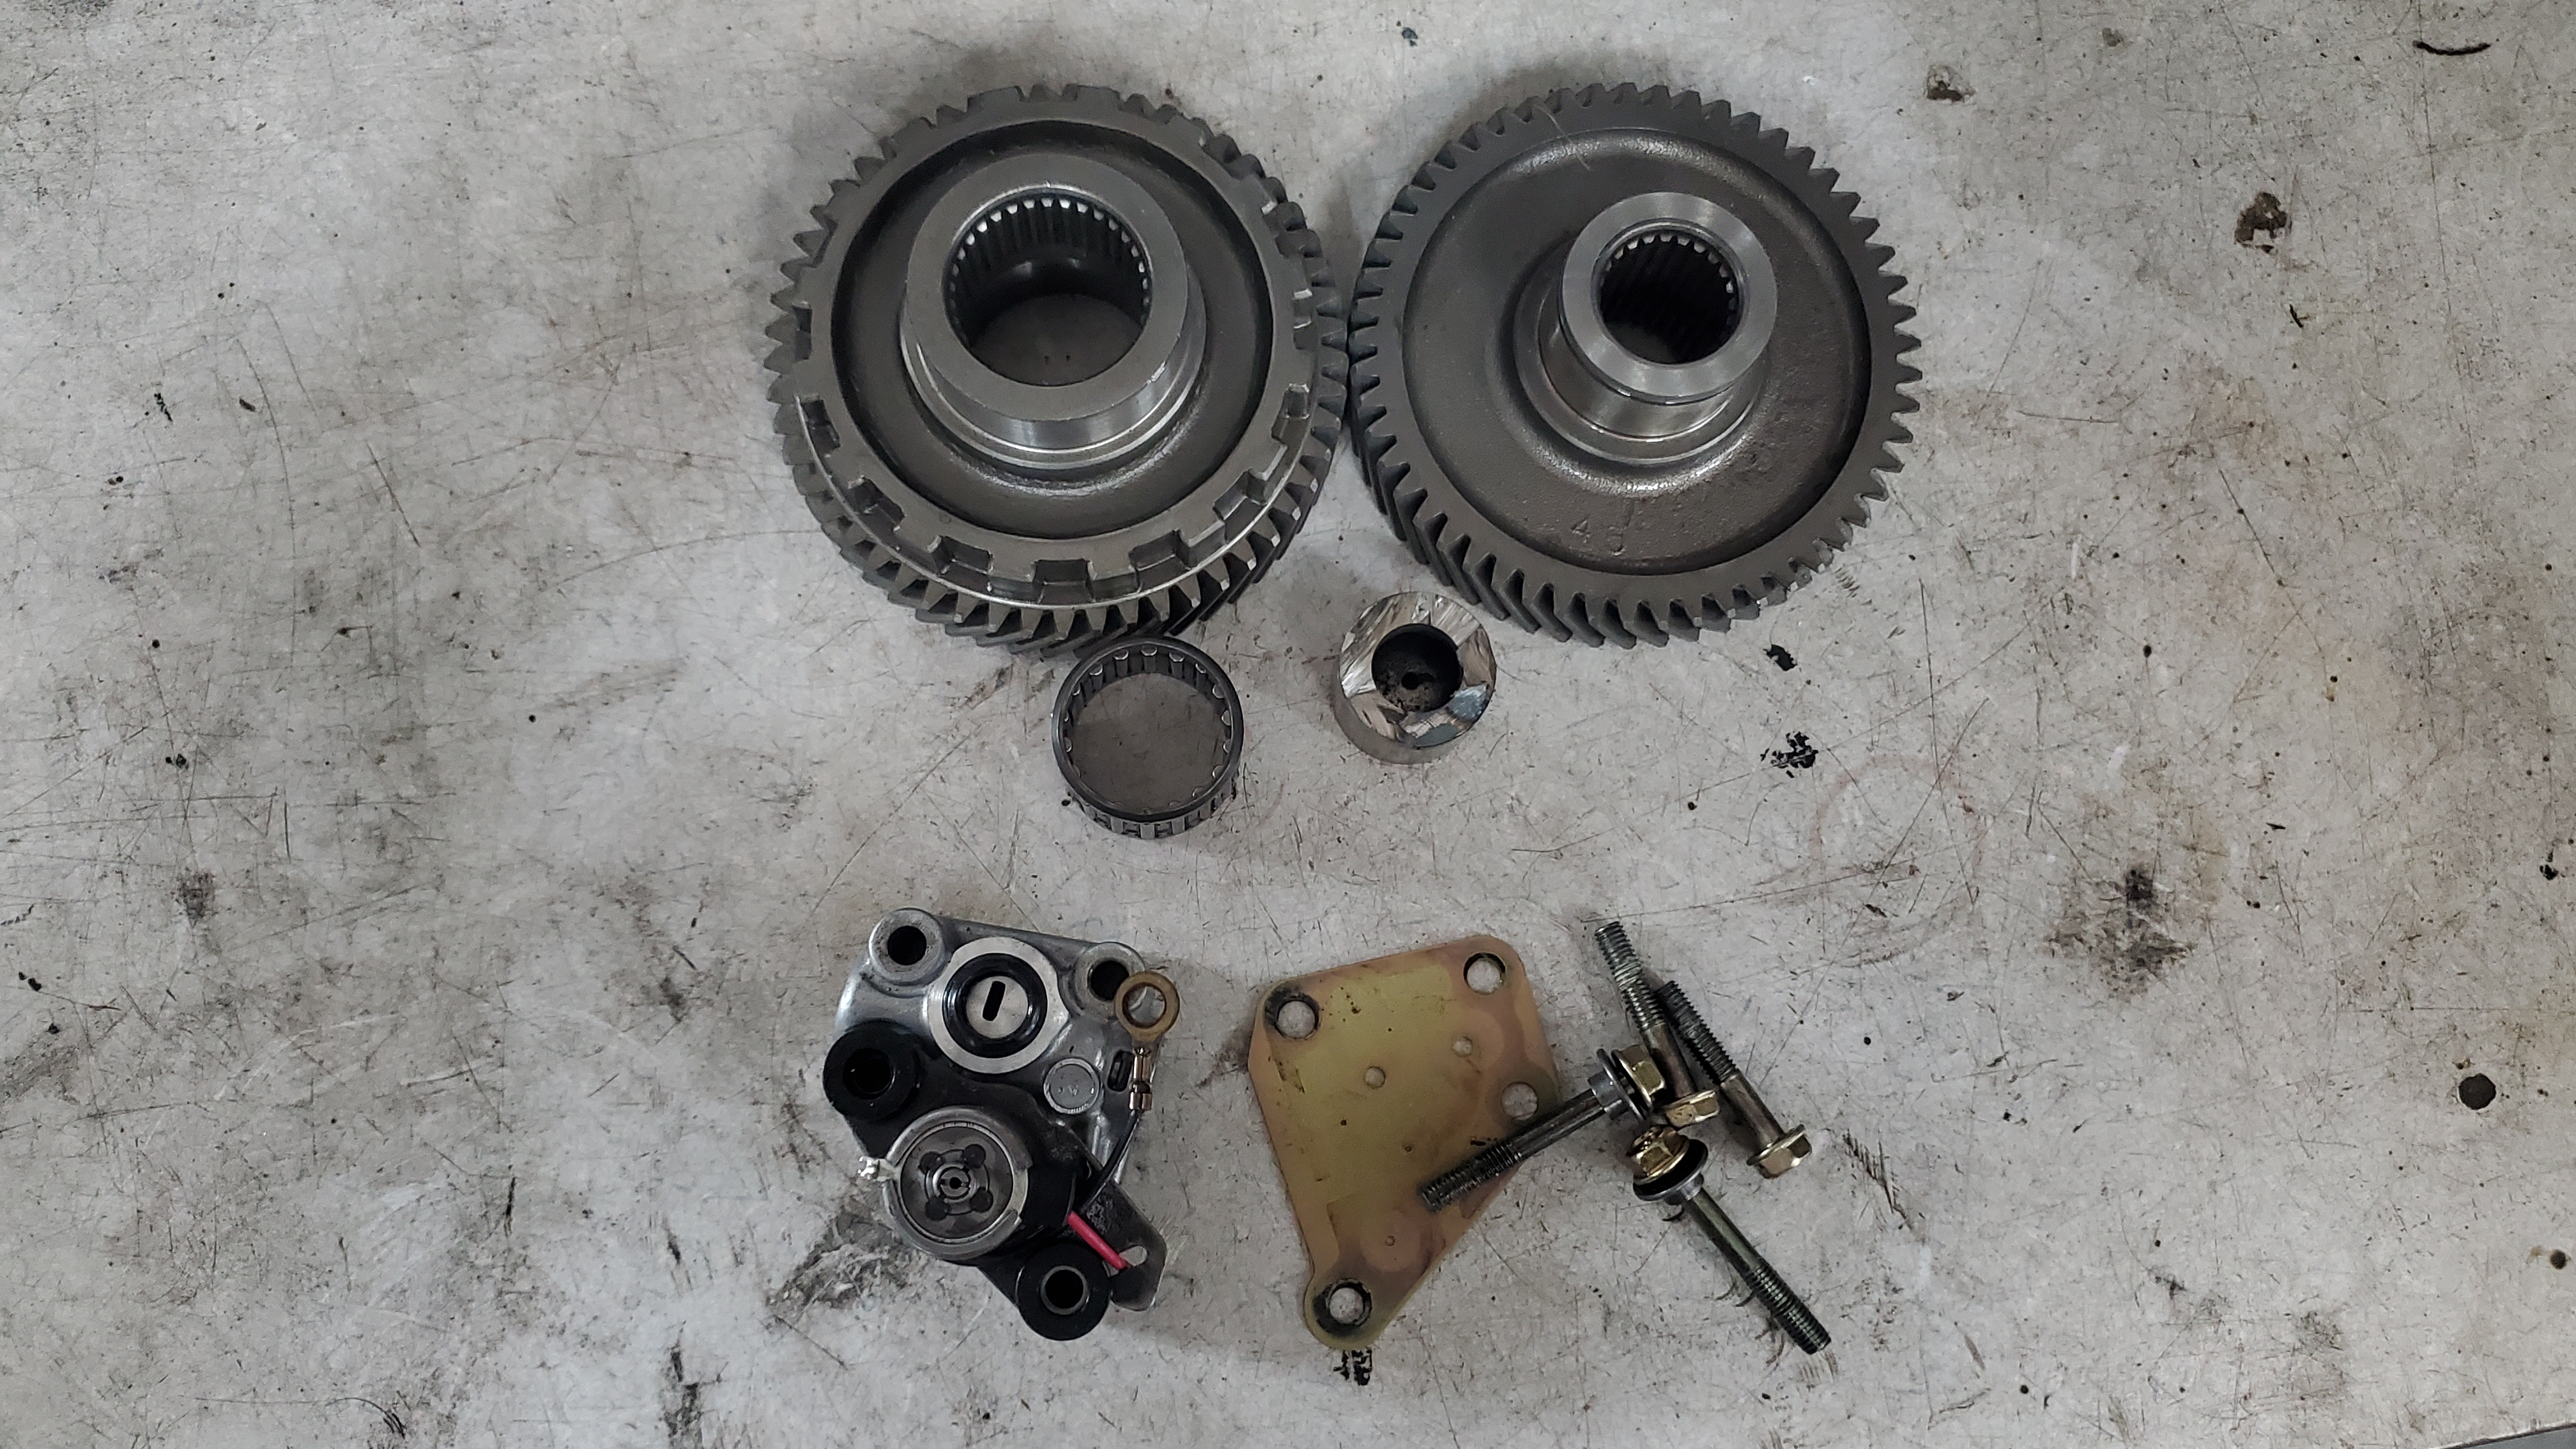
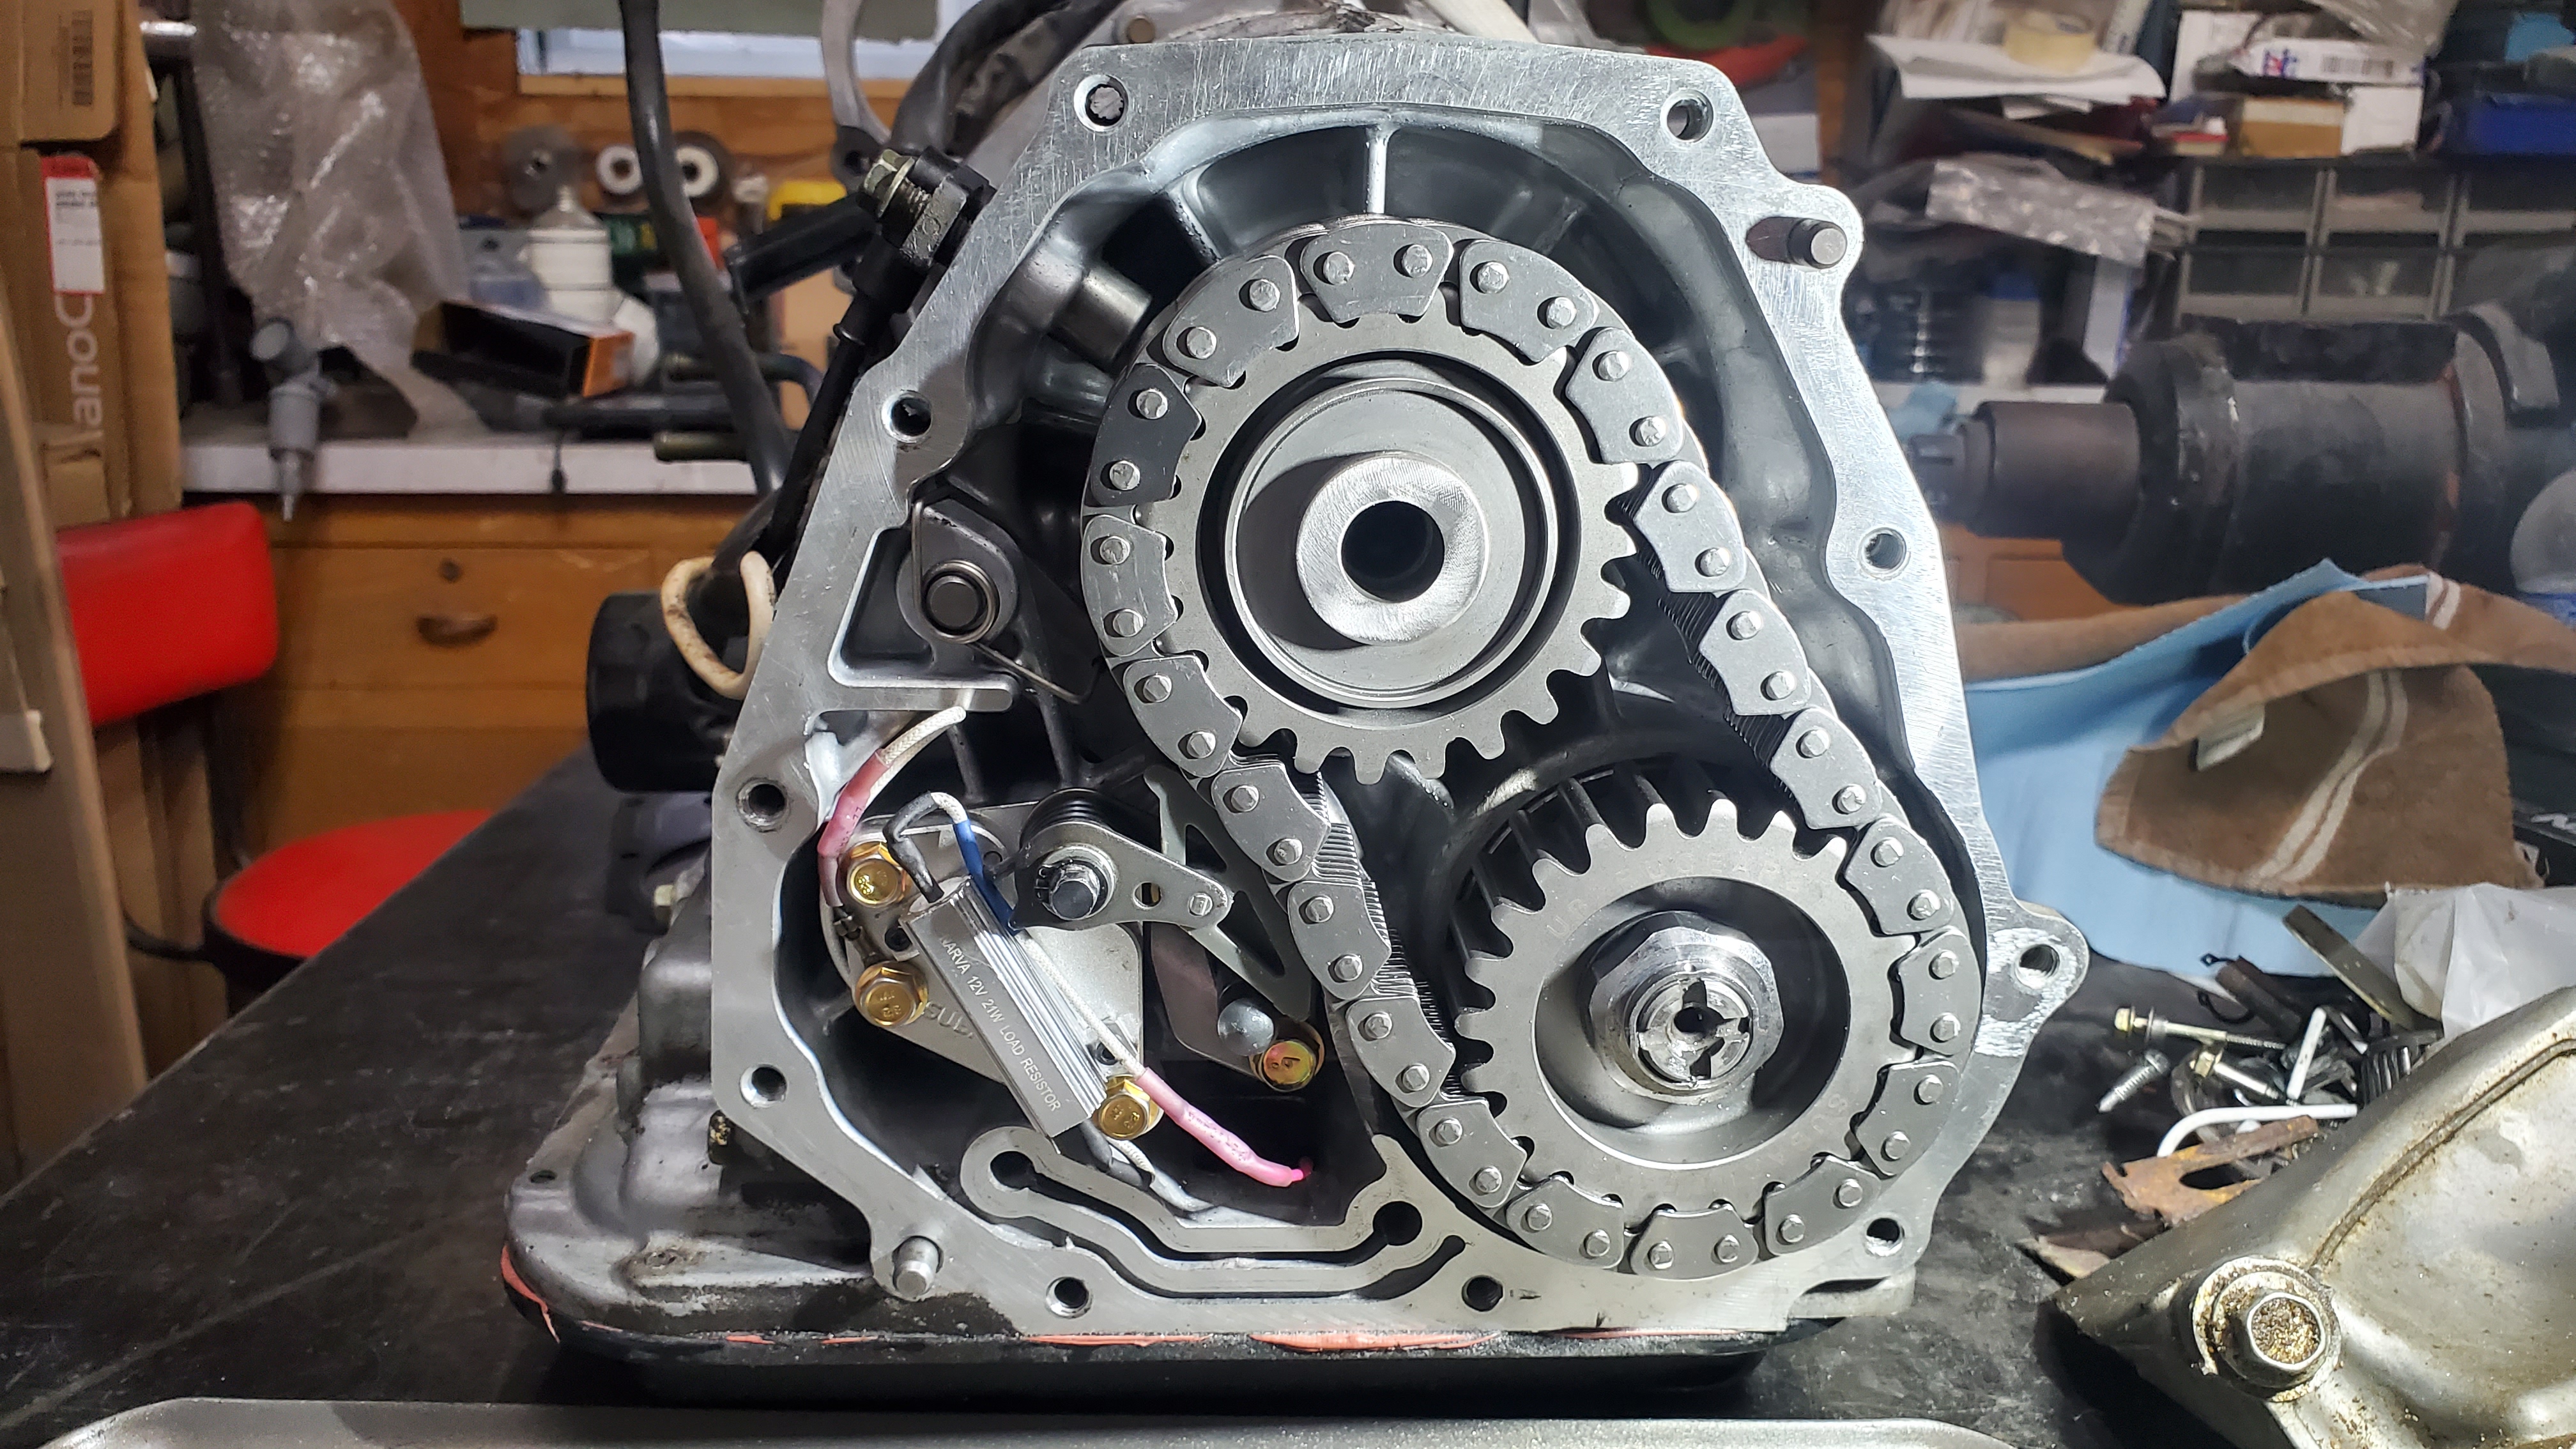
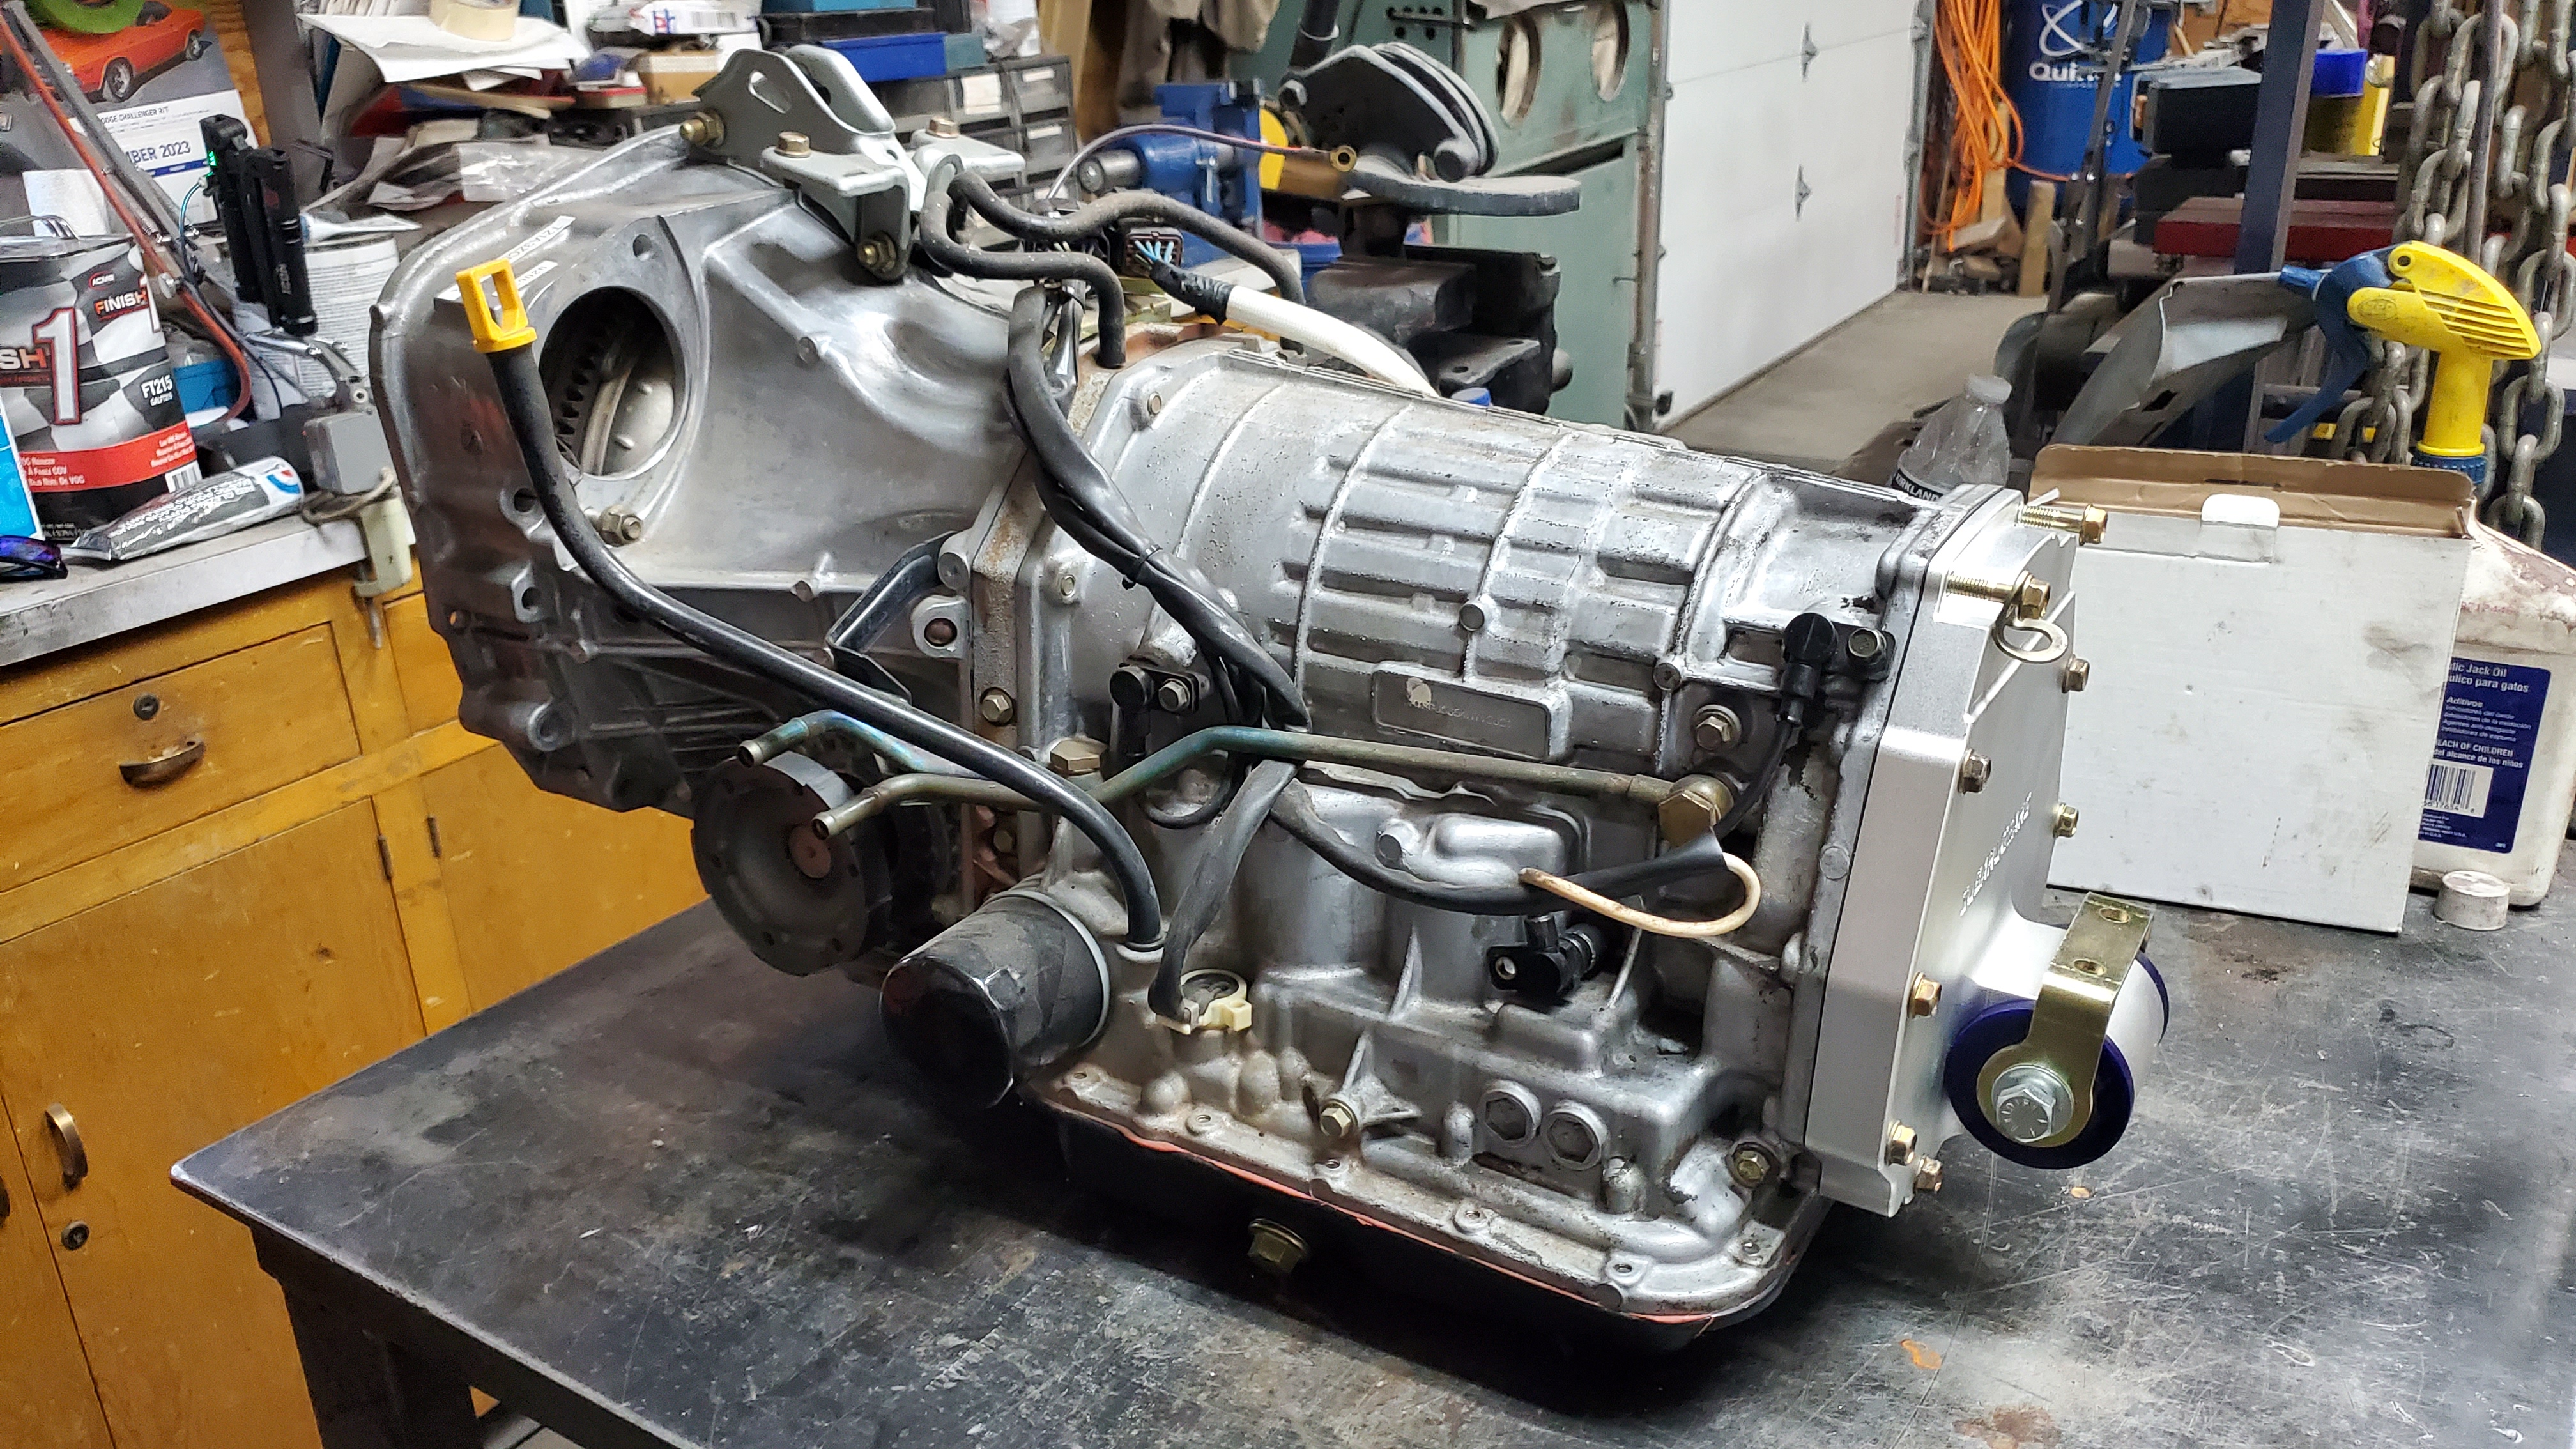
The RWD gears have to be removed, and the shaft has to be cut precisely to fit under the new cover. Shown are the extra pieces that won’t be used and the kit installed on the transmission. I had an issue with the tensioner not working, and another one was sent. You can see the slop in the chain in this picture before the new one arrived. All buttoned up.
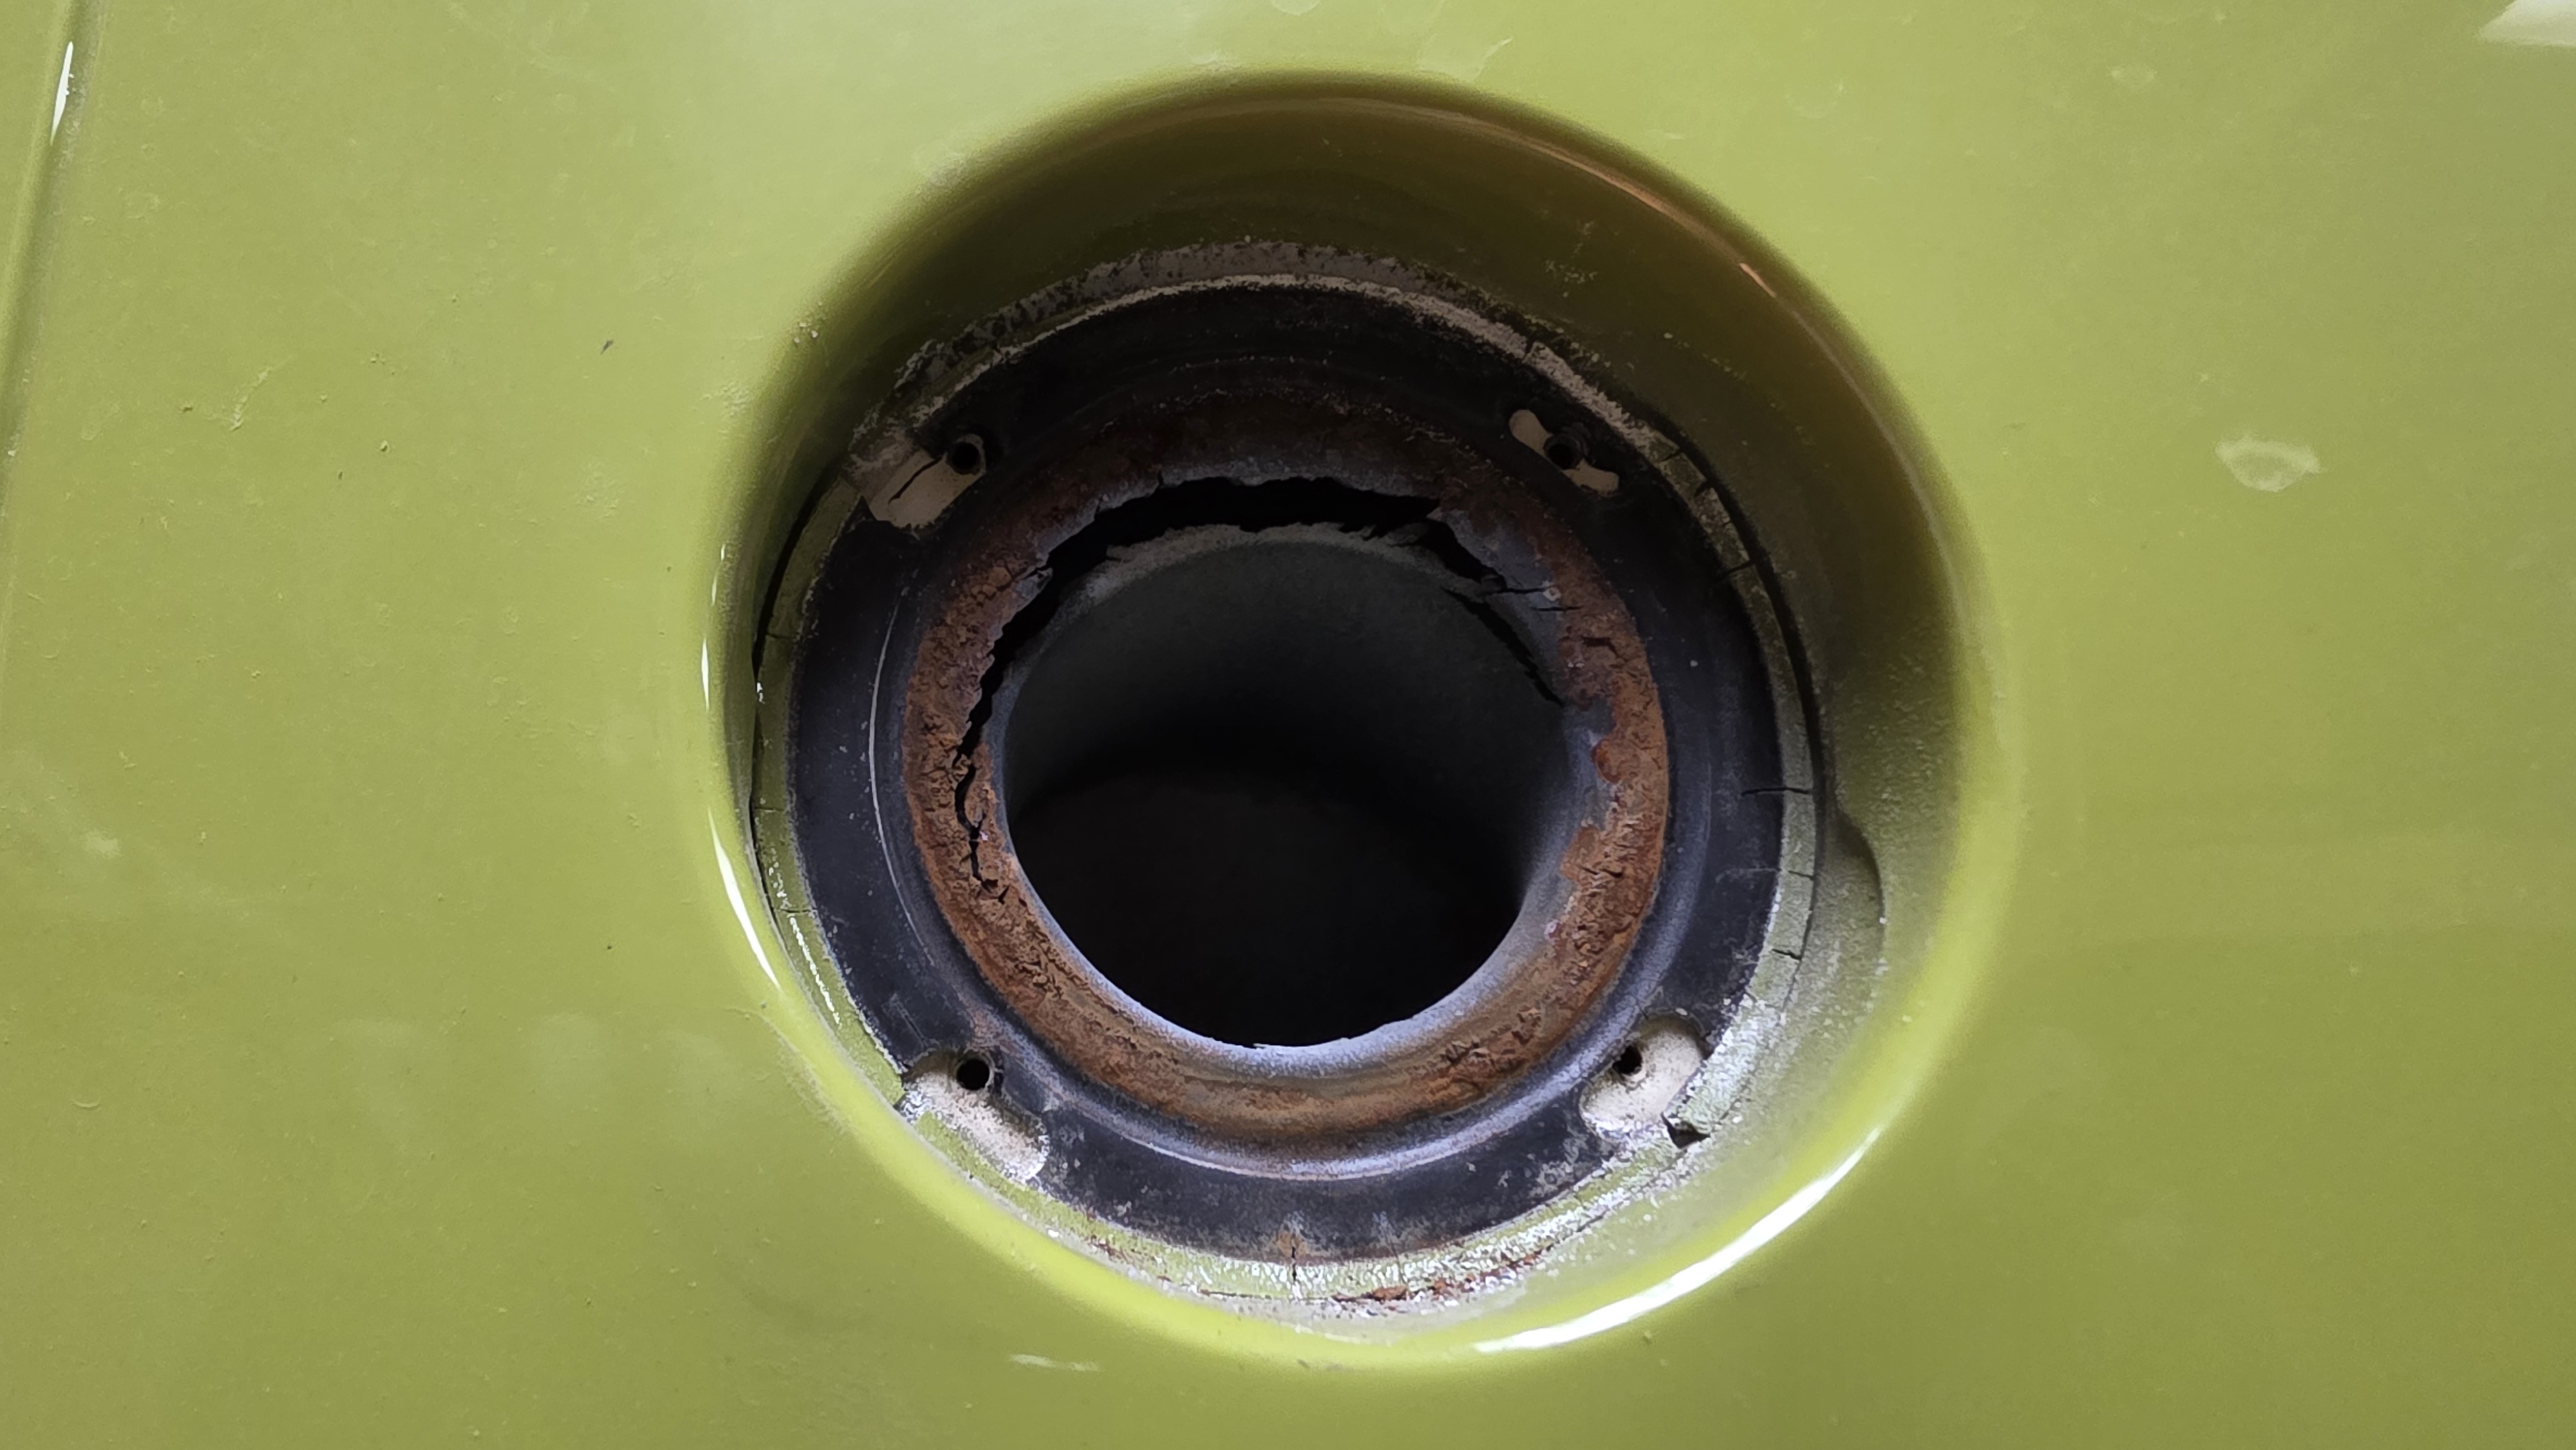
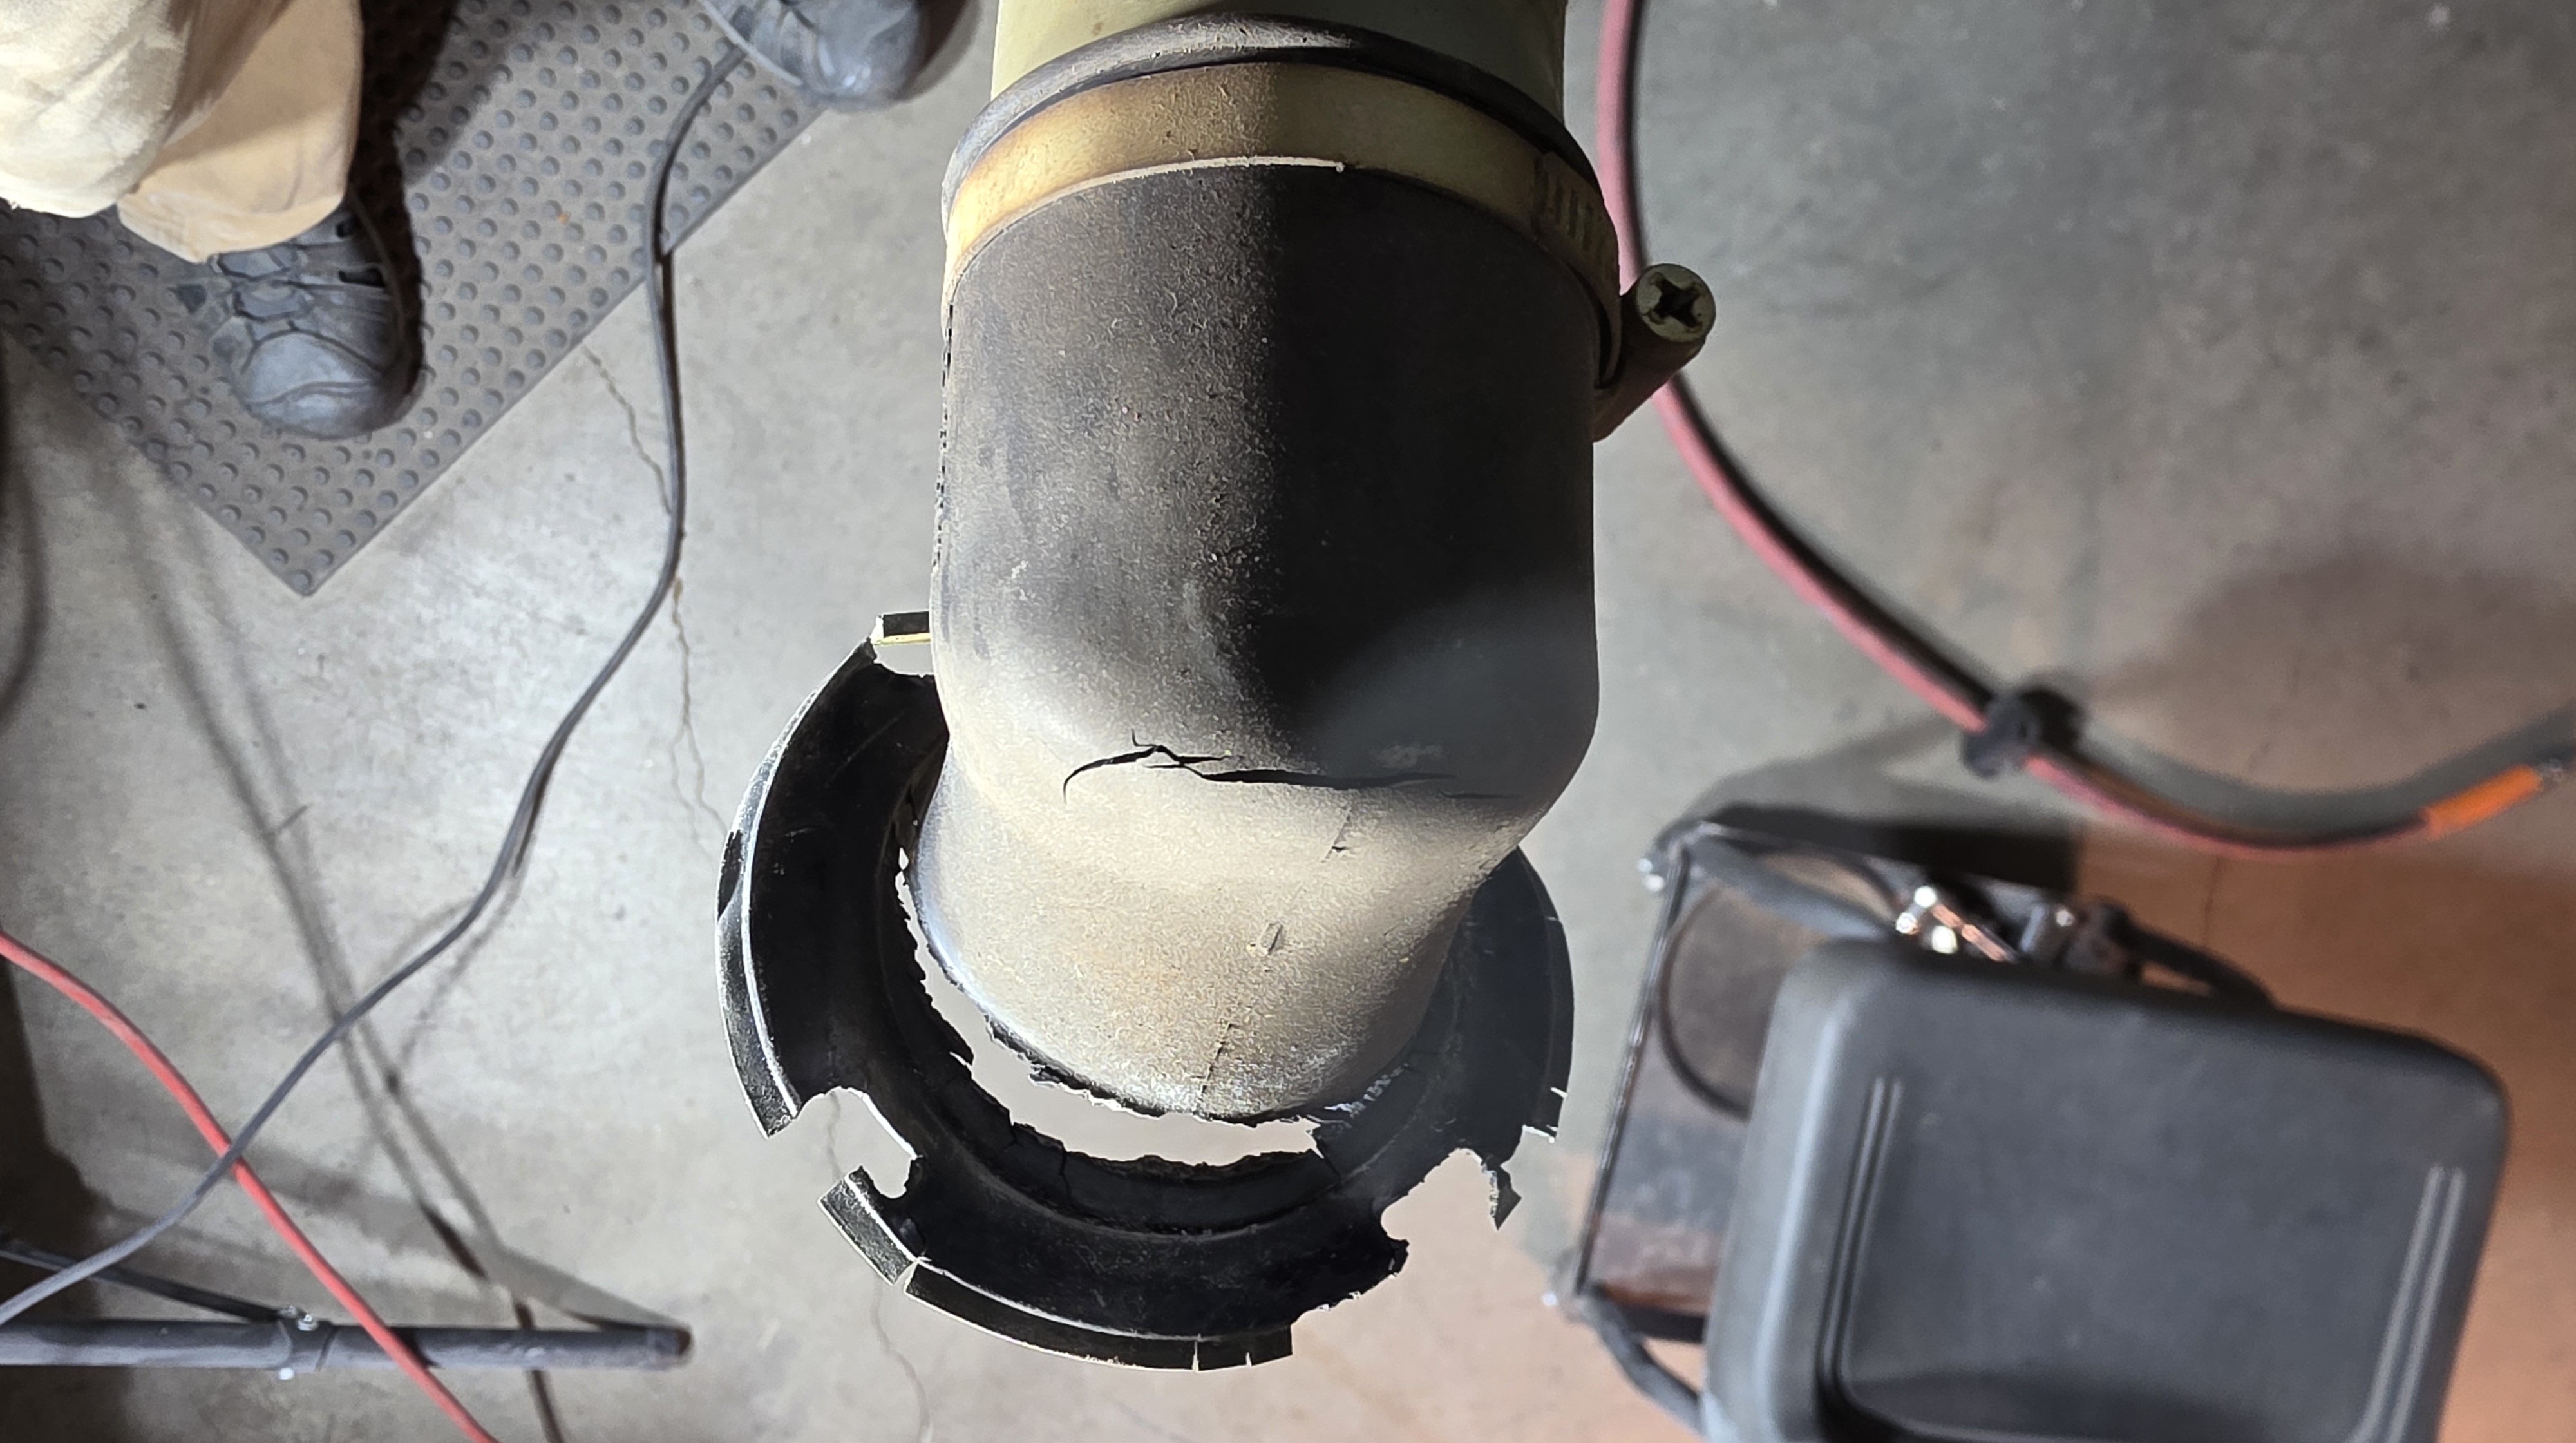
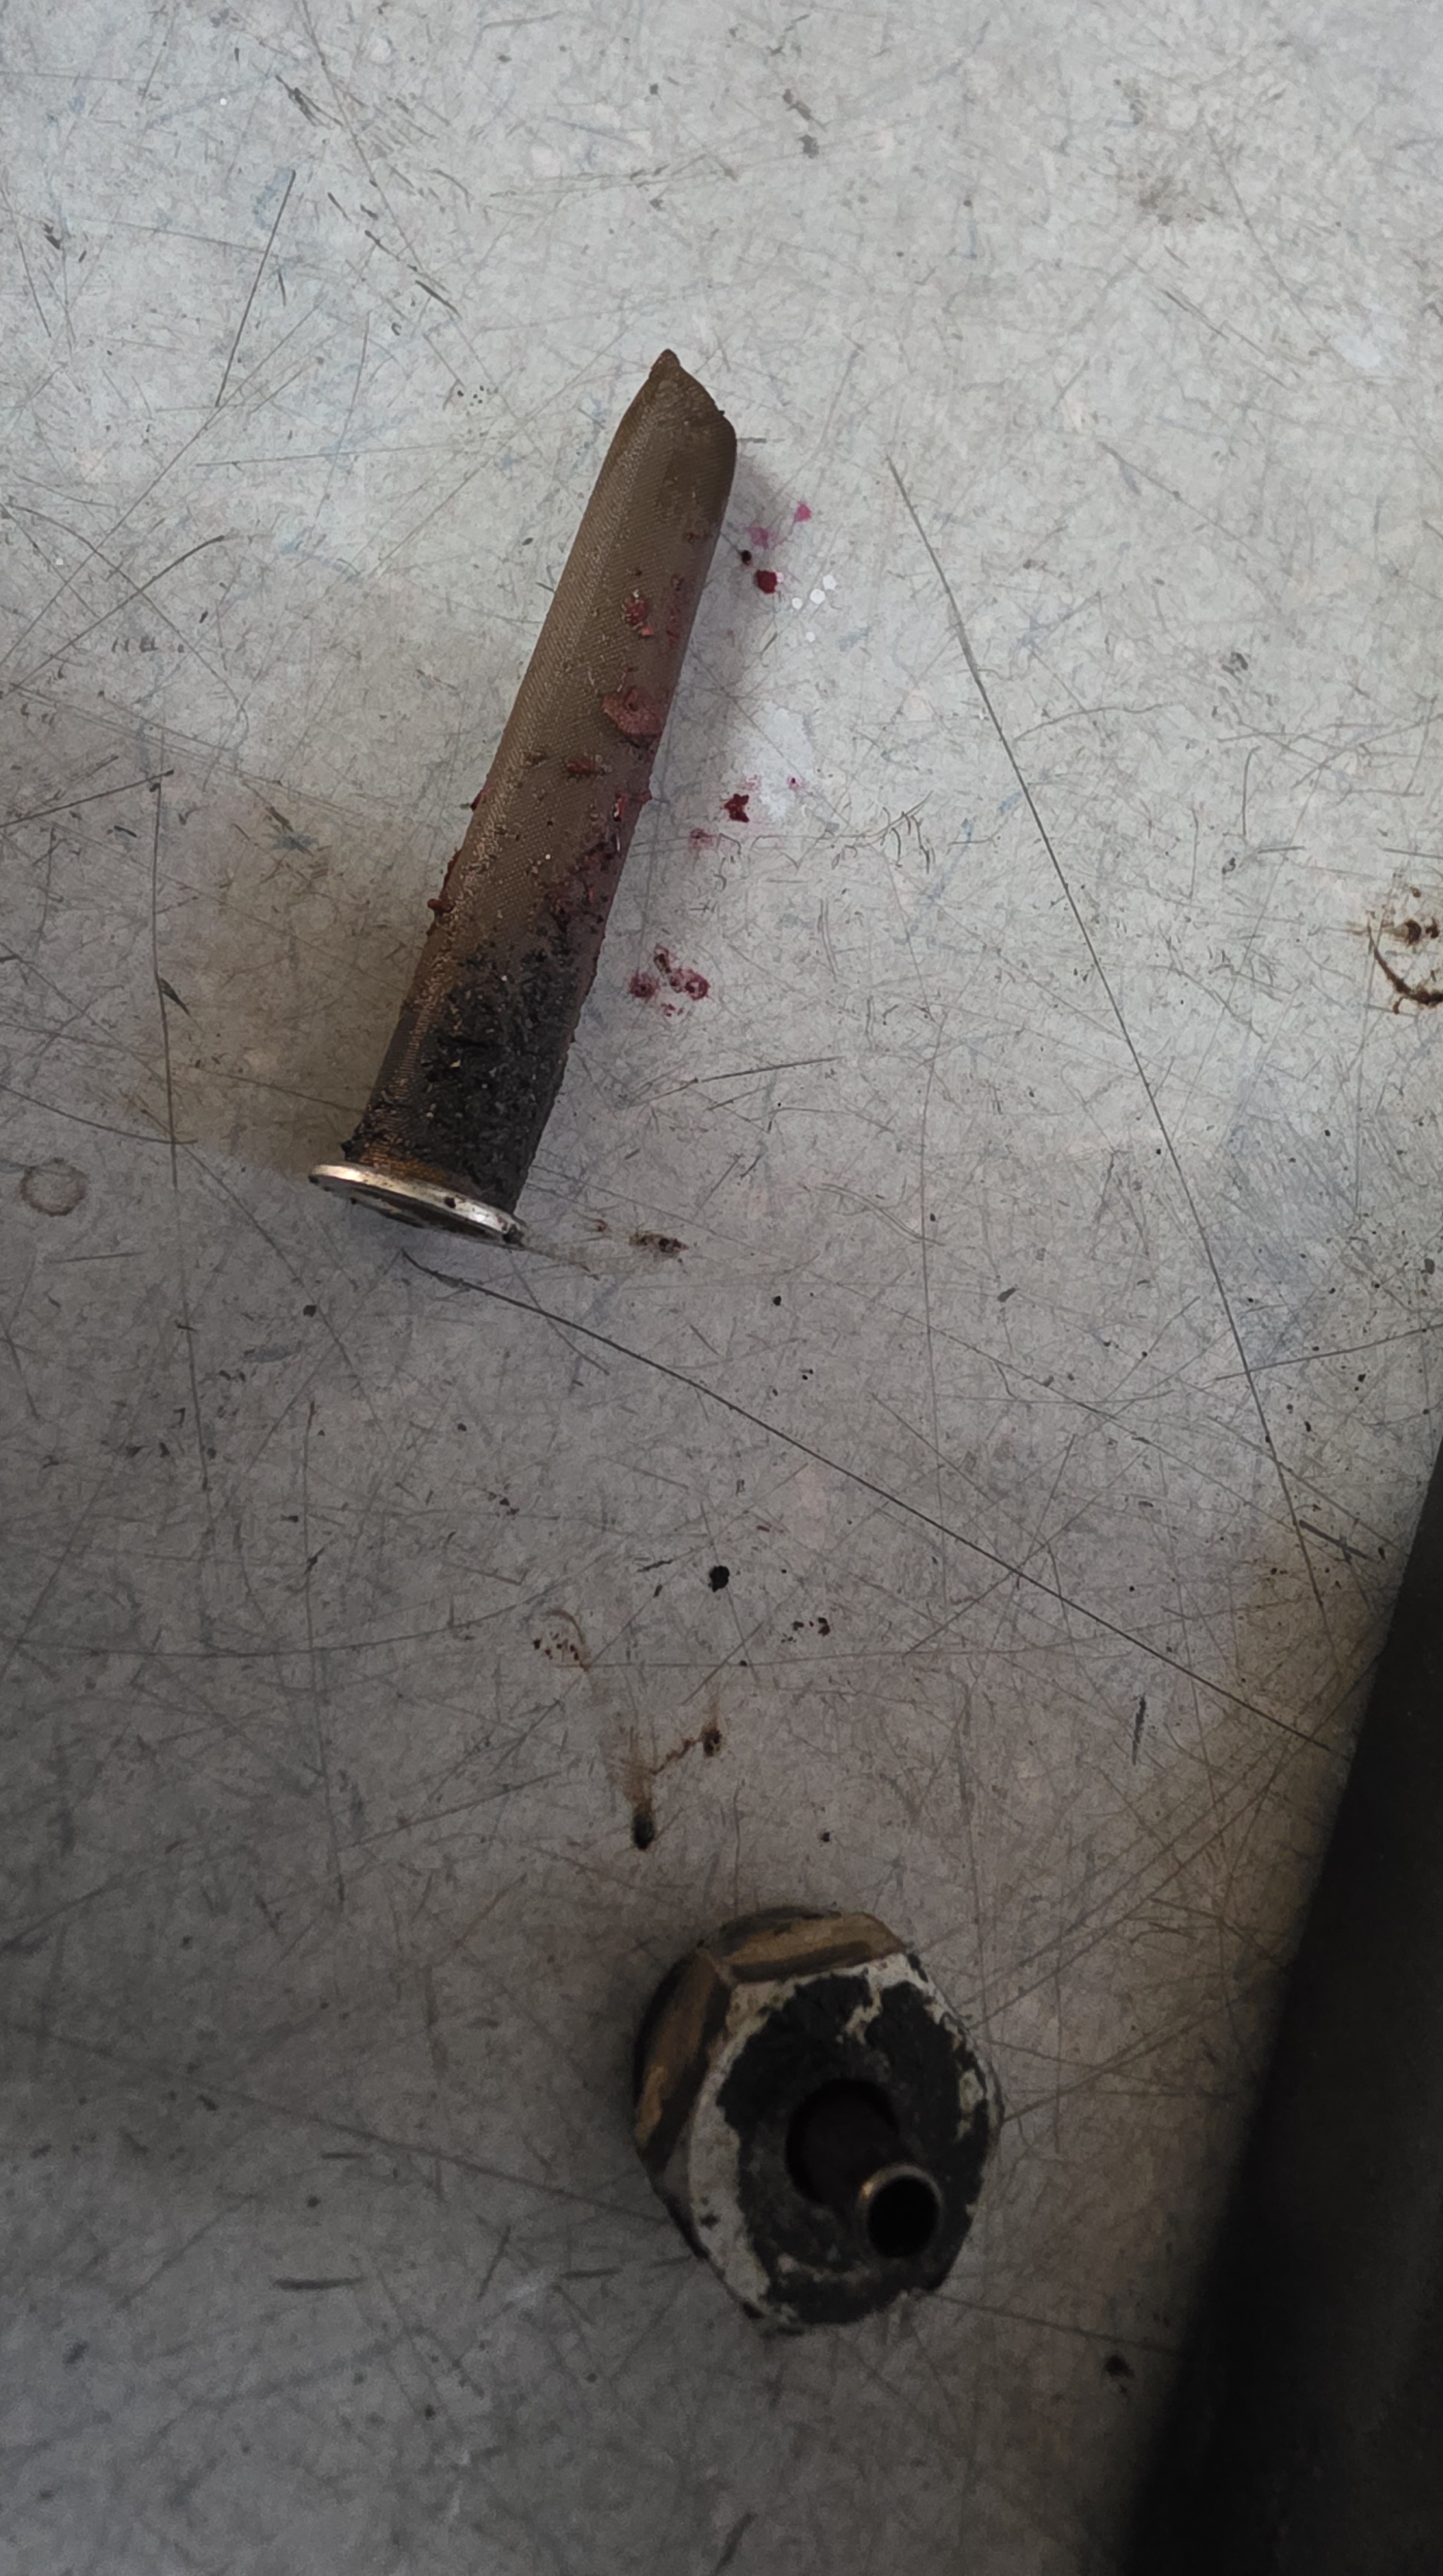
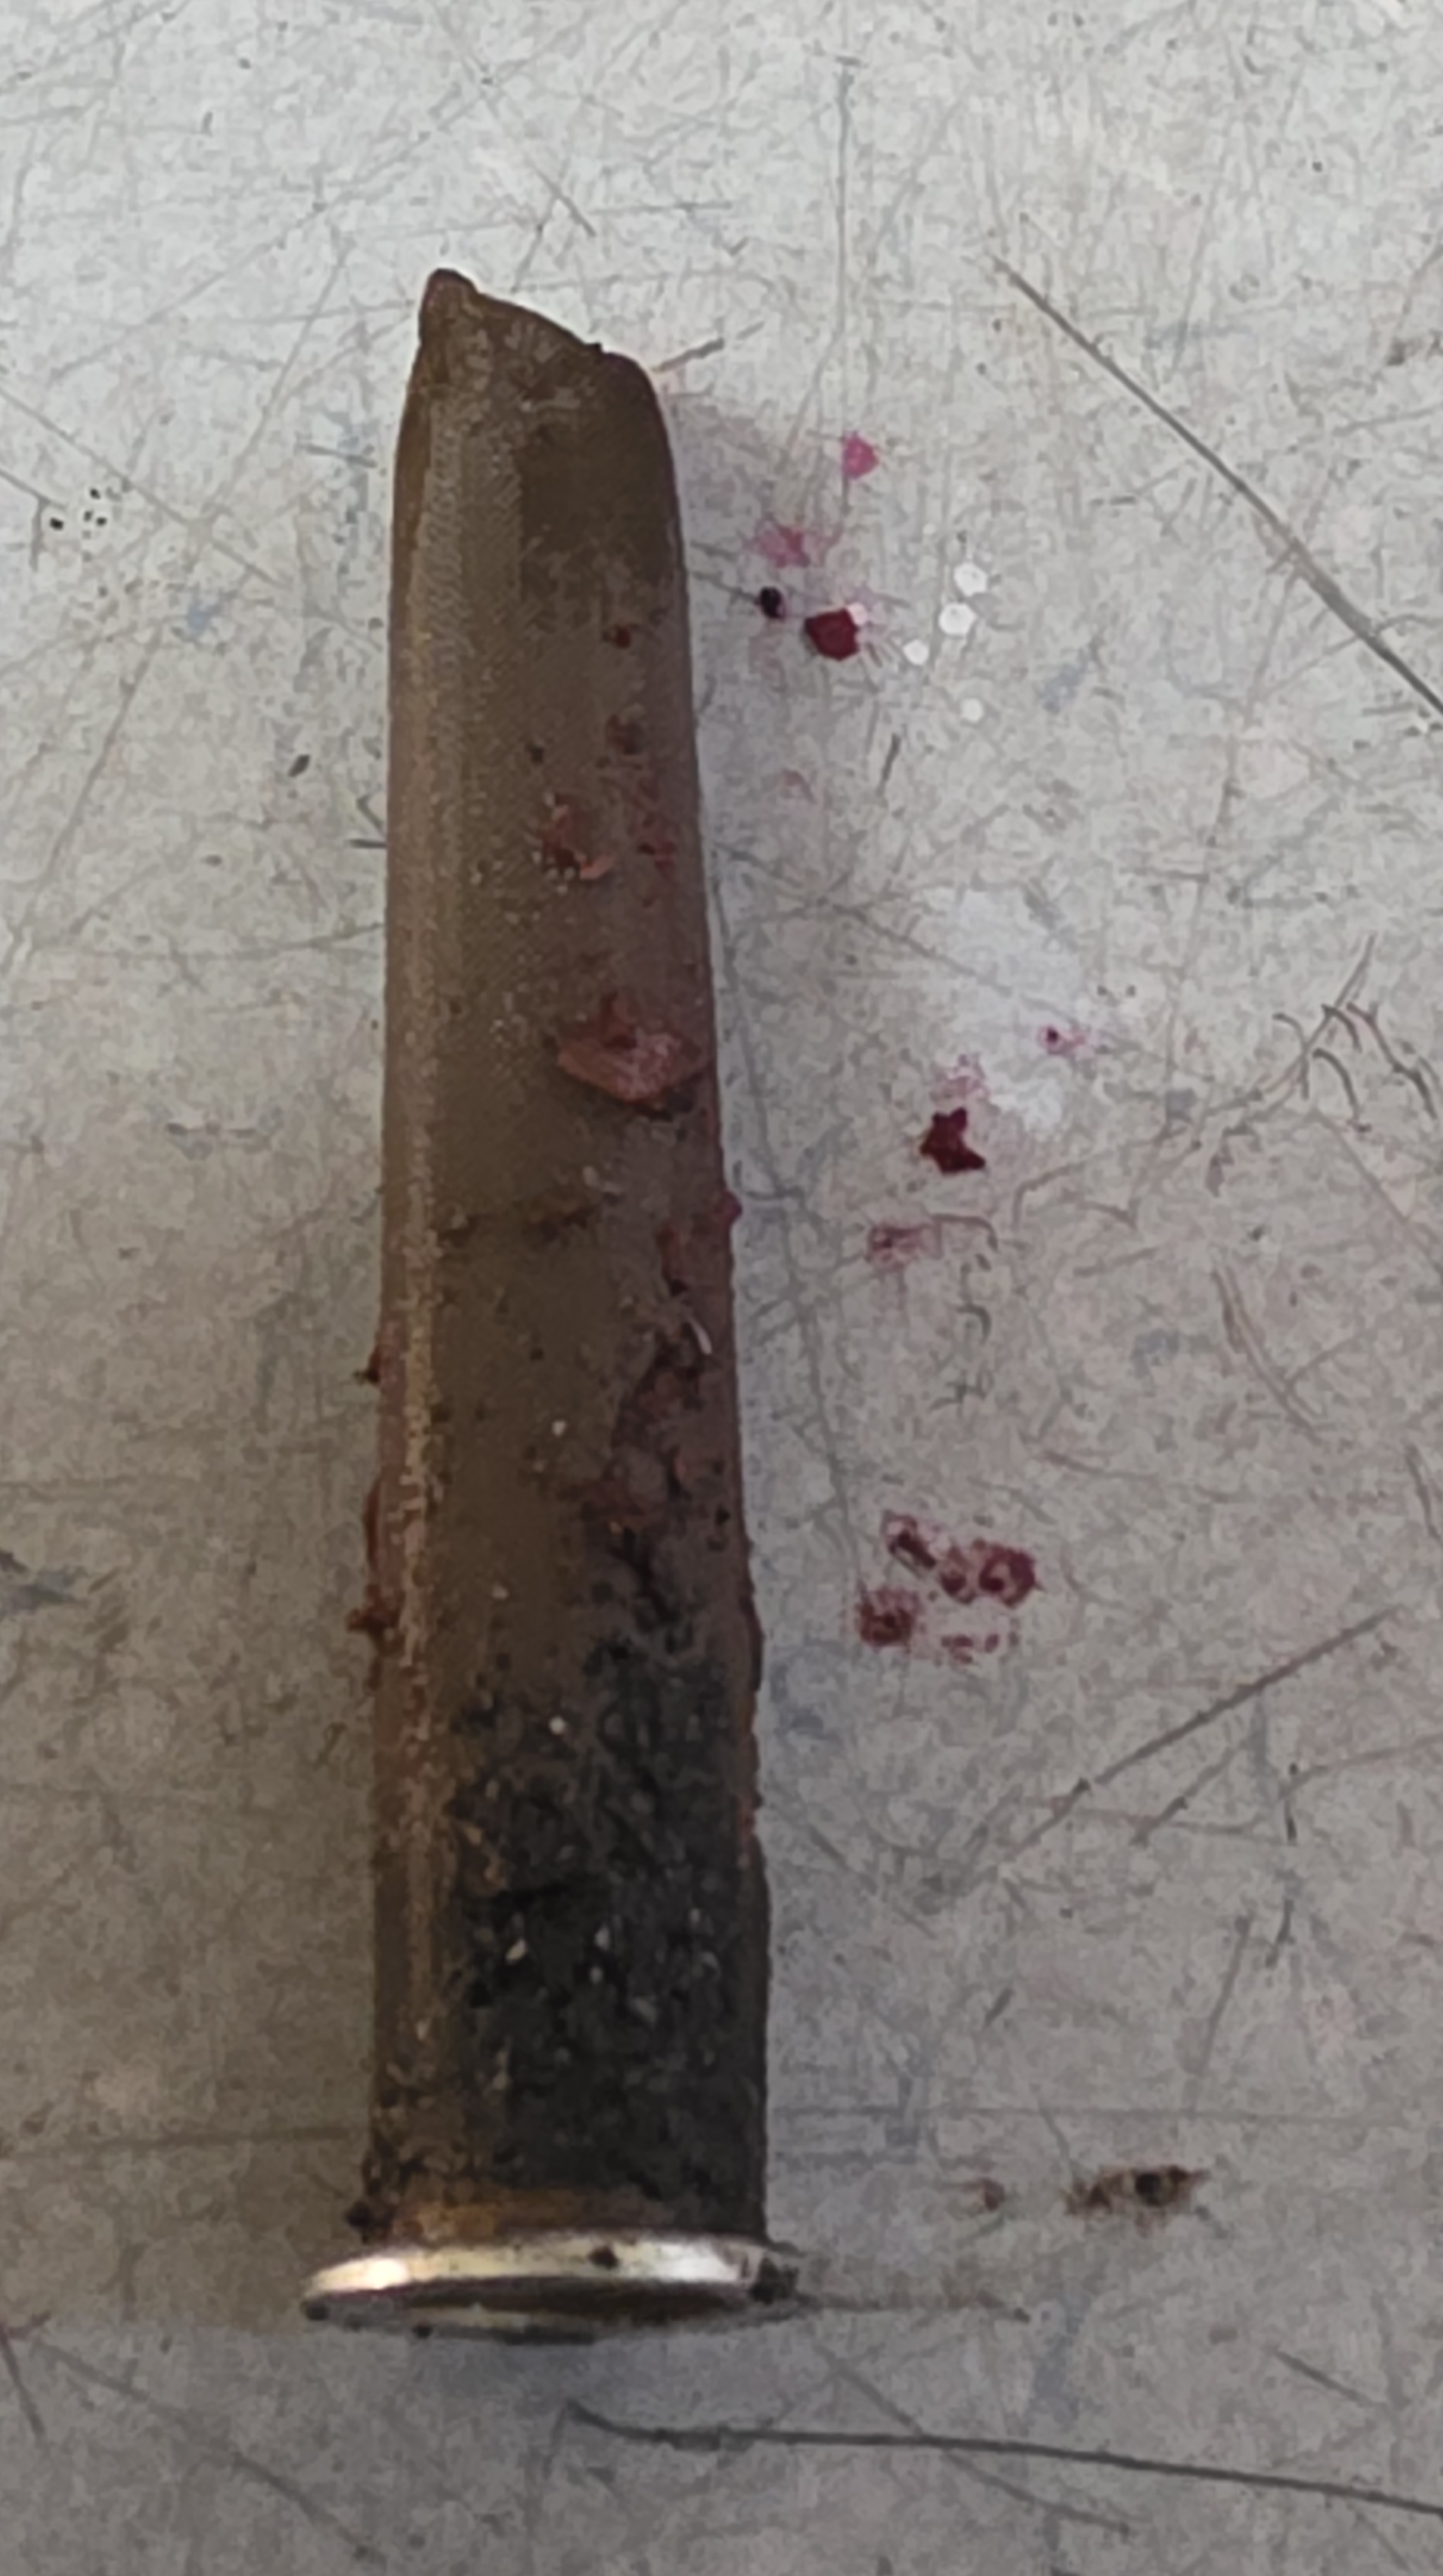
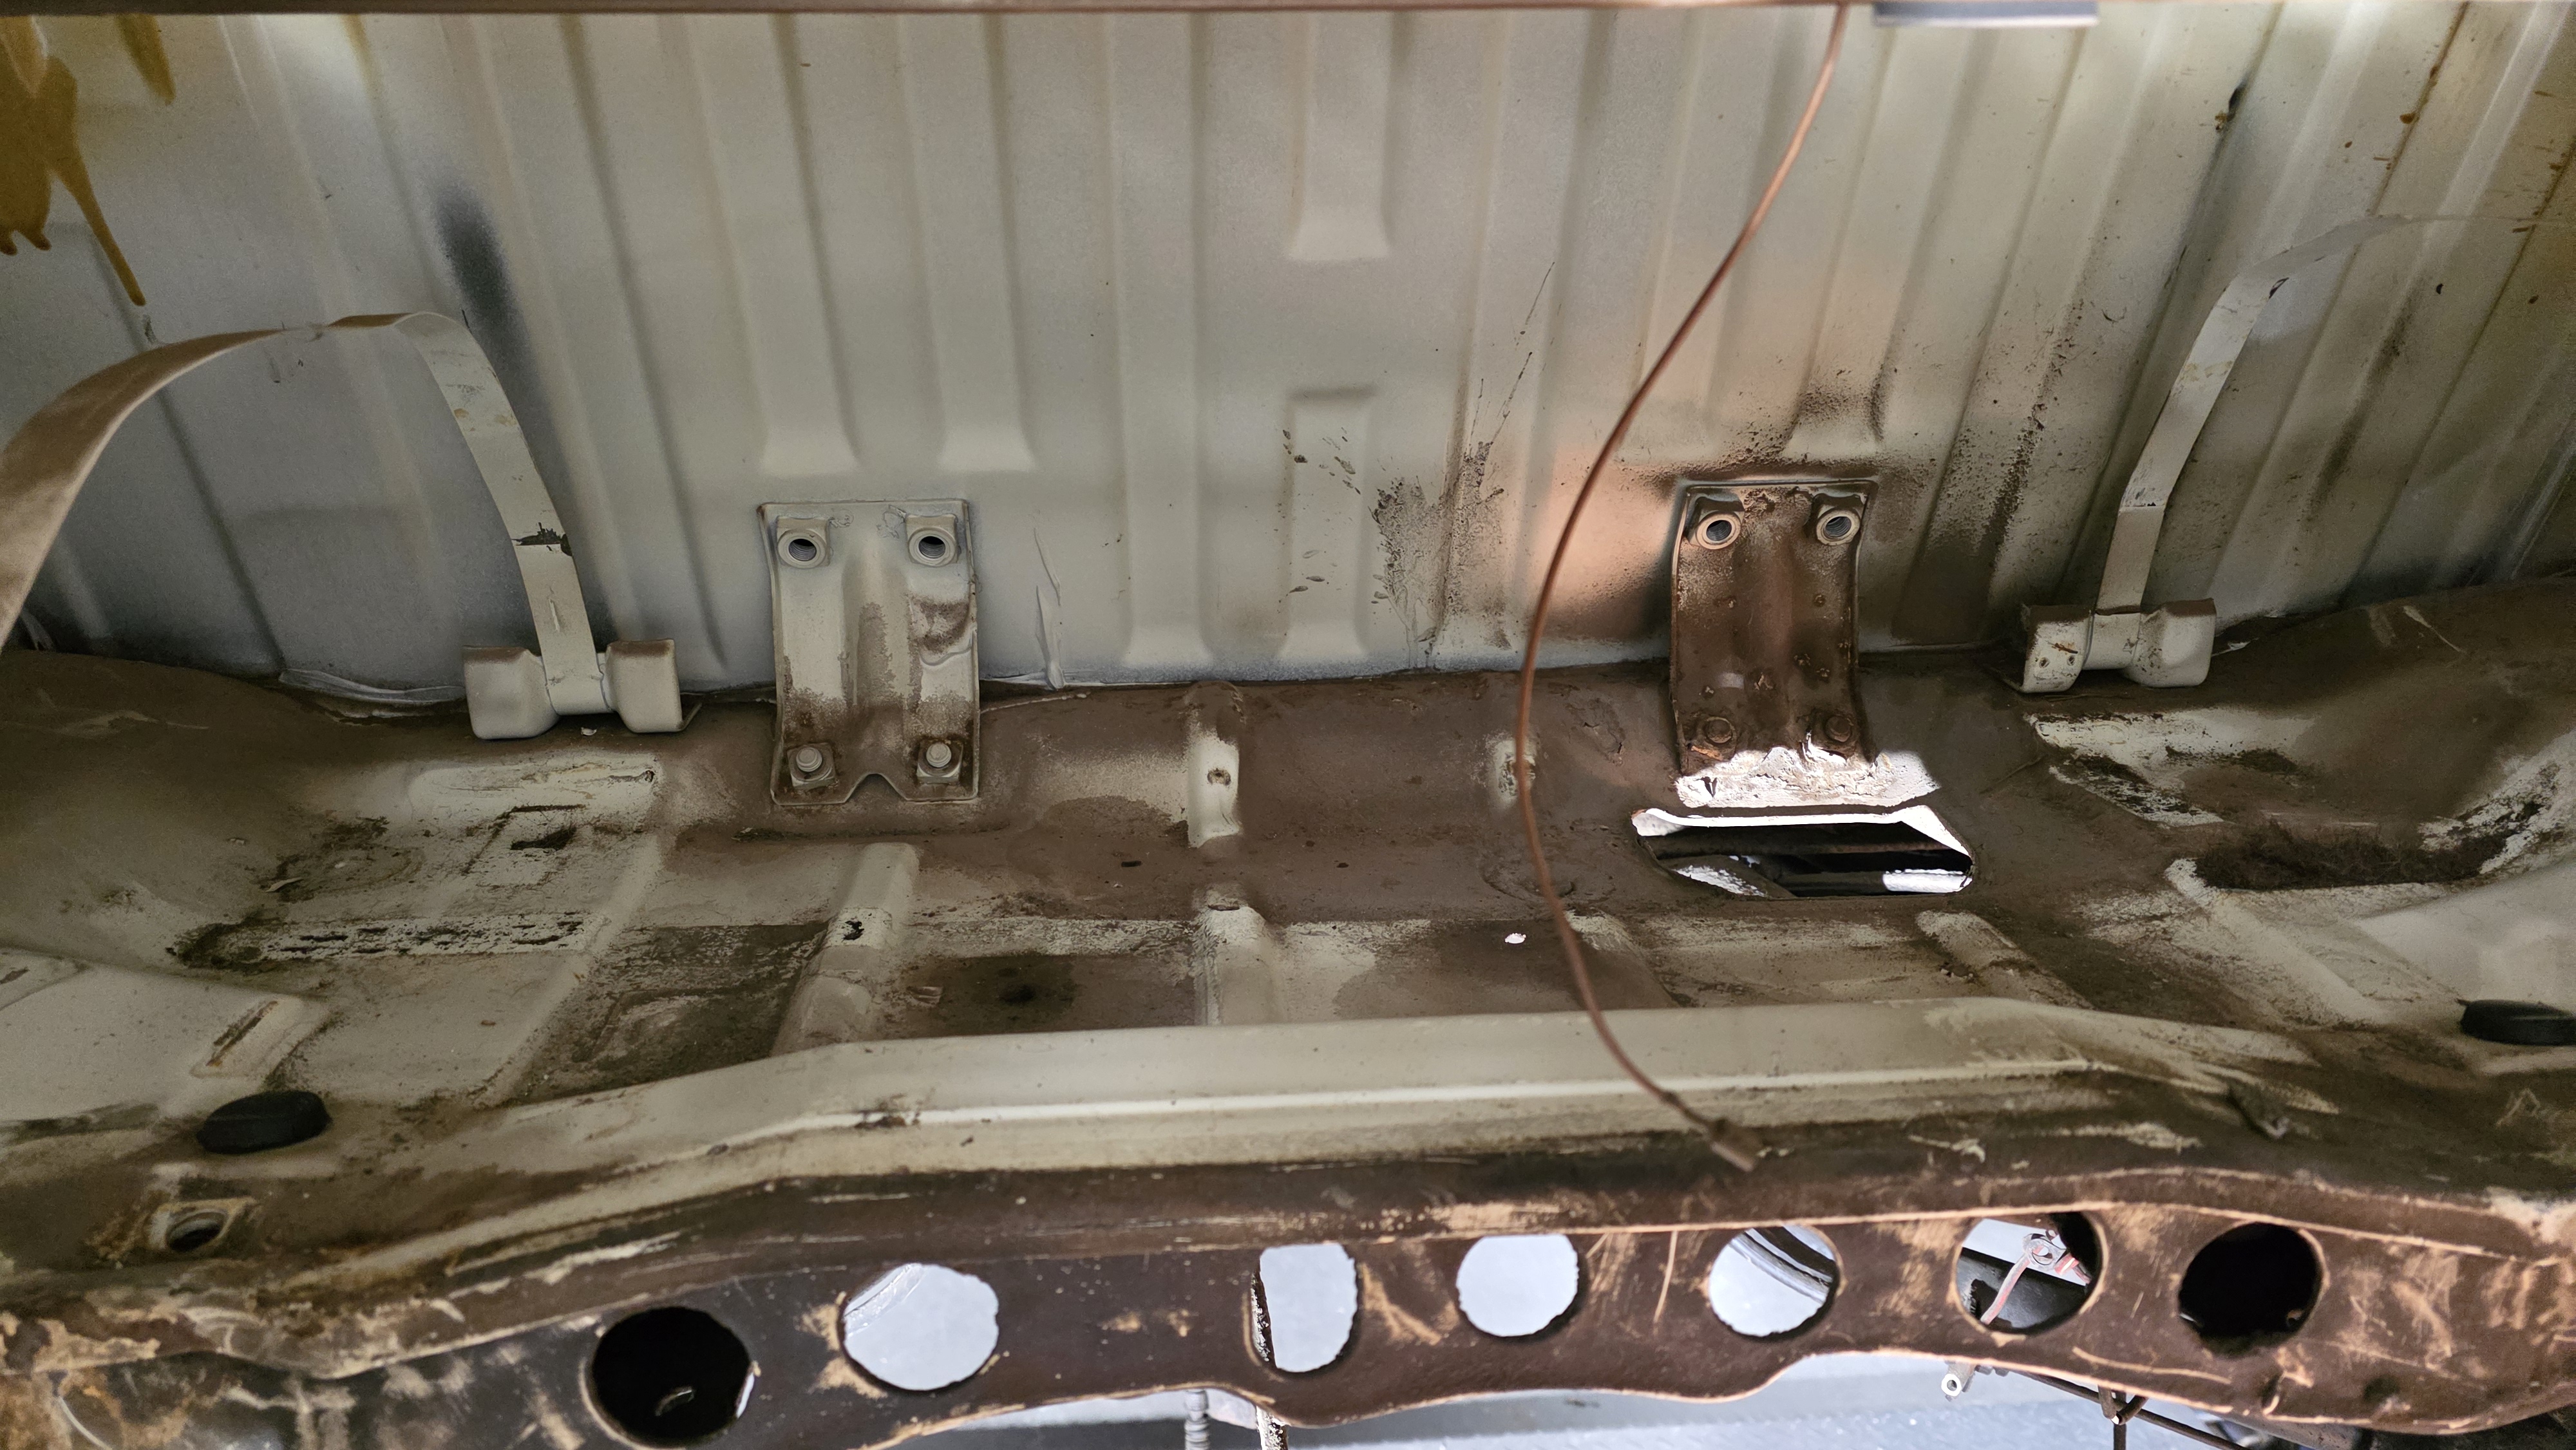
I pulled the gas tank. The fuel system needed some attention from age, and it will need the return line for the fuel injection. I will be using the breather lines for the emissions to route the fuel back to the tank.
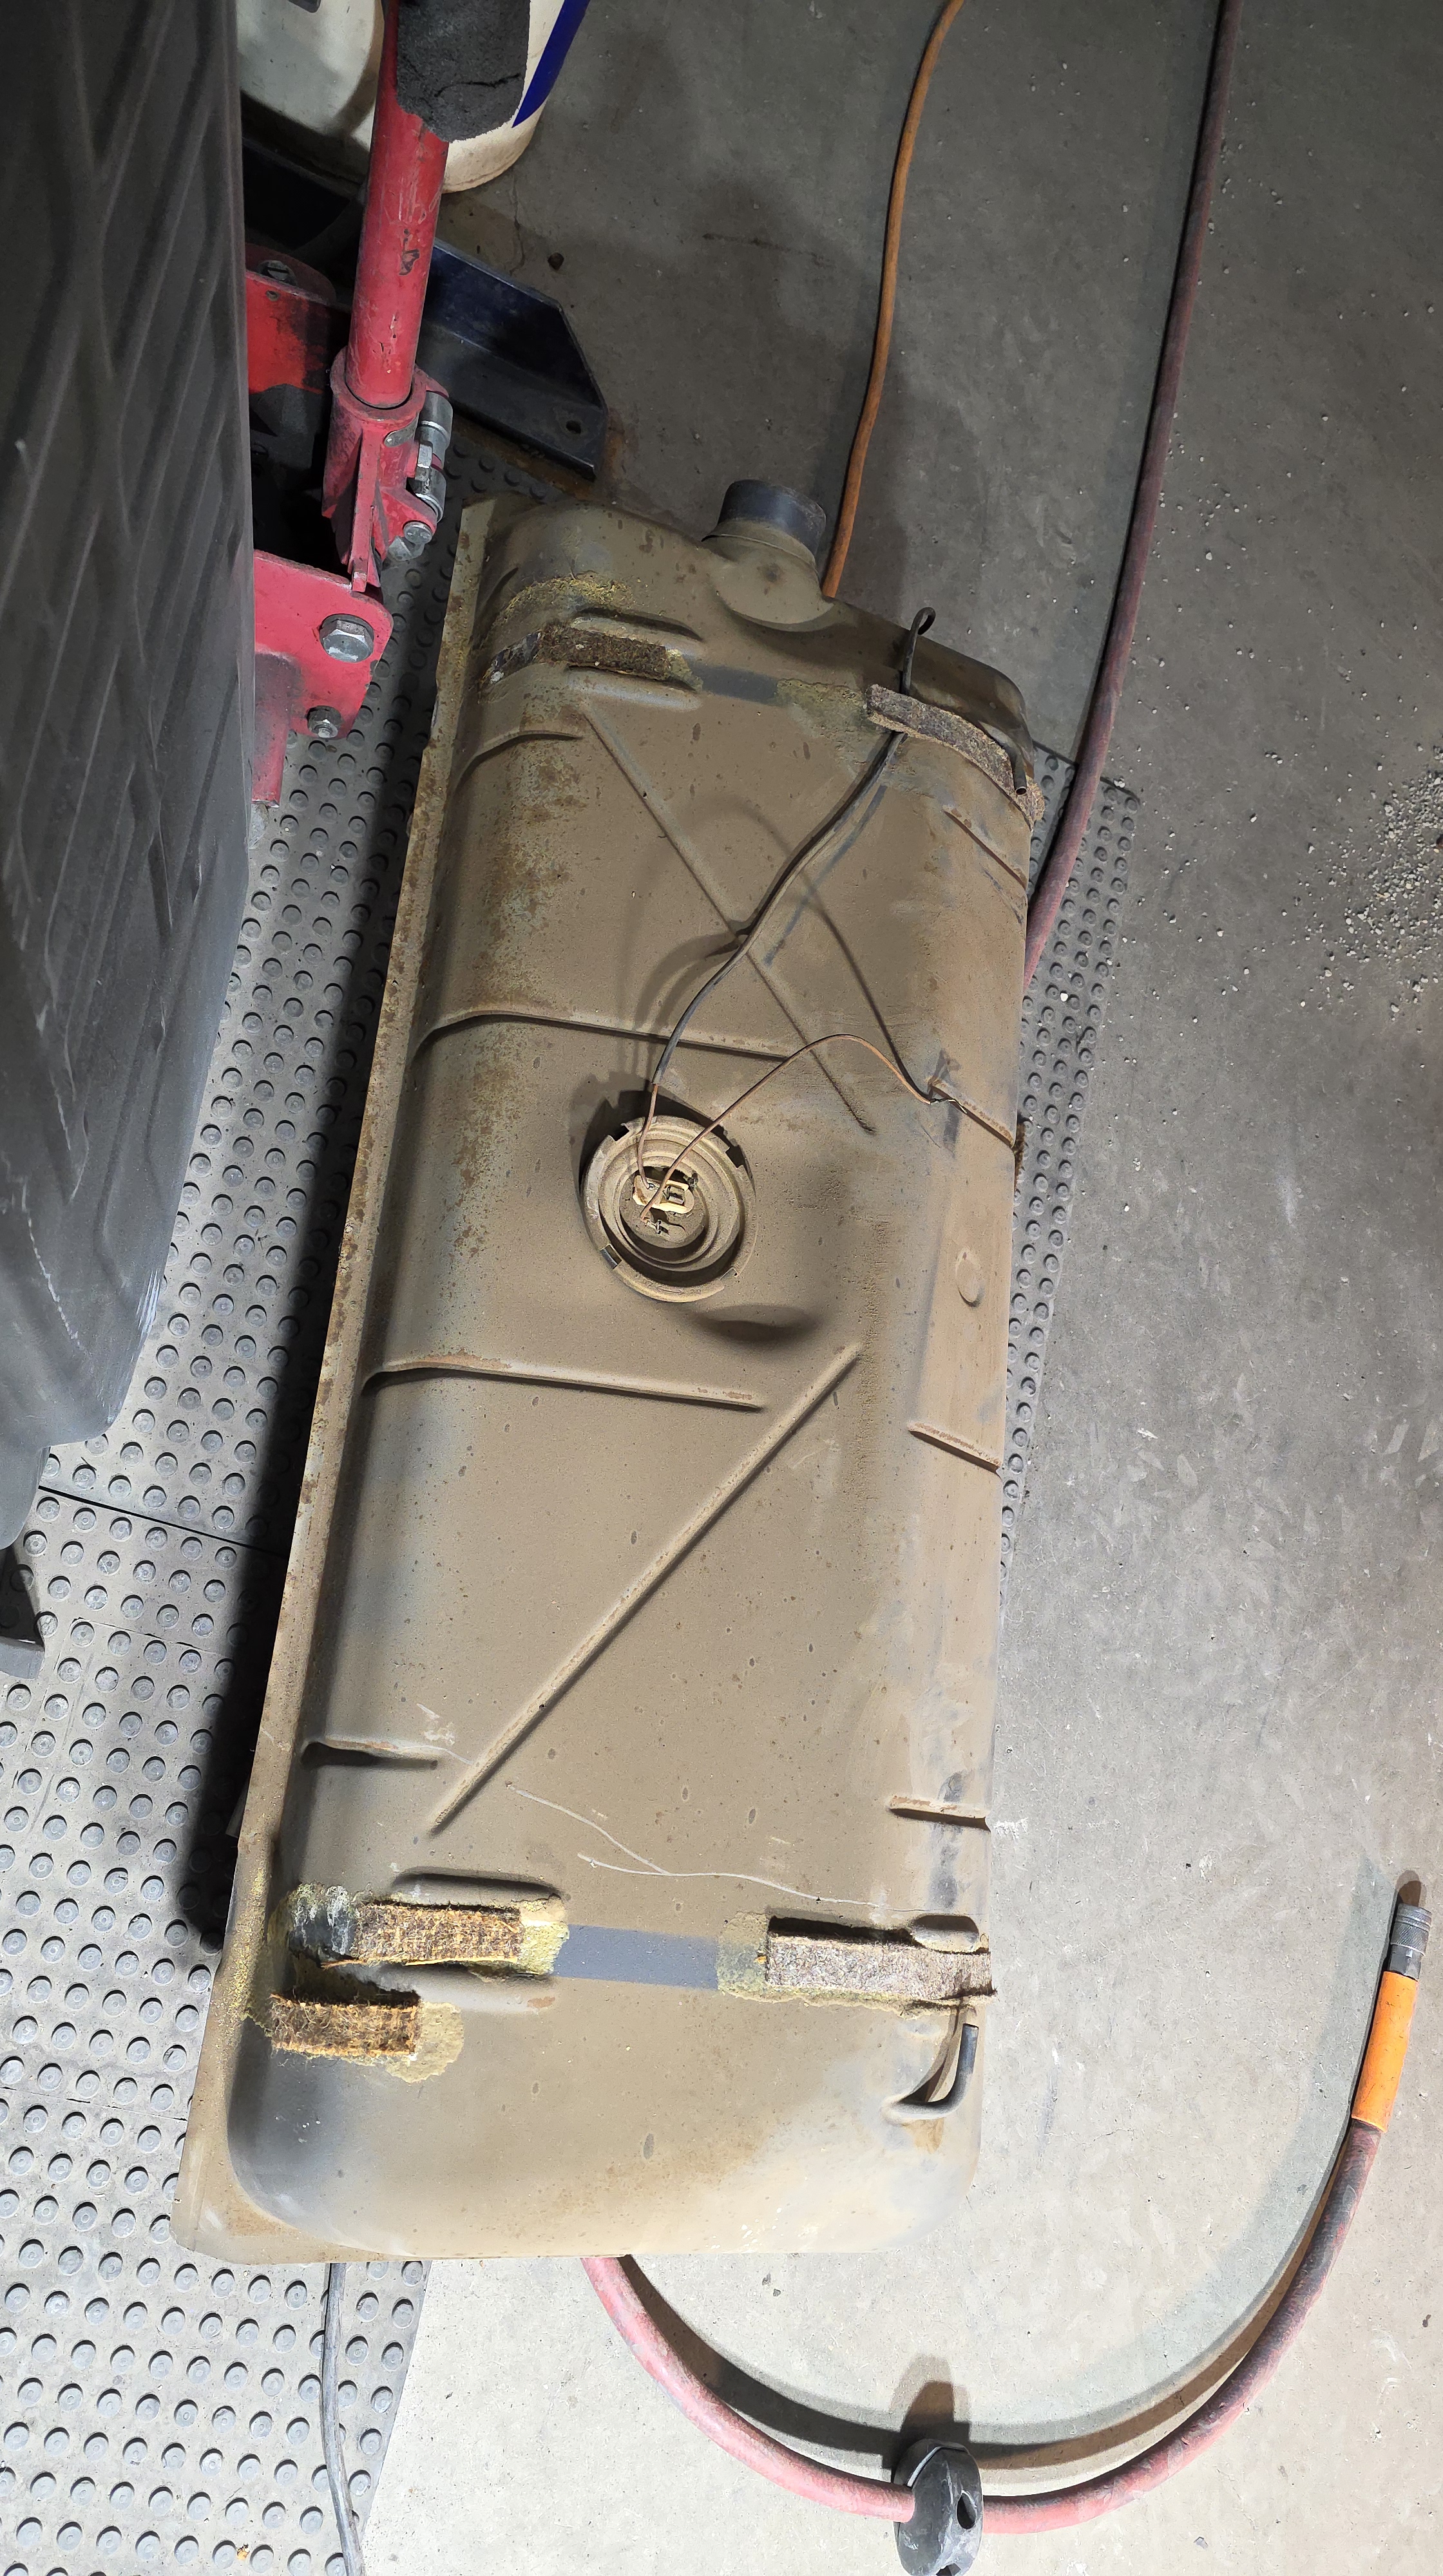
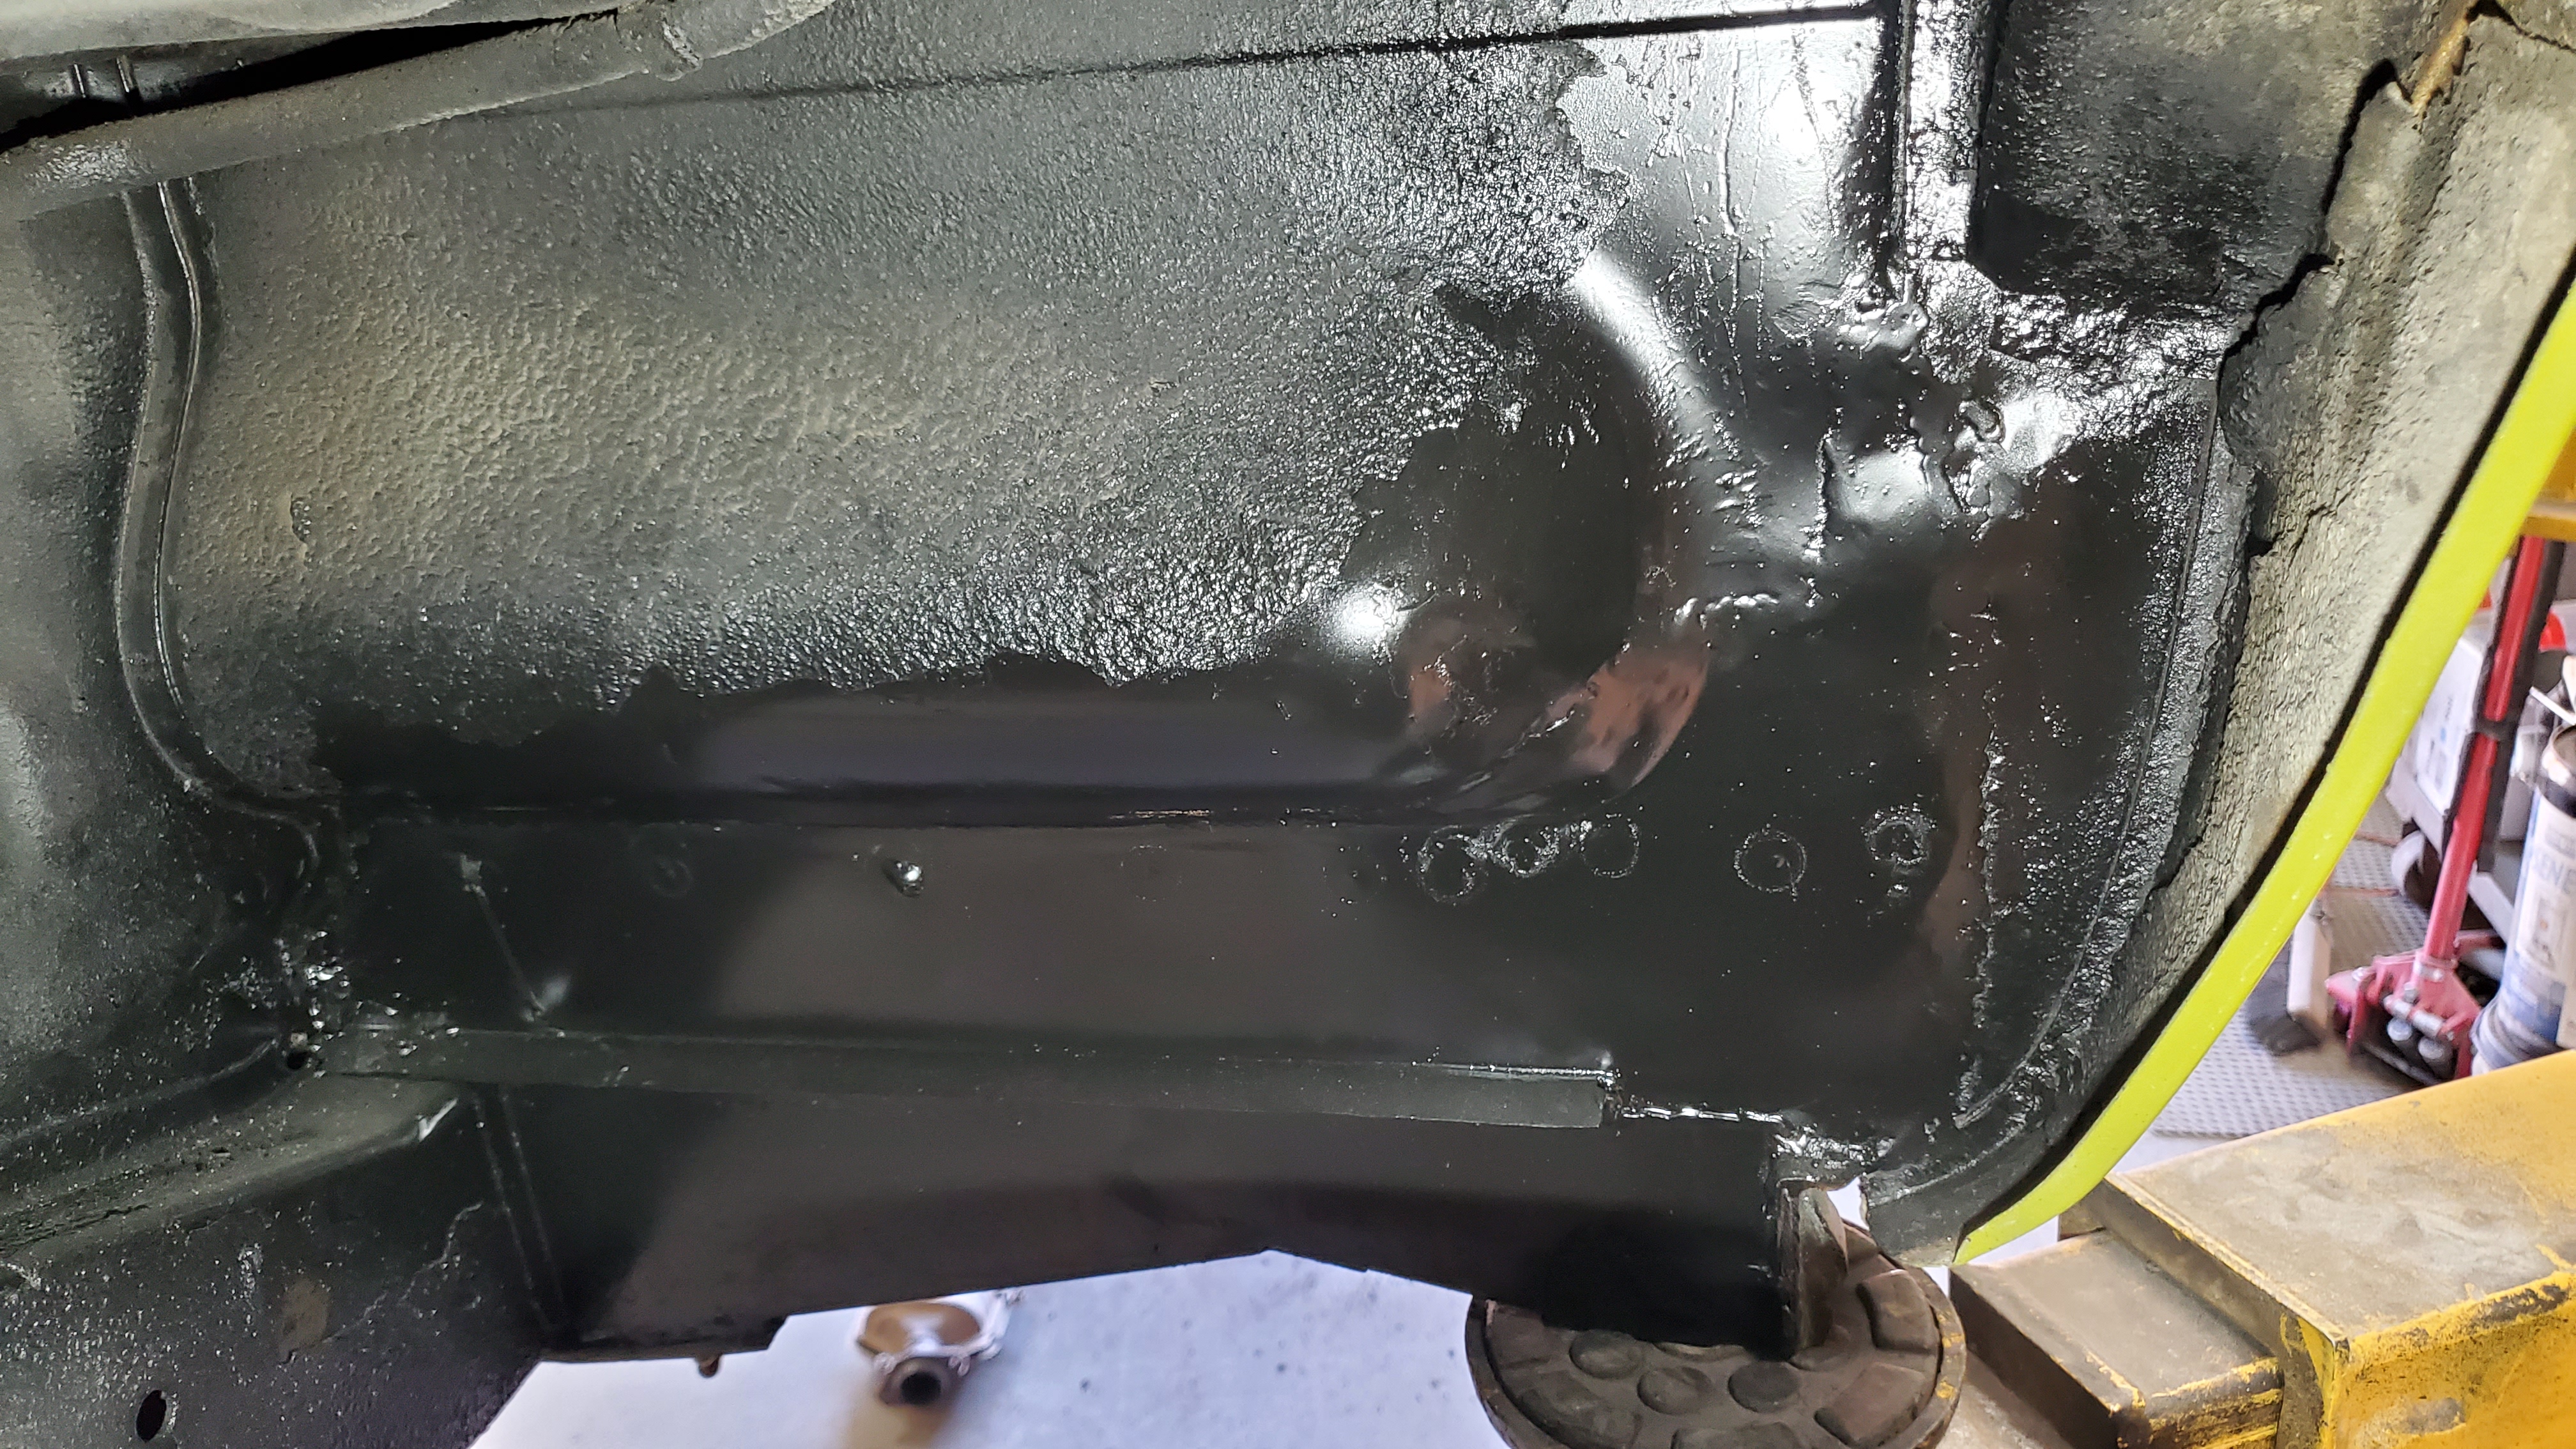
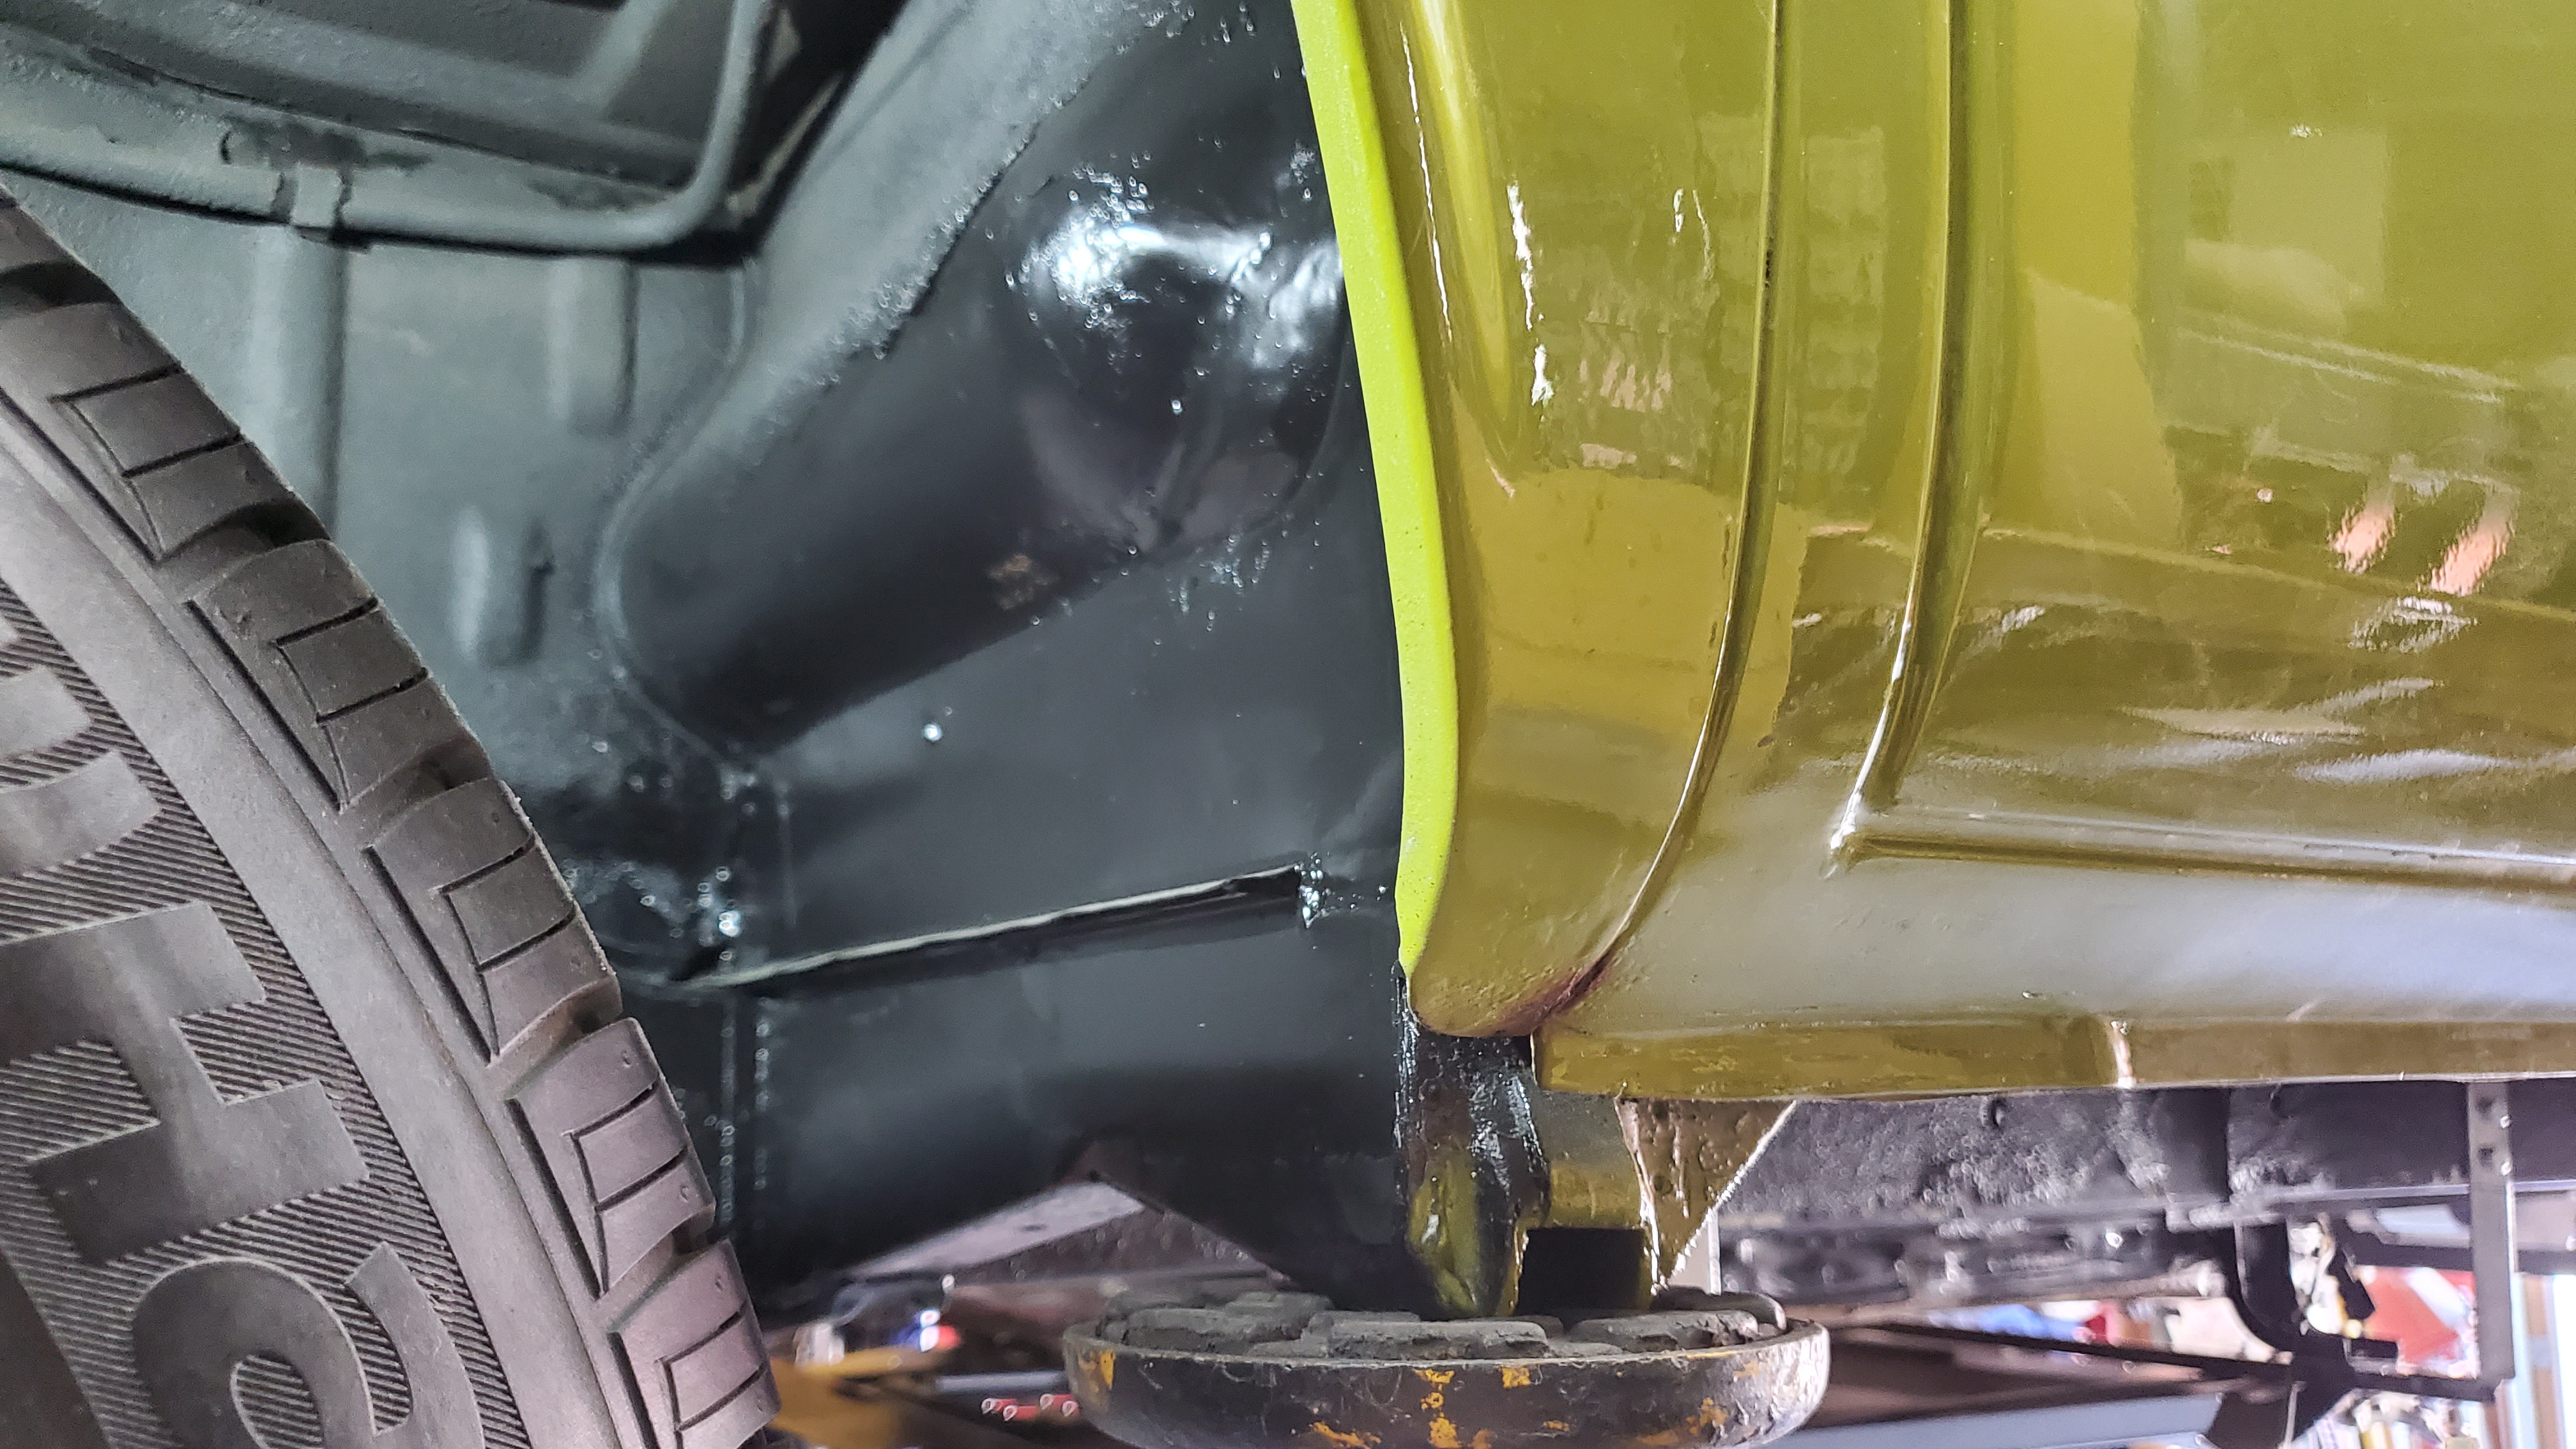
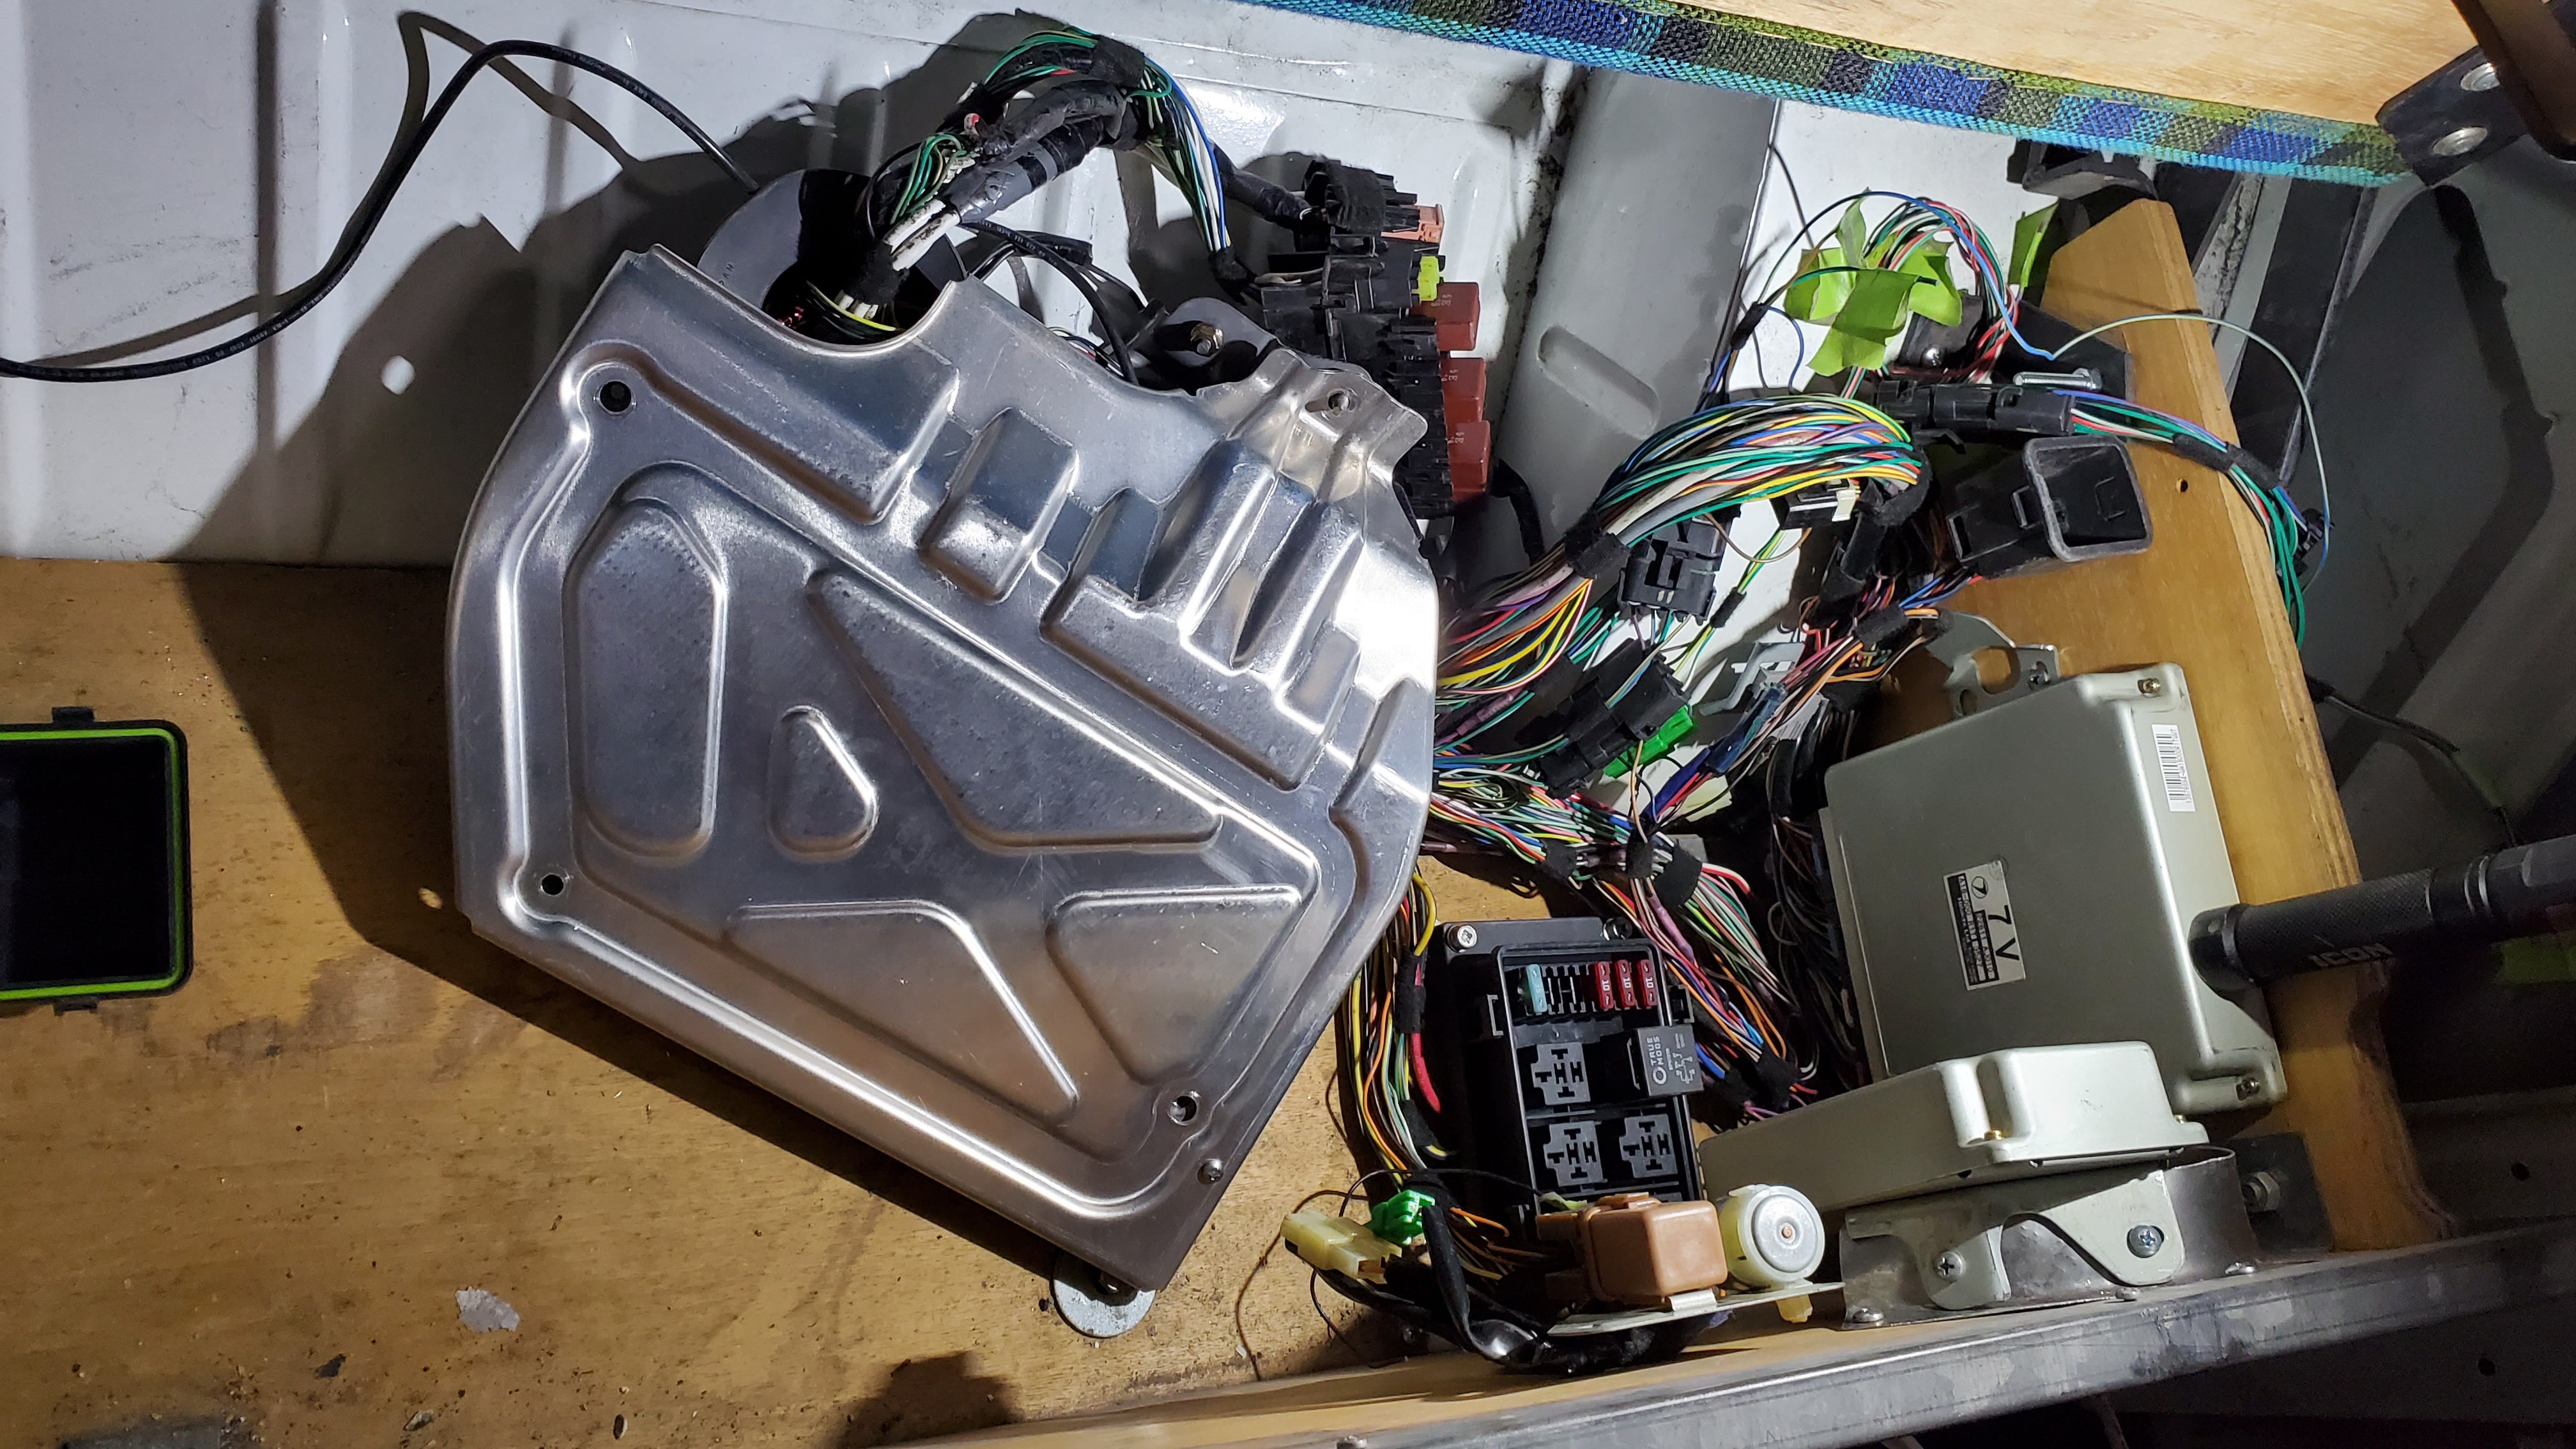
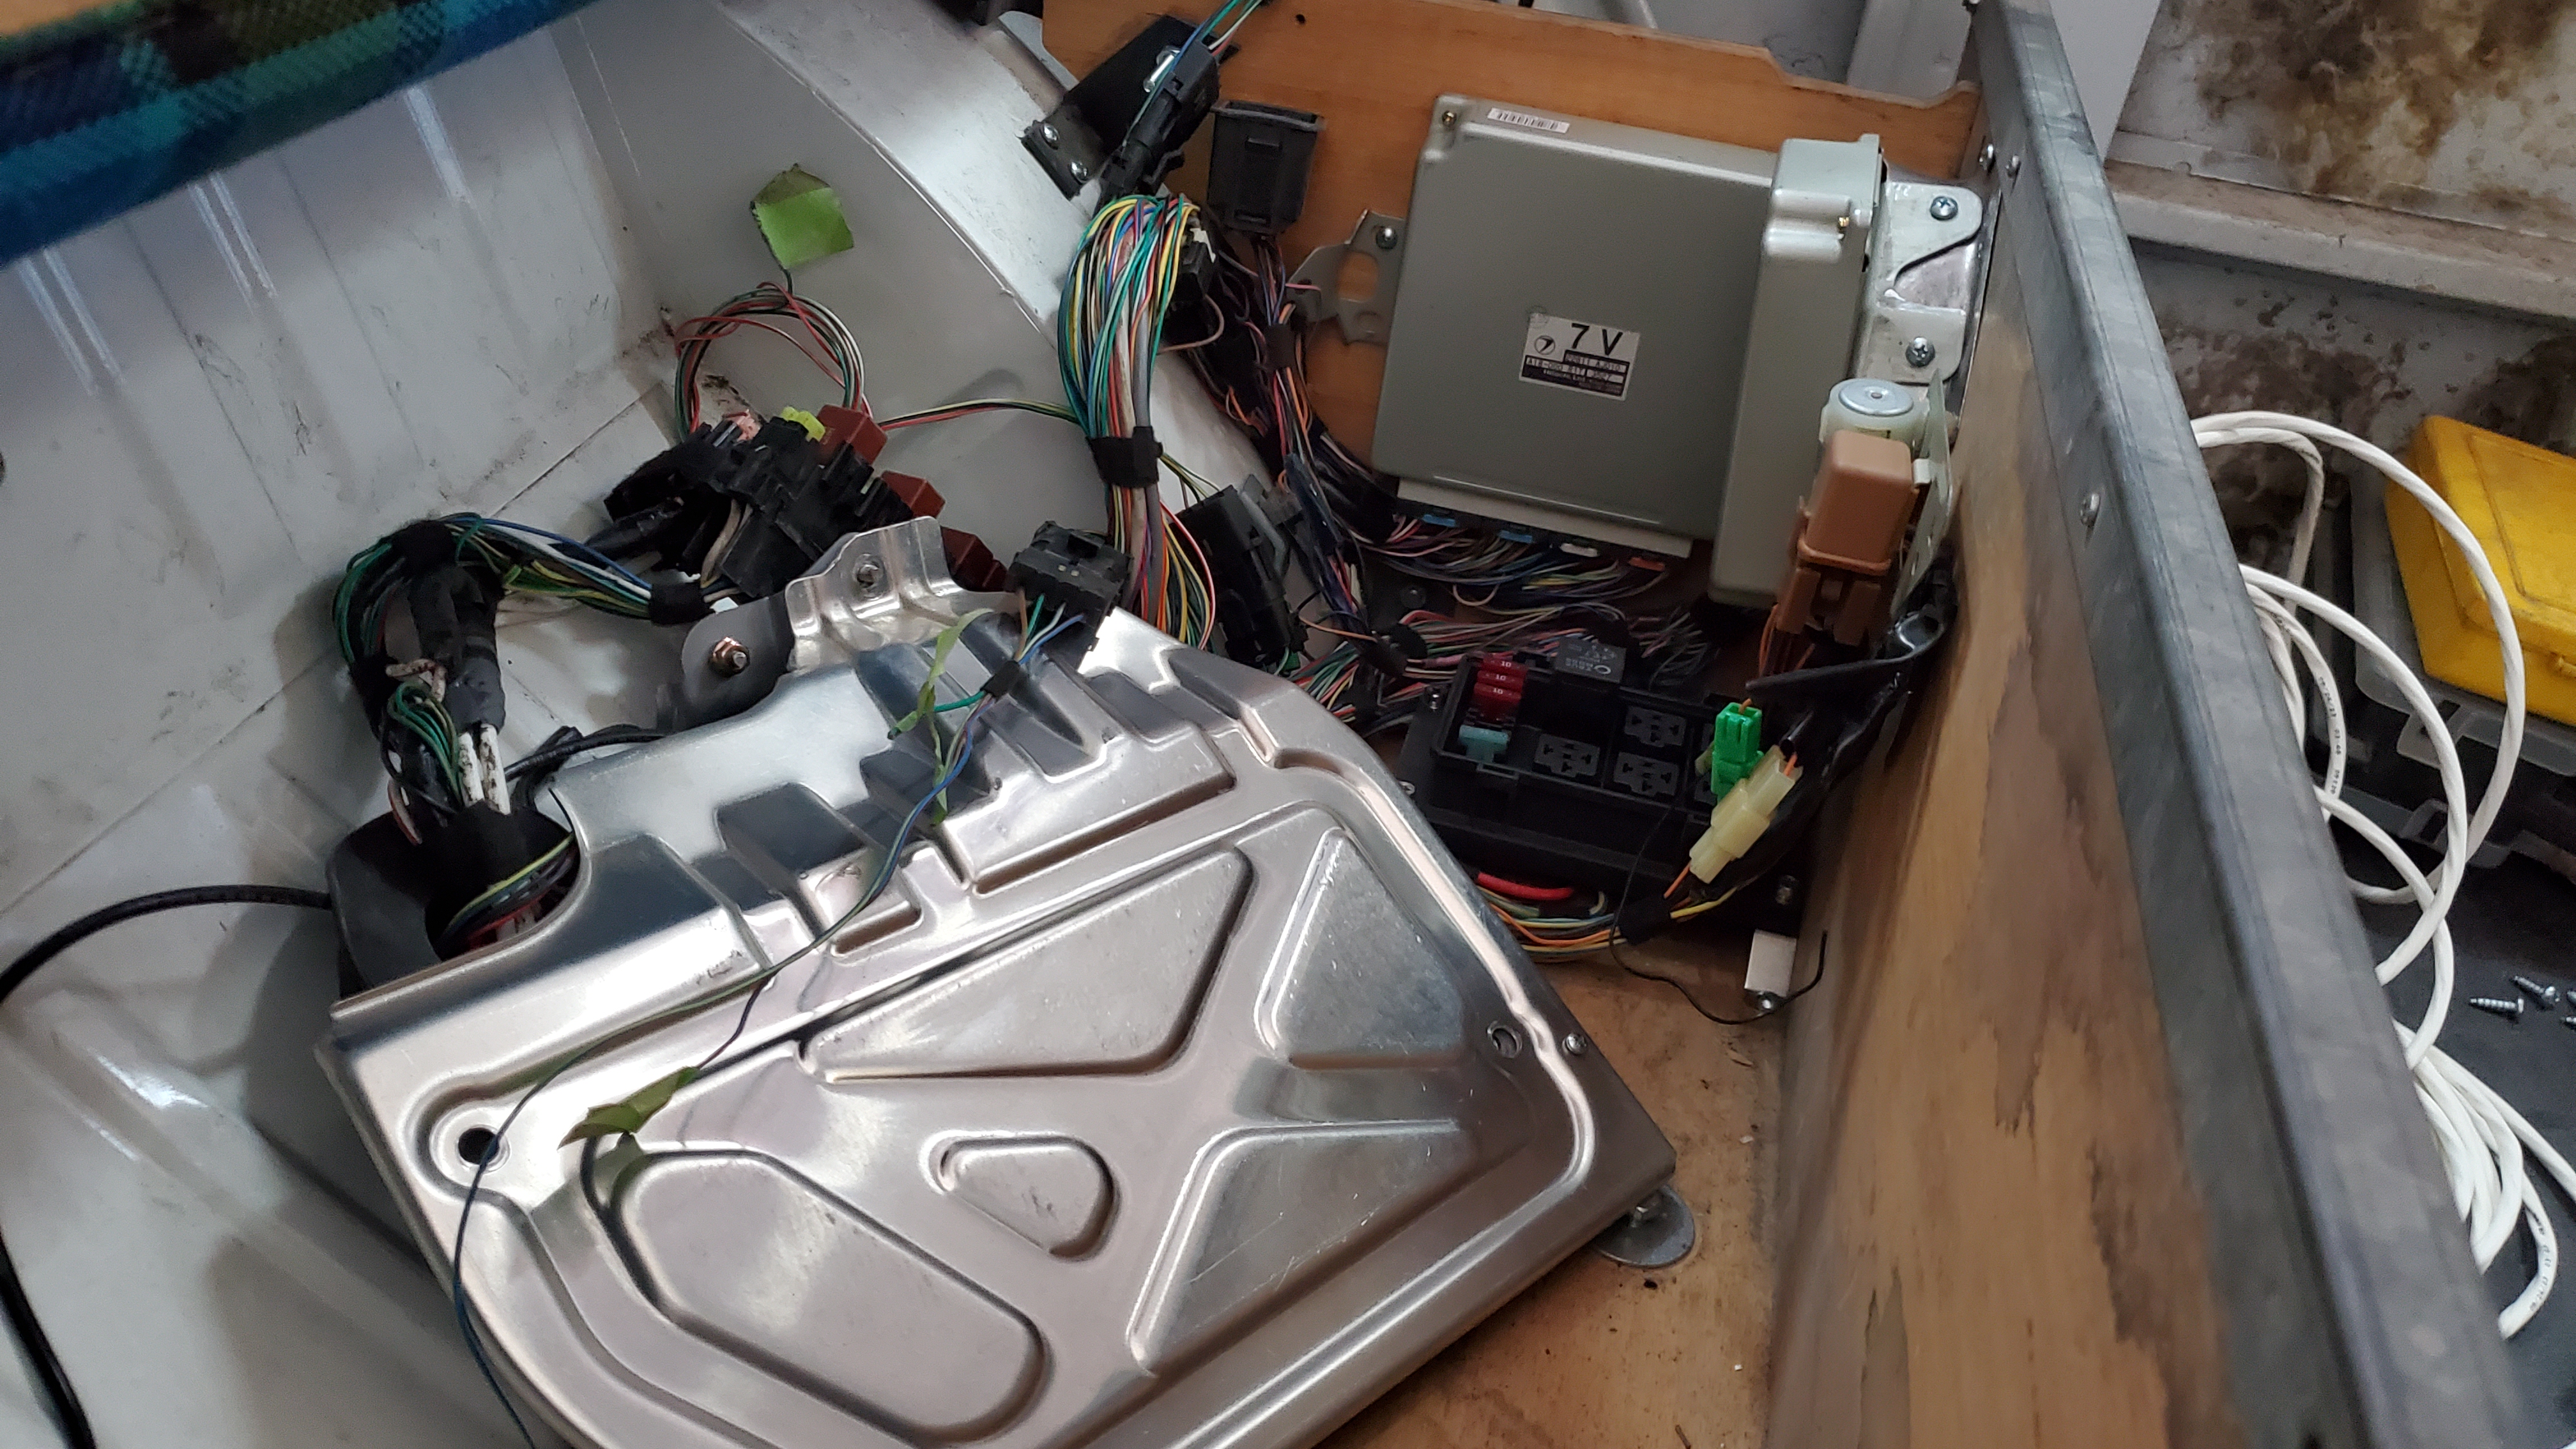
The original tank was in good shape other than the screen and rubber. The last Bus had the ECU in the engine bay, and I wanted to protect things a little better by installing everything under the seat. This should help in the long run, and I was able to reuse the original cover to help protect the wiring.
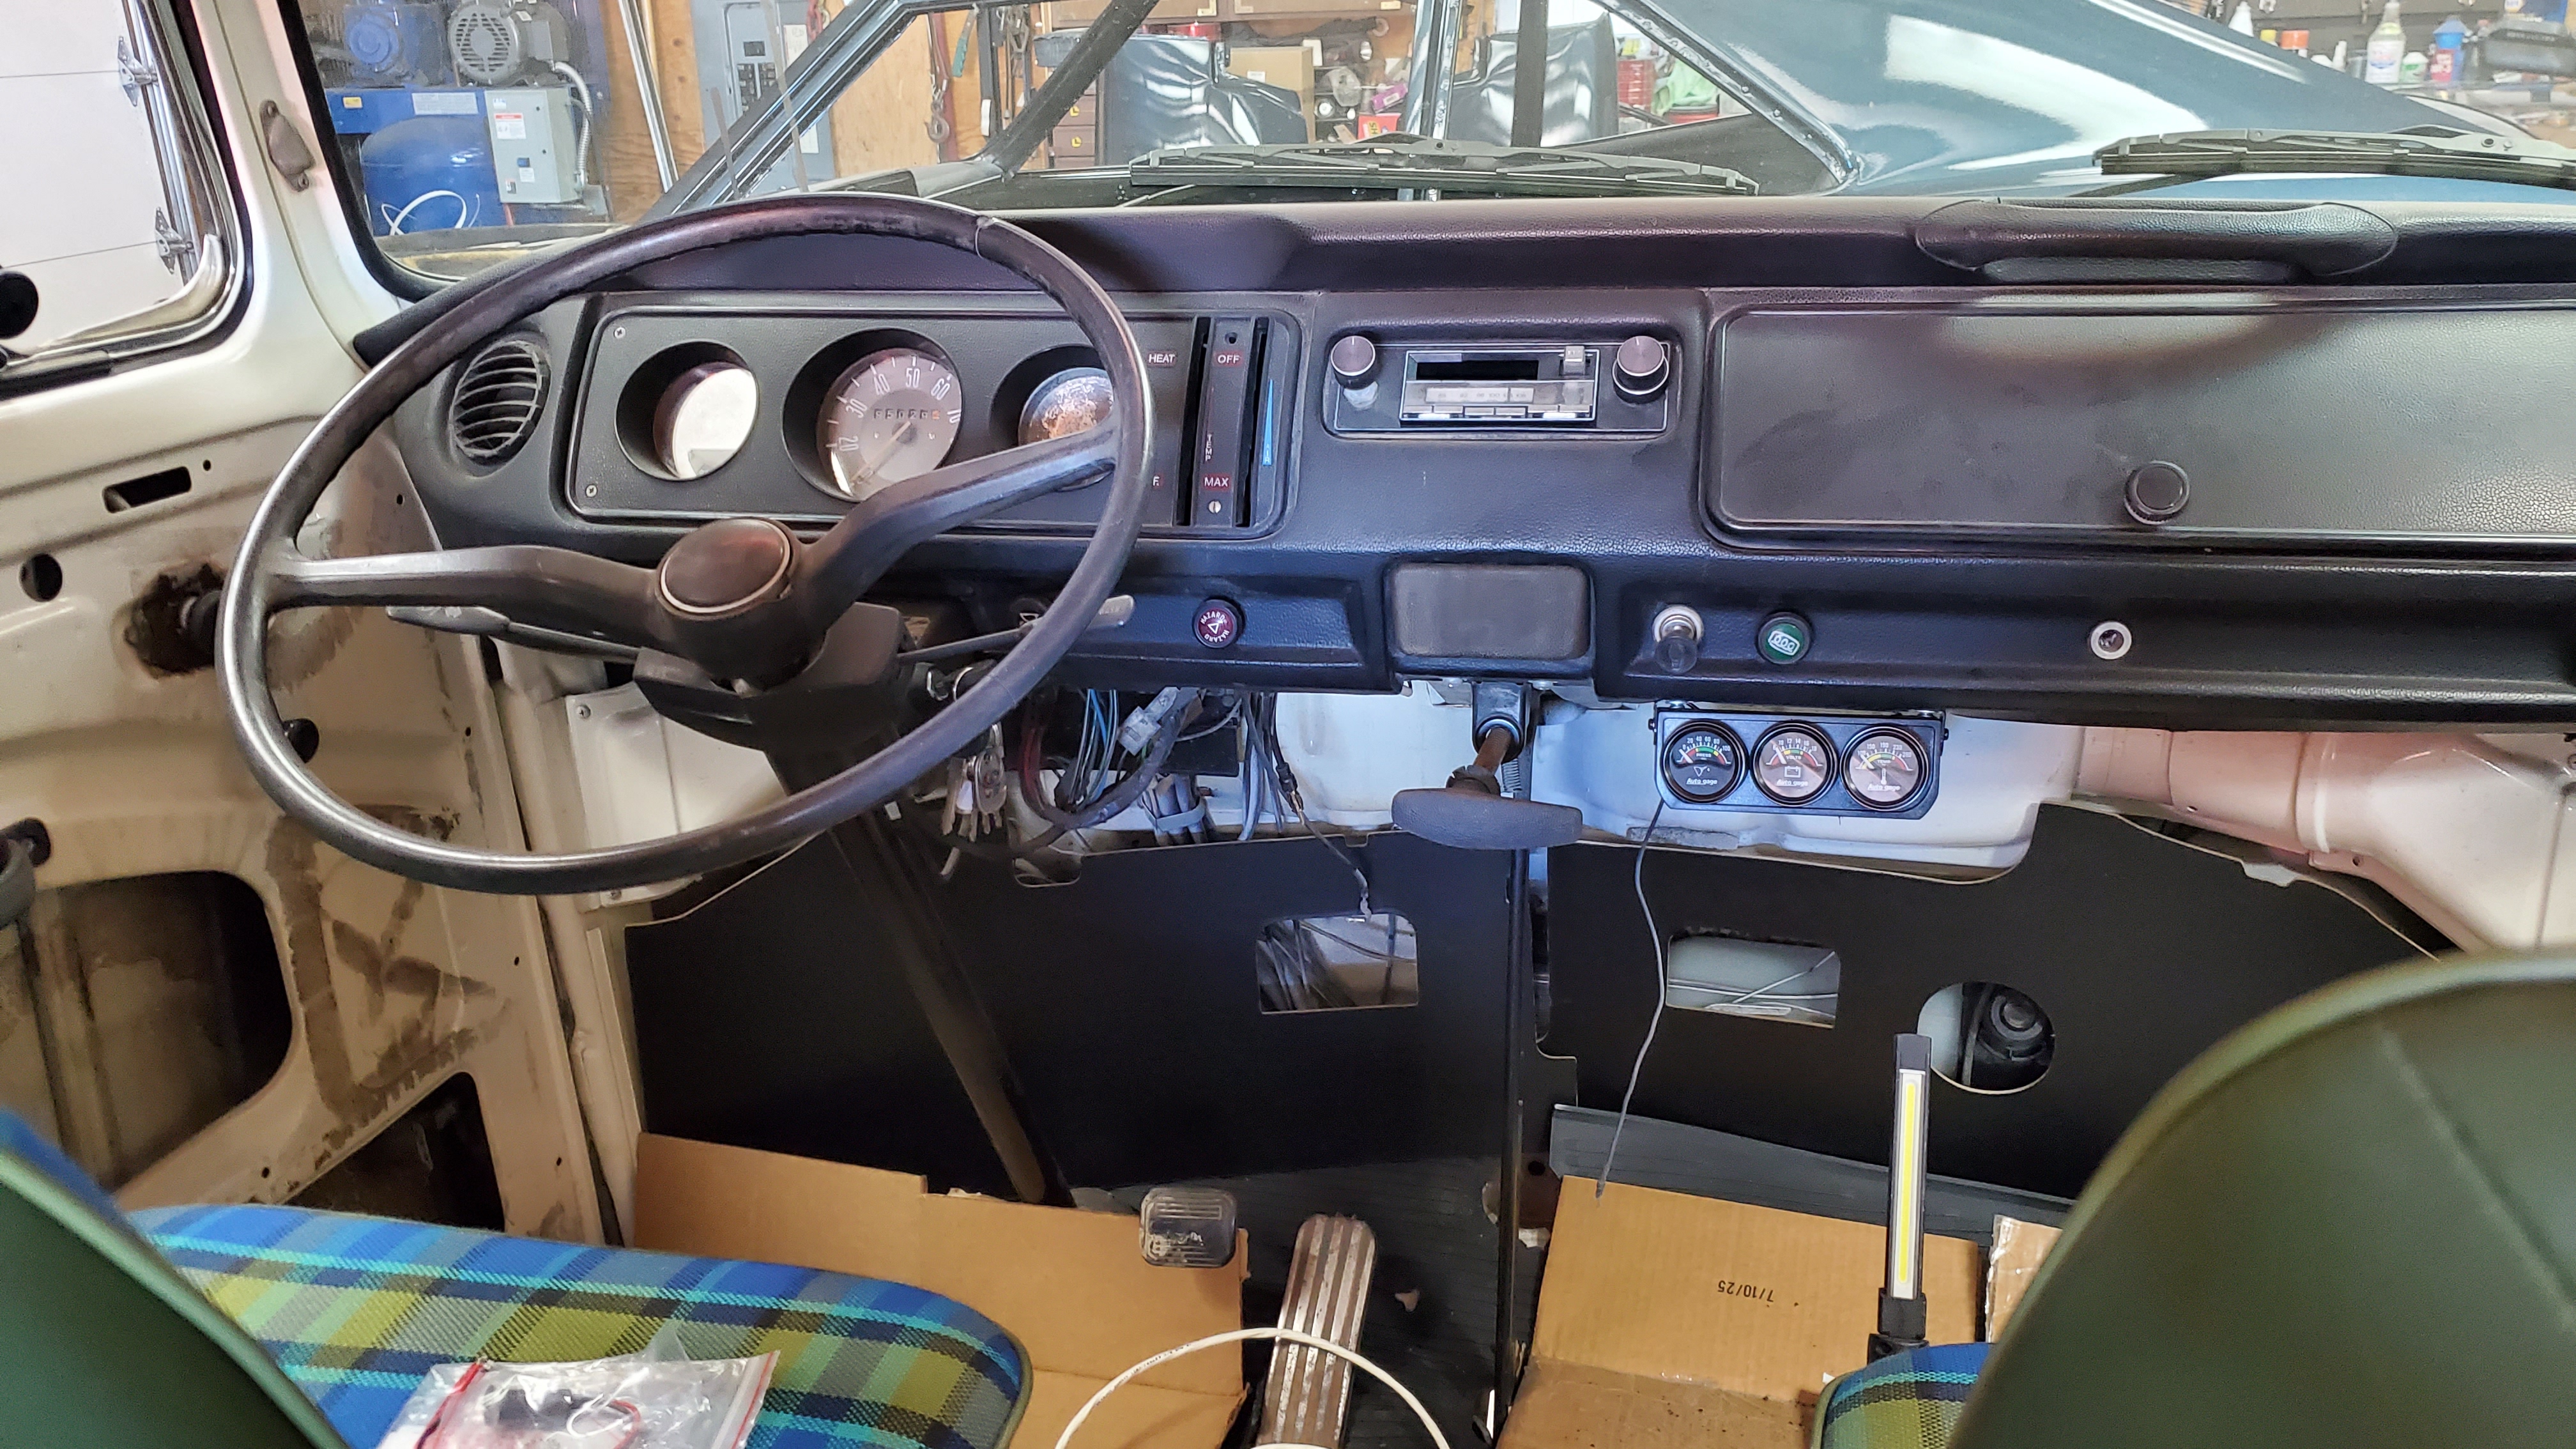
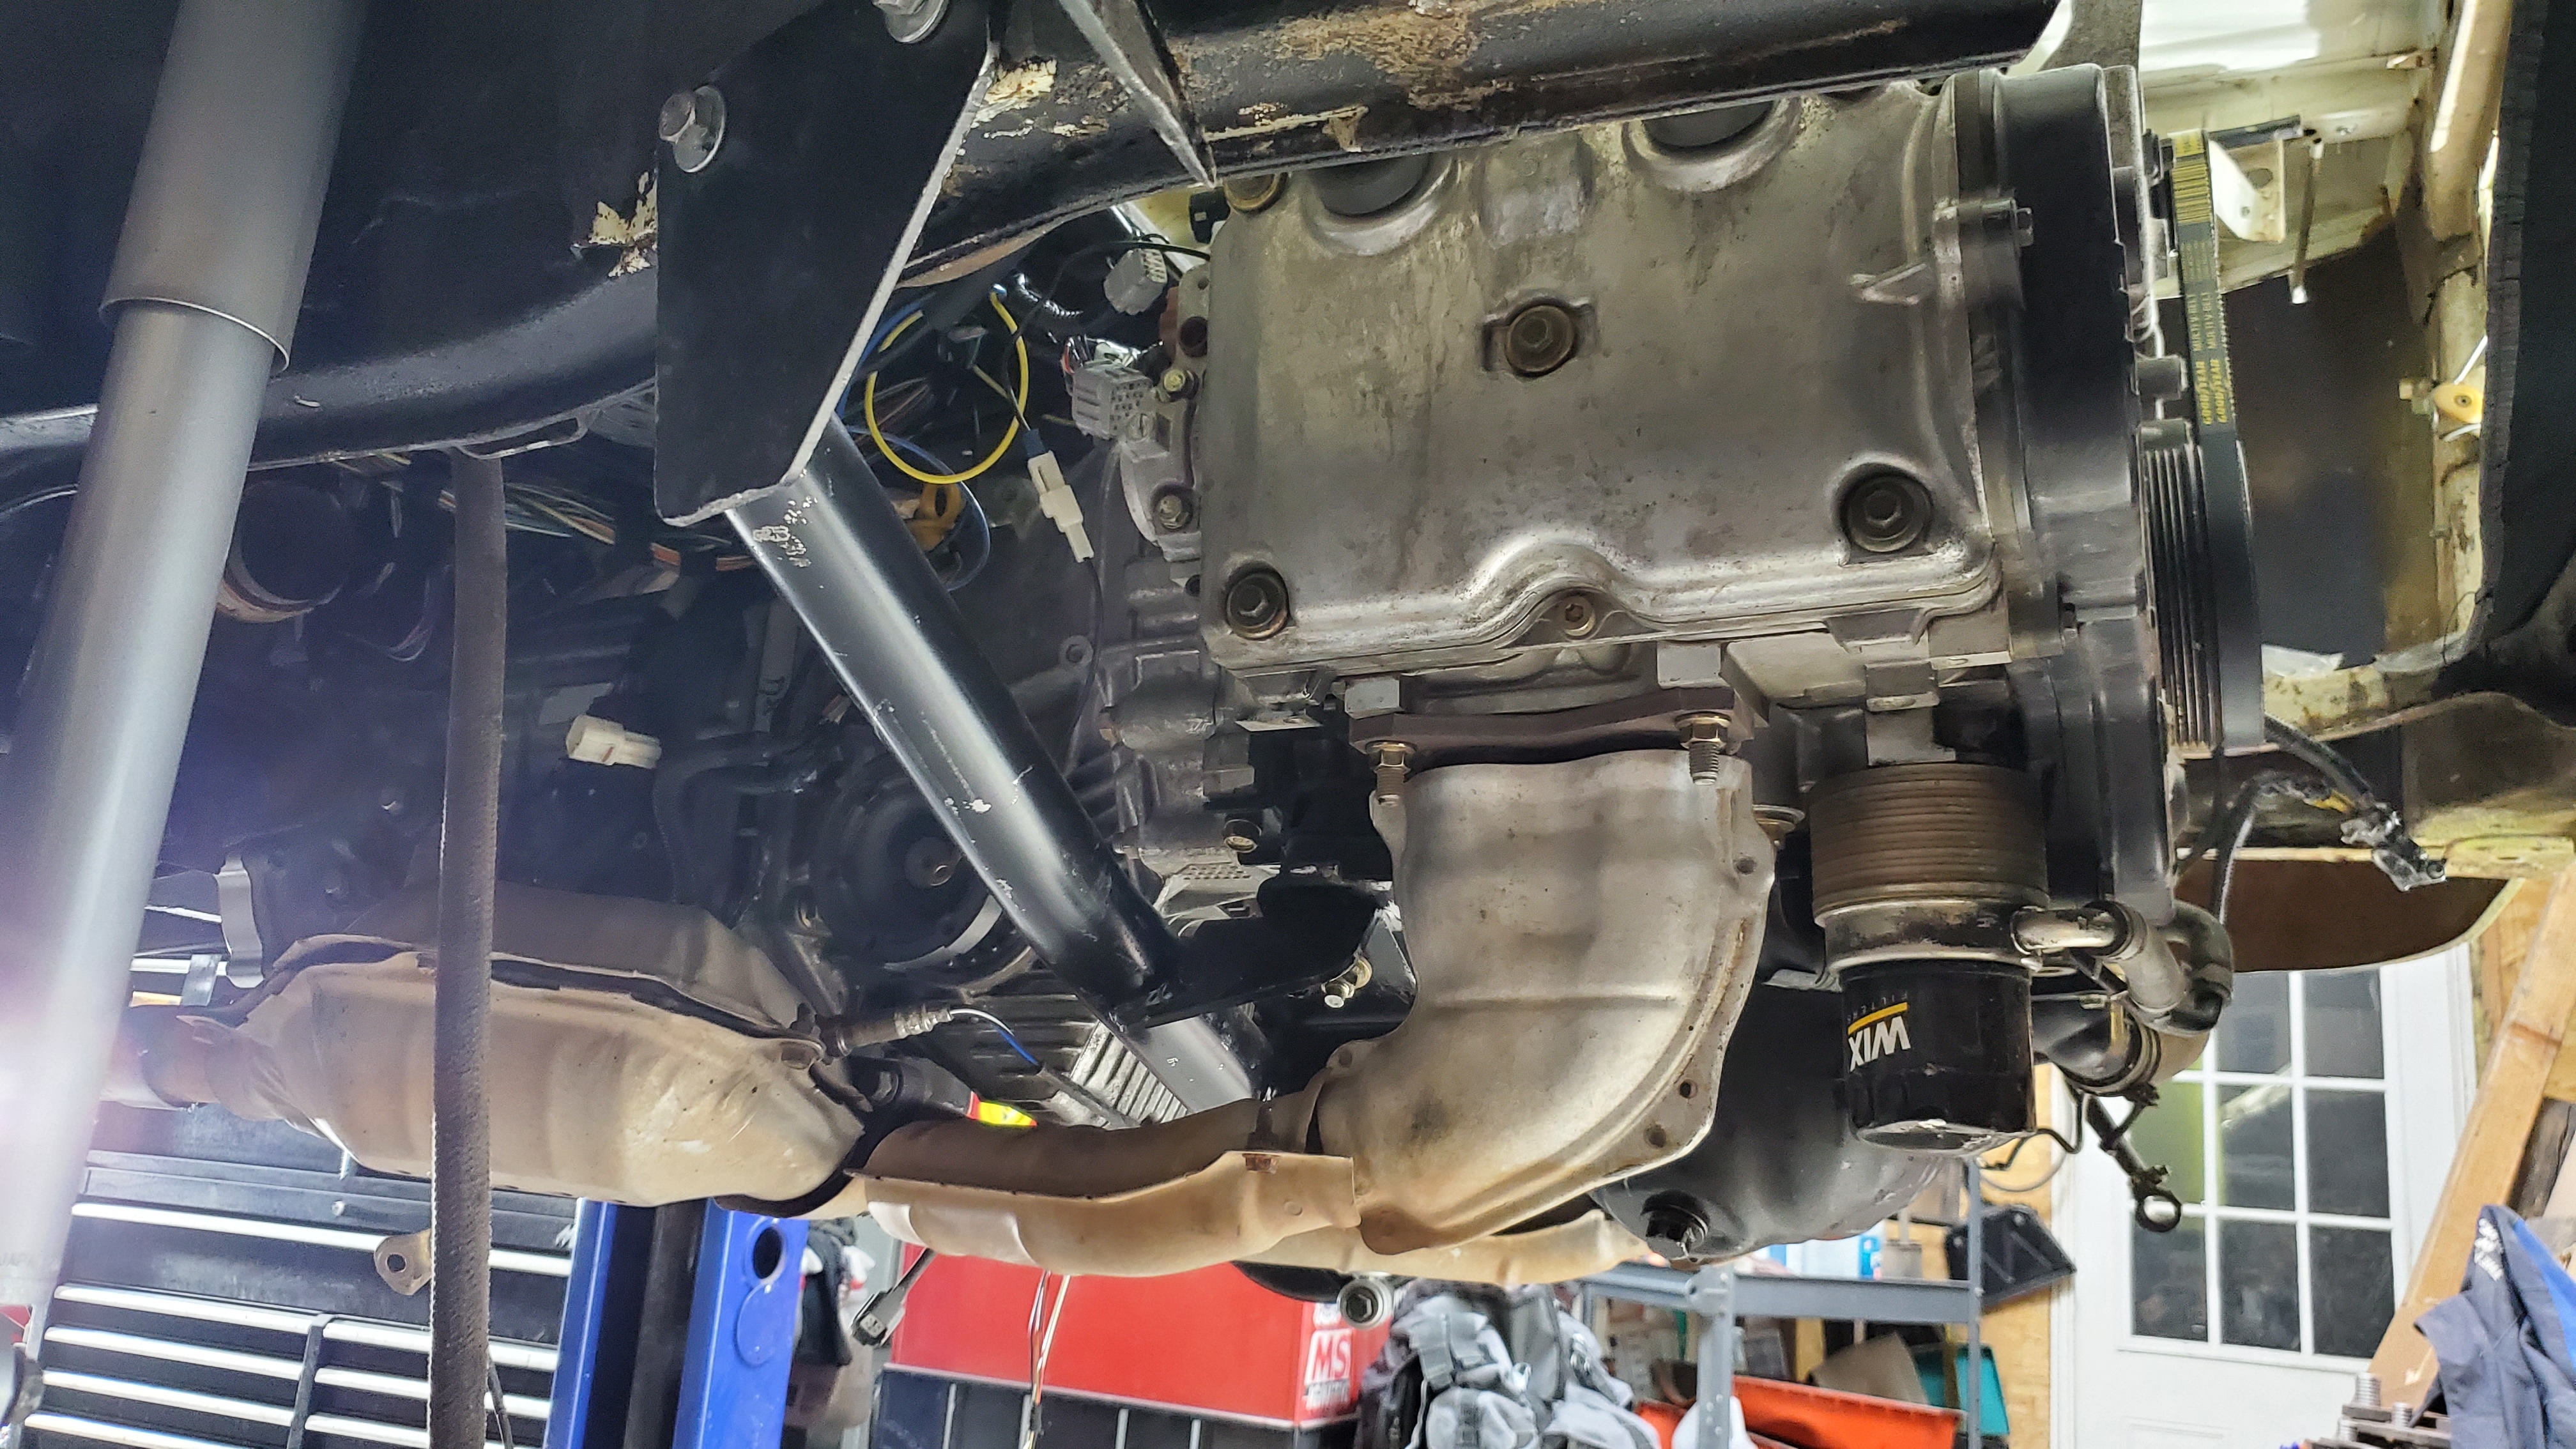
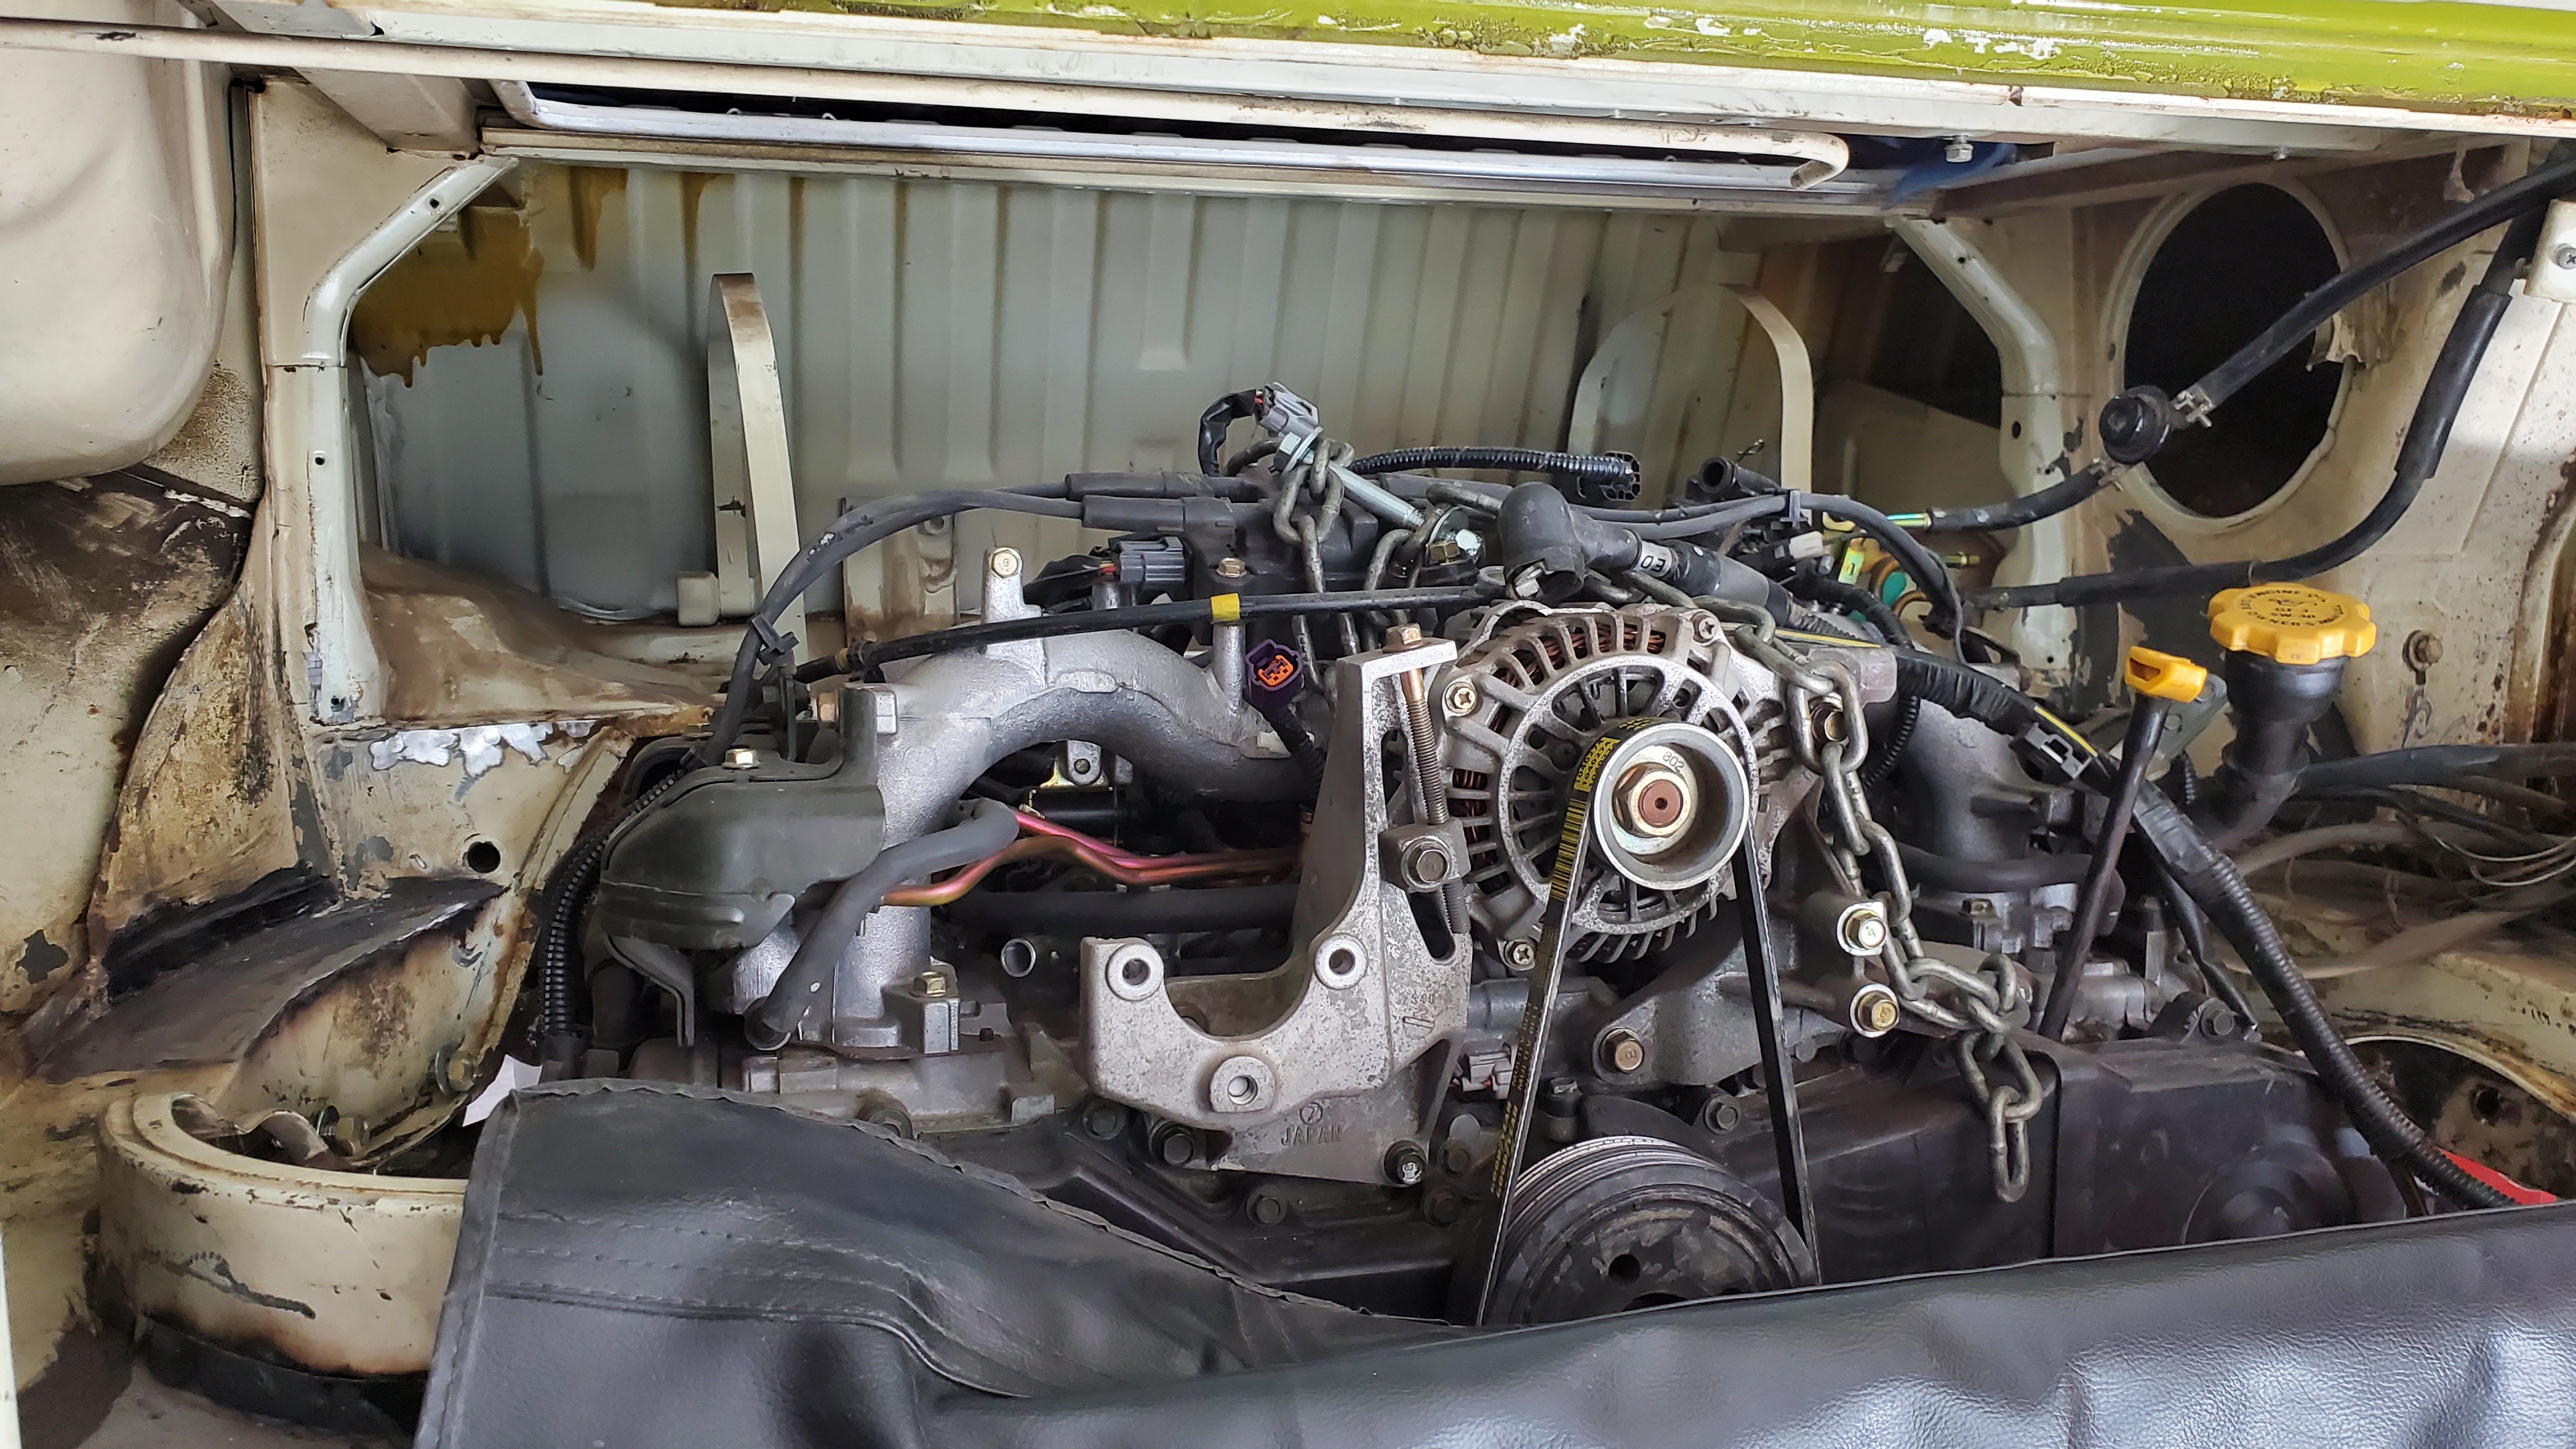
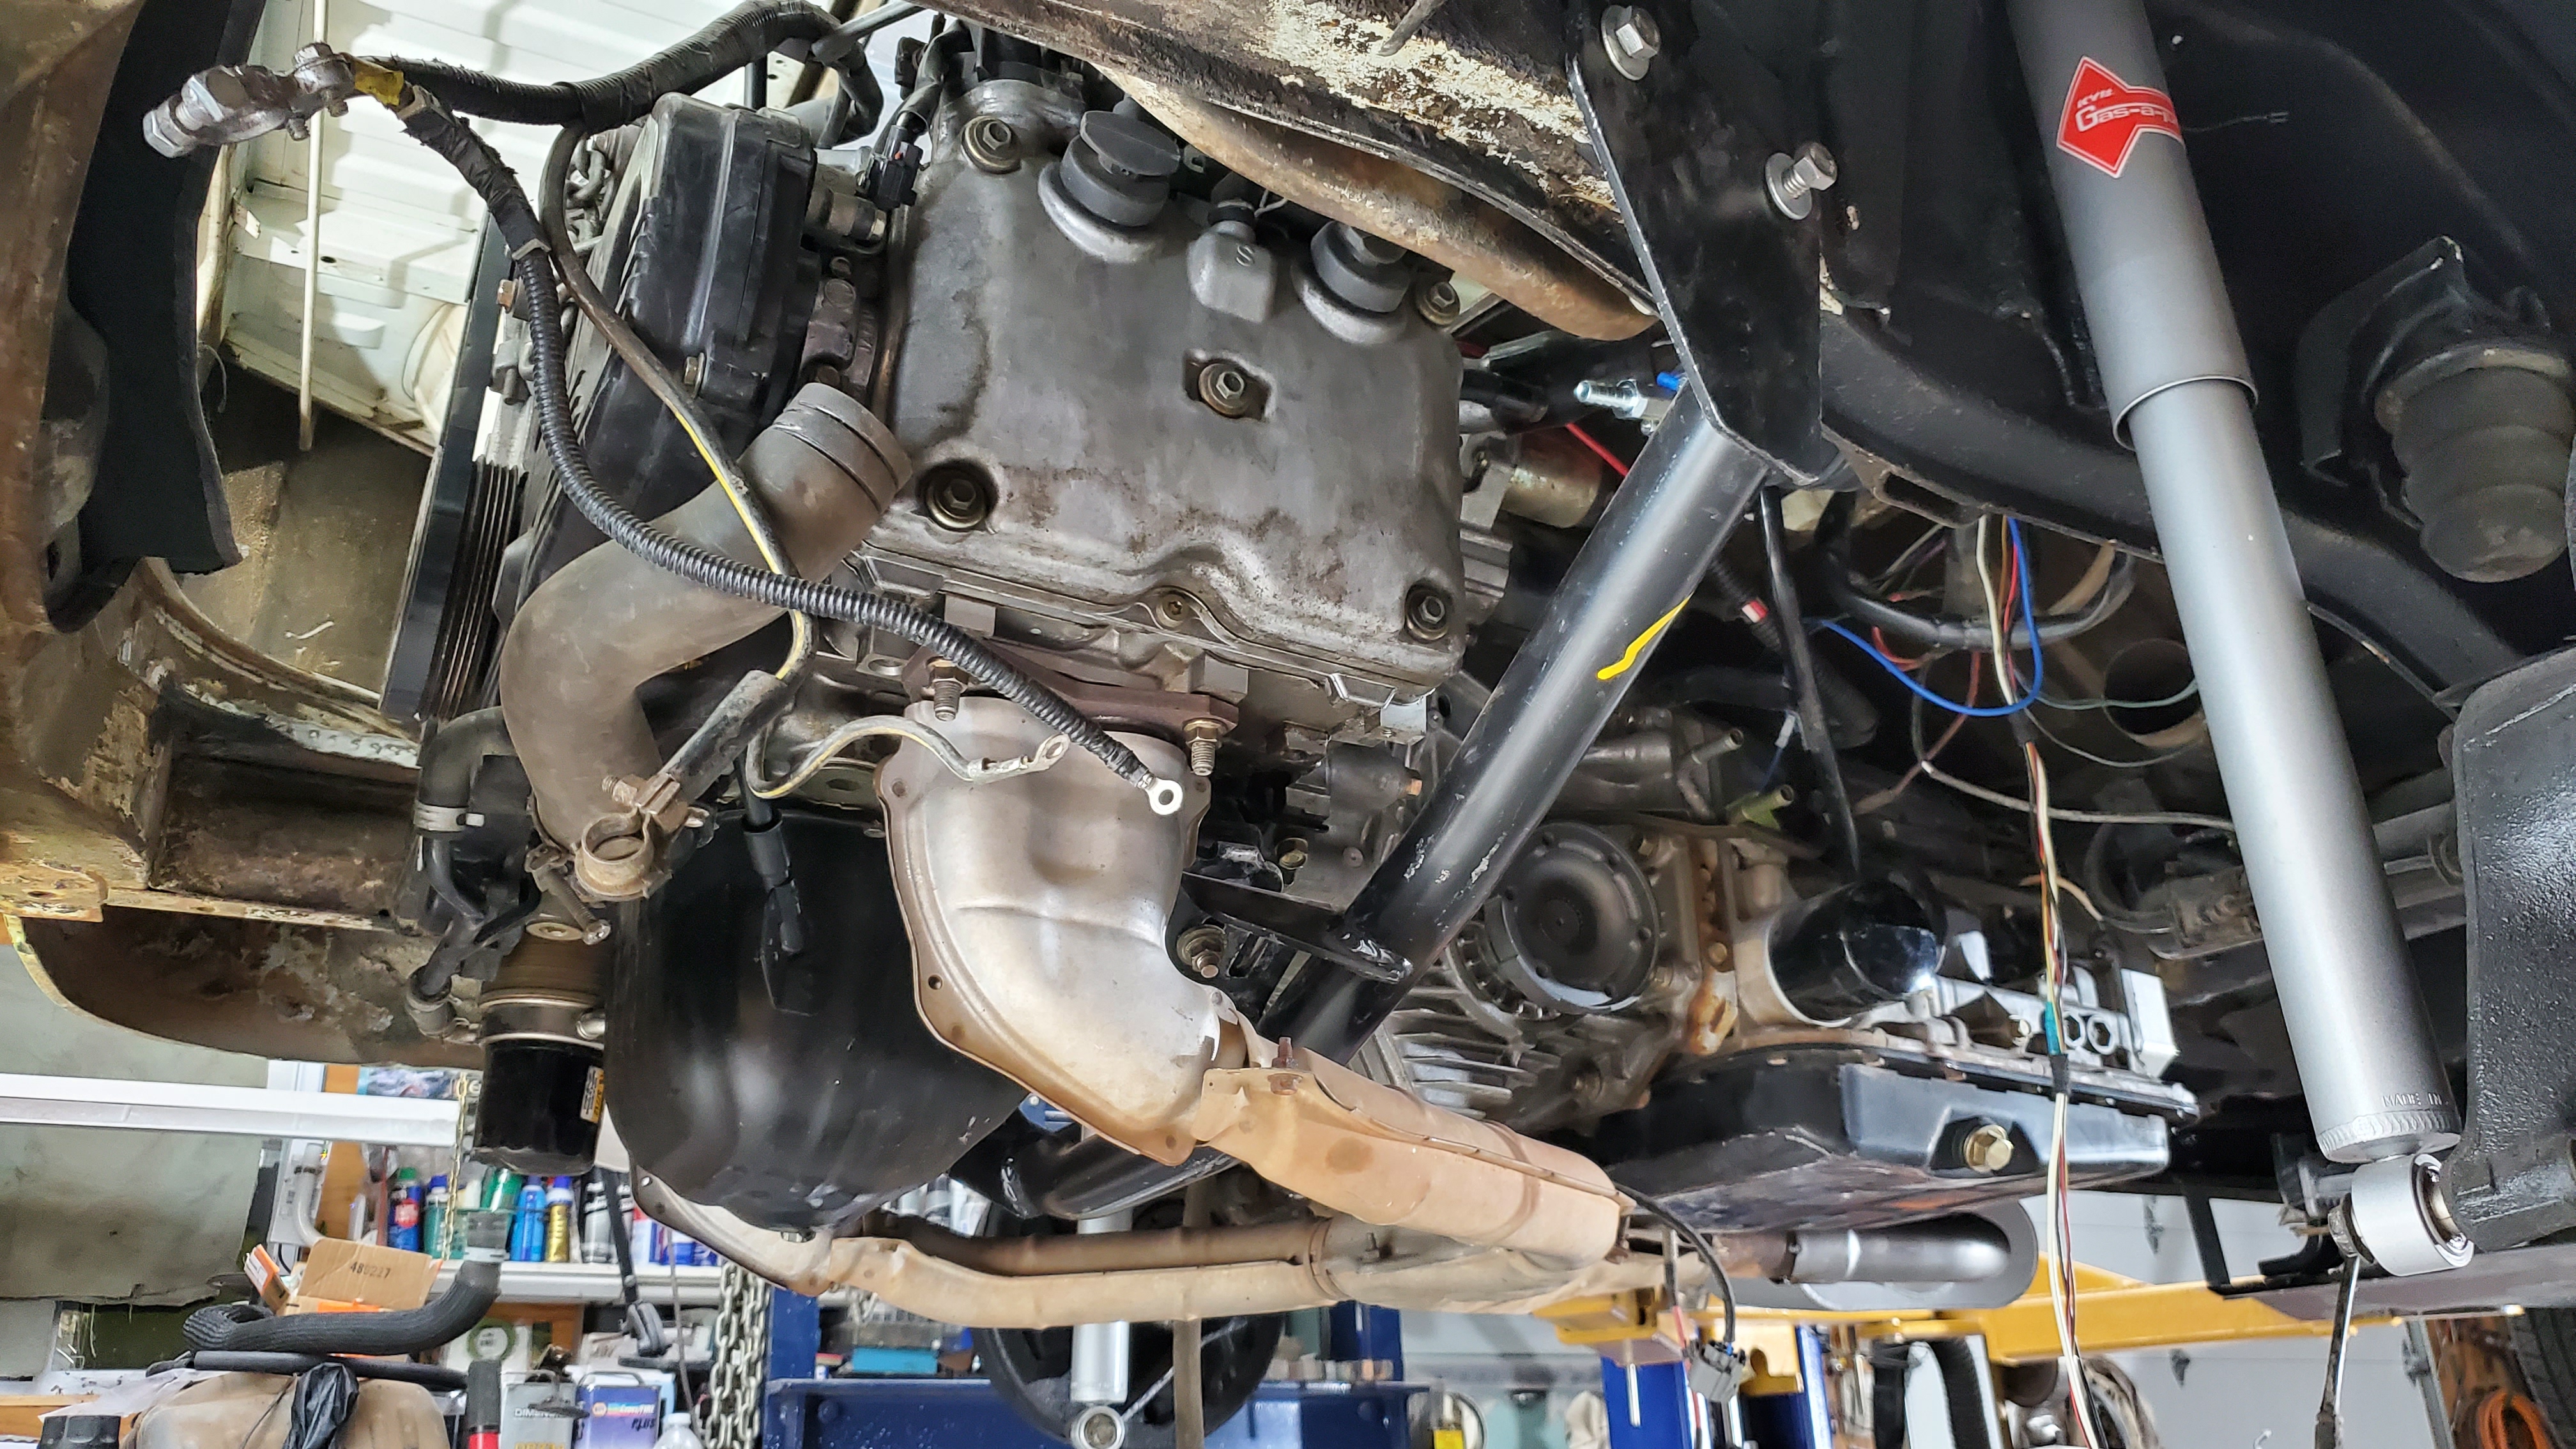
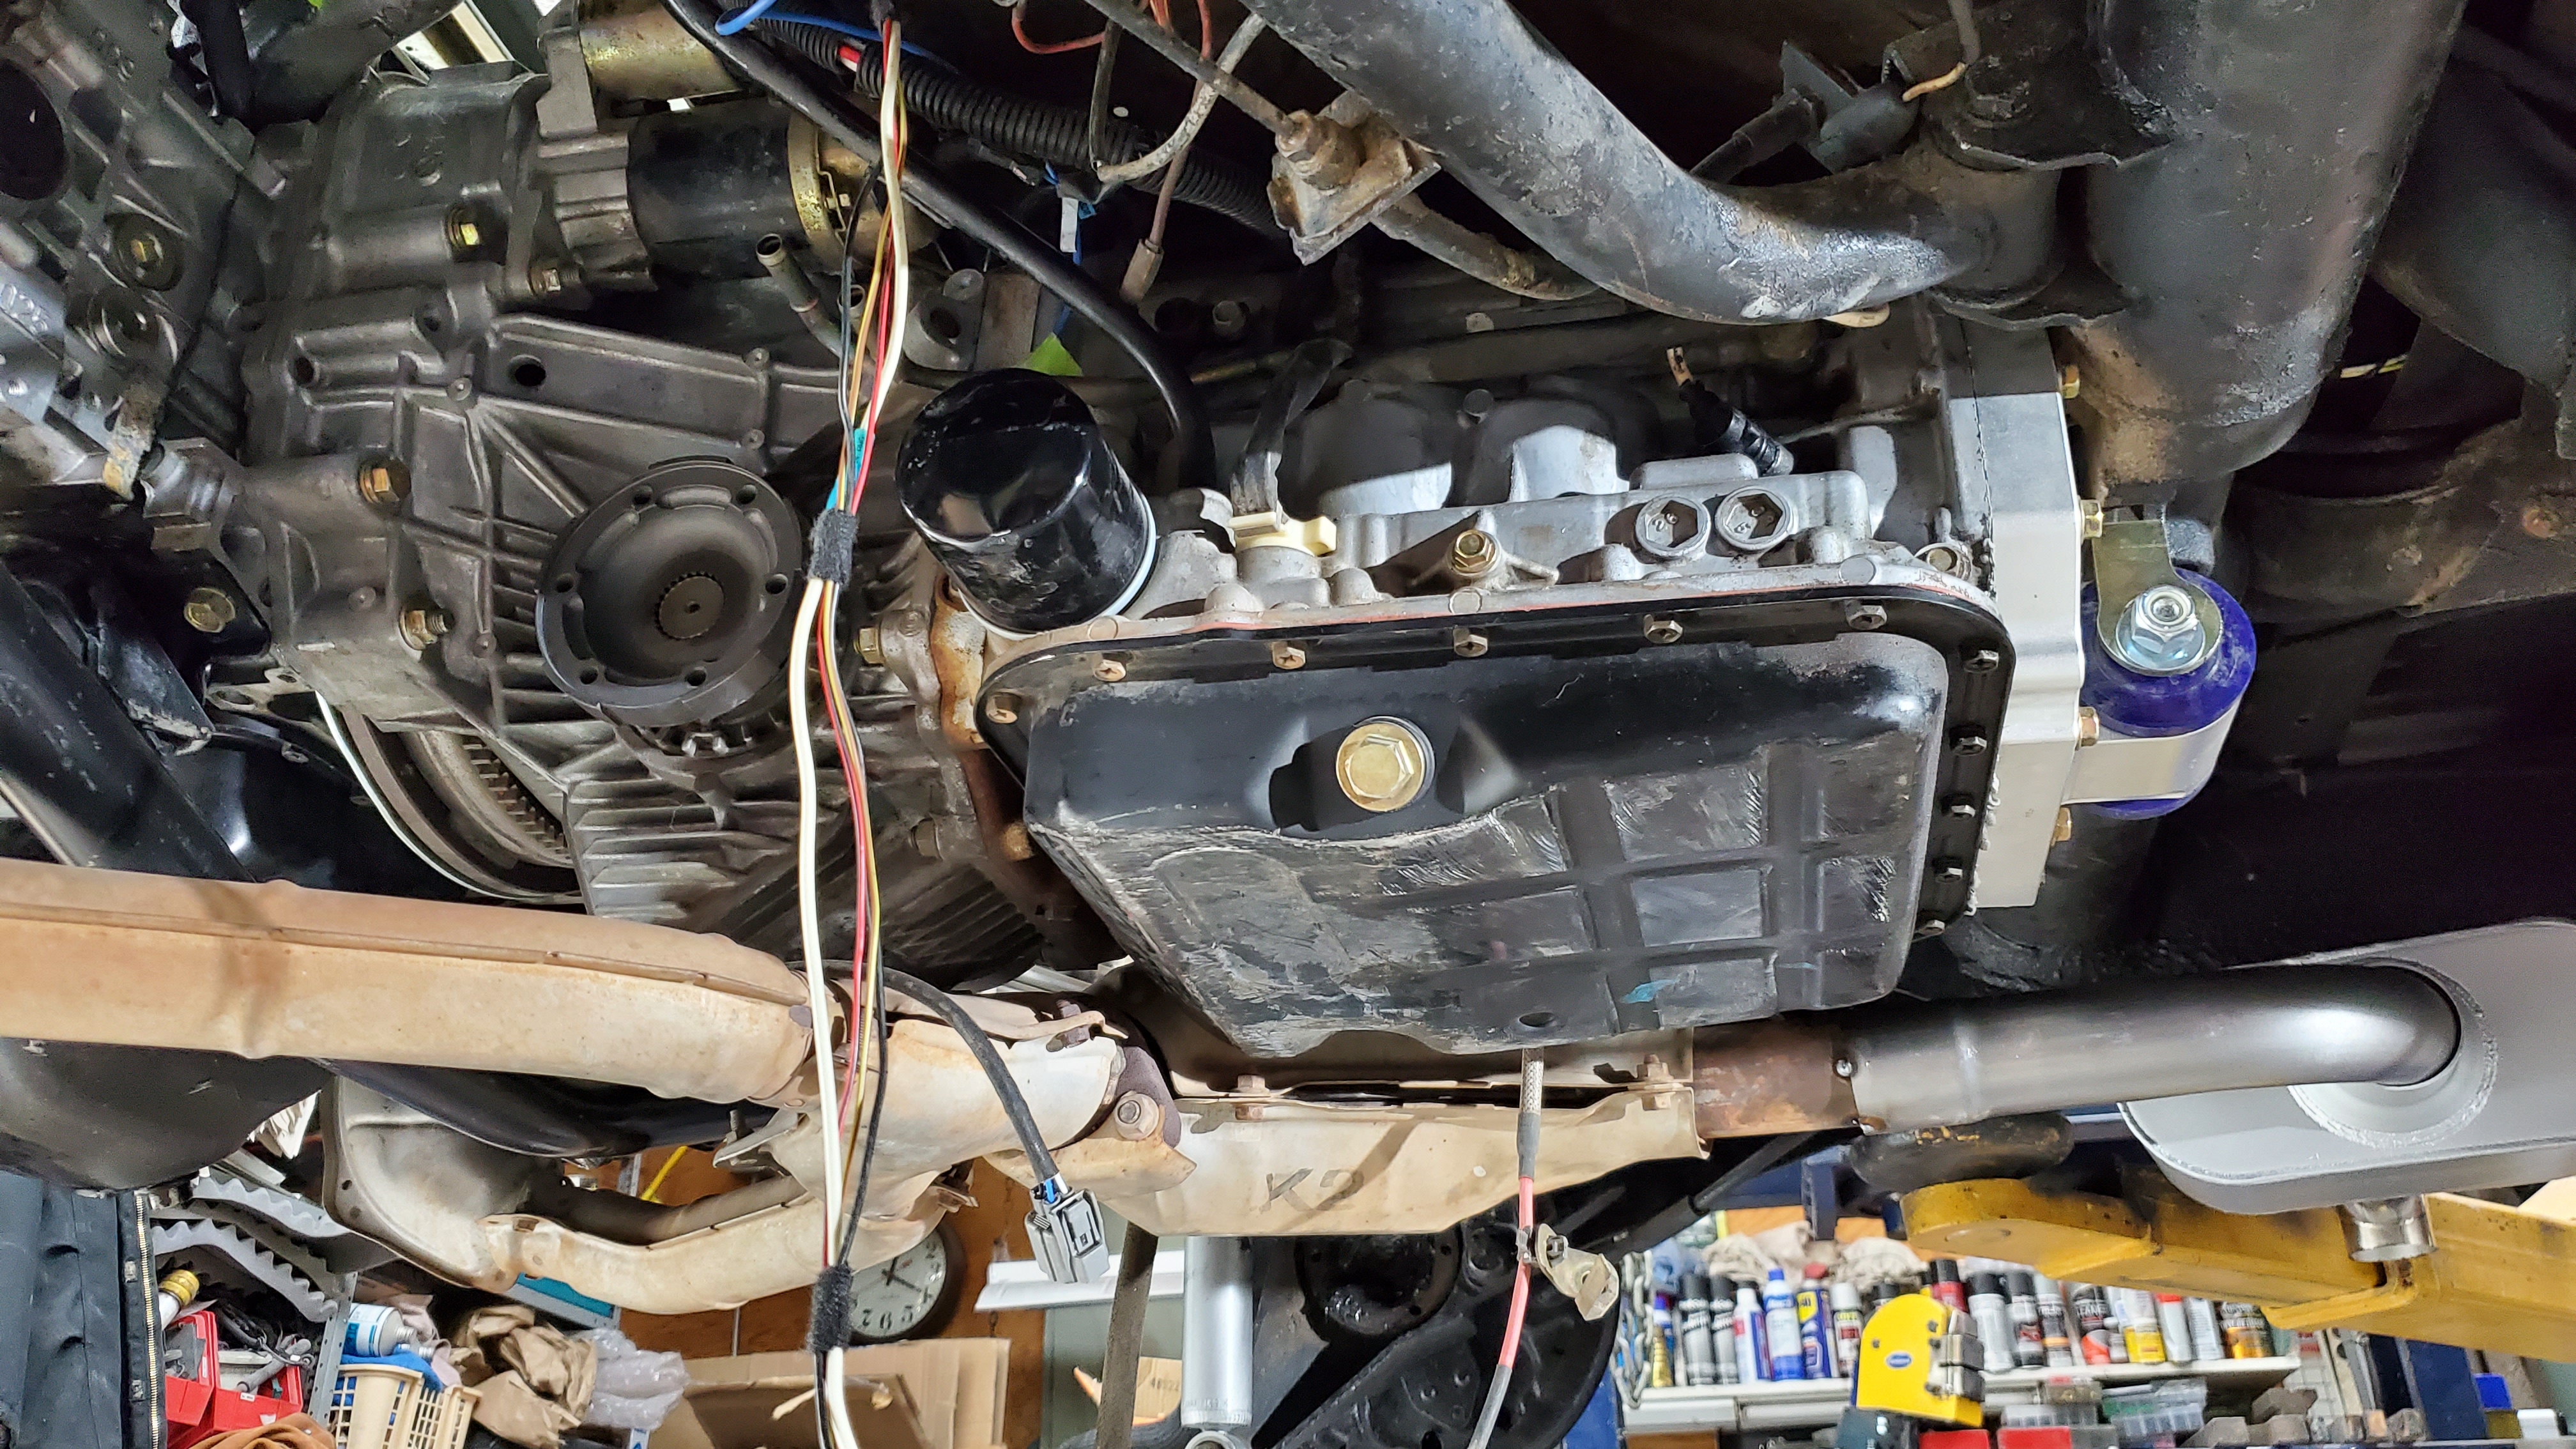
The gauge cluster was mounted under the dash, the engine fit with the transmission in the Bus, and the nuts for the cross bar were welded in to make installation and service work later a little easier.
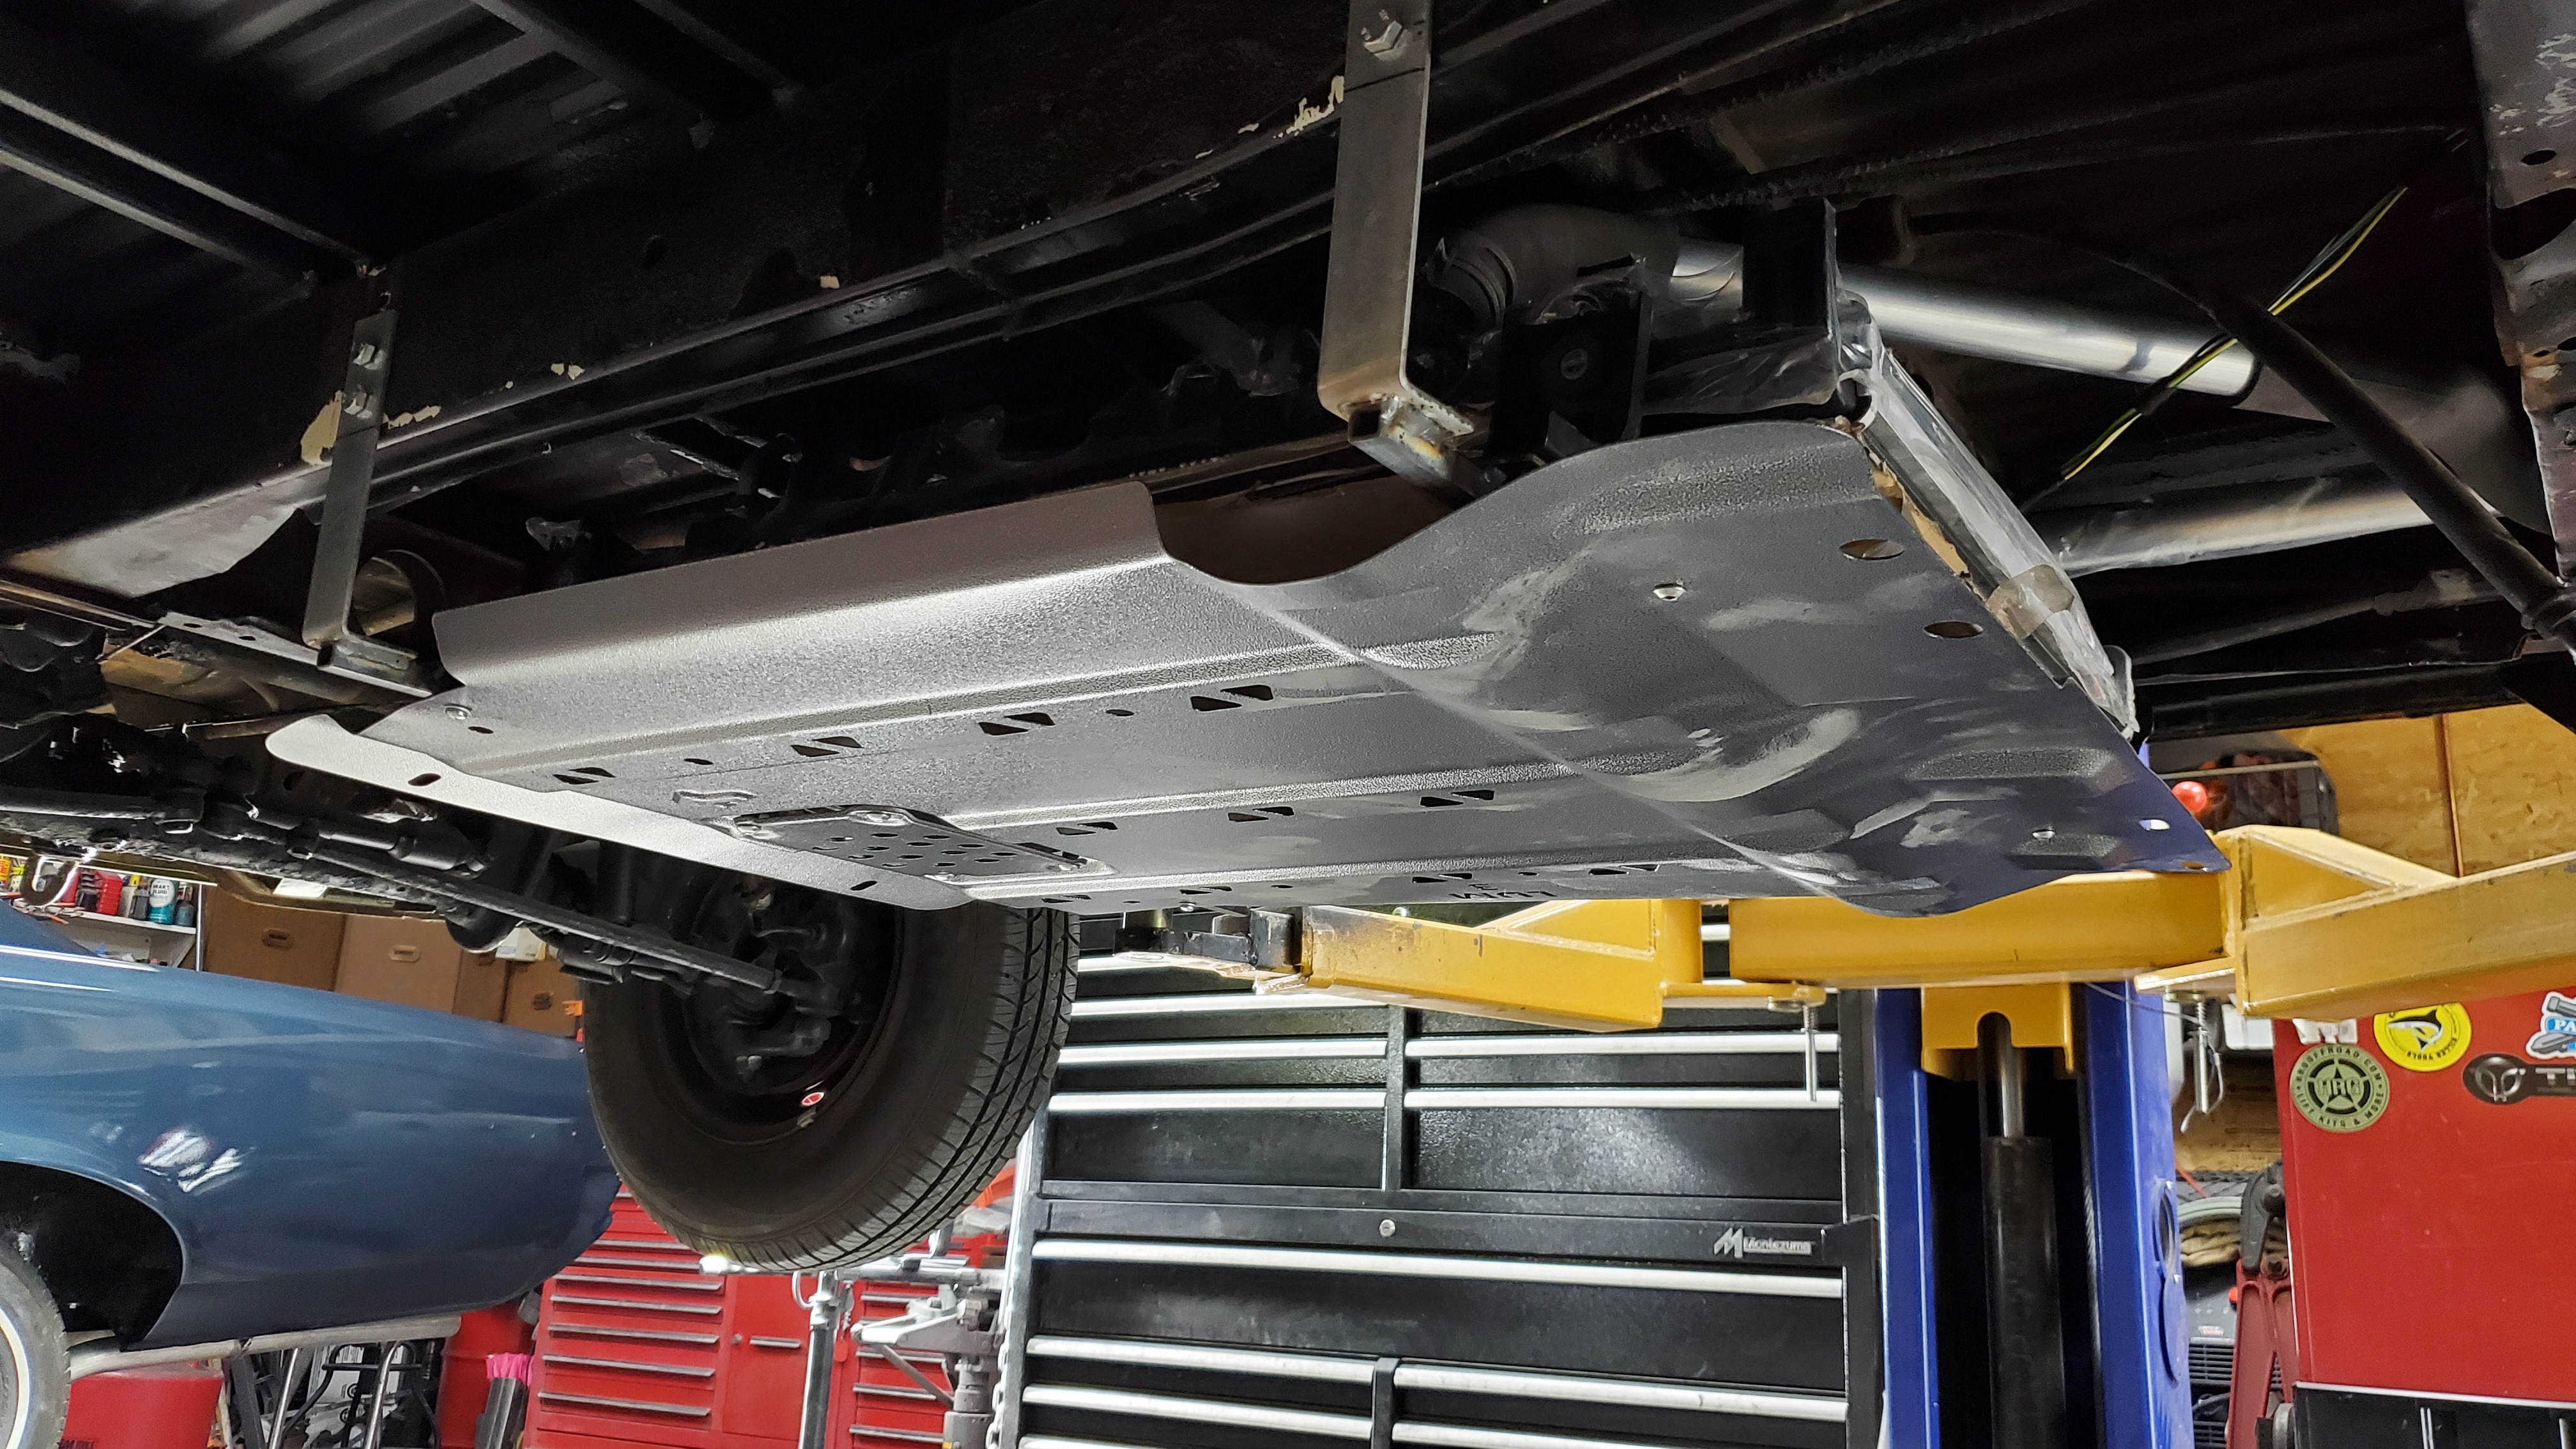
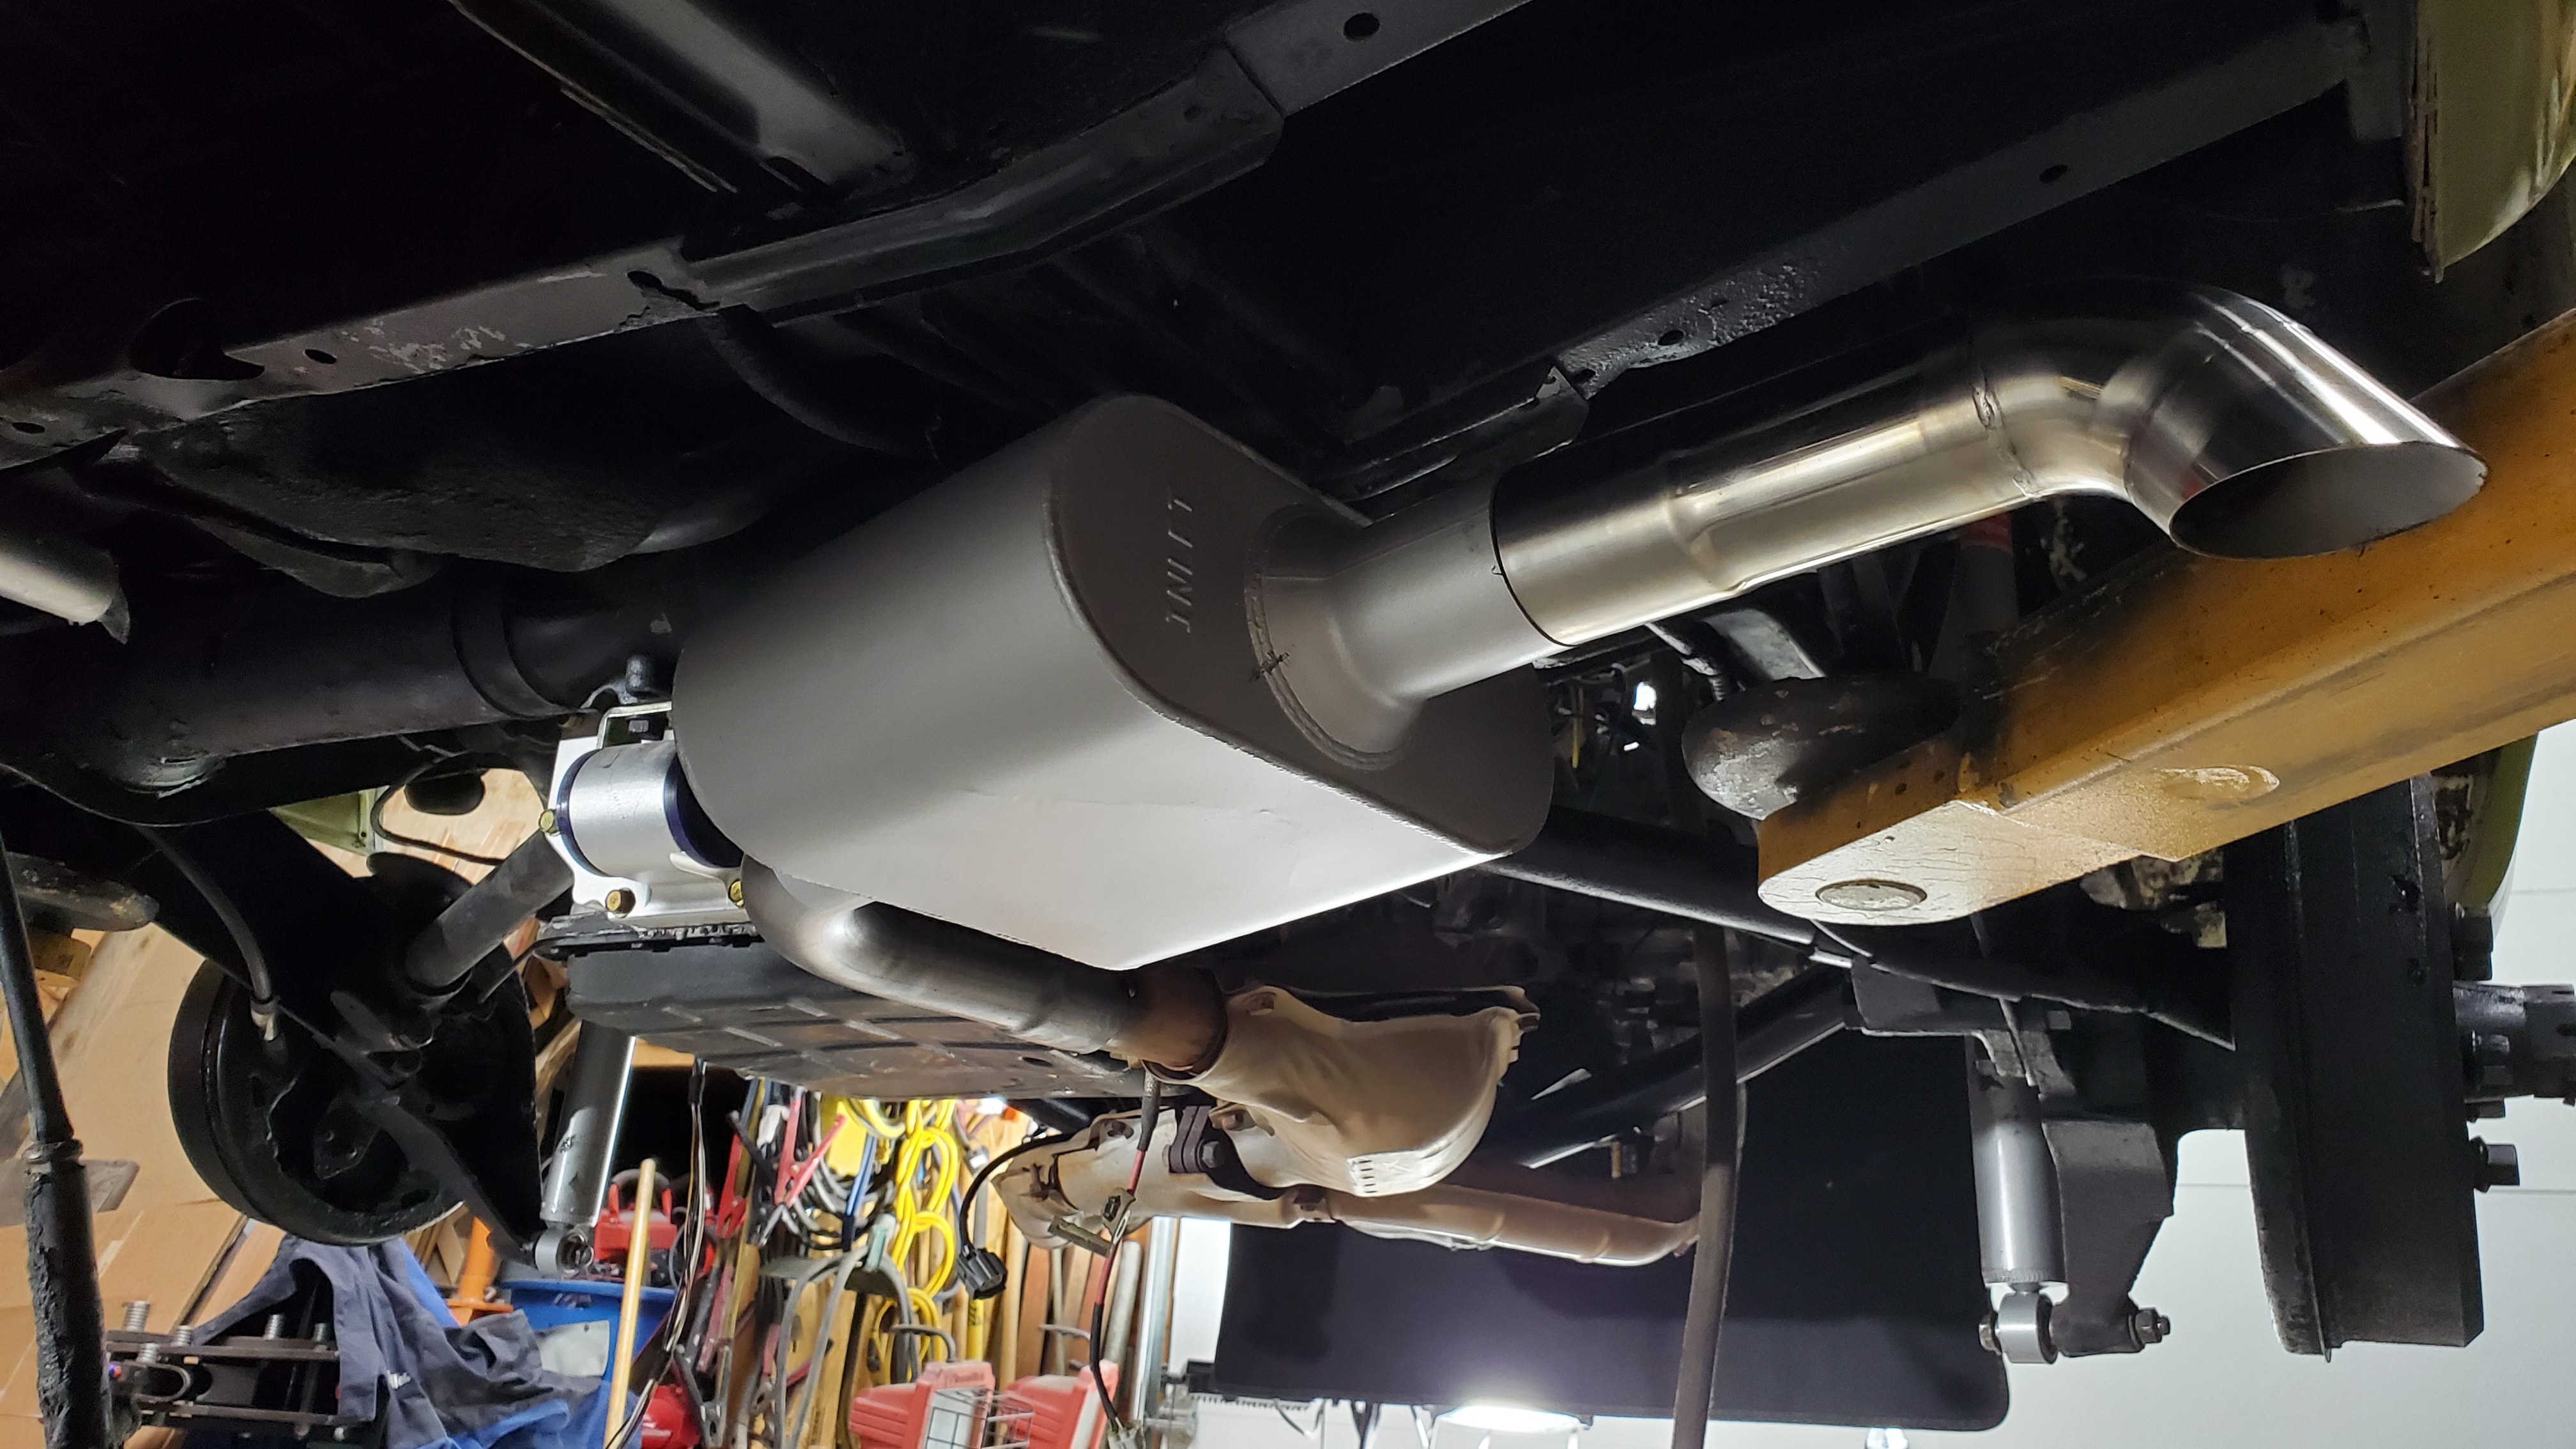
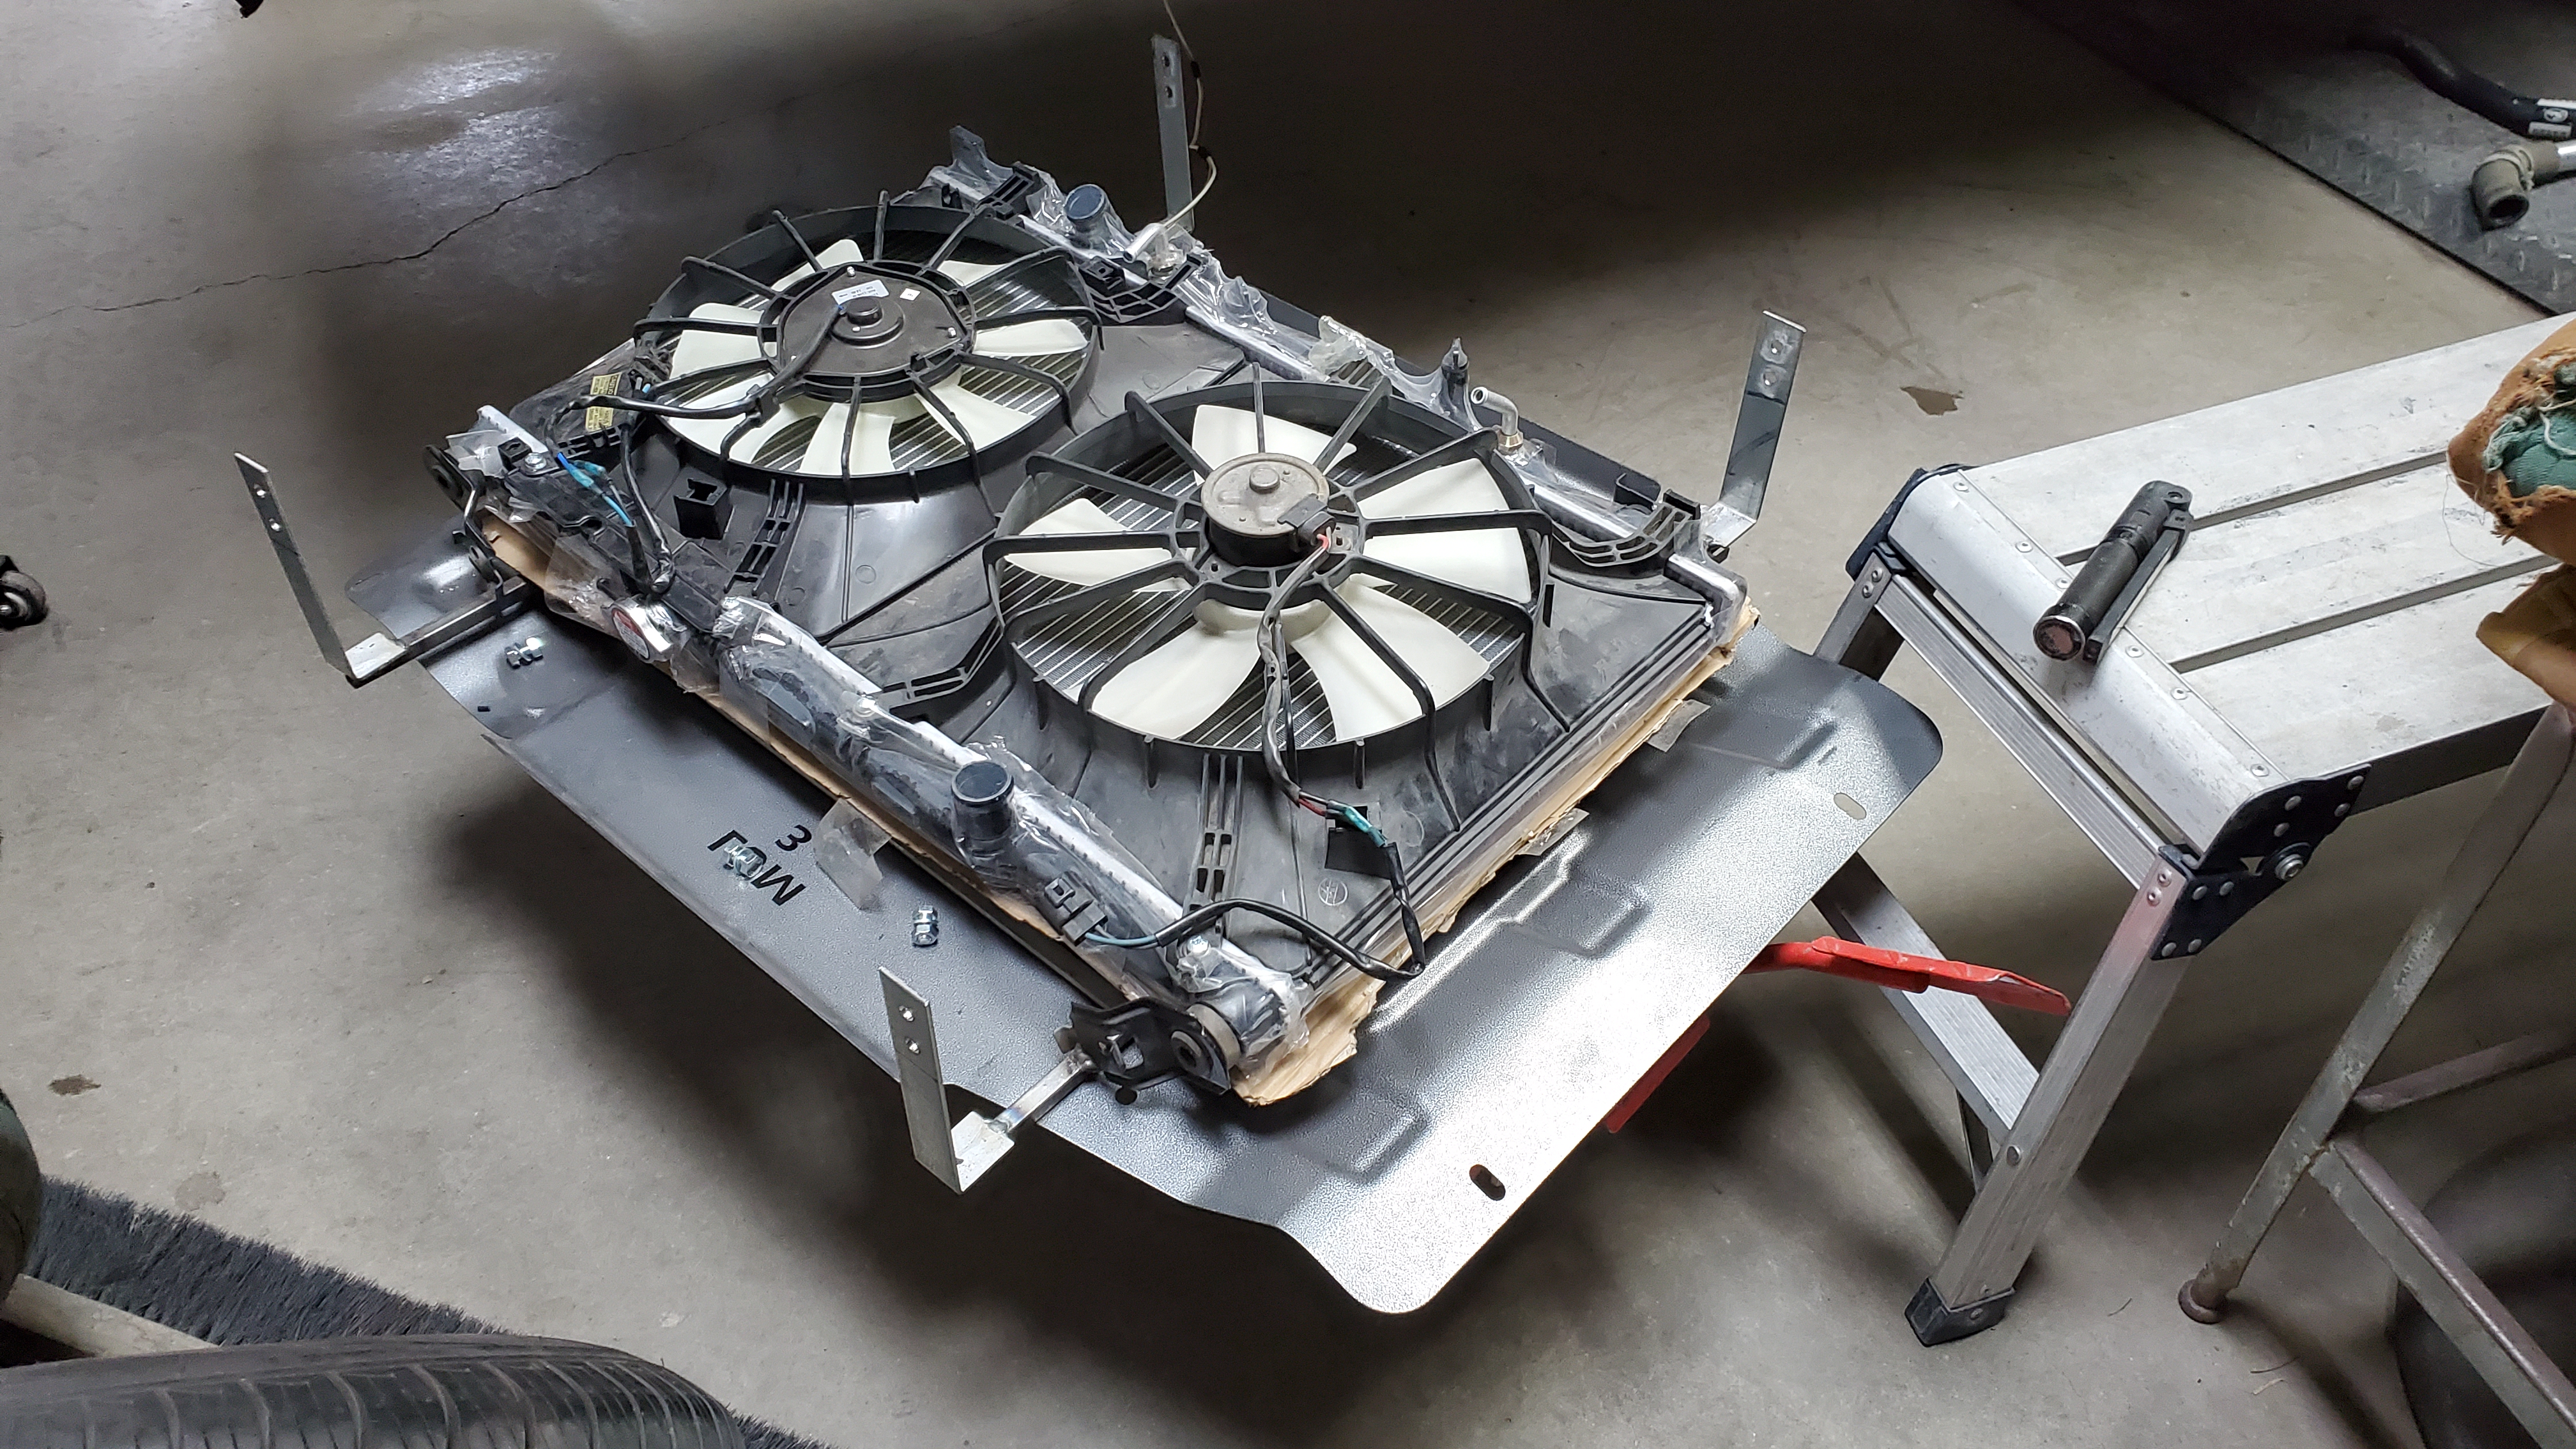
The radiator rack was fabricated and fit. The exhaust was tacked together in place and fit before coming out to get fully welded (yes, I caught the muffler sitting on there backward before welding; it says “inlet” in that picture and was incorrect at fitting). I shortened the exhaust system compared to the last one I did, to smooth out the flow and avoid the pipe running back and forth or making hard turns.
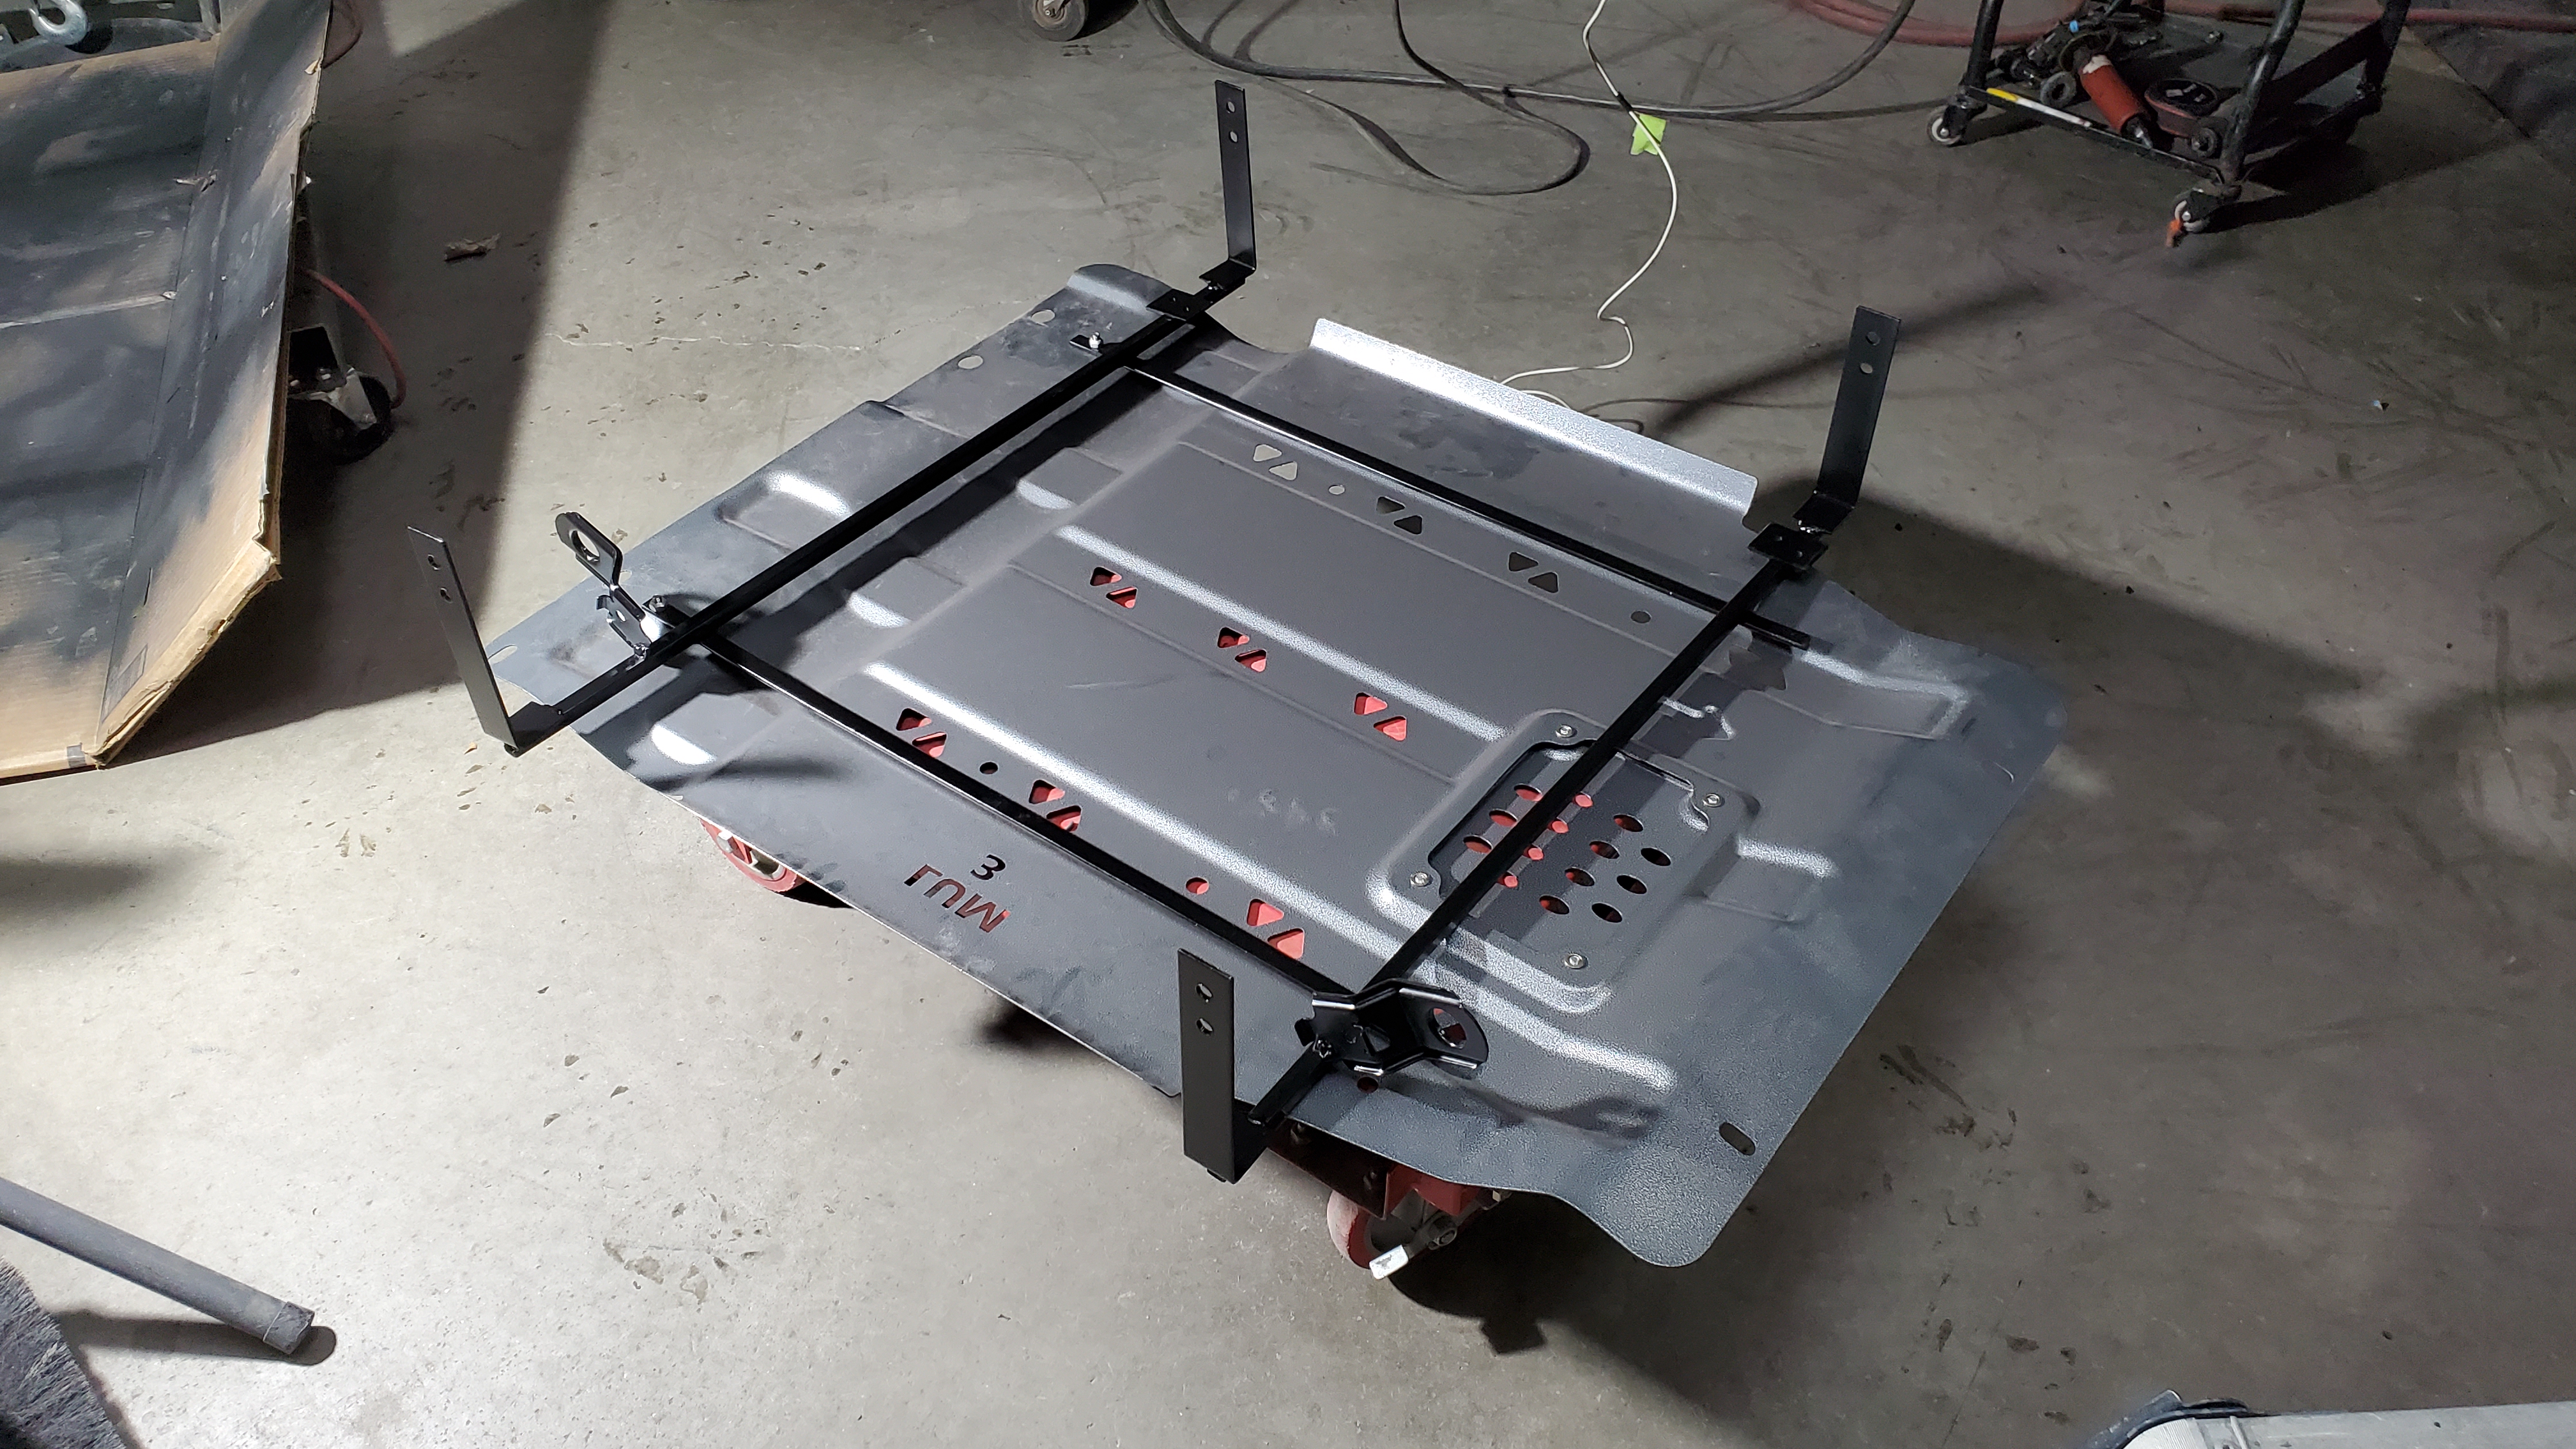
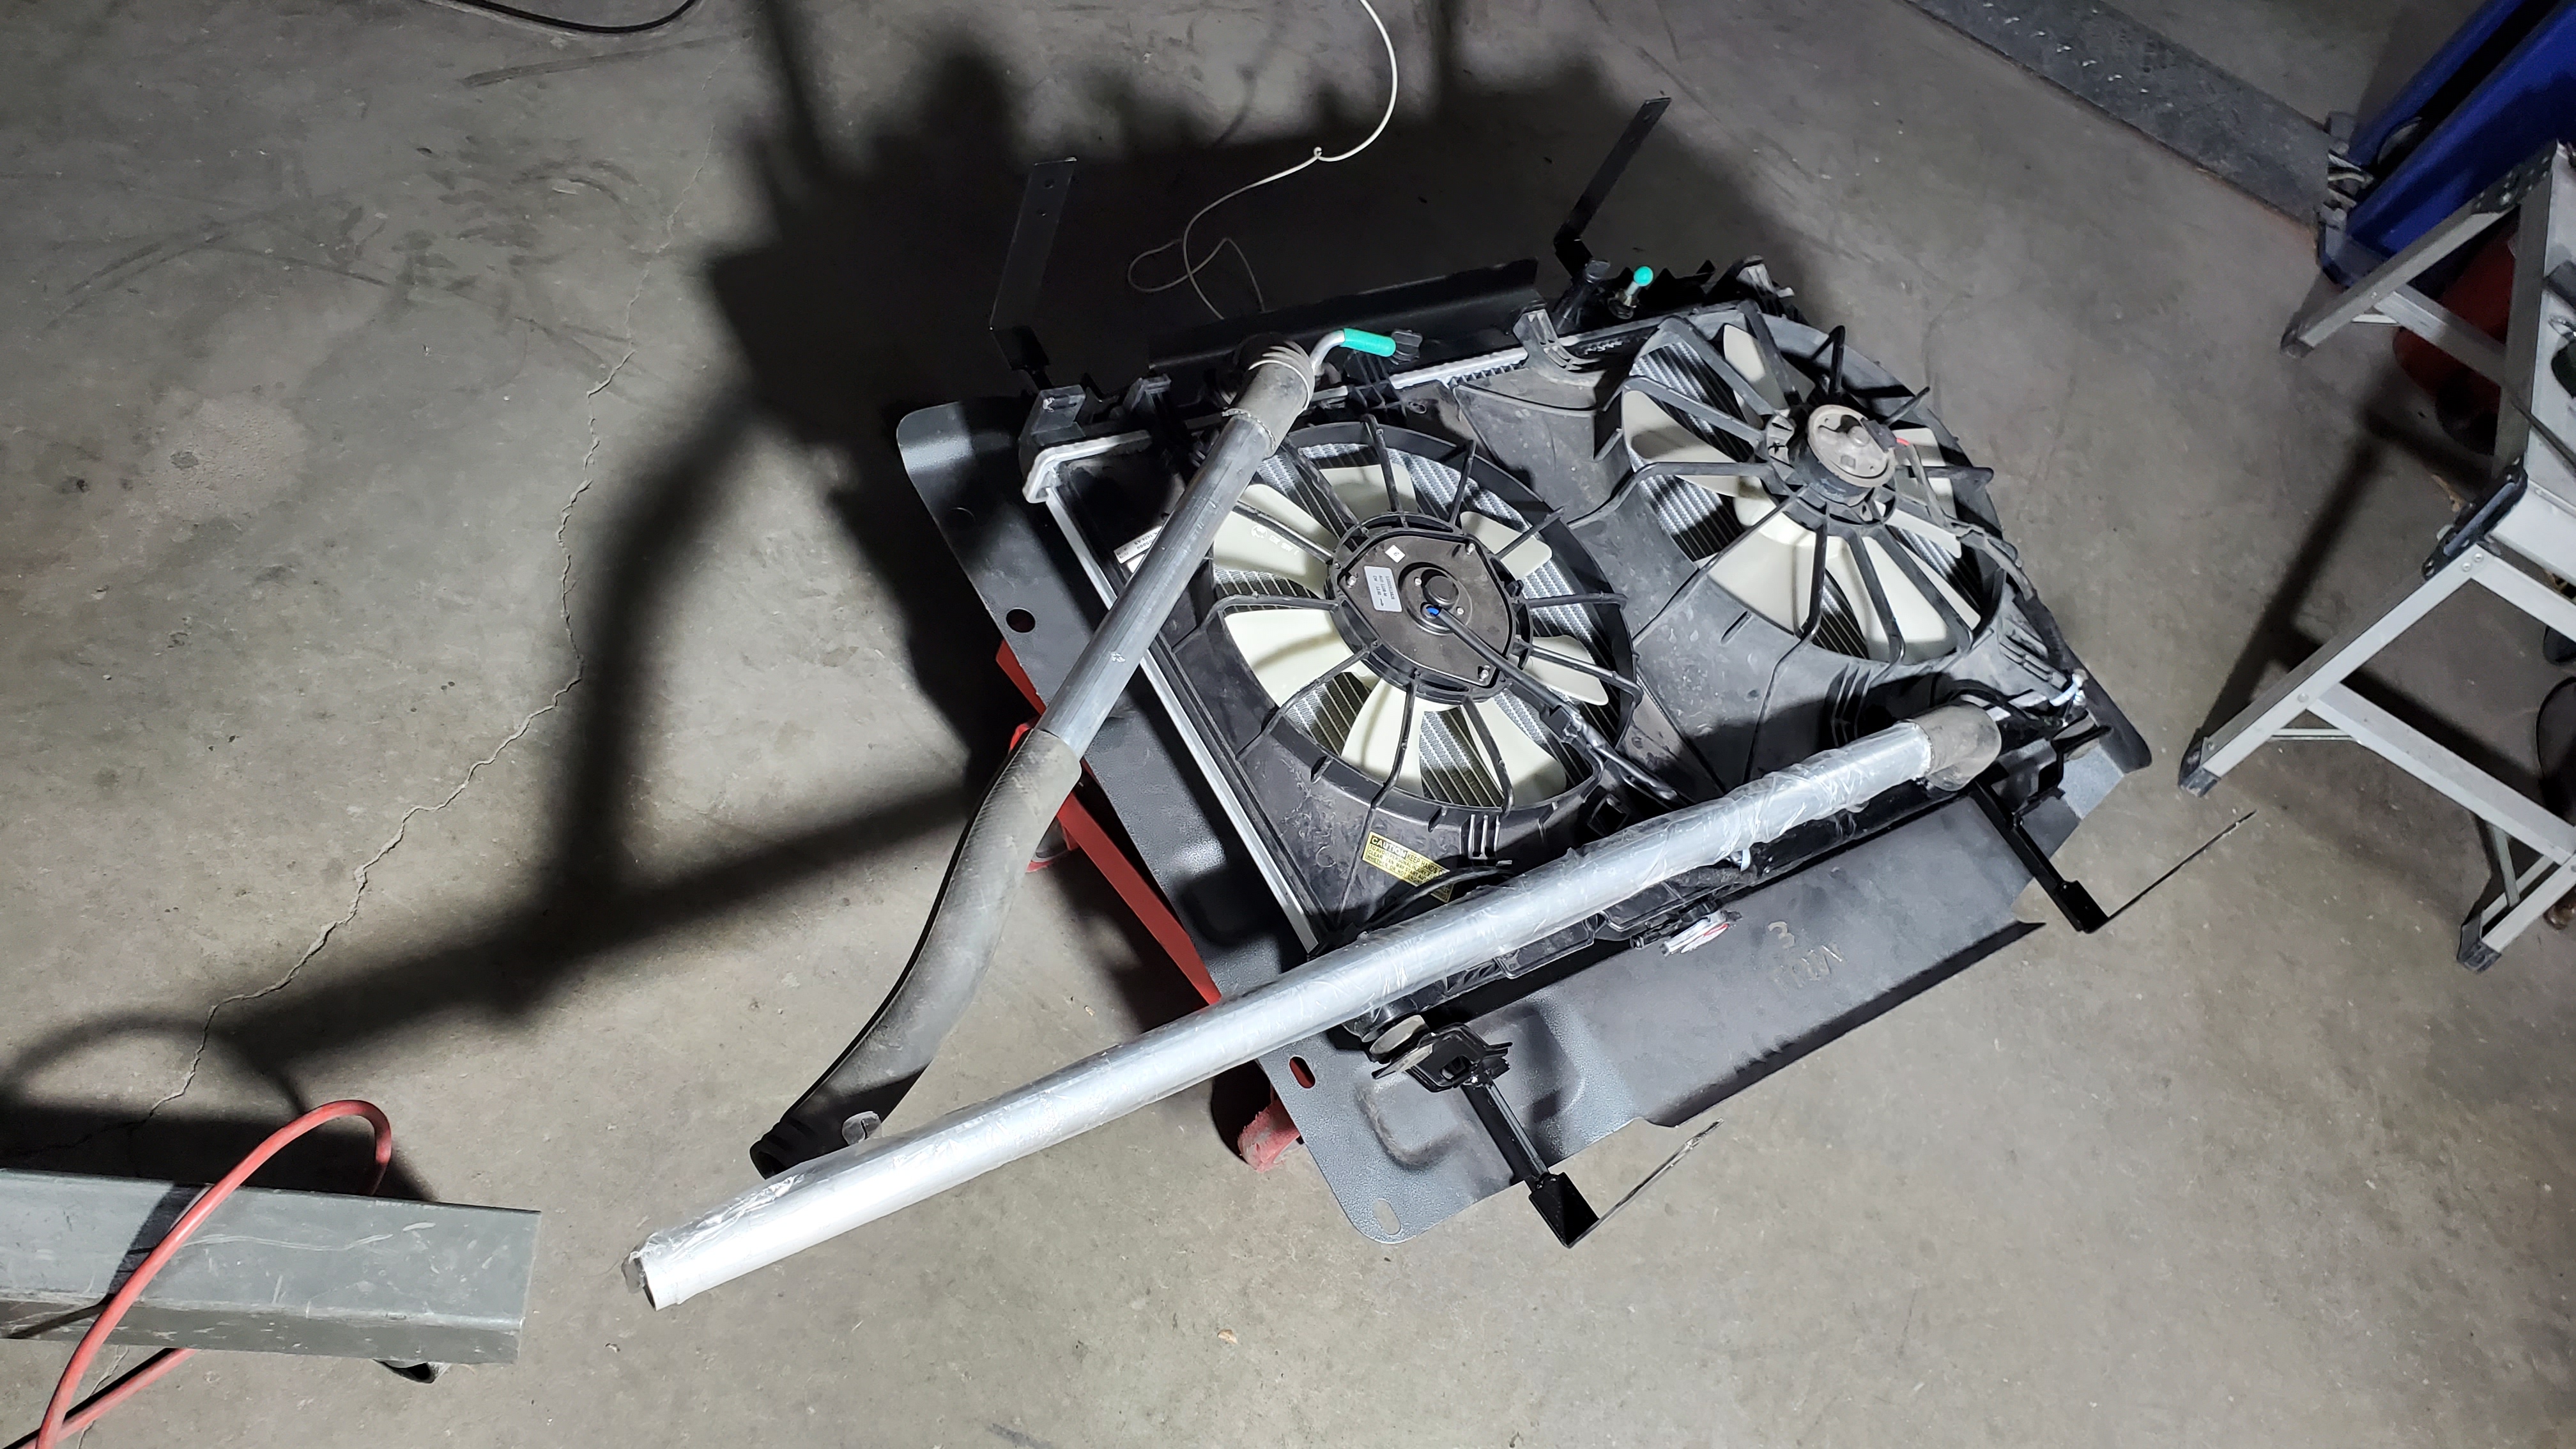
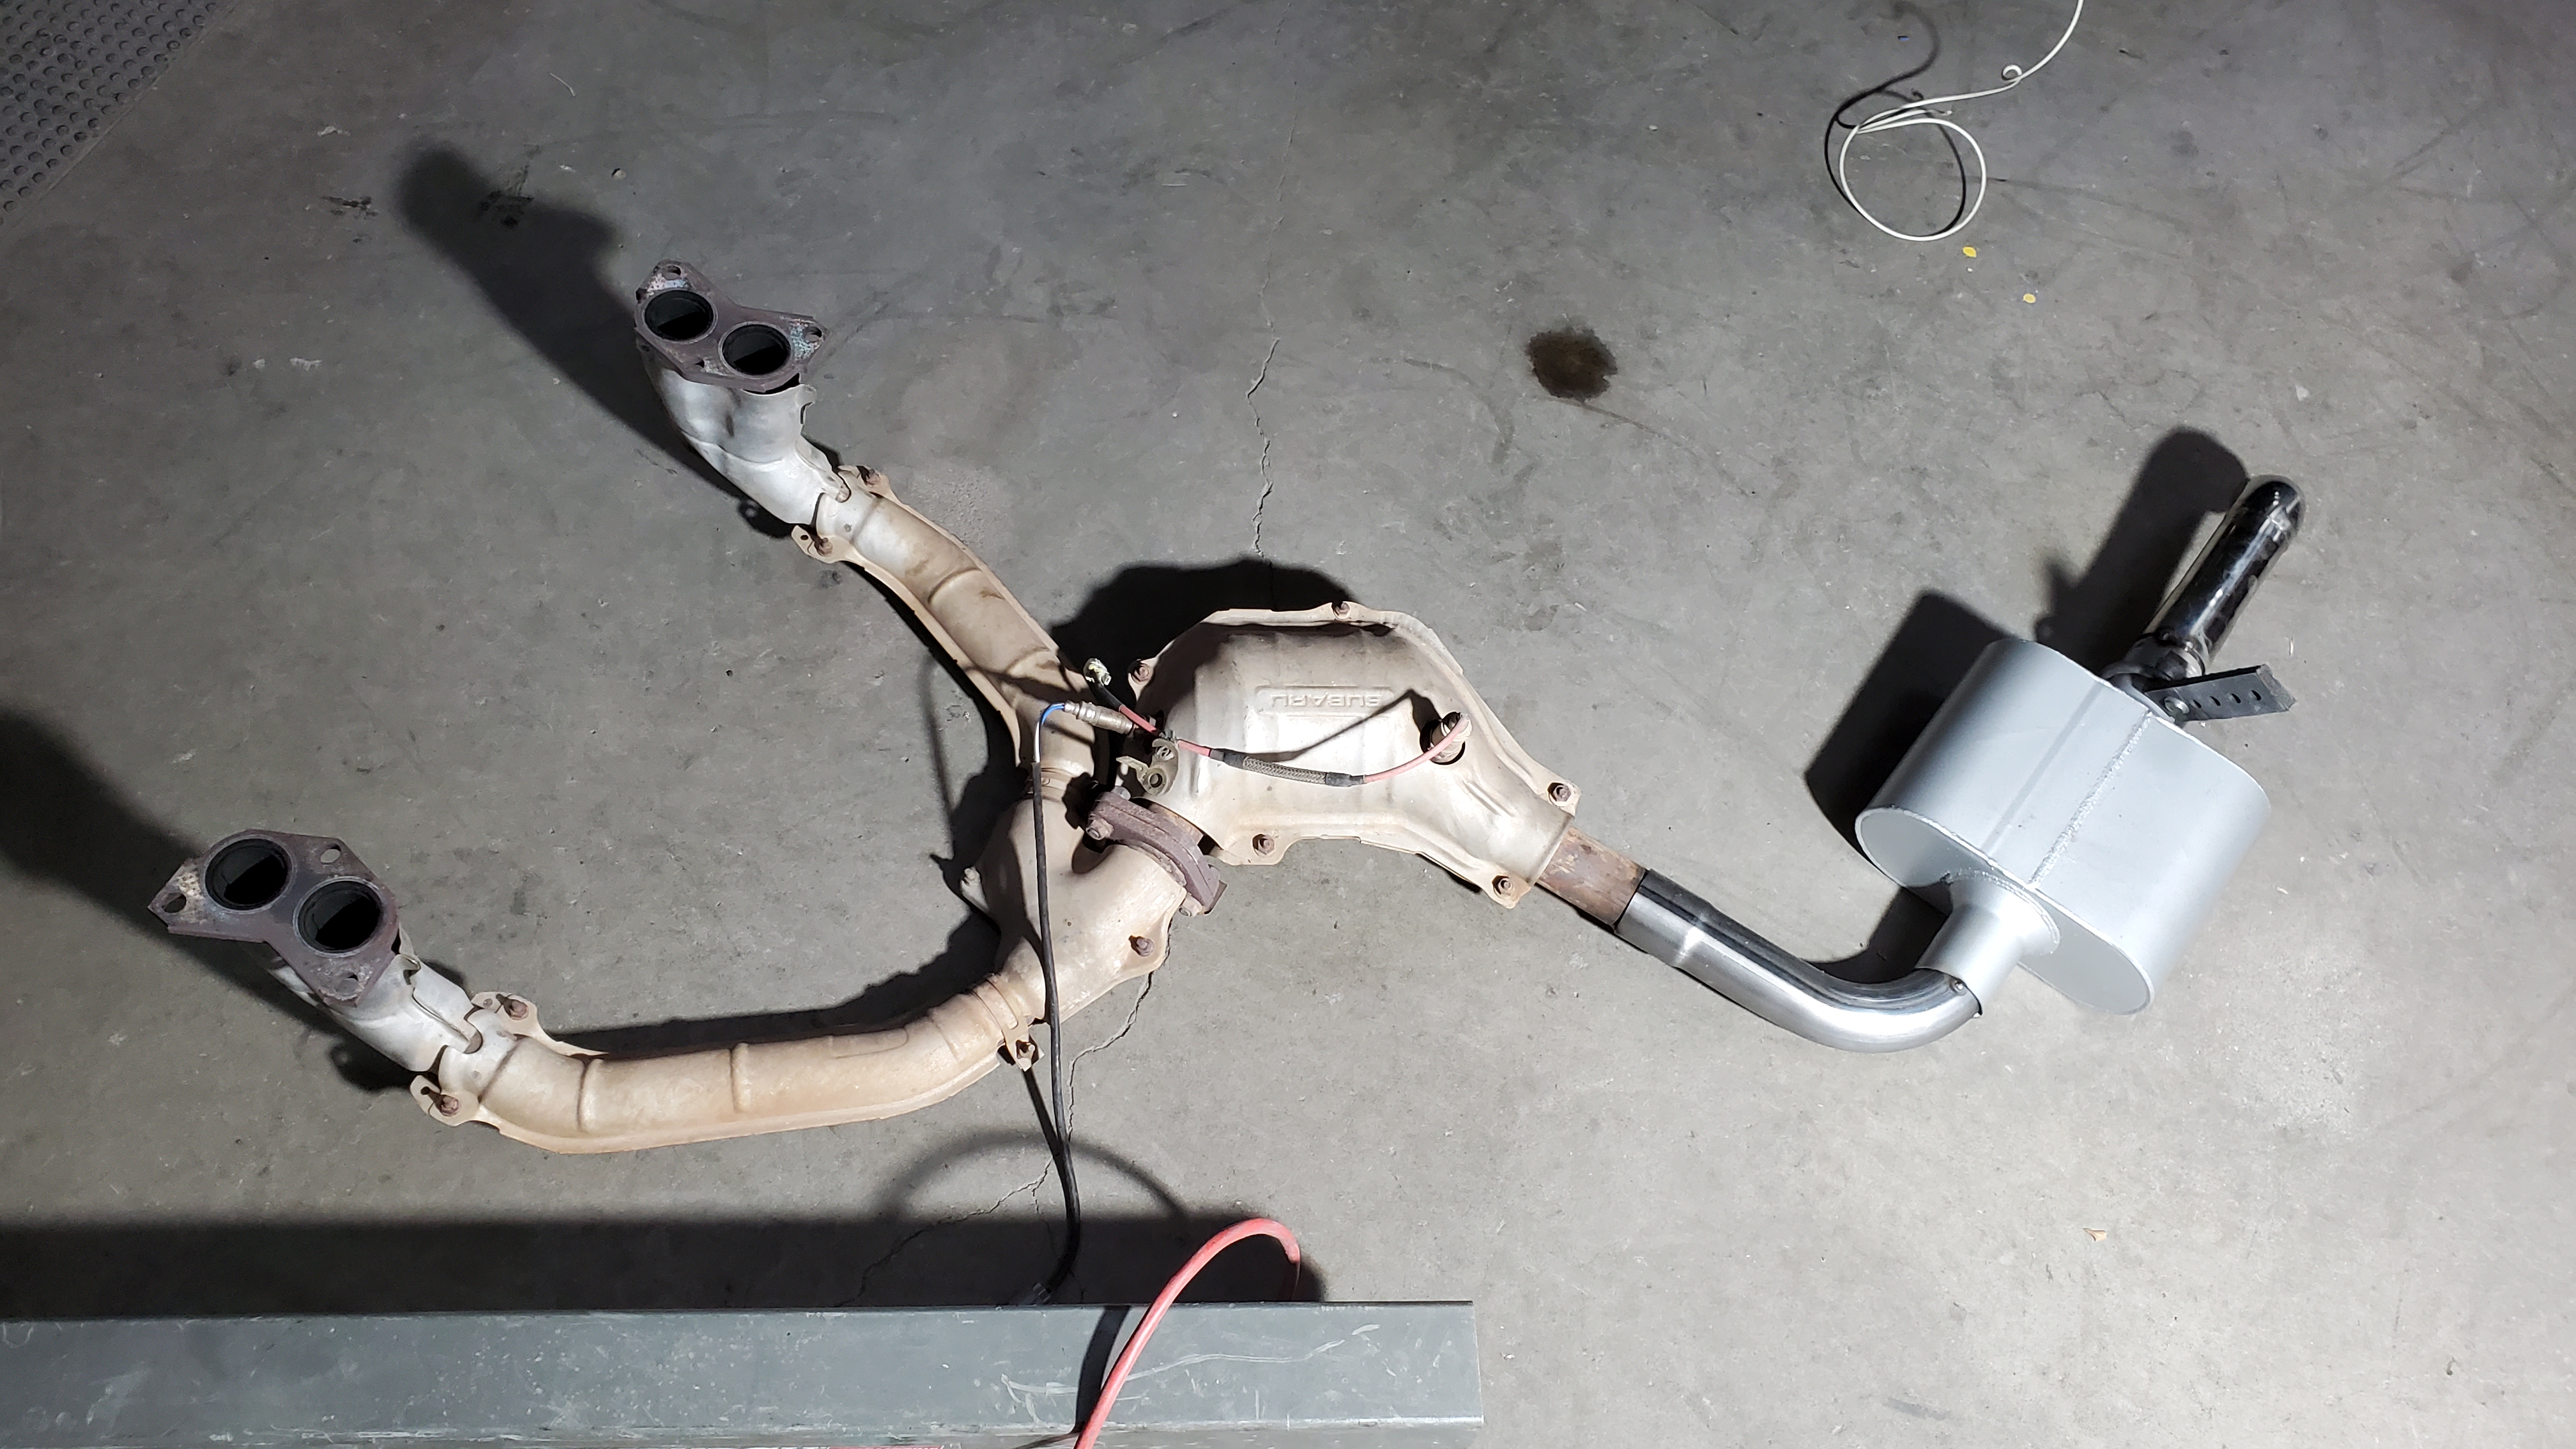
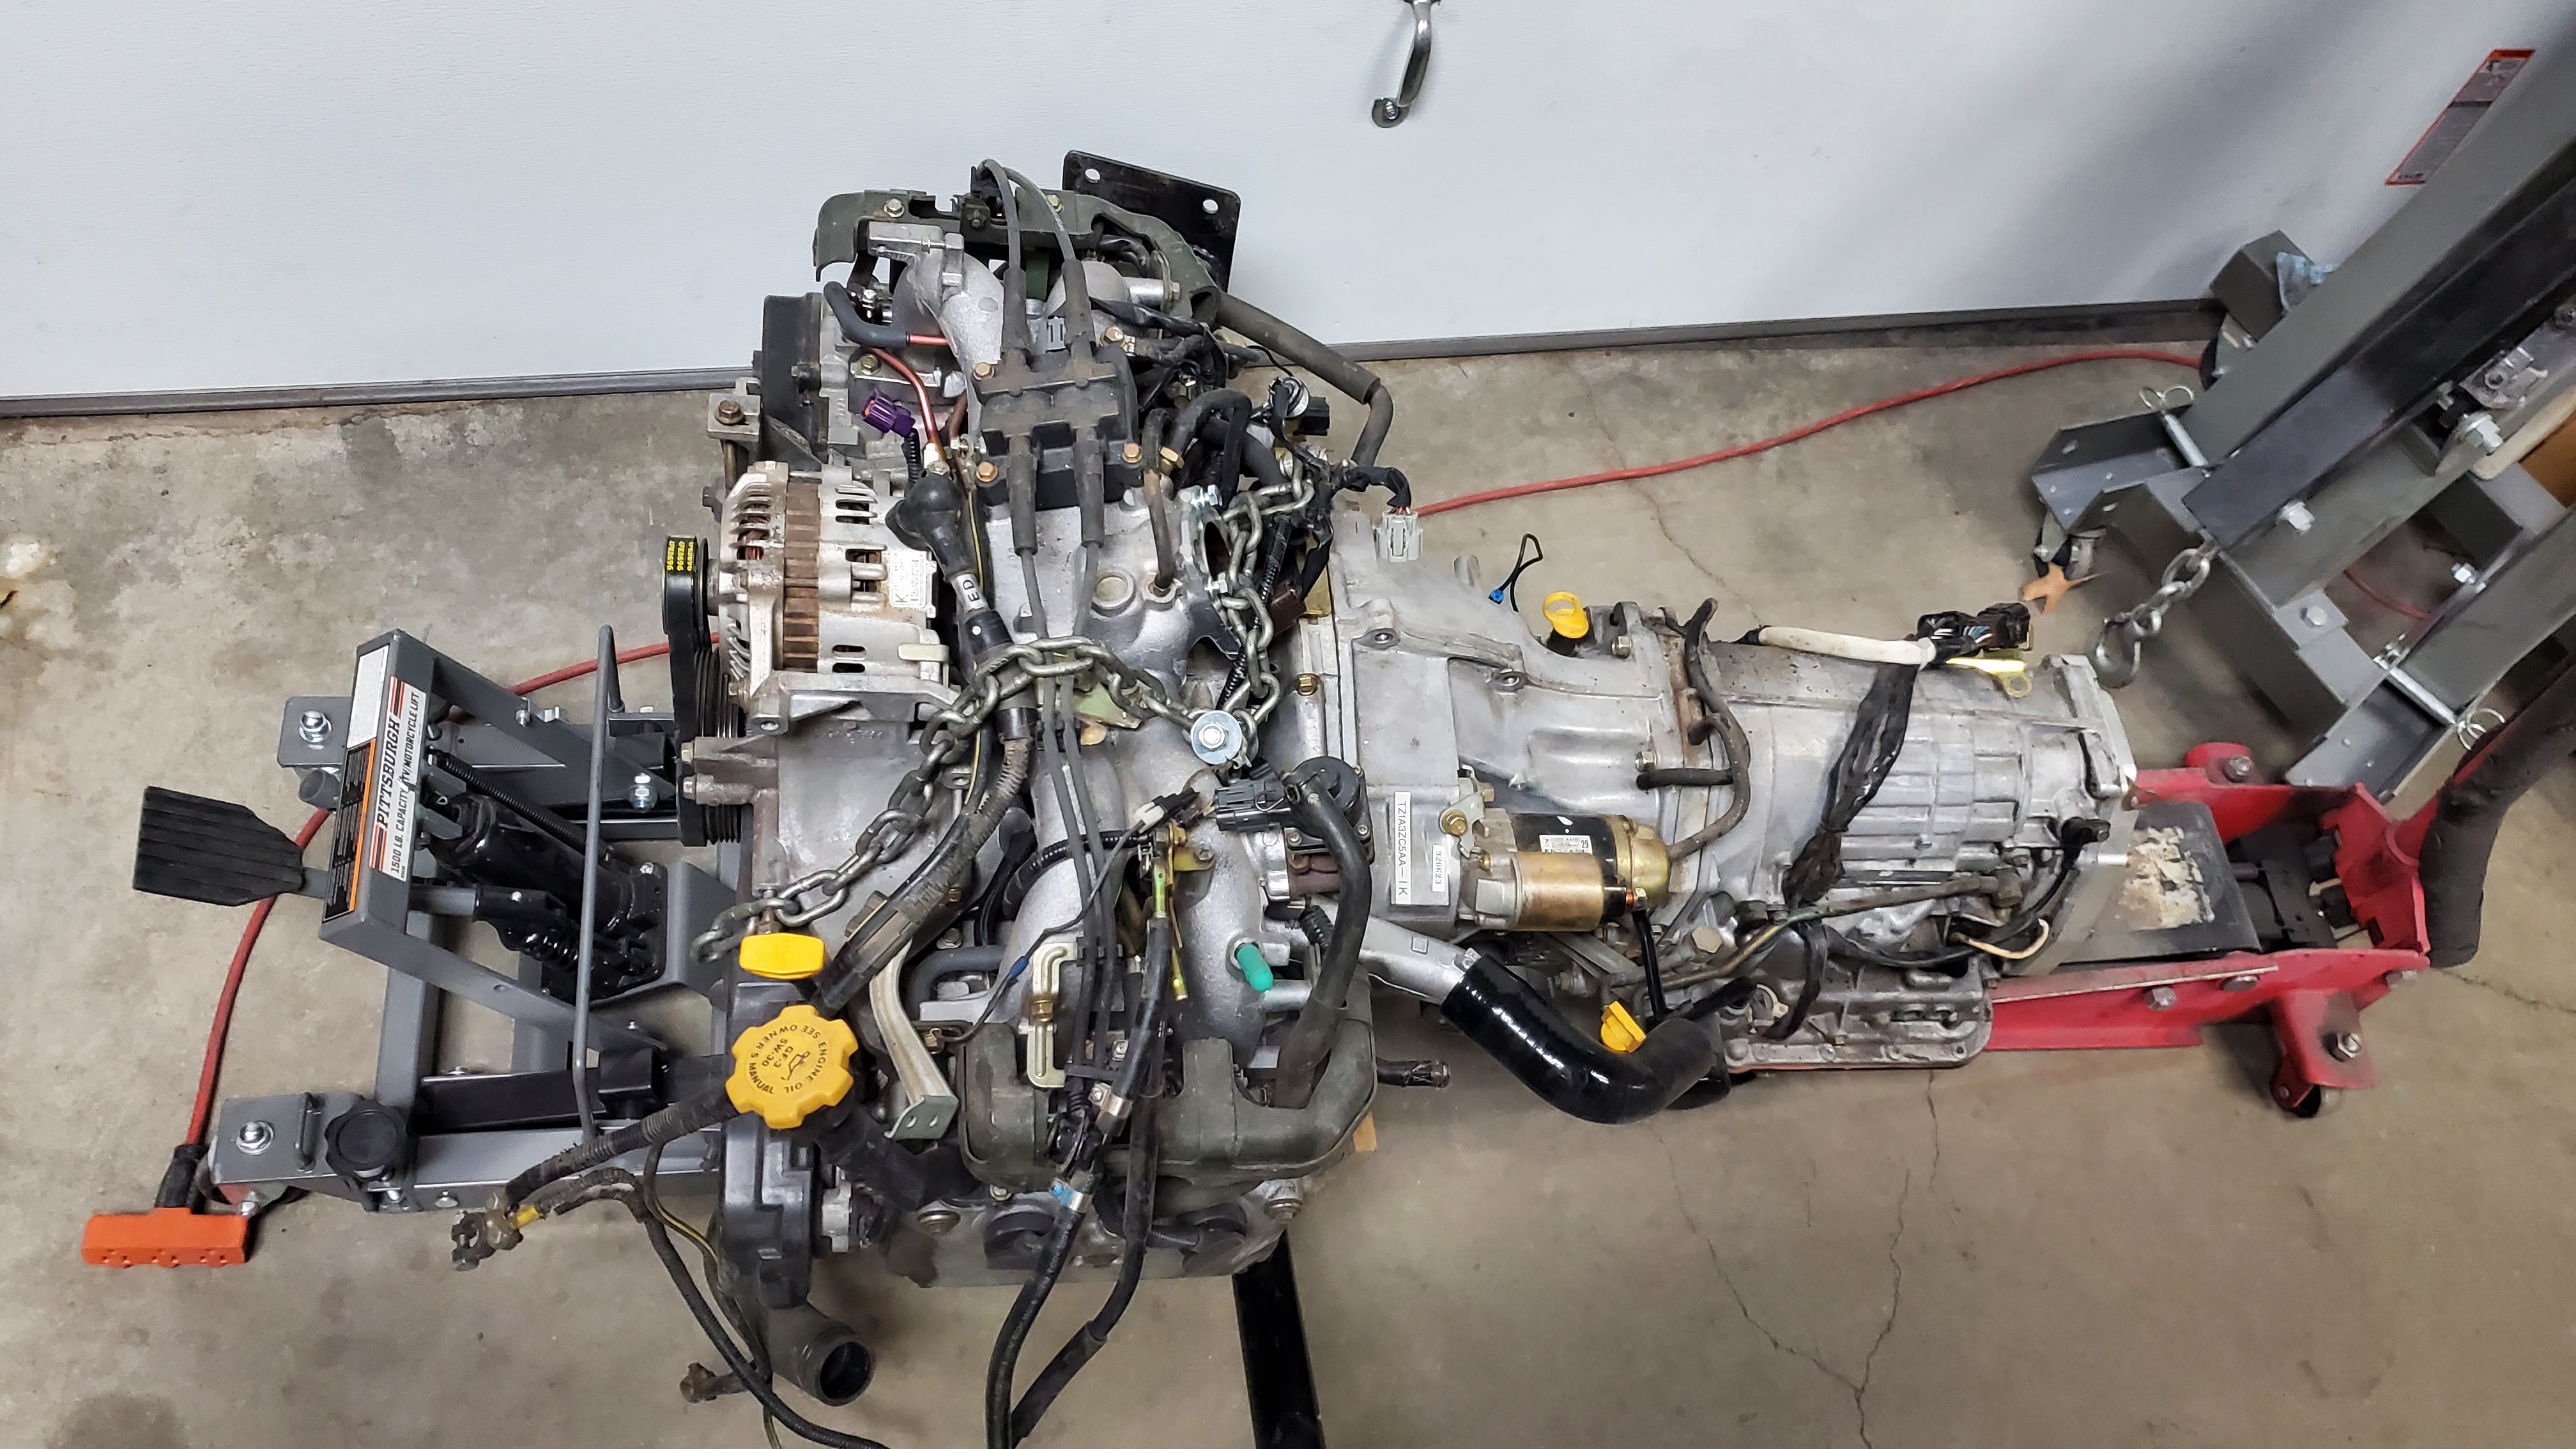
Everything was pulled back out for welding and paint, and now I’ll be working on getting the engine bay cleaned up. There were some clearance issues along the bell-housing seam, and I will be removing some of the cross-member to make room around the engine and transmission.
Copyright 2022-26

